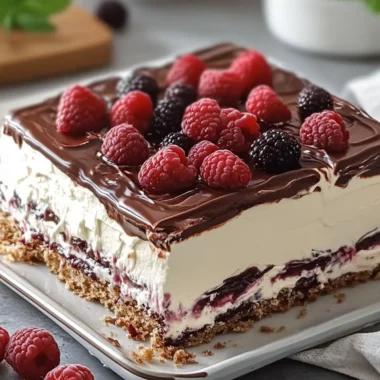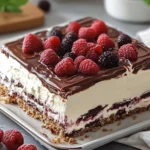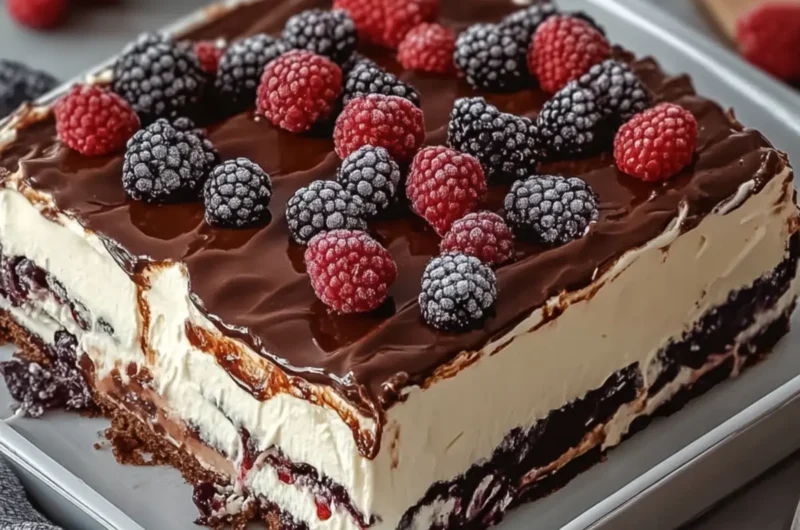
The moment I first gazed at this stunning No-Bake Nutella Berry Icebox Cake, I knew I had to make it. The vibrant colors of luscious berries layered between creamy Nutella bliss have a way of lighting up any dessert table. Imagine the crunch of graham crackers absorbing just enough milk to soften them, perfectly balancing the rich, velvety textures above.
After a particularly hectic week, I needed a treat that felt indulgent yet effortless. That’s when this delightful trifle came into play. With just a few ingredients and minimal prep, this cake transforms into a show-stopping dessert perfect for gatherings or a late-night sweet craving. Plus, the make-ahead nature means you can focus on your guests instead of fussing in the kitchen.
As the flavors meld in the refrigerator, patience might be your biggest challenge—but trust me, the wait is worth every bite! Ready to dive into a world of creamy Nutella dreams and berry goodness? Let’s whip this up together!
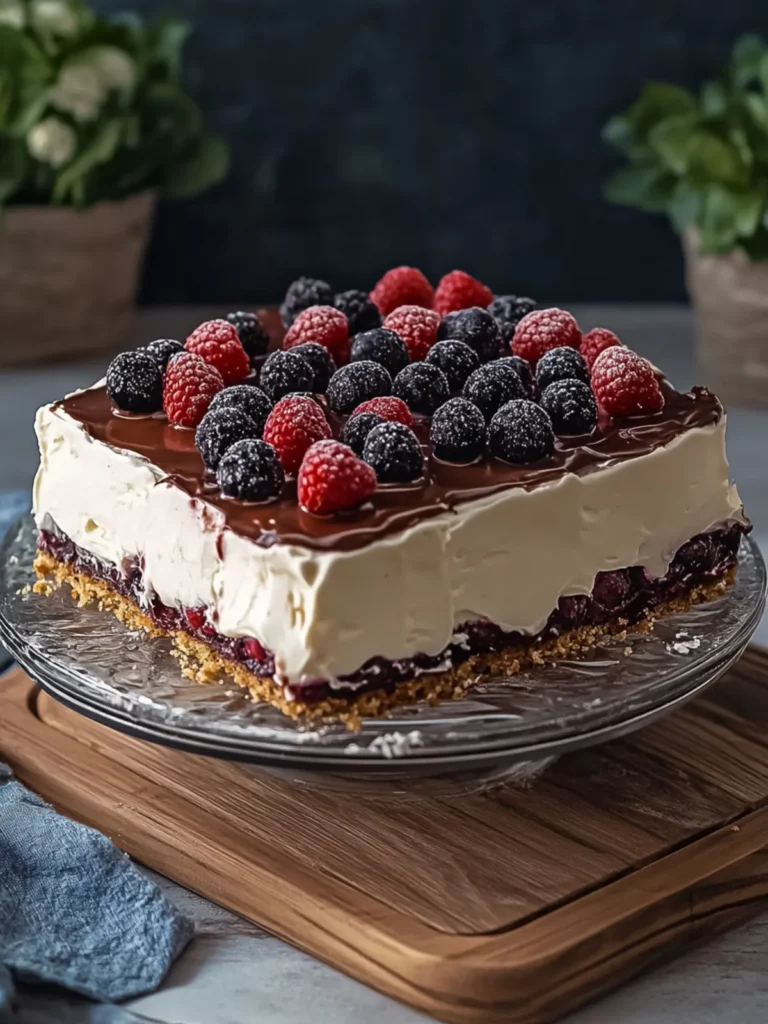
Why is No-Bake Nutella Berry Icebox Cake a Must-Try?
Effortless preparation makes this dessert a winner; there’s no baking required! Decadent layers of creamy Nutella and mixed berries create a visually stunning treat that tastes as good as it looks. Crowd-pleasing flavors ensure that everyone around the table will be asking for seconds. Plus, the make-ahead convenience means it’s perfect for busy days or unexpected guests. And if you want to elevate your dessert game, check out how to make other delightful desserts.
No-Bake Nutella Berry Icebox Cake Ingredients
For the Cake Layers
• Graham crackers – these provide a crunchy base that contrasts beautifully with the creamy layers.
• Milk – a quick dip for the crackers brings just the right softness, ensuring they soak up the flavors.
For the Cream Filling
• Cold whipping cream – whip until stiff peaks form for a light and airy texture that complements the sweetness.
• Cream cheese – softening it first ensures a smooth blend with the other ingredients, enhancing the creamy depth.
• Powdered sugar – adds just the right amount of sweetness without any grittiness.
• Nutella – the star ingredient! Its rich chocolate-hazelnut flavor is what makes this cake indulgently delicious.
• Vanilla extract – a dash of this enhances the overall flavor profile, making it even more irresistible.
For the Berry Layer
• Mixed berries – strawberries, blueberries, and raspberries add both color and a fresh, fruity burst to each bite.
• Sugar – used to sweeten the berry mixture, helping to draw out their natural juices.
• Cornstarch – thickens the berry mixture, creating a luscious sauce that binds the layers together.
• Water – to dissolve the cornstarch and help it integrate smoothly with the berries.
For the Ganache Topping
• Dark chocolate chips – provides a rich, decadent topping that brings the whole dessert together.
• Heavy cream – heating this transforms it into a silky ganache that drapes beautifully over the cake.
Now that you have everything you need, get ready to craft this delightful No-Bake Nutella Berry Icebox Cake!
How to Make No-Bake Nutella Berry Icebox Cake
-
Cook berries and sugar over medium heat for 5 minutes. Stir them gently until the mixture begins to bubble. Then, mix the cornstarch with water, add to the berries, and continue cooking until thickened. Make sure to let it cool completely for the best flavor blend.
-
Beat cream cheese, powdered sugar, Nutella, and vanilla together until smooth. The cream cheese should be nice and creamy, so take your time. Next, whip the cold cream separately until you see stiff peaks, then gently fold it into the Nutella mixture until just combined.
-
Dip biscuits briefly in the milk and arrange them in a 9×13-inch glass dish. Don’t let them soak too long; you want them soft but still holding their shape!
-
Spread half of the Nutella cream mixture over the biscuits, followed by half of the berry mixture. Repeat the layers for a beautiful presentation and a balance of flavors.
-
Heat the heavy cream until it’s steaming but not boiling. Pour it over the chocolate chips and wait for 2 minutes. Then, stir until you achieve a smooth, decadent ganache.
-
Spread the ganache evenly over the top of the cake, letting it cascade down the edges for a pretty finish.
-
Refrigerate the cake for at least 6 hours or ideally overnight until it’s firm. The waiting is tough, but the result will be worth it! Slice and serve chilled for a refreshing treat.
Optional: Garnish each slice with a sprinkle of fresh berries for a delightful touch.
Exact quantities are listed in the recipe card below.
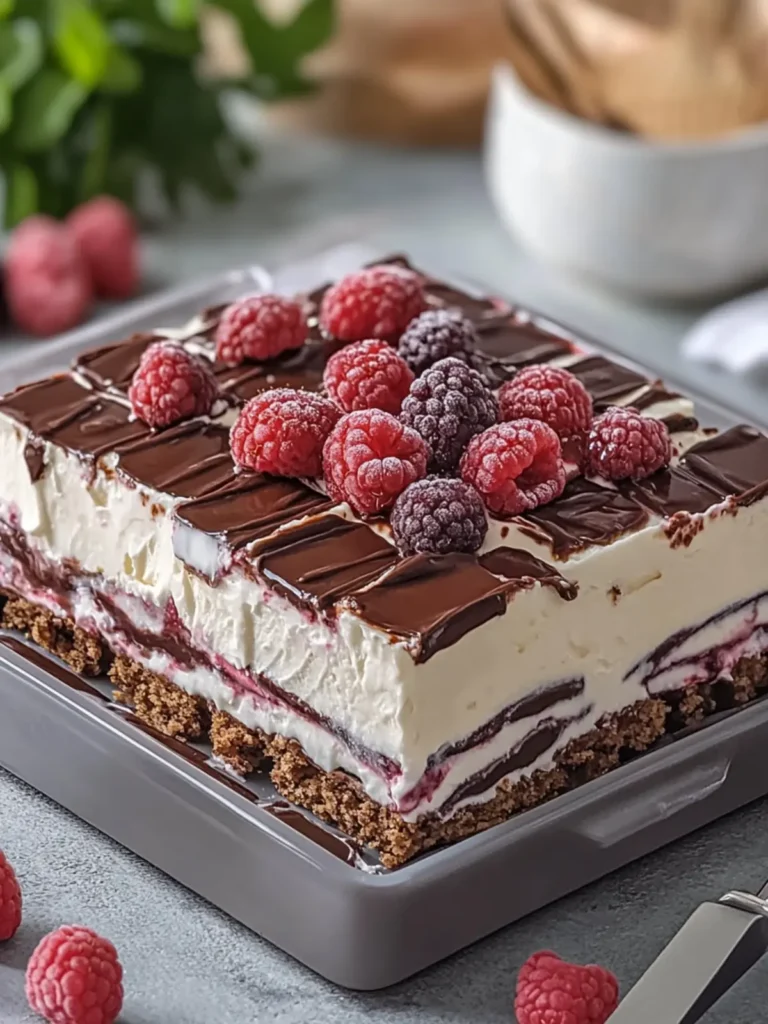
How to Store and Freeze No-Bake Nutella Berry Icebox Cake
Fridge: Keep the cake covered in the refrigerator for up to 3 days for optimal freshness and flavor retention.
Freezer: You can freeze the cake for up to 2 months. Wrap it tightly with plastic wrap or aluminum foil, and place it in an airtight container to prevent freezer burn.
Reheating: If served chilled, there’s no need to reheat. Just slice and serve directly from the fridge or freezer for a refreshing treat.
Thawing: When ready to enjoy a frozen slice, transfer it to the fridge for several hours or overnight until fully thawed. This will ensure the best texture and taste.
Helpful Tricks for No-Bake Nutella Berry Icebox Cake
- Ingredient Prep: Ensure all ingredients, especially the cream cheese and whipping cream, are at room temperature for smoother mixing.
- Berry Bliss: Avoid overcooking the berries; you want them soft yet intact. Overcooking can lead to a mushy texture.
- Whipping Wisely: When whipping the cream, keep your bowl and beaters cold. This helps achieve that light, airy whip ideal for your cake.
- Perfect Layers: For a clean presentation, ensure your cream and berry layers are evenly spread. Aim for just enough height to showcase your stunning layers!
- Chill Time Importance: Don’t rush the chilling process; this allows the flavors to meld beautifully. Trust me, a well-chilled cake is worth the wait!
- Garnish Gracefully: Add fresh berries or herbs on top right before serving to keep them vibrant and fresh without wilting.
Make Ahead Options
These delightful No-Bake Nutella Berry Icebox Cake layers are perfect for meal prep, allowing you to enjoy a delicious treat without the last-minute fuss! You can prepare the berry mixture and the Nutella cream filling up to 24 hours in advance; simply refrigerate them in airtight containers. The graham crackers can be dipped in milk and assembled into the dish several hours ahead, but for the best texture, consider assembling the entire cake no more than 12 hours before serving. This way, the crackers maintain their crunch while still soaking in the delicious flavors. Just remember to top it with the ganache right before serving to keep it glossy and fresh for a stunning finish!
What to Serve with Berry Nutella Trifle?
Looking to create the perfect meal to accompany this indulgent dessert? Let’s explore some delectable pairings that enhance your trifle experience!
- Fresh Fruit Salad: A medley of seasonal fruits adds brightness and a refreshing contrast to the rich flavors of the trifle.
- Chocolate Mousse: Complement the trifle’s textures with a light, airy chocolate mousse that echoes the Nutella theme delightfully.
- Whipped Cream Topping: A dollop of freshly whipped cream can lighten each bite of the trifle, enhancing the creamy layers without overwhelming them.
- Mint-Infused Iced Tea: The cooling flavor of mint iced tea provides a refreshing palate cleanser that pairs beautifully with the sweetness of the dessert.
- Savory Cheese Platter: A selection of soft cheeses balances the sweetness and richness, offering guests a touch of savory delight.
- Coffee or Espresso: A warm cup of coffee or a shot of espresso brings out the layers of flavor in the trifle, making for a robust ending to your meal.
- Dark Chocolate Shavings: Sprinkle these on top of each serving to add a touch of elegance and an extra chocolatey crunch that ties everything together beautifully.
Variations & Substitutions for No-Bake Nutella Berry Icebox Cake
Feel free to get creative with this dessert and make it your own while still tasting that Nutella magic!
- Gluten-Free: Use gluten-free graham crackers or almond flour cookies instead to create a scrumptious base.
- Dairy-Free: Switch the cream cheese and heavy cream for coconut cream and dairy-free cream cheese for a rich yet vegan delight.
- Nut-Free: Swap Nutella for a luscious chocolate or hazelnut spread alternative that fits your dietary needs.
- Fruit Combo: Experiment with different fruits like peaches or mangoes for a seasonal twist that’s bursting with fresh flavor.
- Chocolate Lovers: Add a layer of crushed Oreos or chocolate wafer cookies for an extra chocolatey crunch between the creamy layers.
- Spiced Up: Stir in a pinch of cinnamon or espresso powder into the cream for a delightful flavor kick that will surprise your taste buds.
- Heat Level: Drizzle in a touch of cayenne pepper or chili powder into the berry mixture for a warm, spicy contrast to the sweetness.
- Boozy Twist: For an adult version, add a splash of raspberry liqueur or hazelnut liqueur to the berry sauce for a sophisticated flair.
Whichever variations you choose, it’s sure to be a celebration of flavors and textures!
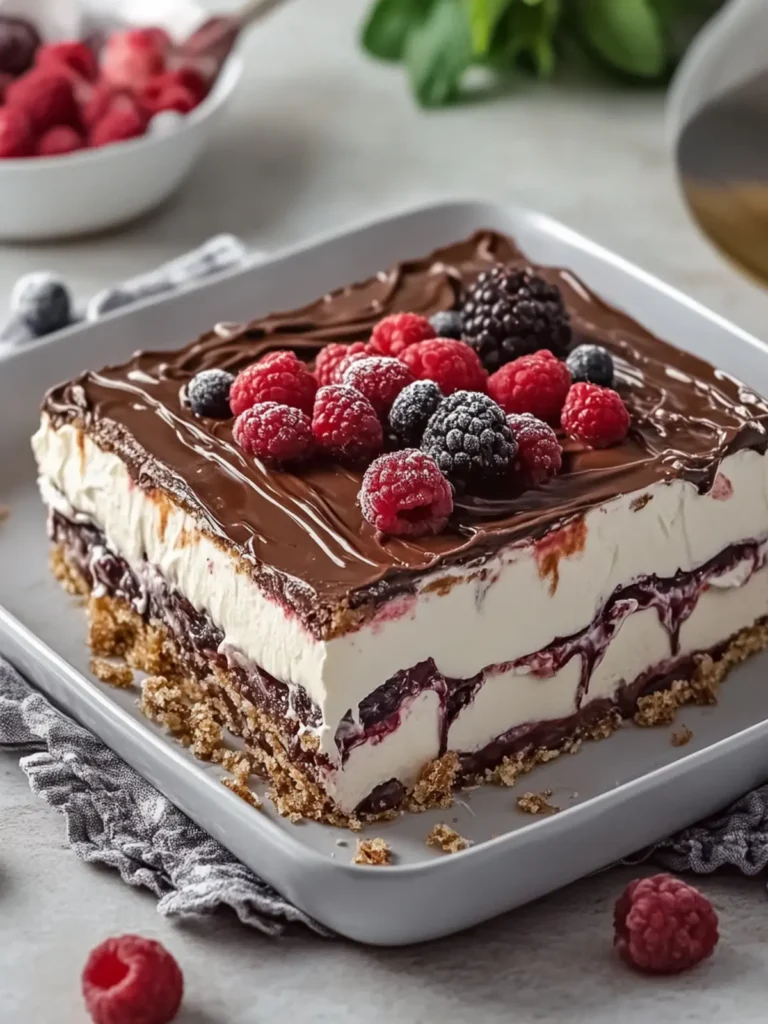
No-Bake Nutella Berry Icebox Cake Recipe FAQs
How do I choose the best berries for my cake?
Absolutely! Look for berries that are vibrant and plump, with no signs of bruising or dark spots. Ideally, strawberries should be bright red, blueberries should be a deep blue, and raspberries should be firm and bright. If you can, opt for organic berries for the best flavor and to avoid pesticides.
How should I store the No-Bake Nutella Berry Icebox Cake?
To keep your cake fresh, store it covered in the refrigerator for up to 3 days. If you plan to enjoy it later, you can freeze it for up to 2 months. Just make sure to wrap it tightly with plastic wrap and place it in an airtight container to prevent freezer burn.
Can I freeze the No-Bake Nutella Berry Icebox Cake?
Yes! Freezing this cake is a great option. To freeze, wrap it securely in plastic wrap, then aluminum foil, ensuring no air can get in. This locks in the flavors and keeps it airy. When you’re ready to indulge, transfer the frozen cake to the refrigerator to thaw for several hours or overnight. This gentle thawing helps maintain the texture and taste.
What should I do if my cream cheese mixture is too thick?
If your cream cheese mixture isn’t blending smoothly, no worries! Start by adding a splash of milk, a tablespoon at a time, while mixing. Blend well until it reaches a smooth, creamy consistency. Additionally, ensuring that your cream cheese is at room temperature before mixing greatly helps with achieving a velvety texture!
Are there any allergies I should consider for this cake?
Absolutely! Since this delightful No-Bake Nutella Berry Icebox Cake contains dairy, those with lactose intolerance should consider using lactose-free options like cream cheese and heavy cream. For those with nut allergies, Nutella can be replaced with a seed butter or chocolate spread that is nut-free. Always double-check ingredient labels to ensure safety for allergies.
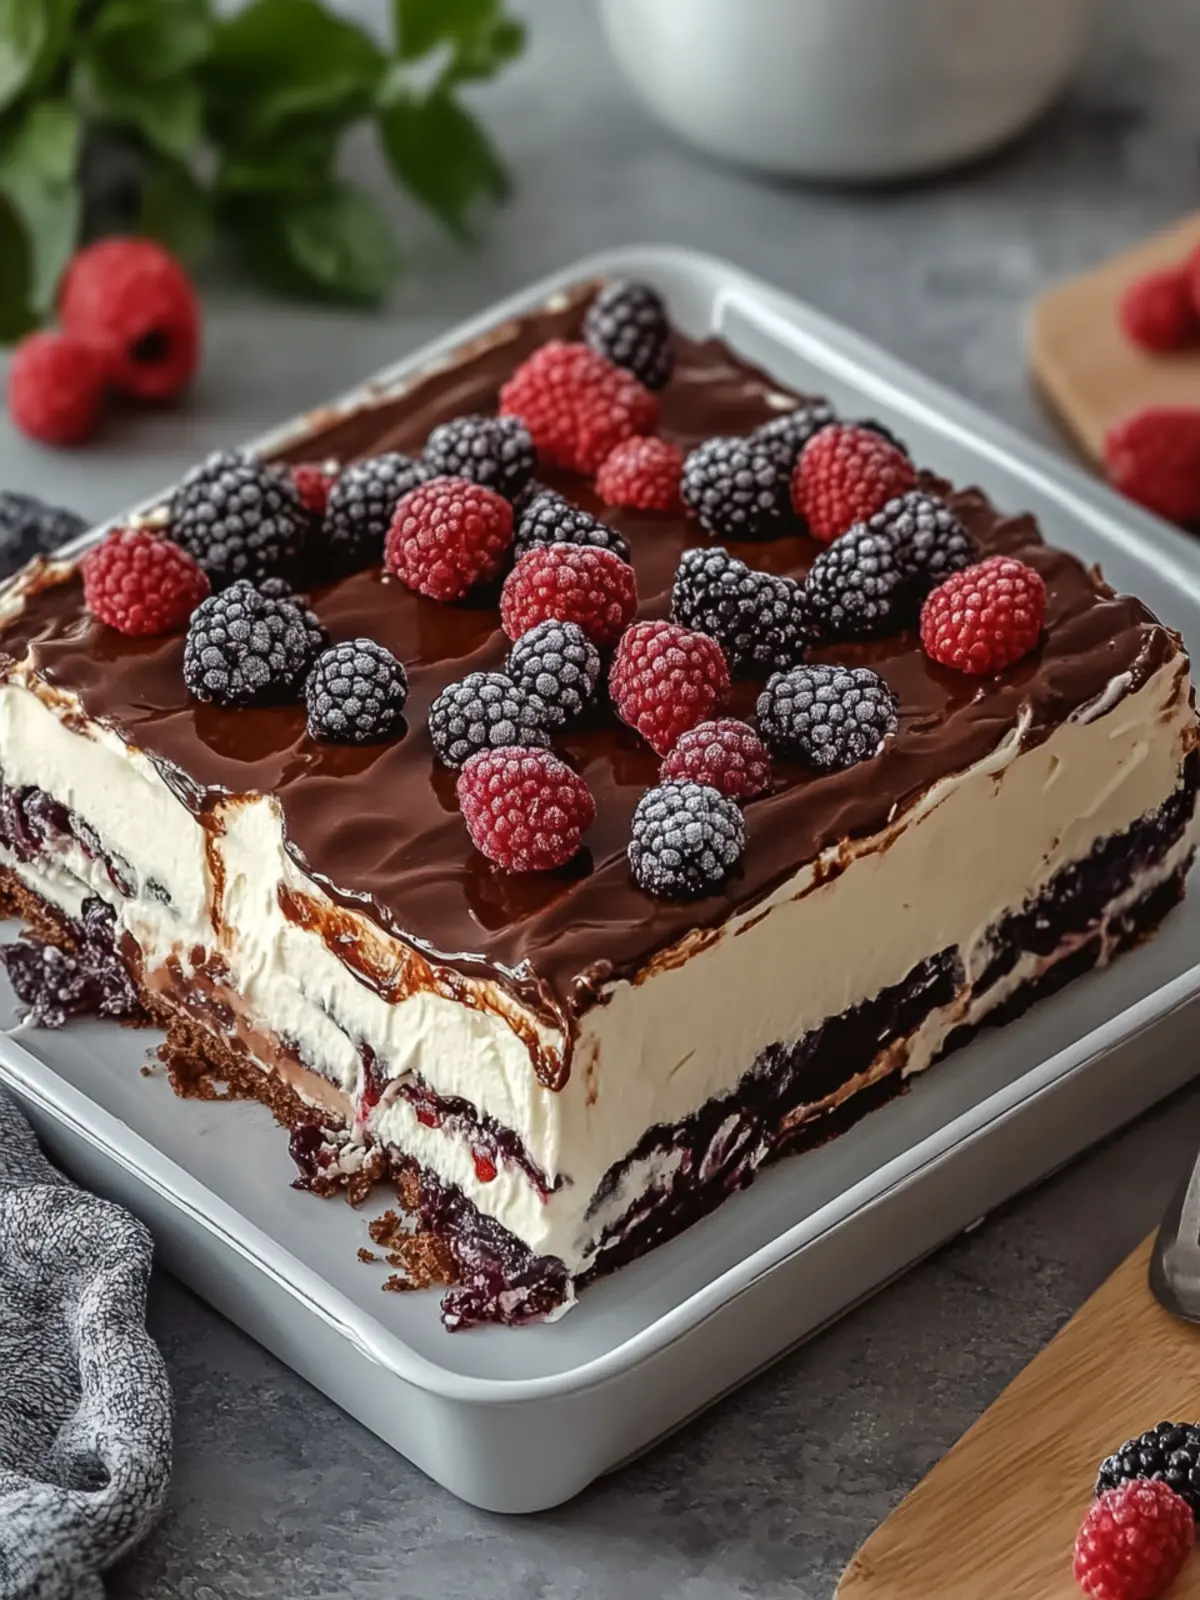
Irresistible No-Bake Nutella Berry Icebox Cake Delight
Ingredients
Equipment
Method
- Cook berries and sugar over medium heat for 5 minutes. Stir them gently until the mixture begins to bubble. Then, mix the cornstarch with water, add to the berries, and continue cooking until thickened. Let cool completely.
- Beat cream cheese, powdered sugar, Nutella, and vanilla together until smooth. Whip the cold cream separately until stiff peaks form, then fold it into the Nutella mixture.
- Dip biscuits briefly in the milk and arrange them in a glass dish. Spread half of the Nutella cream mixture over the biscuits, followed by half of the berry mixture. Repeat layers.
- Heat heavy cream until steaming but not boiling. Pour over chocolate chips and let stand for 2 minutes, then stir until smooth.
- Spread ganache evenly over the top of the cake, letting it cascade down the edges. Refrigerate for at least 6 hours or overnight before serving.