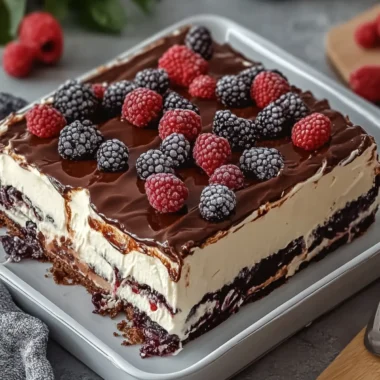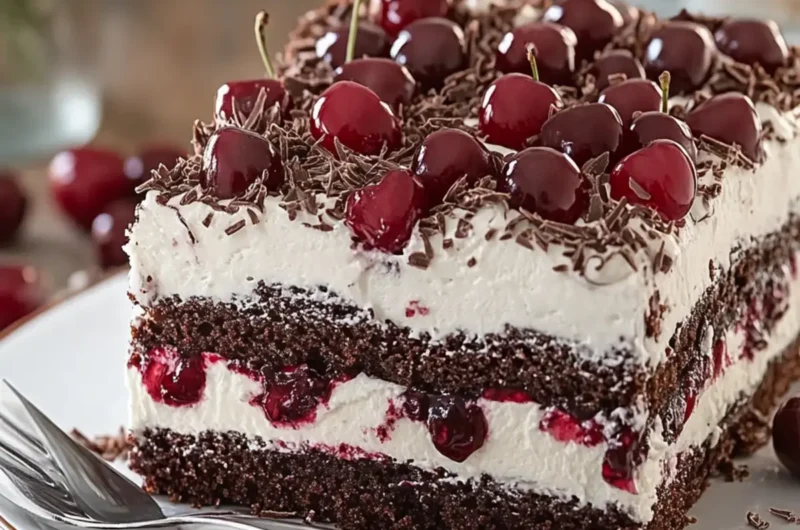
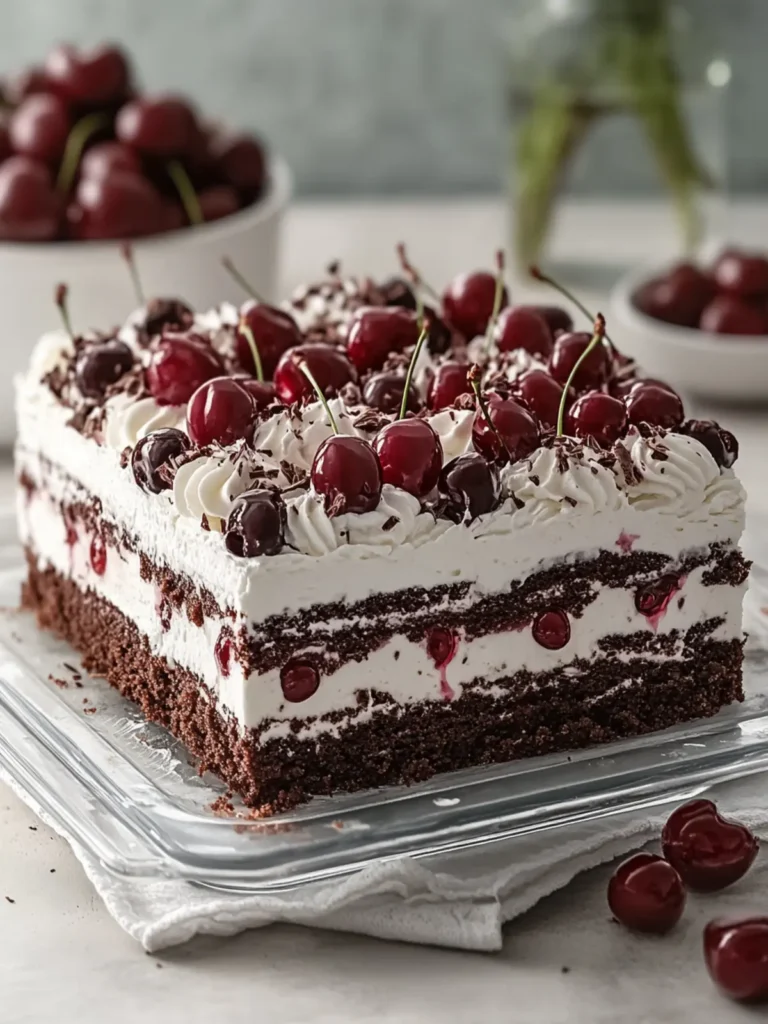
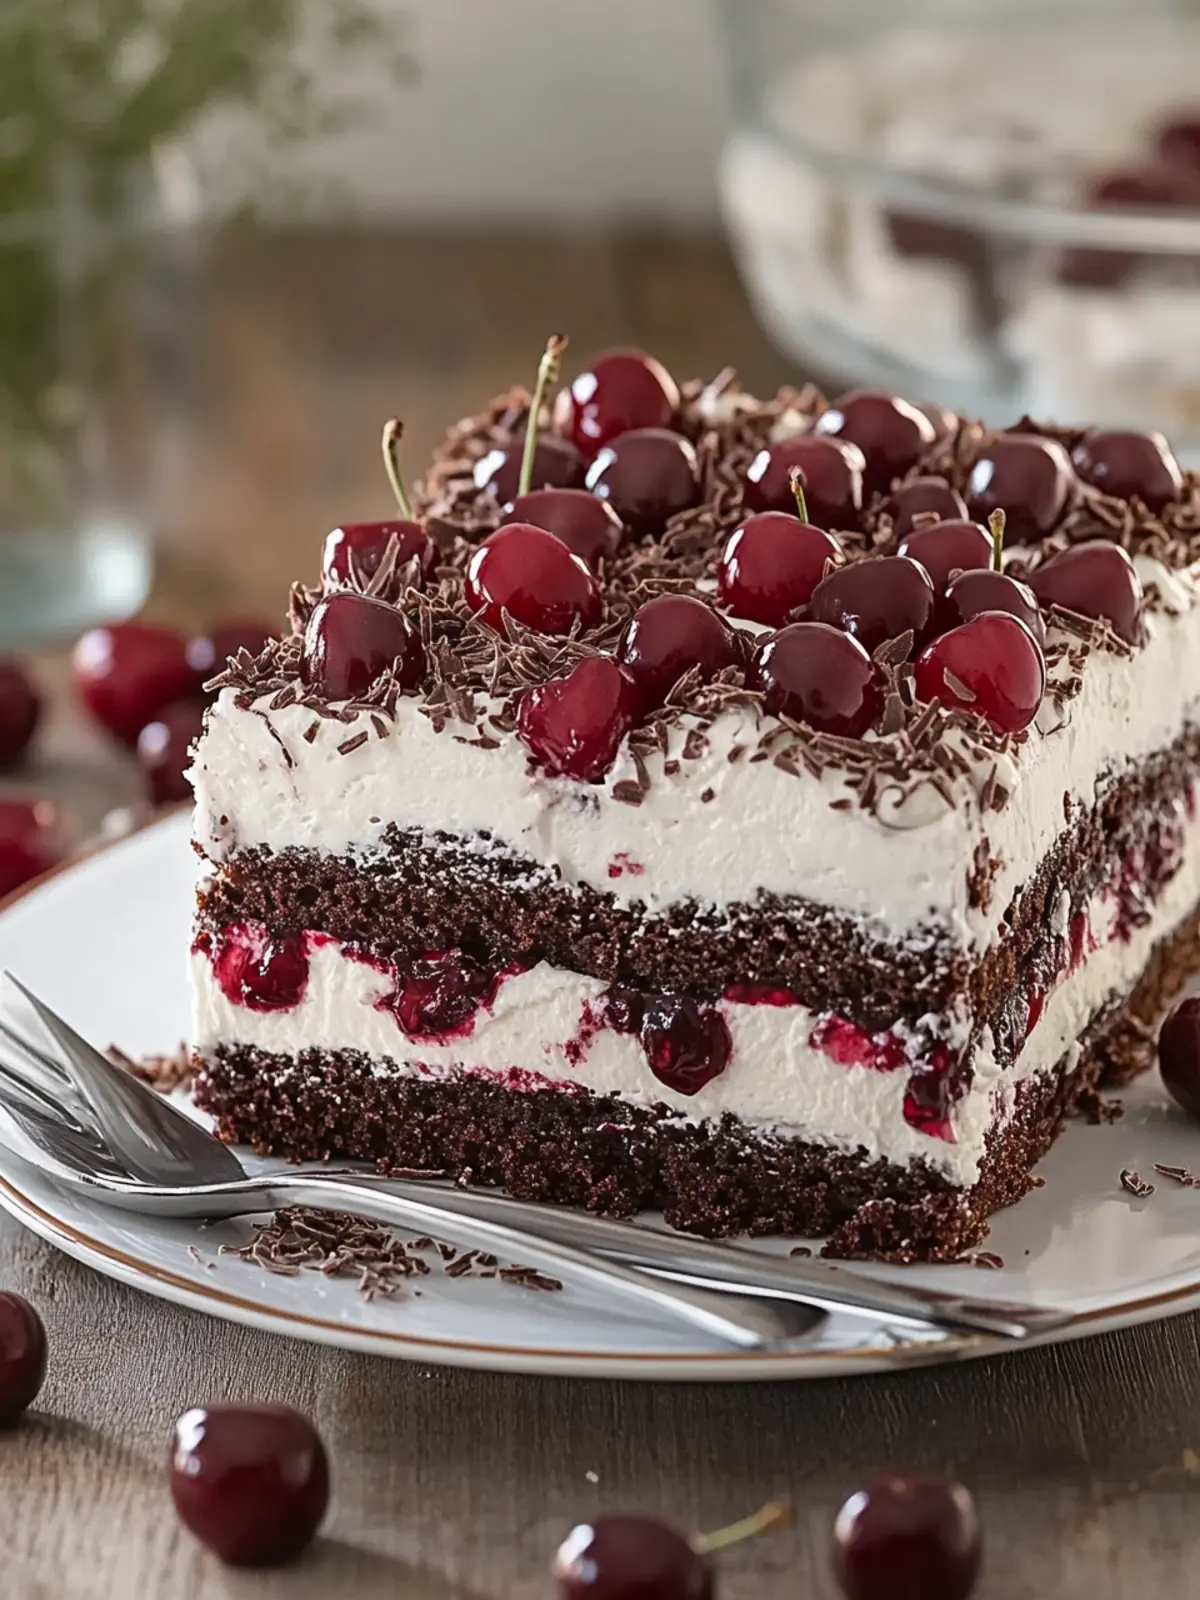
When summer’s heat sets in, the last thing I want is to be sweating over a hot stove. That’s when I rediscovered my love for no-bake desserts, which deliver all the sweet satisfaction without the fuss. Enter the Chocolate Cherry Icebox Cake, a delightful fusion of rich chocolate wafers and luscious cherry filling that is as charming to the eyes as it is delicious to the palate.
This dessert has become my go-to for gatherings, where every bite makes taste buds dance and brings smiles around the table. It’s like a chilled hug of chocolatey goodness layered with vibrant cherry flavors—perfect for hot days or any celebration. Plus, it’s incredibly easy to whip up, requiring only a few simple ingredients and minimal effort.
As I layer the chocolate cookies and creamy concoction, the anticipation builds—who can resist a dessert that tastes as good as it looks? Trust me, whether you’re impressing guests or indulging in a sweet treat for yourself, this Chocolate Cherry Icebox Cake is going to be a showstopper. So, grab your baking dish, and let’s dive into this blissful creation!
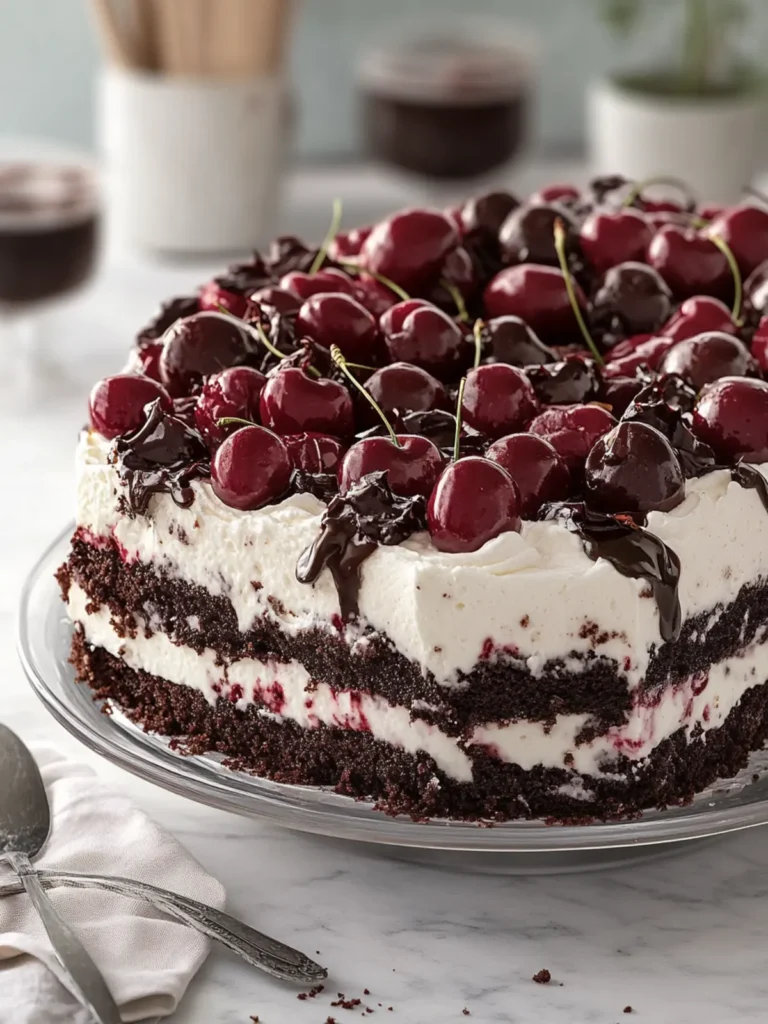
Why is Chocolate Cherry Icebox Cake a Must-Try?
Simplicity at Its Best: This no-bake dessert is a breeze to make, perfect for anyone who loves homemade delights without the heat of an oven.
Rich, Creamy Layers: Combining cream cheese and heavy cream delivers an indulgent richness that pairs wonderfully with chocolate cookies and cherries.
Delightful Flavor Fusion: The contrast of sweet cherries and rich chocolate creates a flavor explosion that will leave everyone reaching for seconds.
Endless Versatility: Customize with your favorite toppings or different fruits, making this cake suitable for any occasion!
Perfect for Gatherings: Its eye-catching layers and chill factor make it an impressive centerpiece at parties, guaranteed to wow your guests.
Time-Saving Treat: With minimal prep required and a long chill time, you can focus on enjoying your time with family or friends while it sets!
Chocolate Cherry Icebox Cake Ingredients
For the Cake Layers
• 600 g chocolate wafer cookies – these create a rich foundation and can be substituted with chocolate graham crackers if needed.
• ½ cup milk – optional for dipping the cookies to soften them slightly.
For the Cream Mixture
• 3 cups heavy whipping cream – make sure it’s cold for the best whipping results.
• 225 g cream cheese – softened for easy blending with the other ingredients.
• 90 g powdered sugar – adds sweetness; feel free to adjust based on your preference.
• 1 teaspoon vanilla extract – enhances the flavor profile beautifully.
• 25 g unsweetened cocoa powder – brings out that deep chocolate taste crucial for the Chocolate Cherry Icebox Cake.
For the Cherry Layer
• 42 oz cherry pie filling – the star flavor that complements the chocolate; you can use homemade if you prefer!
• 1 tablespoon lemon juice – brightens the cherry flavor and balances sweetness.
For the Toppings
• ½ cup dark chocolate shavings or curls – adds an elegant touch and extra chocolatey goodness.
• ½ cup chocolate chips or chopped chocolate – sprinkle them on top for extra texture and flavor.
• 8–12 maraschino or fresh cherries – perfect for garnish and a burst of color on your dessert.
How to Make Chocolate Cherry Icebox Cake
-
Beat the Cream Cheese: In a mixing bowl, beat softened cream cheese and powdered sugar until the mixture is smooth and creamy. Add in the vanilla extract and unsweetened cocoa powder, mixing until fully combined.
-
Whip the Cream: In a separate bowl, take your cold heavy whipping cream and whip it until stiff peaks form. This will give your dessert its delightful airy texture.
-
Fold Together: Gently fold the whipped cream into the cream cheese mixture. Be careful not to deflate the whipped cream; the lightness gives the cake its luxurious feel.
-
Prepare the Baking Dish: Grab a 9 × 13-inch glass baking dish. It’s perfect for showcasing the beautiful layers of your dessert.
-
Layer the Cookies: Start with a single layer of chocolate wafer cookies at the bottom of the dish. Feel free to break some cookies into smaller pieces to fill in any gaps.
-
Spread the Cream Mixture: Take half of the chocolate cream mixture and spread it evenly over the cookie layer. You want it smooth for the next cherry layer!
-
Add Cherry Filling: Spread one can of the cherry pie filling over the cream mixture, allowing those sweet, juicy flavors to shine through.
-
Build More Layers: Now, repeat by adding another layer of chocolate cookies followed by the remaining cream mixture and the second can of cherry filling. Finally, top it all off with a last layer of cream.
-
Decorate and Chill: Sprinkle chocolate shavings and chocolate curls generously on top, then add the maraschino or fresh cherries as a beautiful garnish. Cover and refrigerate for at least 6–8 hours, or overnight if you can wait!
-
Slice and Serve: When ready to indulge, slice into squares using a sharp knife. Enjoy the chilly delight of this amazing Chocolate Cherry Icebox Cake!
Optional: Add a sprinkle of cocoa powder on top before serving for an extra dash of flavor.
Exact quantities are listed in the recipe card below.
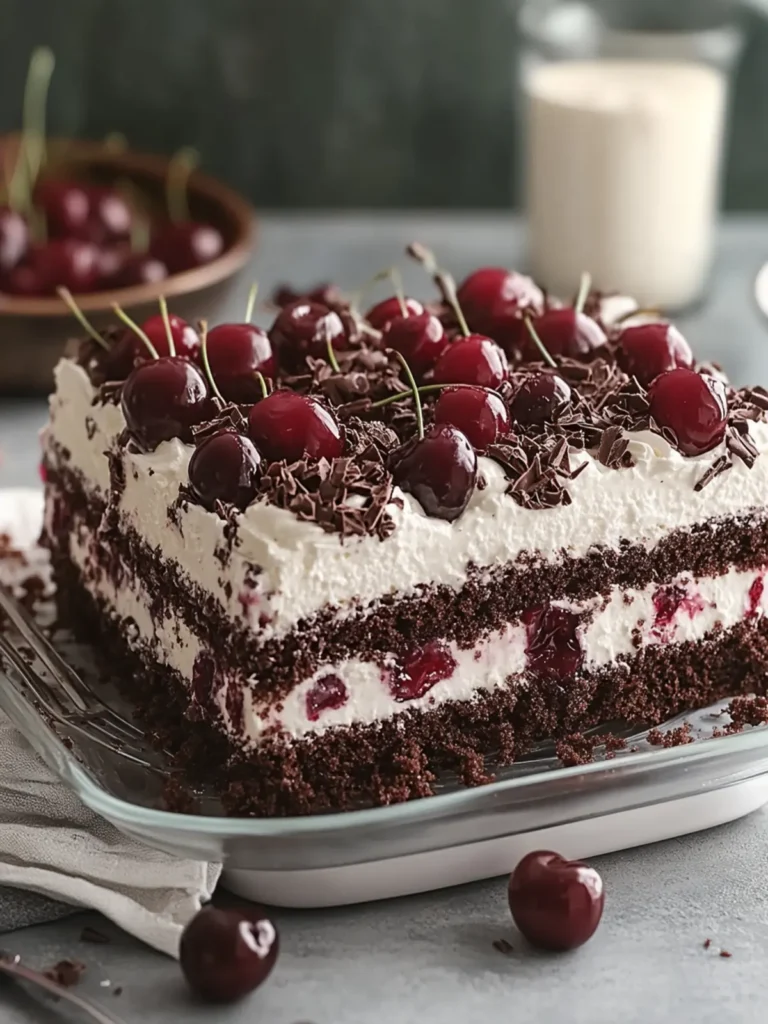
Expert Tips for Chocolate Cherry Icebox Cake
Use Cold Ingredients: Make sure your heavy cream is cold for optimal whipping; this will help achieve those perfect stiff peaks.
Layer Strategically: When layering, ensure even distribution of cream and cherries for balanced flavor in every bite of the Chocolate Cherry Icebox Cake.
Chill Time: Be patient and allow the cake to chill for at least 6–8 hours, preferably overnight, to let the cookies soften and flavors meld beautifully.
Avoid Overmixing: When folding whipped cream into the cream cheese mixture, do so gently to maintain airiness; overmixing will lead to a denser texture.
Customize Toppings: Feel free to get creative with toppings! Experiment with different fruits or add nuts for a unique twist on this classic dessert.
How to Store and Freeze Chocolate Cherry Icebox Cake
Fridge: Store any leftover Chocolate Cherry Icebox Cake in an airtight container in the fridge for up to 3 days. This helps maintain its creamy texture and flavors.
Freezer: To freeze, wrap individual slices tightly in plastic wrap, then place them in a freezer-safe bag. They will stay fresh for up to 3 months—perfect for sweet cravings later!
Thawing: When ready to enjoy, simply transfer the frozen slices to the fridge to thaw overnight. This keeps them tasting fresh and delicious.
Reheating: There’s no need to reheat this cake! Serve it chilled straight from the fridge for the best enjoyment.
Make Ahead Options
These Chocolate Cherry Icebox Cake layers are perfect for meal prep, allowing you to enjoy a delicious dessert without the last-minute rush! You can prepare the entire cake up to 24 hours in advance. Simply assemble the layers as directed, cover tightly with plastic wrap, and refrigerate. This will not only deepen the flavor as the cookies soak, but it’ll also maintain that creamy consistency. For the freshest taste, wait to add your dark chocolate shavings and cherries until just before serving. This way, they’ll look vibrant and appealing, ensuring your dessert remains as charming as it is scrumptious!
Chocolate Cherry Icebox Cake Variations
Feel free to explore these delightful twists to personalize your chocolate cherry creation and surprise your taste buds!
-
Nutty Crunch: Add ½ cup of chopped nuts, like walnuts or pecans, between layers for a wonderful crunch that complements the creaminess perfectly. The added texture takes your dessert to the next level.
-
Fruit Swap: Replace cherry pie filling with your favorite fruit, such as raspberry or blueberry, to switch up the flavor profile without losing that delicious creaminess. Each bite will shine with a fresh burst of fruity goodness!
-
Vegan Friendly: Substitute heavy cream with coconut cream and use dairy-free cream cheese for a plant-based version that doesn’t skimp on taste or texture. Your friends won’t believe it’s vegan!
-
Spicy Kick: Add a pinch of cinnamon or cayenne pepper into the cocoa powder for a subtle, warming spice that awakens the flavors of chocolate and cherry beautifully. It’s an unexpected twist that adds a delightful surprise.
-
Coffee Infusion: Mix in 1-2 tablespoons of espresso powder into the cream mixture for a rich coffee flavor that perfectly enhances the chocolate. This will give your dessert a sophisticated kick!
-
Zesty Layer: Incorporate a splash of orange or almond extract into the cream mixture to brighten up the flavors, creating a multi-layered taste experience that dances on your palate. Citrus notes can truly elevate this dessert!
-
Marshmallow Fluff: Spread a layer of marshmallow fluff on top of the last layer of cream before chilling for added sweetness and a fluffy texture. Trust me, it’ll give the cake a nostalgic twist that family will adore.
-
Dip Delight: Serve with a side of warm chocolate sauce for drizzling as you indulge, adding another level of decadence to every forkful of this masterpiece. This extra touch will make it feel ultra-special!
What to Serve with Chocolate Cherry Icebox Cake?
Indulging in a creamy dessert like this can inspire an entire meal filled with delightful flavors and textures.
-
Fresh Fruit Salad: A medley of seasonal fruits adds a refreshing and light contrast to the rich chocolate and cherries.
-
Vanilla Ice Cream: A scoop of vanilla ice cream brings an extra layer of creaminess, enhancing the dessert experience with a luscious contrast.
-
Chocolate Mousse: Add another layer of chocolatey goodness that pairs beautifully, making each bite feel like a luxurious treat.
-
Coffee or Espresso: The bold flavors of coffee cut through the sweetness, creating an impressive balance and elevating the whole indulgence.
-
Minty Green Salad: A salad with fresh greens and a light vinaigrette brings a crisp, refreshing note, perfect for cleansing the palate.
-
Chocolate-Covered Strawberries: They add a fun pop of color and flavor, making for a delightful nibble alongside your gourmet dessert.
-
Sparkling Water: A lightly flavored sparkling water with lemon or raspberry offers a bubbly, refreshing sip that cleanses the palate without overshadowing the cake.
-
Chocolate-Cinnamon Coffee: Infusing your coffee with cocoa and a hint of cinnamon provides a cozy drink that pairs wonderfully with the luscious layers of your cake.
Chocolate Cherry Icebox Cake Recipe FAQs
What type of chocolate cookies should I use?
Absolutely! You can use either chocolate wafer cookies or chocolate graham crackers for this recipe. The chocolate wafer cookies create a rich foundation, but if you can’t find them, graham crackers are a delicious alternative!
How long can I store the Chocolate Cherry Icebox Cake in the fridge?
You can store leftover Chocolate Cherry Icebox Cake in an airtight container in the fridge for up to 3 days. This helps maintain its delightful creamy texture and ensures the flavors remain fresh.
Can I freeze the Chocolate Cherry Icebox Cake? How?
Very! To freeze, wrap individual slices tightly in plastic wrap and place them in a freezer-safe bag. The slices will stay fresh for up to 3 months! When you’re ready to enjoy, simply transfer them to the fridge to thaw overnight for the best texture and taste.
What do I do if my cream isn’t whipping properly?
If your heavy cream isn’t whipping to stiff peaks, ensure it’s cold, as colder cream whips better. Also, check the cream’s freshness—using older cream can hinder the whipping process. Try beating slowly at first, then gradually increase the speed to add air without over-whipping.
Are there any allergy considerations for this dessert?
Yes! This recipe contains dairy and gluten. If you or guests have allergies, you can opt for lactose-free cream cheese and whipped cream, as well as gluten-free chocolate cookies. Always double-check the ingredient labels for potential allergen cross-contamination.
Can I use fresh cherries instead of pie filling?
Absolutely! To use fresh cherries, pit and slice them, then toss them with a tablespoon of sugar and a bit of lemon juice to enhance their sweetness and prevent browning. This will create a fresh and vibrant cherry layer that pairs wonderfully with the chocolate.
Chocolate Cherry Icebox Cake: A No-Bake Dream Dessert
Ingredients
Equipment
Method
- Beat softened cream cheese and powdered sugar until smooth, then mix in vanilla extract and unsweetened cocoa powder.
- Whip cold heavy whipping cream until stiff peaks form.
- Fold the whipped cream into the cream cheese mixture gently.
- Prepare a 9 × 13-inch glass baking dish.
- Layer chocolate wafer cookies at the bottom of the dish, breaking as needed to fill gaps.
- Spread half of the chocolate cream mixture over the cookie layer.
- Add one can of cherry pie filling over the cream mixture.
- Add another layer of chocolate cookies followed by the remaining cream mixture and another cherry filling.
- Top with a final layer of cream, then add chocolate shavings and cherries for decoration.
- Cover and refrigerate for at least 6–8 hours, preferably overnight.
- Slice into squares and serve chilled.