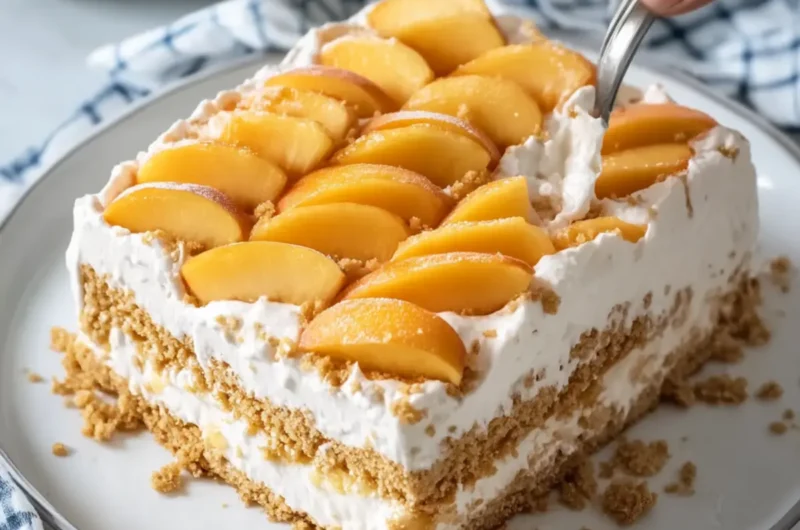
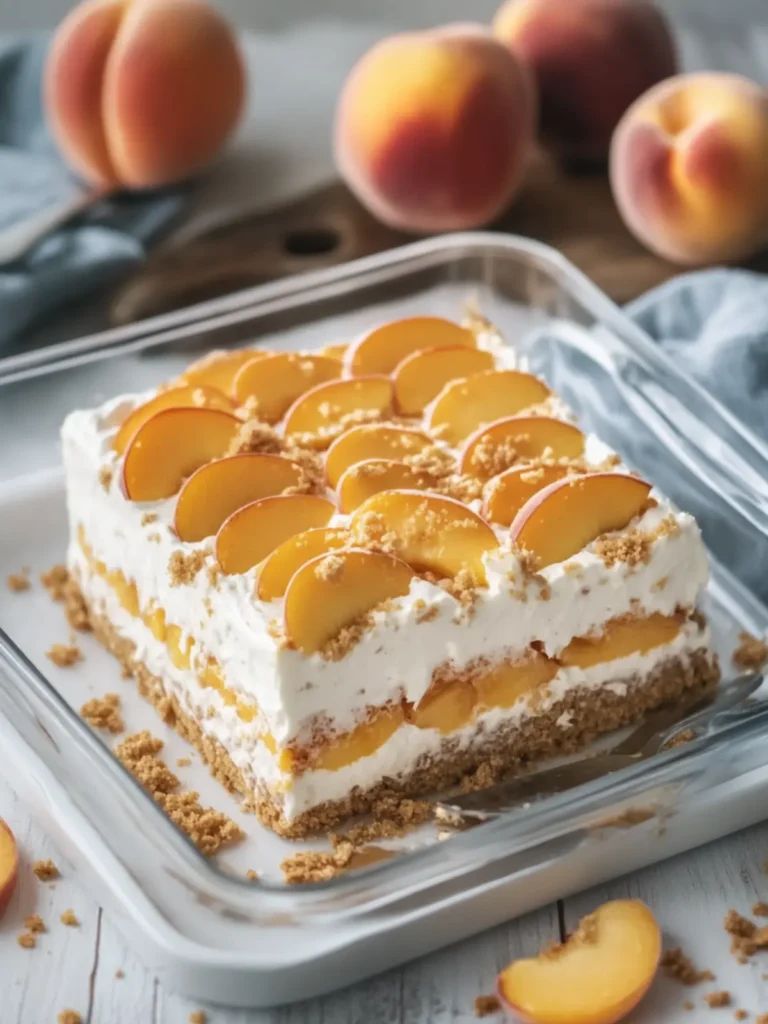
As the sun shines brighter and the days grow warmer, I find myself in a constant quest for refreshing desserts that bring a slice of summer into my home. This No-Bake Peach Icebox Cake with Creamy Whipped Filling, Graham Cracker Layers, and Peach Slices made its grand entrance during one such quest, turning a simple afternoon into a delightful celebration of flavors.
Imagine the perfect balance of luscious peaches nestled between creamy, dreamy layers of whipped goodness, all topped with a sprinkle of crunchy graham cracker crumbs. With no oven required, this dessert is not just a time-saver; it’s a sensational treat that will impress your family and friends while keeping your kitchen cool.
Whether you’re looking to elevate a casual family dinner or planning a summer picnic, this peach icebox cake is a versatile show-stopper, bursting with flavor and nostalgia. Let me guide you through the steps to create a dish that captures the essence of summer in every bite. Grab your ingredients, and let’s indulge in a sweet adventure that will surely brighten your day!
Why is No-Bake Peach Icebox Cake a Must-Try?
Simplicity at its finest: You won’t need any baking skills, making it perfect for any home chef.
No Heat required: Keep your kitchen cool while creating a stunning dessert.
Flavor Explosion: The combination of sweet peaches, creamy filling, and crunchy graham cracker layers is a delightful treat.
Quick Assembly: Layering your ingredients takes minimal time, allowing you to enjoy more time with your guests.
Crowd-Pleaser: This dessert will impress both family and friends, making it an instant favorite.
Dive into this sweet creation and enjoy a taste of summer with every slice!
No-Bake Peach Icebox Cake Ingredients
Here are the simple ingredients you’ll need to whip up this enchanting dessert:
For the Crust
• Graham cracker crumbs – 2 cups (200 g) will create the perfect crunchy base.
• Unsalted butter – ½ cup (115 g), melted, helps bind the crust together.
• Granulated sugar – 2 tablespoons adds a touch of sweetness to the crust.
For the Creamy Filling
• Cream cheese – 2 packages (8 oz each), softened, for a rich and creamy layer.
• Powdered sugar – 1 cup sweetens the filling to perfection.
• Vanilla extract – 1 teaspoon enhances the flavors beautifully.
• Cold heavy whipping cream – 2 cups creates a light and airy texture.
• Powdered sugar (for whipping) – ¼ cup ensures your whipped cream stands tall.
For the Fruit Layer
• Sliced peaches – 2 cans (15 oz each), drained and patted dry, or fresh for an extra touch of flavor.
• Graham cracker crumbs (for layering) – ½ cup adds additional texture to each bite.
Toppings
• Whipped cream – 1 cup for a fluffy finish on top.
• Additional sliced peaches – 1 can (15 oz), drained, to enhance the presentation.
• Graham cracker crumbs – ¼ cup for that delightful crunch on top.
With these delightful ingredients in hand, you’re all set to create the delicious No-Bake Peach Icebox Cake with Creamy Whipped Filling, Graham Cracker Layers, and Peach Slices! Happy baking!
How to Make No-Bake Peach Icebox Cake
-
Preheat the oven – Set your oven to prepare for the crust; although this dessert doesn’t require extensive baking, this will allow everything to set perfectly. Preheat it at 350°F for about 10 minutes.
-
Combine ingredients – In a mixing bowl, gently blend 2 cups of graham cracker crumbs, ½ cup of melted unsalted butter, and 2 tablespoons of granulated sugar until evenly mixed and crumbly.
-
Press into the dish – Firmly press the mixture into the bottom of your pie dish, creating an even and compact crust. This will ensure it holds its shape when served.
-
Beat cream cheese – In a separate mixing bowl, beat together 2 packages of softened cream cheese, 1 cup of powdered sugar, and 1 teaspoon of vanilla extract until luscious and smooth. The texture should be velvety with no lumps.
-
Whip the cream – Take another bowl and whip 2 cups of cold heavy whipping cream with ¼ cup of powdered sugar until stiff peaks form. This should take about 3-5 minutes with an electric mixer—watch closely!
-
Fold the mixtures – Gently fold the whipped cream into the cream cheese mixture until just combined, ensuring to keep the airy texture. This rich filling is what makes the cake so delightful!
-
Layer the peaches – Place the drained peaches (2 cans) over the crust, creating a generous layer. Then, sprinkle ½ cup of graham cracker crumbs for added texture.
-
Spread the filling – Pour the creamy filling over the peach layer, smoothing it out to completely cover the fruit and graham cracker mix.
-
Top with whipped cream – Using a spatula, spread 1 cup of whipped cream over the filling, and arrange additional sliced peaches from 1 can on top for a beautiful presentation.
-
Sprinkle crumbs – Finish off your dessert by lightly sprinkling ¼ cup of graham cracker crumbs over the whipped cream, adding a delightful crunch to every bite.
Optional: Garnish with mint leaves for a fresh touch.
Exact quantities are listed in the recipe card below.
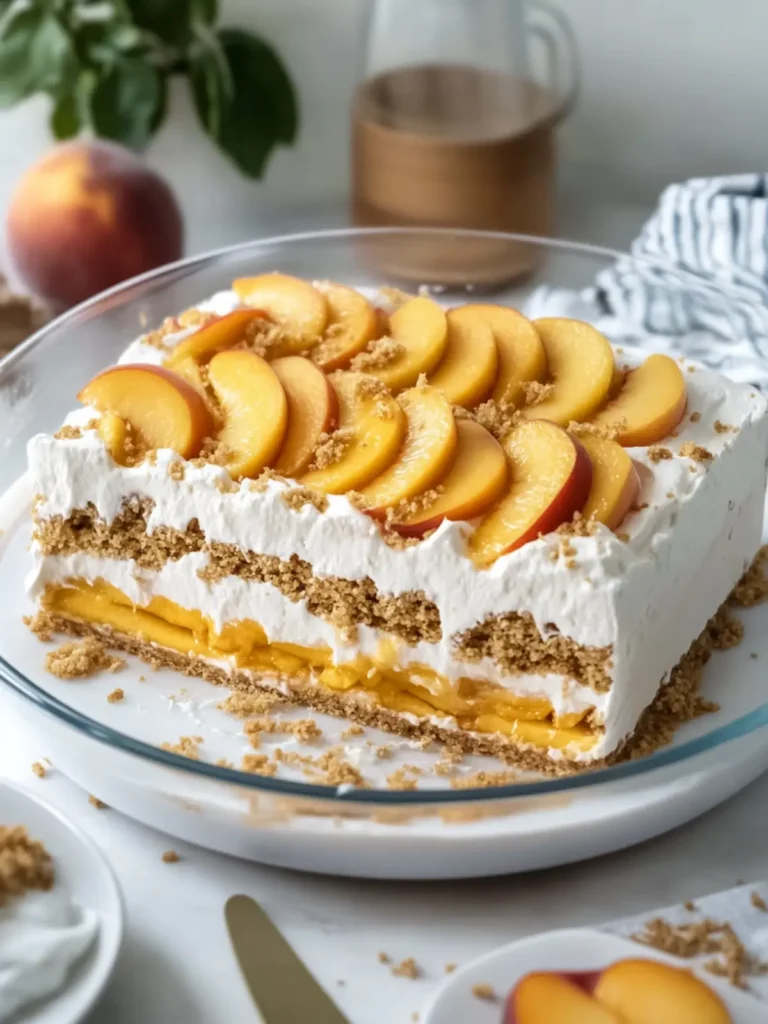
No-Bake Peach Icebox Cake Variations
Feel free to put your own twist on this refreshing dessert and make it uniquely yours!
-
Fresh Peaches: Substitute canned peaches with fresh, ripe peaches for a vibrant and juicy flavor. Thinly slice them for an elegant presentation.
-
Nutty Crunch: Add a ½ cup of finely chopped nuts, like pecans or almonds, to the crust for an extra layer of crunch and flavor. This adds a delightful contrast to the creaminess.
-
Flavor Fusion: Mix in 1 teaspoon of almond extract with the cream cheese filling for a rich and dreamy flavor that complements the peaches beautifully. Almond and peach are a match made in heaven!
-
Berry Bliss: Layer mixed berries such as strawberries or blueberries along with the peaches for a colorful and tangy twist. They add a pop of color and a burst of freshness in every bite.
-
Coconut Cream: Replace half the heavy cream with coconut cream for a tropical taste that pairs wonderfully with peaches. It also adds an exotic richness to the filling.
-
Sugar Alternatives: Use honey or maple syrup in place of granulated and powdered sugar for a natural sweetening option. This gives the dessert a lovely depth of flavor.
-
Chocolate Drizzle: Drizzle melted chocolate on top of the whipped cream to introduce a touch of indulgence. This unexpected flavor contrast will elevate your dessert game!
-
Spicy Kick: Add a sprinkle of cinnamon or nutmeg to the cream cheese mixture for a warm, inviting flavor that adds depth and comfort on cool evenings. It’s like a comforting hug in dessert form!
With these scrumptious variations, your No-Bake Peach Icebox Cake will be sure to delight everyone who tries it!
What to Serve with No-Bake Peach Icebox Cake?
Add a refreshing touch to your dessert table with these delicious pairings.
-
Fresh Mint: The bright, aromatic flavor complements the sweet peaches beautifully, offering a refreshing contrast that excites the palate.
-
Vanilla Ice Cream: Creamy vanilla ice cream melts into the cake, enhancing the sweet layers while adding a decadent touch to every bite.
-
Lemonade: The zesty brightness of lemonade offsets the rich and creamy factors of the dessert, making it a delightful pairing for warm days.
-
Grilled Fruit: Caramelized peaches and pineapples bring an added layer of depth and smokiness, perfectly complementing the coolness of the cake.
-
Berry Medley: Fresh blueberries, strawberries, and raspberries introduce vibrant flavors and textures that contrast with the smooth, creamy filling.
-
Almond Toppers: Sliced almonds sprinkled on top add a nutty crunch, enhancing the graham cracker base while providing a wonderful mouthfeel.
-
Coconut Whipped Cream: For a tropical twist, consider coconut whipped cream, which brings a unique flavor profile that pairs wonderfully with peaches.
-
Sparkling Water: Refreshing and light, sparkling water with a splash of lime or lemon brightens the whole meal, cleansing the palate between bites.
Make Ahead Options
These No-Bake Peach Icebox Cake with Creamy Whipped Filling, Graham Cracker Layers, and Peach Slices are perfect for busy home cooks! You can prepare the crust and the creamy filling up to 24 hours in advance. First, make the graham cracker crust and layer it in your pie dish. Then, whip the cream cheese mixture and fold the whipped cream, keeping it in an airtight container in the refrigerator. Just before serving, layer the peach slices and finish off with whipped cream and the final crumble of graham crackers. This ensures the cake remains fresh and just as delicious while you enjoy more time with your guests!
Expert Tips for No-Bake Peach Icebox Cake
-
Chill Properly: Ensure your heavy whipping cream and cream cheese are very cold for the best texture. This helps create a thick, stable filling that won’t wilt.
-
Avoid Soggy Crust: Press the graham cracker crust firmly to prevent it from becoming mushy when adding the creamy filling and peaches on top.
-
Whipping Technique: When whipping cream, start at a low speed to avoid splatter. Gradually increase speed to achieve the perfect stiff peaks for a luscious texture in your cake.
-
Stack Wisely: Layer fresh or canned peach slices evenly to prevent them from sinking. This keeps your cake visually stunning and easy to slice.
-
Store Correctly: Keep the icebox cake refrigerated, covered loosely with foil, for up to 3 days. This prevents the graham cracker layers from turning stale while maintaining the cake’s deliciousness.
With these tips in hand, you’ll master the art of making the No-Bake Peach Icebox Cake with Creamy Whipped Filling, Graham Cracker Layers, and Peach Slices!
Storage Tips for No-Bake Peach Icebox Cake
Fridge: Keep your No-Bake Peach Icebox Cake stored in the refrigerator, covered loosely with foil or plastic wrap, for up to 3 days to prevent the graham cracker layers from becoming stale.
Freezer: If you want to enjoy this delightful dessert later, you can freeze individual slices for up to 2 months. Wrap each slice tightly in plastic wrap and then in foil for the best results.
Thawing: To enjoy frozen slices, simply transfer them to the refrigerator for several hours or overnight until thawed completely before serving.
Reheating: This dessert is best served chilled; no reheating is necessary. Just pull it out of the fridge and enjoy the creamy, refreshing layers!
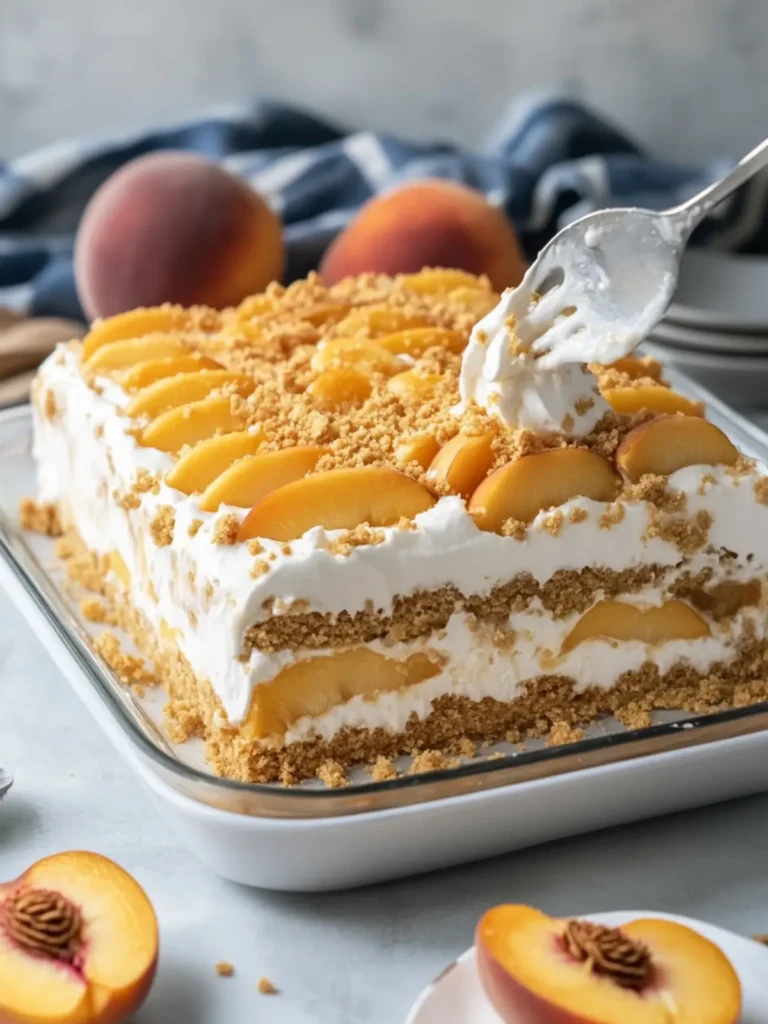
No-Bake Peach Icebox Cake with Creamy Whipped Filling Recipe FAQs
What should I look for when choosing peaches?
When selecting peaches, opt for those that feel slightly soft and have a fragrant aroma. Avoid peaches with dark spots or wrinkled skin as these may indicate overripeness. For this recipe, you can use canned peaches but fresh peaches can add a brighter flavor.
How should I store leftovers of the No-Bake Peach Icebox Cake?
Absolutely! Store your cake in the refrigerator, loosely covered with foil or plastic wrap, for up to 3 days. I recommend eating it within this timeframe for the best taste and texture—this helps keep those lovely graham cracker layers from turning stale.
Can I freeze the No-Bake Peach Icebox Cake?
Yes! To freeze, slice and wrap individual pieces tightly in plastic wrap, then wrap in foil. You can freeze them for up to 2 months. This method makes it easy to enjoy a slice whenever you crave something sweet!
What should I do if my cream cheese filling is lumpy?
If your filling turns out lumpy, don’t worry! Simply beat the cream cheese a bit longer before adding the sugar and vanilla—this should break up any lumps. Additionally, make sure your cream cheese is at room temperature for easier mixing, which ensures a smoother texture.
Can I make this dessert dairy-free?
Certainly! For a dairy-free version, you can use dairy-free cream cheese alternatives and coconut or almond whipped cream. Ensure that the graham crackers you choose are also dairy-free, and you’ll have a delightful treat everyone can enjoy!
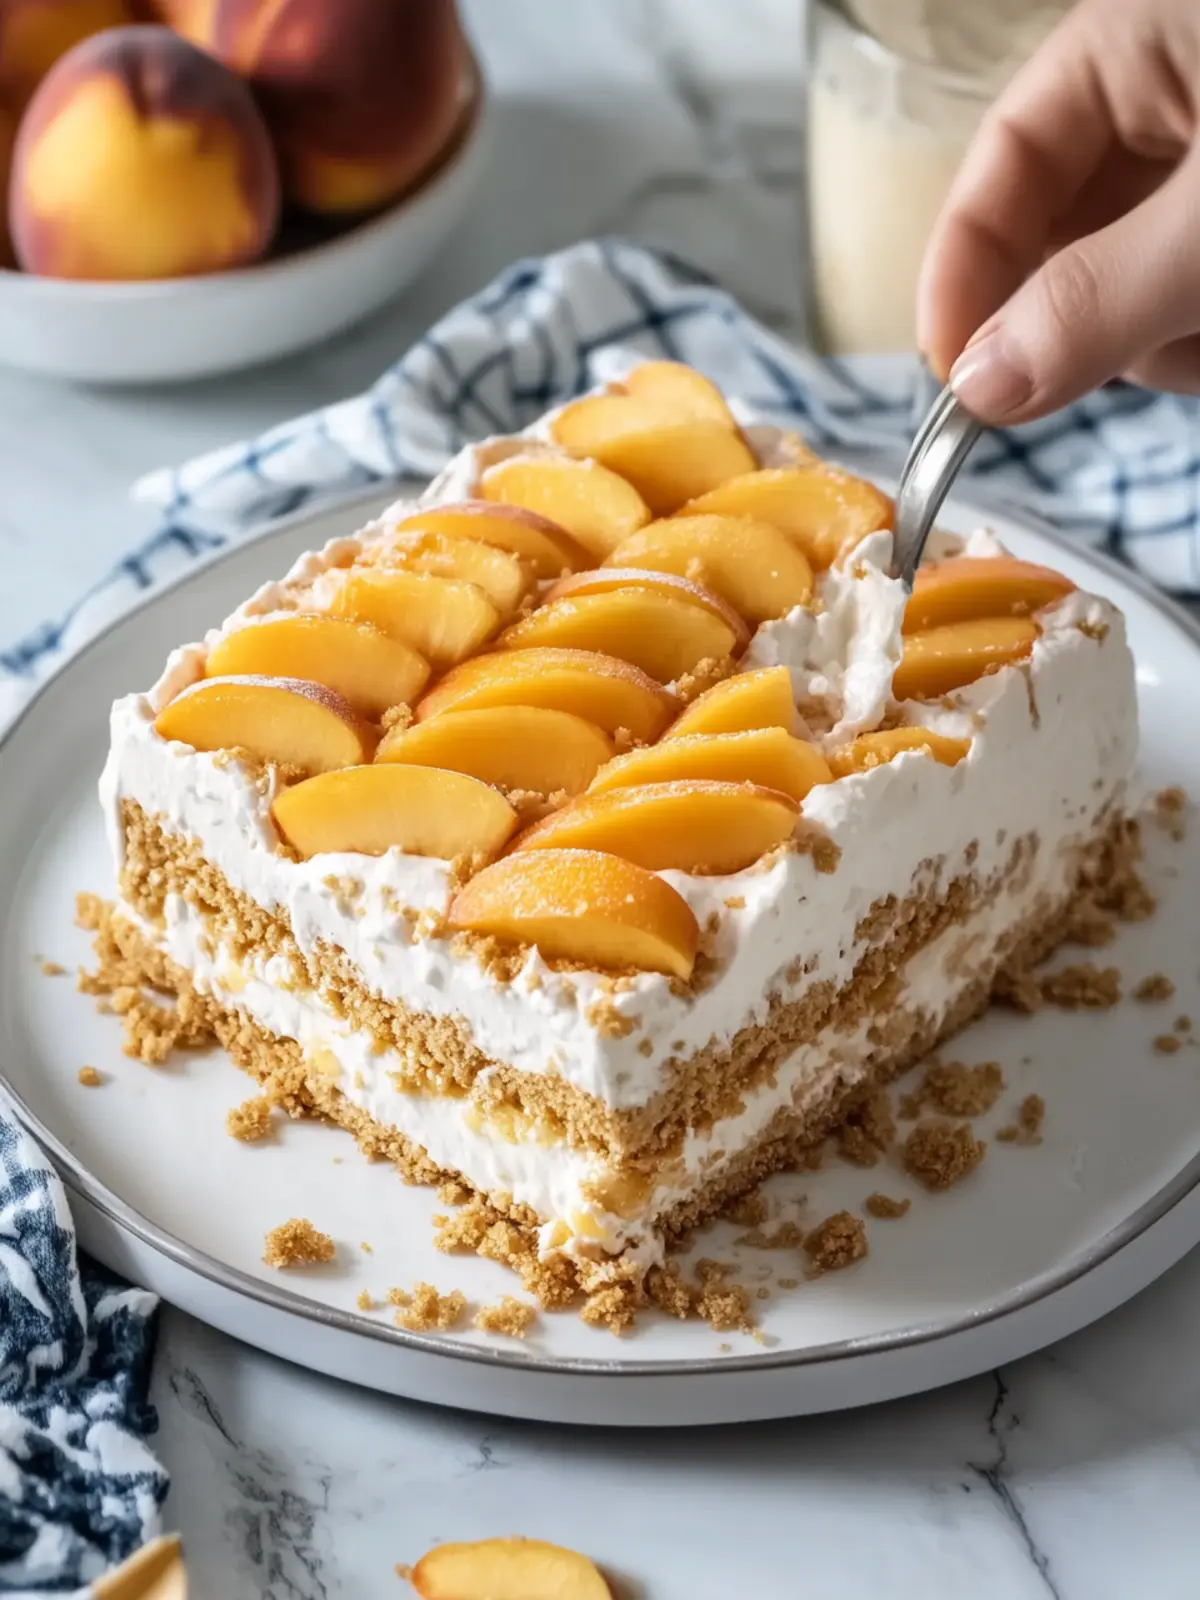
No-Bake Peach Icebox Cake with Creamy Whipped Layers
Ingredients
Equipment
Method
- Preheat the oven to 350°F for about 10 minutes.
- In a mixing bowl, combine graham cracker crumbs, melted unsalted butter, and granulated sugar until crumbly.
- Press the mixture into the bottom of a pie dish to form an even and compact crust.
- In a separate bowl, beat together cream cheese, powdered sugar, and vanilla extract until smooth.
- Whip heavy whipping cream with powdered sugar until stiff peaks form (3-5 minutes).
- Gently fold the whipped cream into the cream cheese mixture until just combined.
- Layer the drained peaches over the crust and sprinkle with graham cracker crumbs.
- Spread the creamy filling over the peach layer evenly.
- Top with whipped cream and arrange additional sliced peaches on top.
- Sprinkle graham cracker crumbs over the whipped cream for a crunchy finish.