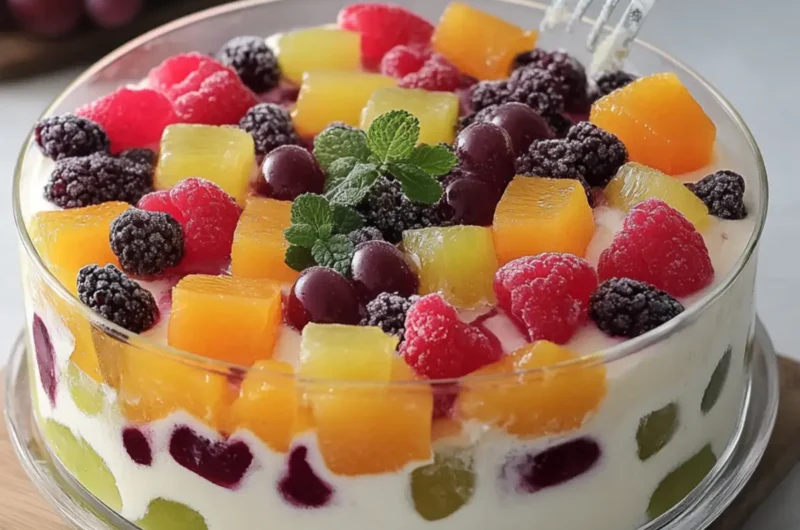
When the summer heat hits, I crave something refreshing and light that still feels indulgent. That’s how I discovered this delightful No-Bake Jelly Fruit Cake, a dessert that dances between elegance and simplicity. Each bite bursts with juicy fruit flavors, while the creamy base brings a luscious texture that feels like a hug on a warm day.
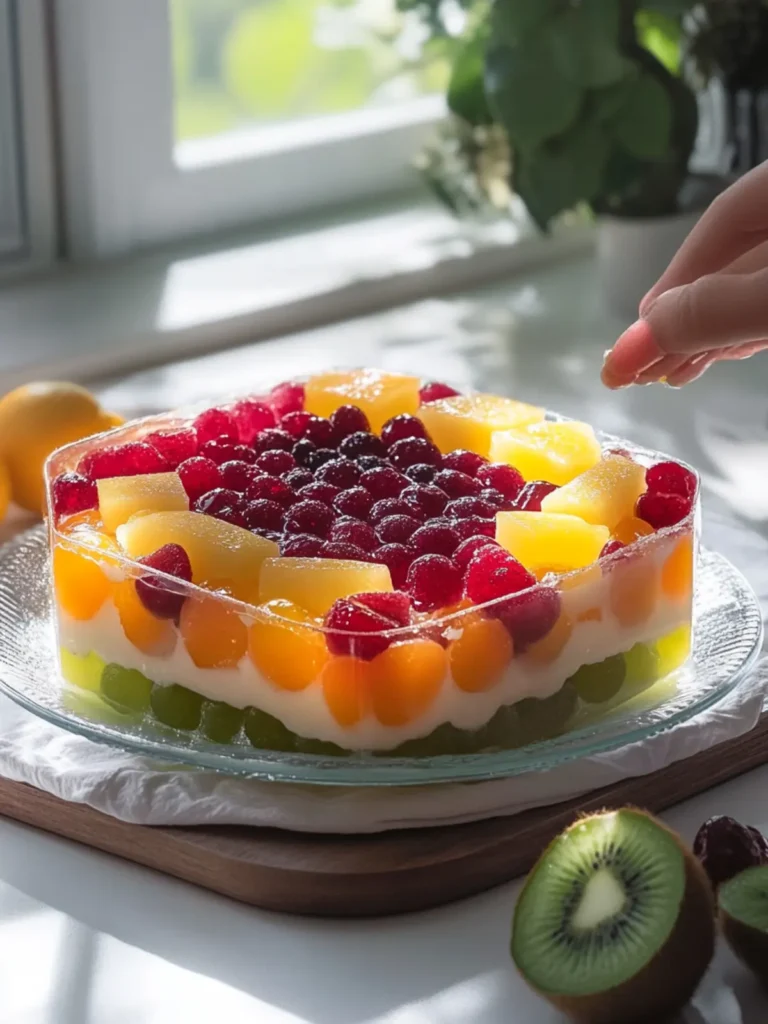
I first made this dish during a barbecue with friends, looking for a sweet finale that would amaze without the need for an oven or long hours in the kitchen. The beautiful layers of colorful fruit, creamy filling, and glossy gelatin create a showstopper that brightens any gathering. Plus, it’s incredibly easy to customize depending on your favorite fruits or whatever’s ripe at your local market!
Whether you’re a busy parent seeking a quick yet impressive dessert or someone who simply wants to elevate their dinner party offerings, this No-Bake Jelly Fruit Cake couldn’t be easier to whip up. So, let’s dive into this delightful treat that promises to impress and satisfy!
Why is No-Bake Jelly Fruit Cake So Special?
Refreshing Flavors: The combination of ripe fruit and creamy layers creates a vibrant taste experience that’s perfect for summer.
No-Bake Ease: Ditch the oven! This dessert requires minimal effort, making it an excellent choice for those busy days or last-minute gatherings.
Customizable Delight: Use any seasonal fruit you love—kiwi, berries, or mango are all fantastic options.
Crowd-Pleaser: Everyone loves this dessert! Its colorful presentation and delicious flavor make it a guaranteed hit at parties.
Quick Prep Time: With only 30 minutes of active work, you can spend more time with family and friends.
Instead of fast food, why not make something special and share a slice of this cheerful cake at your next gathering?
No-Bake Jelly Fruit Cake Ingredients
Prepare for a refreshing treat that will brighten up any occasion with this delectable dessert!
For the Crust
• Crushed graham crackers – these provide a buttery, crunchy base that perfectly complements the creamy filling.
• Melted butter – adds richness and helps bind the crust together.
For the Creamy Layer
• Chilled all-purpose cream – whip this for a light and airy texture that balances the dense filling.
• Sweetened condensed milk – brings sweetness and a smooth consistency to the mixture.
• Cream cheese – softens to give a thick and luscious appeal; it’s the star of the creamy layer!
• Vanilla extract – a splash enhances the overall flavor, making each bite delightful.
For the Jelly Topping
• Strawberry or grape-flavored gelatin – this adds a vibrant color and a fruity essence that ties in beautifully with the fresh fruits.
• Boiling water – dissolves the gelatin effectively, ensuring a perfect set.
• Cold water – brings the gelatin mixture to the right temperature before adding to the fruit.
For the Fruit Layer
• Diced ripe mango – adds a tropical sweetness that brightens up the dessert.
• Diced dragon fruit – brings a striking appearance and subtle flavor that elevates the presentation.
• Diced kiwi – contributes a zesty tang that contrasts delightfully with the creaminess.
• Seedless grapes – halved for a juicy burst, providing extra sweetness and crunch.
This No-Bake Jelly Fruit Cake is not just a dessert; it’s a canvas for your creativity and a centerpiece for any gathering!
How to Make No-Bake Jelly Fruit Cake
-
Prepare the Crust: In a mixing bowl, combine the crushed graham crackers and melted butter, stirring until evenly mixed. Press this mixture firmly into the bottom of a clear rectangular casserole dish. Refrigerate for 20–30 minutes until set.
-
Make the Creamy Layer: Beat the softened cream cheese in a bowl until smooth. Add in the sweetened condensed milk and vanilla extract, mixing until well blended and creamy.
-
Whip the Cream: In another bowl, whip the chilled all-purpose cream until it’s thick and fluffy. Gently fold this whipped cream into the cream cheese mixture, being careful to maintain the airy texture.
-
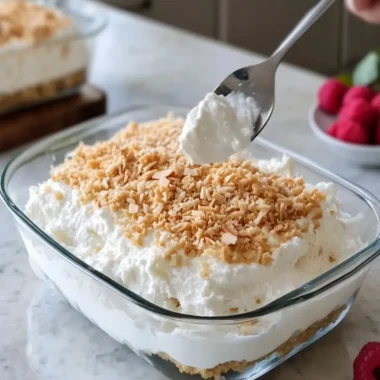
Spread the Cream Mixture: Evenly spread the creamy filling over the chilled biscuit crust. Return the dish to the refrigerator while you prepare the fruit topping.
-
Prepare the Gelatin: In a bowl, dissolve the gelatin powder in boiling water, stirring until it’s completely dissolved. Next, mix in cold water and allow this mixture to cool to room temperature.
-
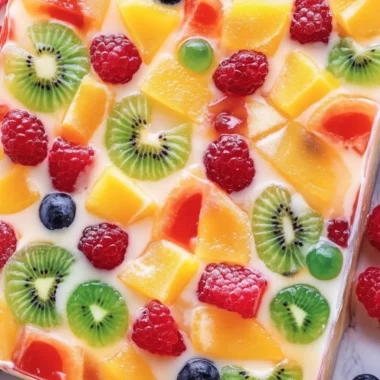
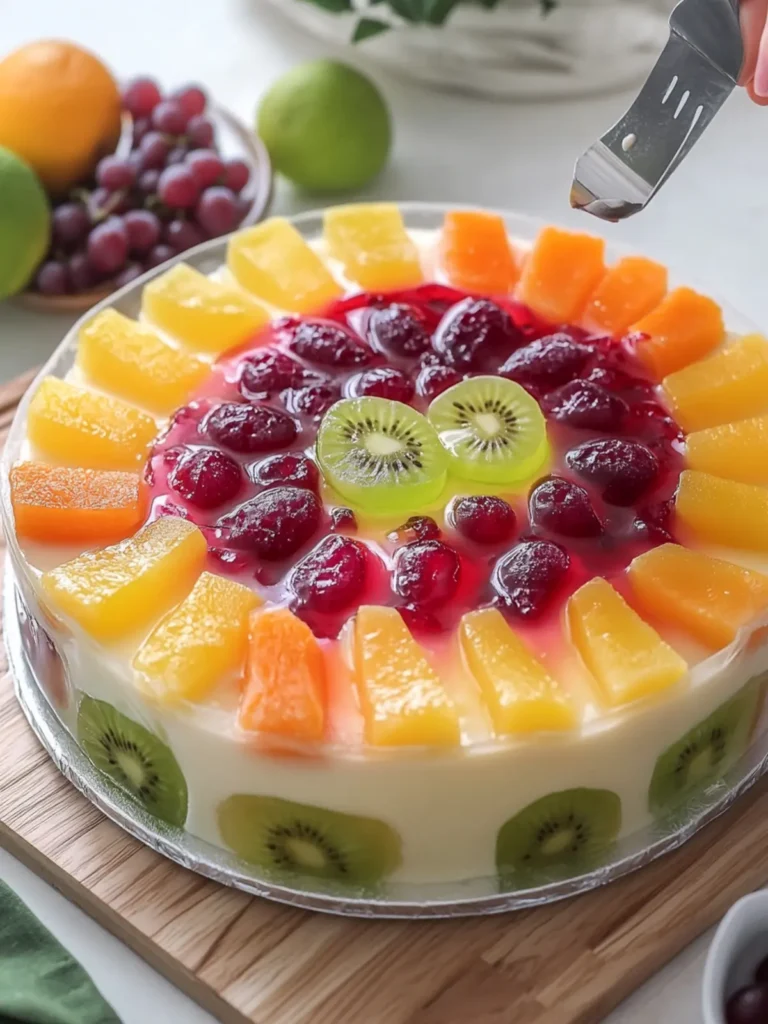
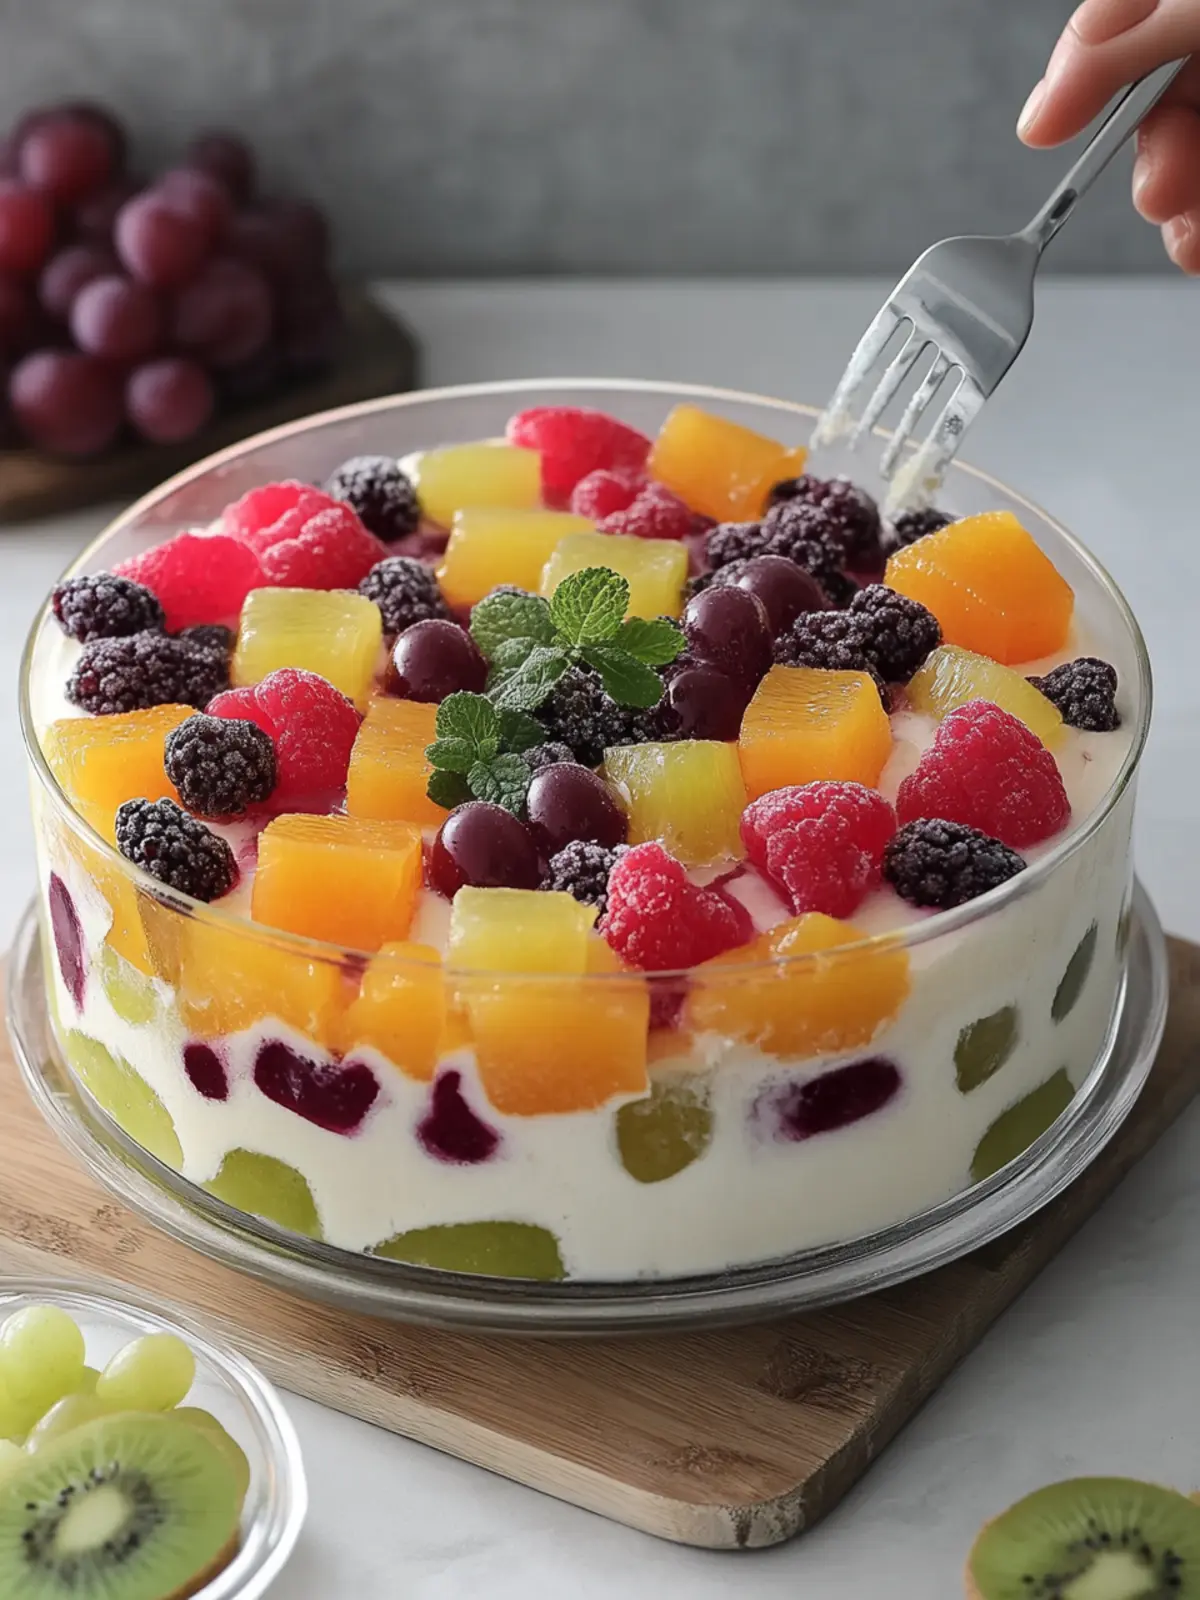
Add the Fruit: Arrange the diced mango, dragon fruit, kiwi, and halved grapes on top of the creamy layer in an even pattern. Make it colorful and inviting!
-
Pour the Gelatin: Slowly pour the cooled gelatin mixture over the arranged fruits, ensuring they are fully covered. Pour gently to keep the fruits nicely distributed.
-
Chill Until Firm: Refrigerate the dessert for 4–6 hours, or if you can wait, overnight is even better for a perfectly firm jelly.
-
Serve and Enjoy: Cut the dessert into squares and serve it cold. Keep it refrigerated until it’s time to eat for the best flavor and texture.
Optional: Garnish with a few mint leaves for a touch of freshness.
Exact quantities are listed in the recipe card below.
Make Ahead Options
This No-Bake Jelly Fruit Cake is perfect for meal prep, allowing you to create a stunning dessert with minimal daily effort! You can prepare the crust and creamy filling up to 24 hours in advance. Simply store each component separately in the refrigerator, ensuring the crust stays firm by covering it with plastic wrap. Assemble the cake with the fruit and gelatin topping when you’re ready to serve. Just pour the cooled gelatin over the fruit exactly before chilling it for 4-6 hours, or preferably overnight, to achieve that perfect set. This way, you can enjoy a delightful, refreshing dessert with your loved ones while keeping stress levels low!
What to Serve with No-Bake Jelly Fruit Cake?
Looking for the perfect accompaniments to enhance your delightful dessert? Let’s create a vibrant meal experience that will leave your guests impressed!
-
Light Salad: A crisp cucumber and tomato salad drizzled with a tangy vinaigrette balances the sweetness of the jelly and cleanses the palate.
-
Grilled Chicken Skewers: The savory char from marinated chicken skewers provides a lovely contrast, giving a satisfying bite alongside the fruity layers.
-
Refreshing Lemonade: A cool glass of homemade lemonade adds a zesty sparkle that complements the fruitiness of the cake while quenching your thirst.
-
Mini Cheesecakes: Individual cheesecake bites mirror the creamy texture of the jelly cake, yet offer a distinct flavor. Perfect for any cheesecake lover!
-
Fresh Berries: A bowl of mixed berries emphasizes the fruit theme, giving contrast in texture and a vibrant pop of color on the table.
-
Herbal Iced Tea: Serve lightly sweetened iced tea infused with mint or lemon. Its refreshing notes are a delightful match for your colorful jelly treat.
Let these pairings bring a medley of flavors to your gathering, elevating the joyful delight of the No-Bake Jelly Fruit Cake!
How to Store and Freeze No-Bake Jelly Fruit Cake
Fridge: Keep your No-Bake Jelly Fruit Cake covered with plastic wrap or in an airtight container in the fridge for up to 3 days to maintain its freshness and creamy texture.
Freezer: If you want to extend its life, you can freeze the dessert for up to 2 months. Cut it into squares, wrap them individually in plastic wrap, and then place them in a freezer-safe container.
Reheating: While this dessert is best enjoyed cold, you can enjoy frozen squares straight from the freezer or let them thaw in the fridge overnight before serving.
Serving Tip: When ready to serve, simply slice and enjoy! For an added touch, consider garnishing with fresh mint or extra fruit on top.
No-Bake Jelly Fruit Cake Variations
Feel free to let your creativity shine by customizing this dessert with your favorite flavors and ingredients!
- Dairy-Free: Substitute cream cheese and all-purpose cream with coconut cream and dairy-free cream cheese for a plant-based twist.
- Flavor Burst: Add a splash of citrus juice, like lemon or lime, to the cream mixture for a zesty kick that enhances the fruity freshness.
- Berry Delight: Swap out the fruit layer for a mix of your favorite berries, such as strawberries, blueberries, and raspberries, for a colorful explosion of flavor.
- Chocolate Lovers: Drizzle some melted dark chocolate over the creamy layer before adding the fruit for a rich, indulgent contrast.
- Nutty Crunch: Sprinkle crushed nuts like almonds or hazelnuts over the creamy layer for an added crunch that contrasts beautifully with the softness.
- Honey Sweetened: Instead of sweetened condensed milk, use honey for a natural sweetness and unique flavor profile that works wonders with fresh fruits.
- Tropical Twist: Experiment with tropical fruits like pineapple or papaya for a summery vibe that transports you to the beach with every bite.
- Spicy Element: Add a pinch of cayenne or chili powder to the fruit layer for a surprising kick that complements the sweetness of the fruit beautifully.
Let these variations inspire you to craft the perfect No-Bake Jelly Fruit Cake that reflects your taste and creativity!
Expert Tips for No-Bake Jelly Fruit Cake
Chill the Cream: Always ensure your all-purpose cream is chilled before whipping. This helps achieve the best fluffy texture for your creamy layer.
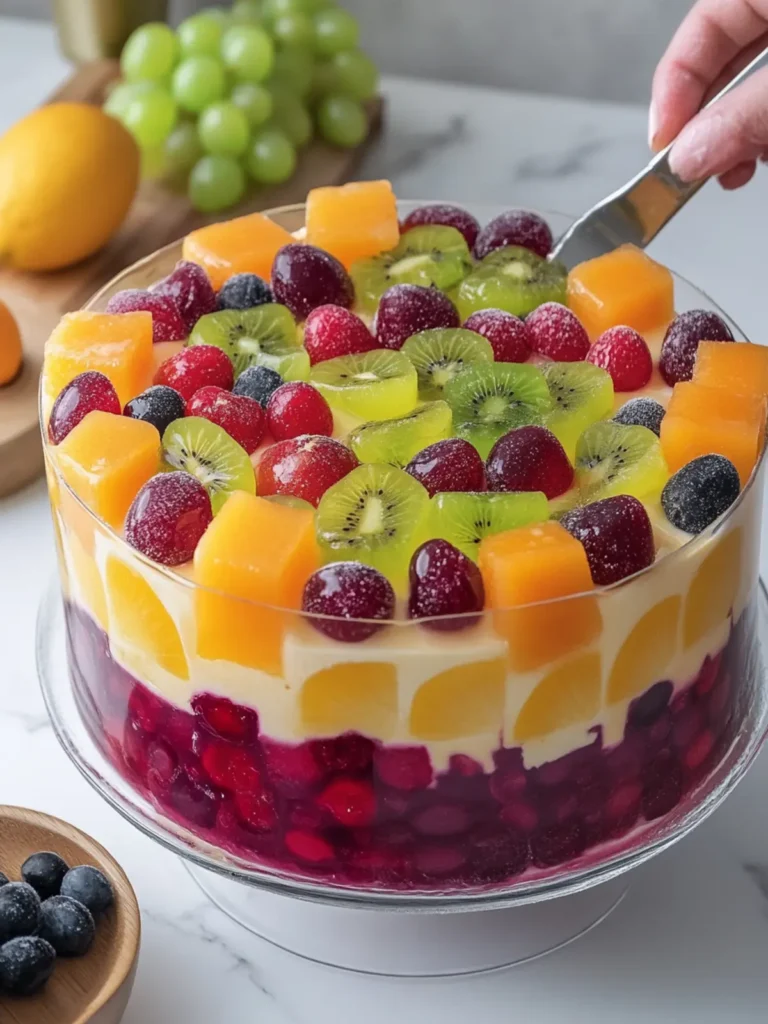
Layering Joy: For an aesthetically pleasing presentation, arrange your fruit in a gradient pattern, showcasing the vibrant colors of your chosen fruits.
Gentle Gelatin Pour: When adding the cooled gelatin, pour slowly and gently to prevent disturbing the fruit layer too much. This keeps your No-Bake Jelly Fruit Cake looking beautiful.
Taste as You Go: Don’t hesitate to taste your cream mixture! Adjust the sweetness according to your preference before spreading it on the crust.
Cool Time: Allow plenty of time for chilling—4–6 hours is the minimum! Overnight is ideal for ensuring the jelly sets perfectly for serving.
No-Bake Jelly Fruit Cake Recipe FAQs
How do I choose ripe fruit for the No-Bake Jelly Fruit Cake?
Absolutely! For the best flavor, look for fruits that are vibrant and firm. The mango should be slightly soft to the touch with a sweet fragrance. Kiwi should have a smooth skin and give a bit when pressed, while grapes should be plump and crisp. If you notice dark spots or wrinkles, it’s best to pass on those.
What’s the best way to store the No-Bake Jelly Fruit Cake?
Very! Keep your dessert covered with plastic wrap or in an airtight container in the refrigerator for up to 3 days. This helps maintain its creamy texture and prevents it from drying out. For longer storage, consider freezing it (details below).
Can I freeze the No-Bake Jelly Fruit Cake and how?
Absolutely! You can freeze your No-Bake Jelly Fruit Cake for up to 2 months. First, cut it into squares. Then, wrap each piece individually in plastic wrap to prevent freezer burn. After wrapping, store the pieces in a freezer-safe container. To enjoy, simply remove a piece and let it thaw in the refrigerator overnight or serve straight from the freezer for a cool treat!
What should I do if my gelatin doesn’t set properly?
If your gelatin mixture doesn’t set, it could be due to a couple of reasons: not enough gelatin was used or the mixture was too hot when poured over the fruit. To troubleshoot, next time, ensure you follow the gelatin package instructions precisely. If your dessert becomes too warm, pop it back into the refrigerator for a little longer, or if it’s still not firm enough, consider adding an extra pack of gelatin to the mixture to give it that perfect jiggle!
Are there any dietary considerations for this dessert?
Very! If you or your guests have allergies, be mindful of the ingredients. This recipe contains dairy (cream cheese, cream, condensed milk) and gluten (from the graham crackers). You can find dairy-free cream cheese and almond flour or gluten-free options for cookies as substitutes. For pet owners, avoid sharing this dessert with dogs, as chocolate items (not present in this recipe but common in desserts) can be harmful to them.
How long will the No-Bake Jelly Fruit Cake last in the fridge?
The No-Bake Jelly Fruit Cake can be stored properly for up to 3 days in the fridge. Make sure to keep it sealed well to maintain its luscious texture and flavors. Enjoy it while it’s fresh to fully appreciate the delightful combinations of fruit and cream!
No-Bake Jelly Fruit Cake That's a Colorful Showstopper
Ingredients
Equipment
Method
- In a mixing bowl, combine the crushed graham crackers and melted butter, stirring until evenly mixed. Press this mixture firmly into the bottom of a clear rectangular casserole dish. Refrigerate for 20–30 minutes until set.
- Beat the softened cream cheese in a bowl until smooth. Add in the sweetened condensed milk and vanilla extract, mixing until well blended and creamy.
- In another bowl, whip the chilled all-purpose cream until it's thick and fluffy. Gently fold this whipped cream into the cream cheese mixture, being careful to maintain the airy texture.
- Evenly spread the creamy filling over the chilled biscuit crust. Return the dish to the refrigerator while you prepare the fruit topping.
- In a bowl, dissolve the gelatin powder in boiling water, stirring until it's completely dissolved. Next, mix in cold water and allow this mixture to cool to room temperature.
- Arrange the diced mango, dragon fruit, kiwi, and halved grapes on top of the creamy layer in an even pattern.
- Slowly pour the cooled gelatin mixture over the arranged fruits, ensuring they are fully covered.
- Refrigerate the dessert for 4–6 hours, or overnight for the best results.
- Cut the dessert into squares and serve it cold. Keep it refrigerated until it's time to eat.