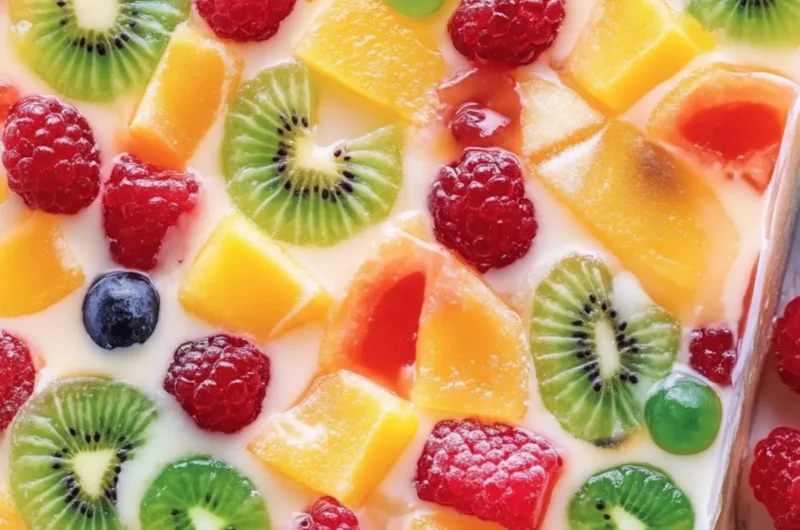
There’s something delightfully nostalgic about whipping up a dessert that requires minimal effort but delivers maximum wow-factor. Picture this: a stunning No-Bake Jelly Fruit Cake in a rectangular pan that not only tastes divine but also dazzles with vibrant colors and refreshing flavors. I stumbled upon this irresistible recipe during a sunny afternoon, as I rummaged through a treasure trove of fresh fruits – each one whispering sweet possibilities.
Perfect for gatherings or a simple family treat, this cake is your answer to the overwhelming fast-food cycle that leaves you yearning for something homemade and heartfelt. It boasts a creamy vanilla filling layered beneath a lush canopy of glistening fruits, all topped with a glossy jelly that dances on your tongue. Plus, there’s no baking required, making it an effortless addition to your culinary repertoire. Let’s dive into this enchanting dessert that promises to be both a feast for the eyes and a delight for the palate!
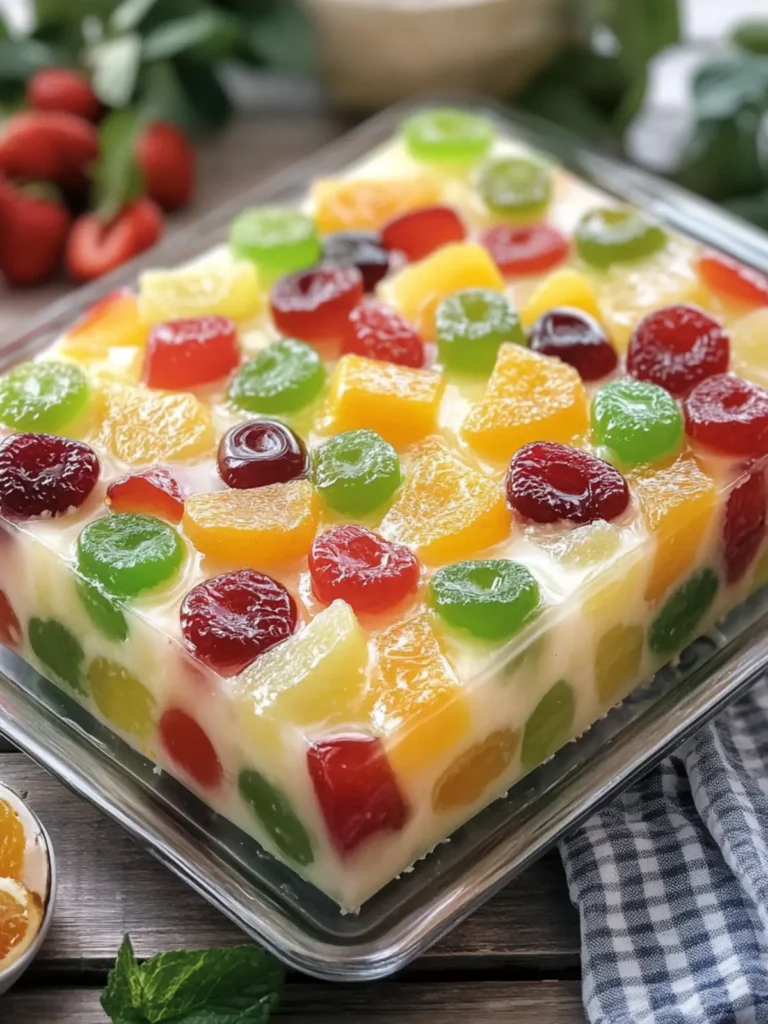
Why is No-Bake Jelly Fruit Cake a Must-Try?
Irresistible Appeal: This dessert is a showstopper with its gorgeous layers of fruit and creamy filling that will leave everyone asking for seconds.
Effortless Preparation: With no baking involved, it’s perfect for those hectic days when you crave homemade goodness without spending hours in the kitchen.
Fresh and Flavorful: The medley of vibrant fruits brings a burst of freshness that complements the rich vanilla filling beautifully.
Versatile for Any Occasion: Whether it’s a holiday gathering or a casual family dinner, this cake is guaranteed to impress your guests.
Make-Ahead Wonder: Prepare it a day ahead to save time and ensure it sets perfectly, allowing you to enjoy the moment with your loved ones.
With just a little love and creativity, you’ll have a delightful dessert that makes a statement and satisfies those homemade cravings!
No-Bake Jelly Fruit Cake Ingredients
For the Graham Cracker Crust
- Graham cracker crumbs – 2½ cups create a sweet base for this no-bake jelly fruit cake, adding a delightful crunch.
- Unsalted butter – ½ cup (115 g), melted binds the crumbs together and adds richness to the crust.
- Granulated sugar – 2 tablespoons enhance sweetness and flavor, making the crust irresistible.
For the Creamy Vanilla Filling
- Cream cheese – 16 oz (450 g), softened provides a rich, creamy texture that balances the fruity layers.
- Powdered sugar – ½ cup sweetens without grittiness, creating a smooth filling.
- Heavy whipping cream – 1 cup, cold adds lightness and volume to the filling for a fluffy texture.
- Sweetened condensed milk – ½ cup brings extra sweetness and a luscious creaminess to the mix.
- Sour cream – ½ cup adds a slight tang that enhances the overall flavor.
- Vanilla extract – 1 teaspoon infuses the filling with warm, comforting notes.
- Fresh lemon juice – 1 tablespoon brightens the flavors, keeping the filling fresh and zesty.
For the Colorful Fruit Layer
- Fresh strawberries – 1 cup, hulled and halved layer these juicy red gems for a burst of sweetness.
- Ripe mango – 1 cup, peeled and diced adds tropical flair and vibrant color to your cake.
- Pineapple chunks – 1 cup, thoroughly drained bring a juicy, tangy sweetness that complements the creaminess.
- Seedless green grapes – 1 cup, halved offer a crisp texture and freshness to the fruit layer.
- Fresh blueberries – ½ cup add delightful pops of flavor and color to your dessert.
- Mandarin orange segments – ½ cup, drained provide a sweet citrus touch for brightness.
- Kiwi fruits – 2, peeled and sliced inject a tangy sweetness and beautiful color contrast.
For the Clear Jelly Topping
- Unflavored gelatin powder – 2 tablespoons stabilizes the jelly, creating that signature glossy finish.
- Cold water – ½ cup, for blooming helps the gelatin dissolve and set evenly for a perfect layer.
- Water – 1½ cups (1 cup for warming) prepares the gelatin mixture that forms the topping.
- Granulated sugar – ⅓ cup sweetens the jelly layer, balancing the tartness of the fruit.
- Fresh lemon juice – 2 tablespoons infuse a citrusy brightness to the topping, enhancing overall flavor.
This No-Bake Jelly Fruit Cake in a rectangular pan is not just eye-catching but also a delight for your taste buds! Enjoy crafting this masterpiece that will surely be a hit at your next gathering.
How to Make No-Bake Jelly Fruit Cake
-
Prepare the dish: Start by choosing a 9 × 13-inch rectangular clear glass baking dish, ensuring it’s approximately 2½ inches deep for optimal layering.
-
Mix crust ingredients: Combine graham cracker crumbs, melted butter, and granulated sugar in a mixing bowl. Stir until the mixture is evenly moistened and crumbly.
-
Form the crust: Press the mixture firmly into the bottom of the glass dish with the bottom of a measuring cup, creating a uniform layer. Refrigerate for 20 minutes to set.
-
Beat cream cheese: In a large mixing bowl, beat softened cream cheese and powdered sugar for 2–3 minutes until the mixture is smooth and fluffy.
-
Add remaining filling ingredients: Beat in sweetened condensed milk, sour cream, vanilla extract, and lemon juice until everything is fully combined and creamy.
-
Whip cream: In a chilled bowl, beat heavy whipping cream for 3–5 minutes until stiff peaks form, ensuring it’s light and airy.
-
Fold whipped cream: Gently fold the whipped cream into the cream cheese mixture, being careful to keep the mixture thick, light, and fluffy.
-
Spread filling: Evenly spread the creamy vanilla filling over the chilled graham cracker crust, smoothing it out. Refrigerate for 45–60 minutes to firm it up enough for the fruit.
-
Prepare fruit: Wash and thoroughly dry strawberries, grapes, blueberries, and kiwi. Dice the mango, drain the pineapple, and prepare the mandarin segments, making sure everything is ready for decoration.
-
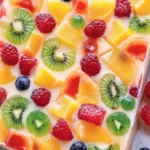
Decorate with fruit: Arrange the chilled cheesecake layer with strawberries, mango cubes, pineapple chunks, green grape halves, blueberries, mandarin orange segments, and kiwi slices in colorful rows or a joyful rainbow pattern.
-
Bloom the gelatin: Sprinkle gelatin powder evenly over ½ cup cold water and let it stand for 5–10 minutes to bloom.
-
Heat remaining water: In a saucepan over medium-low heat, combine the remaining 1½ cups water and sugar until the sugar dissolves. Remove from heat and whisk in the bloomed gelatin until fully dissolved.
-
Add lemon juice: Stir in fresh lemon juice and let the mixture cool to room temperature, ensuring it thickens perfectly to encase the fruit.
-
Layer gelatin over fruit: Carefully spoon a thin layer of the cooled gelatin mixture over the arranged fruit. Refrigerate for 10–15 minutes until it’s slightly set.
-
Pour remaining gelatin: Slowly pour the remaining gelatin mixture over the fruit using the back of a spoon to gently ensure the arrangement stays intact.
-
Chill to set: Cover and refrigerate for 4–6 hours, preferably overnight, until both the jelly and cheesecake layers are firm and inviting.
-
Serve elegantly: Serve the entire No-Bake Jelly Fruit Cake uncut in its rectangular glass baking dish, allowing everyone to enjoy this delightful treat.
Optional: Garnish with fresh mint leaves for an extra touch of color and flavor.
Exact quantities are listed in the recipe card below.
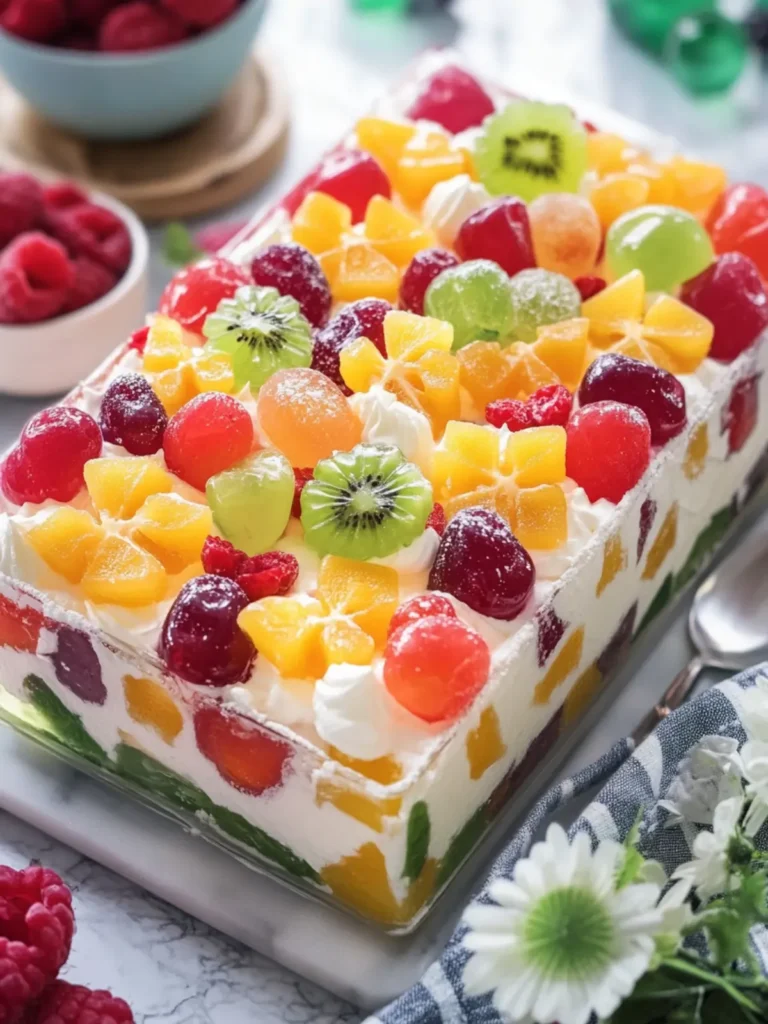
No-Bake Jelly Fruit Cake Variations
Get ready to enhance your No-Bake Jelly Fruit Cake with some delicious twists that will make it uniquely yours!
-
Dairy-Free: Substitute cream cheese with dairy-free cream cheese and use coconut cream in place of heavy whipping cream for an irresistible vegan version.
-
Nutty Crust: Replace graham cracker crumbs with finely ground almonds or oats for a gluten-free or nutty-inspired crust that adds a delightful crunch.
-
Chocolate Drizzle: Drizzle melted dark chocolate over the top before serving for a rich, decadent contrast to the fruity layers.
-
Citrus Burst: Add zest from one lemon or orange into the creamy filling for a refreshing citrus infusion that brightens every bite.
-
Berry Medley: Experiment by incorporating different types of berries like raspberries or blackberries for a mixed berry take on this delicious cake.
-
Herb Infusion: Infuse the jelly layer with a hint of fresh mint or basil for a unique flavor twist that adds a refreshing note to each slice!
-
Spiced Version: Mix in a pinch of cinnamon or nutmeg into the creamy filling for a warm, inviting flavor that adds depth to your cake.
-
Tropical Delight: Use fresh pineapple, banana slices, and passion fruit in the fruit layer for a dreamy tropical version that’s perfect for summer gatherings.
What to Serve with No-Bake Jelly Fruit Cake?
Treat your guests to a refreshing and delightful meal that perfectly complements the vibrant flavors of this dessert.
-
Light Salad: A crisp mixed green salad with a zesty lemon vinaigrette balances the sweetness of the cake, keeping your meal fresh.
-
Grilled Chicken Skewers: Juicy chicken skewers marinated in herbs and lemon enhance the summer essence, pairing beautifully with the fruity dessert.
-
Berry Smoothie: A cooling berry smoothie adds a creamy touch while echoing the cake’s fruity notes. It’s a refreshing way to start your meal!
-
Herbed Quinoa: A warm bowl of herbed quinoa provides a nutty, hearty foundation that complements the lightness of the No-Bake Jelly Fruit Cake.
-
Sparkling Lemonade: A bright, fizzy lemonade serves as a thirst-quenching drink, adding a citrusy zing that pairs wonderfully with the dessert.
-
Coconut Macaroons: These sweet, chewy cookies offer a lovely contrast to the light cake. Their tropical flavor feels right at home alongside the fruity layers.
-
Minty Pea Soup: A light, creamy pea soup garnished with fresh mint creates an elegant starter, enhancing the freshness of your meal before indulging in dessert.
-
Fruit Sorbet: For a lighter dessert experience, a refreshing fruit sorbet mirrors the cake’s flavors while providing a cool, slightly tangy end note to your meal.
How to Store and Freeze No-Bake Jelly Fruit Cake
-
Room Temperature: It is best to avoid keeping the No-Bake Jelly Fruit Cake at room temperature for more than 2 hours to maintain its texture and freshness.
-
Fridge: Store leftover slices in an airtight container in the refrigerator for up to 3 days. This will keep the flavors fresh and the layers intact.
-
Freezer: For longer storage, you can freeze the cake for up to 2 months. Wrap individual slices in plastic wrap and then place them in a freezer bag to preserve quality.
-
Reheating: Thaw the frozen portions in the fridge overnight rather than using heat. Enjoy the cake chilled for the best flavor and texture experience!
Expert Tips for No-Bake Jelly Fruit Cake
-
Chill Ingredients: Ensure your cream cheese and heavy whipping cream are at room temperature for easier mixing, creating a smoother filling for your No-Bake Jelly Fruit Cake.
-
Fruit Variety: Use ripe, seasonal fruits for the best flavor and texture. Avoid watery fruits like watermelon, as they can alter the consistency of the cake.
-
Gelatin Tips: Allow gelatin to fully bloom in cold water for at least 10 minutes; this avoids clumps and ensures a smooth jelly topping.
-
Layering Technique: When adding fruit, be gentle to maintain their arrangement. Use the back of a spoon to avoid disturbing the beautifully crafted patterns.
-
Prep Ahead: This delightful cake can be made a day in advance. Chilling overnight enhances the flavors while allowing the layers to set perfectly for serving.
-
Serving Style: Serve directly from the rectangular pan to keep the layers intact and prevent mess. Just cut square pieces for everyone to enjoy!
Make Ahead Options
These No-Bake Jelly Fruit Cakes are perfect for meal prep enthusiasts! You can prepare the graham cracker crust up to 24 hours in advance. Just follow the steps to mix and press it into your dish, then refrigerate. The creamy vanilla filling can be made the day before as well; keep it covered in the fridge to maintain its quality. Additionally, you can wash and chop the fruit up to 3 days ahead—store it in airtight containers to keep it fresh. When it’s time to serve, assemble the layers and pour the gelatin mixture over the fruit, allowing it to set for about 10–15 minutes. With these prep tips, you’ll have a delightful No-Bake Jelly Fruit Cake ready to impress with minimal last-minute effort!
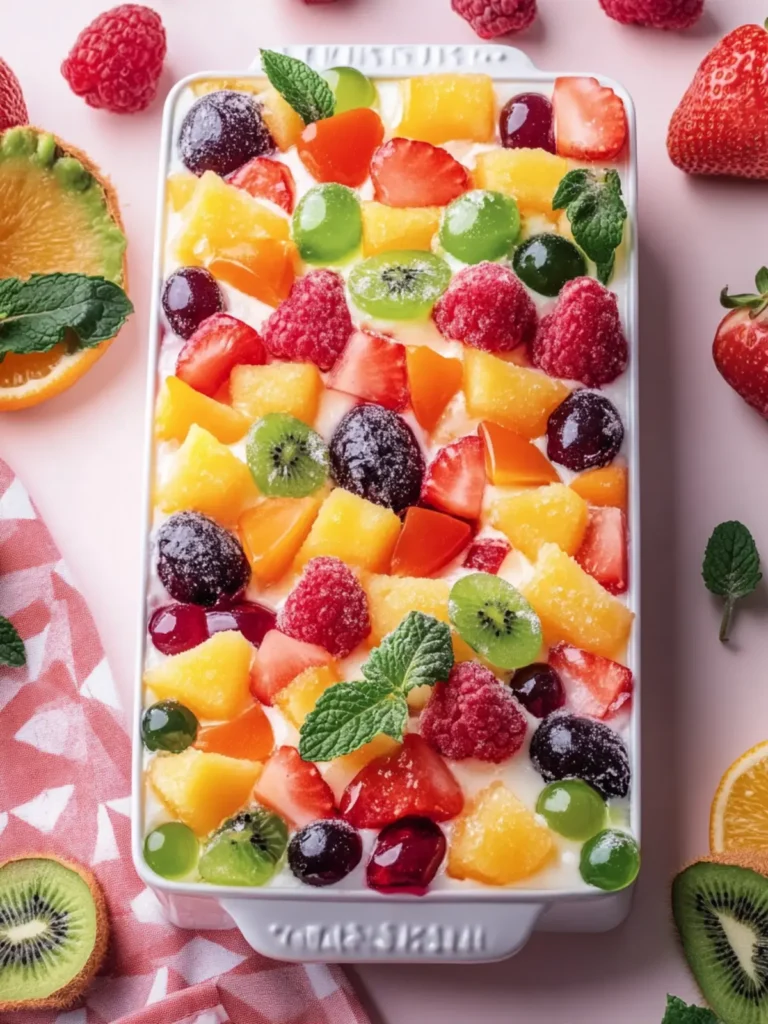
No-Bake Jelly Fruit Cake Recipe FAQs
How do I select ripe fruits for my No-Bake Jelly Fruit Cake?
Absolutely! When selecting fruits, look for bright colors and firmness without any dark spots or bruising. For strawberries, they should be vibrant red, while mangoes should yield slightly to pressure when ripe. Pineapple should smell sweet when ripe, and kiwi should be slightly soft to the touch.
How should I store leftover No-Bake Jelly Fruit Cake?
Very good question! Store leftover slices in an airtight container in the refrigerator for up to 3 days. To prevent the layers from getting soggy, it’s best to keep them covered until you’re ready to enjoy another slice!
Can I freeze the No-Bake Jelly Fruit Cake?
Of course! For longer storage, wrap individual slices in plastic wrap and then place them in a freezer bag. You can freeze the cake for up to 2 months. When ready to enjoy, simply thaw the frozen portions in the fridge overnight, ensuring they retain their delightful texture.
What can I do if my gelatin doesn’t set properly?
No worries, this can happen to the best of us! If your gelatin isn’t setting, check to make sure you bloomed it properly in cold water for at least 5-10 minutes before adding it to the heated mixture. If you need to thicken it quickly, you can stir in more dissolved gelatin (1 tablespoon at a time), bringing it to a gentle boil, then adding it back to the mixture, ensuring a smooth consistency.
Is there a way to make the cake dairy-free?
Absolutely! For a dairy-free version of your No-Bake Jelly Fruit Cake, opt for vegan cream cheese and coconut cream in place of heavy whipping cream. Use dairy-free sweetened condensed milk as well, which is widely available and works beautifully in this cake. Just follow the same recipe instructions for a deliciously creamy, dairy-free delight!
Can my pets enjoy leftover fruit from this recipe?
While most of the fruits used in your No-Bake Jelly Fruit Cake are safe for pets, always exercise caution. Ingredients like grapes and raisins can be harmful to dogs. Stick to safe fruits like strawberries, blueberries, and bananas as treats for your furry friends, ensuring their safety while you enjoy your dessert!
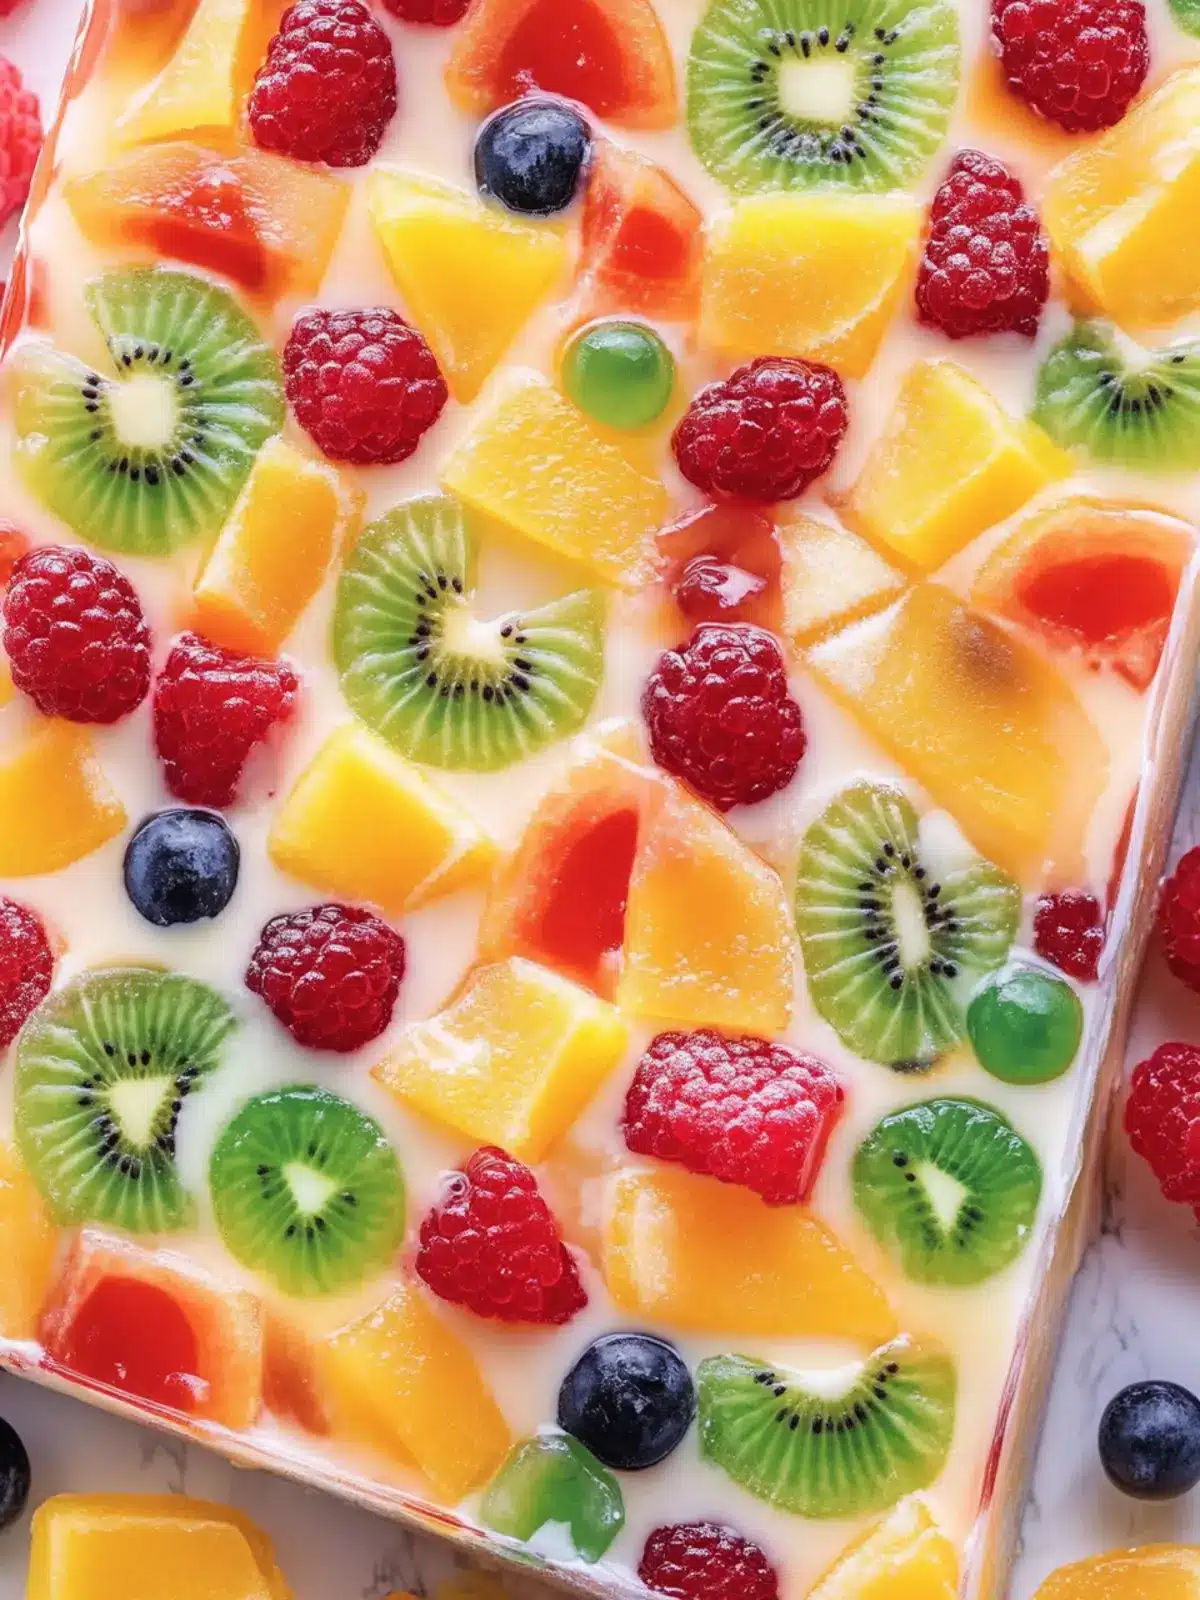
No-Bake Jelly Fruit Cake in Rectangular Pan for Easy Delight
Ingredients
Equipment
Method
- Prepare the dish: Start by choosing a 9 × 13-inch rectangular clear glass baking dish, ensuring it's approximately 2½ inches deep for optimal layering.
- Mix crust ingredients: Combine graham cracker crumbs, melted butter, and granulated sugar in a mixing bowl. Stir until the mixture is evenly moistened and crumbly.
- Form the crust: Press the mixture firmly into the bottom of the glass dish with the bottom of a measuring cup, creating a uniform layer. Refrigerate for 20 minutes to set.
- Beat cream cheese: In a large mixing bowl, beat softened cream cheese and powdered sugar for 2–3 minutes until the mixture is smooth and fluffy.
- Add remaining filling ingredients: Beat in sweetened condensed milk, sour cream, vanilla extract, and lemon juice until everything is fully combined and creamy.
- Whip cream: In a chilled bowl, beat heavy whipping cream for 3–5 minutes until stiff peaks form, ensuring it's light and airy.
- Fold whipped cream: Gently fold the whipped cream into the cream cheese mixture, being careful to keep the mixture thick, light, and fluffy.
- Spread filling: Evenly spread the creamy vanilla filling over the chilled graham cracker crust, smoothing it out. Refrigerate for 45–60 minutes to firm it up enough for the fruit.
- Prepare fruit: Wash and thoroughly dry strawberries, grapes, blueberries, and kiwi. Dice the mango, drain the pineapple, and prepare the mandarin segments.
- Decorate with fruit: Arrange the chilled cheesecake layer with strawberries, mango cubes, pineapple chunks, green grape halves, blueberries, mandarin orange segments, and kiwi slices in colorful rows.
- Bloom the gelatin: Sprinkle gelatin powder evenly over ½ cup cold water and let it stand for 5–10 minutes to bloom.
- Heat remaining water: In a saucepan over medium-low heat, combine the remaining 1½ cups water and sugar until the sugar dissolves. Remove from heat and whisk in the bloomed gelatin.
- Add lemon juice: Stir in fresh lemon juice and let the mixture cool to room temperature.
- Layer gelatin over fruit: Carefully spoon a thin layer of the cooled gelatin mixture over the arranged fruit. Refrigerate for 10–15 minutes until it's slightly set.
- Pour remaining gelatin: Slowly pour the remaining gelatin mixture over the fruit using the back of a spoon to gently ensure the arrangement stays intact.
- Chill to set: Cover and refrigerate for 4–6 hours, preferably overnight, until both the jelly and cheesecake layers are firm.
- Serve elegantly: Serve the entire No-Bake Jelly Fruit Cake uncut in its rectangular glass baking dish.