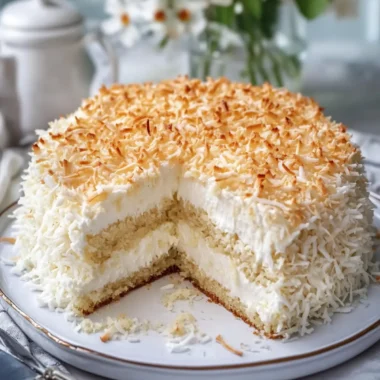
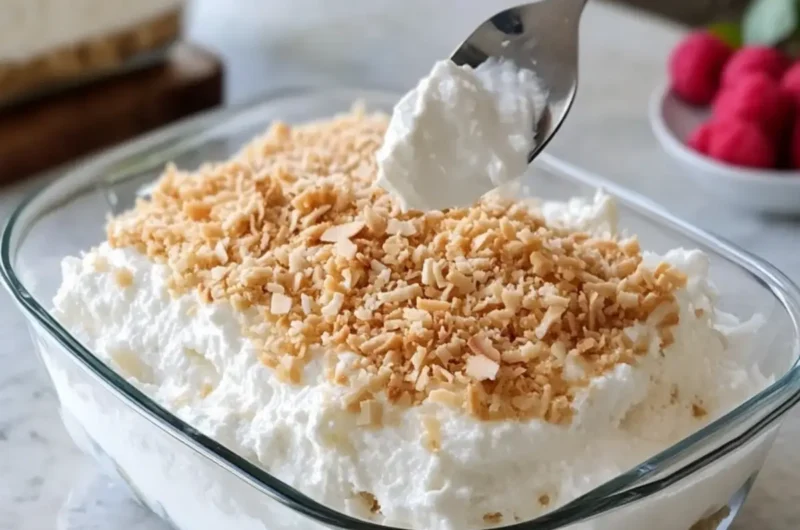
There’s something truly enchanting about a dessert that captures the essence of a tropical getaway without any fuss. Imagine opening your fridge to a cool, creamy delight that feels like a slice of paradise—this No-Bake Coconut Cream Dream Dessert is just that! I stumbled upon this recipe during a particularly hot summer day when I craved something light yet indulgent. With its layers of fluffy coconut cream and crunchy graham cracker crust, it’s a showstopper that impresses without stressing you out.
Each spoonful is a delightful explosion of coconut flavor, perfectly balanced with a hint of sweetness. Plus, the best part? It requires no baking and is incredibly easy to whip up in no time at all. Whether you’re hosting a summer BBQ or simply satisfying your sweet tooth, this dessert promises to bring joy and satisfaction to anyone lucky enough to dig in. Trust me, your friends and family will be begging for seconds! Let’s dive into this dreamy recipe that will transport you straight to sandy shores with each delicious bite.
Why You’ll Love This No-Bake Coconut Cream Dream Dessert
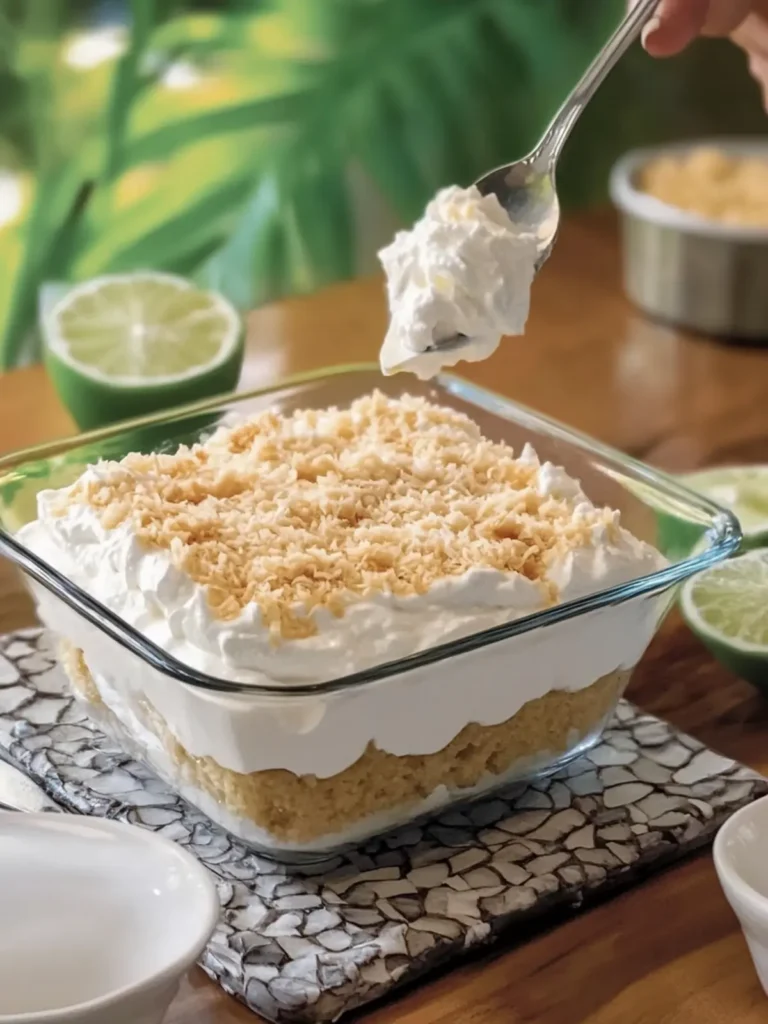
Irresistible layers of creamy goodness make this dessert a true standout, offering tropical bliss in every bite. Quick and easy to prepare, you’ll spend less time in the kitchen and more time enjoying the company of friends and family. Versatile enough for any occasion, this dish elevates summer gatherings or cozy nights in. Coconut lovers rejoice! The rich infusion of coconut flavors keeps your taste buds dancing, while the crunchy graham cracker crust adds a delightful contrast. For a perfect pairing, consider serving this dessert with a side of fresh fruit or an easy whipped cream topping. Get ready to impress with minimal effort!
No-Bake Coconut Cream Dream Dessert Ingredients
For the Crust
• Graham cracker crumbs – a sweet and crunchy base that holds everything together.
• Unsalted butter – binds the crumbs for a rich, buttery flavor.
• Granulated sugar – adds a touch of sweetness to enhance the crust.
For the Cream Cheese Layer
• Cream cheese – the smooth foundation adds a luscious creaminess that balances the dessert.
• Powdered sugar – sweetens the cream cheese layer without the grittiness of granulated sugar.
• Vanilla extract – infuses the layer with a warm, aromatic essence.
• Heavy whipping cream – whipped into stiff peaks for a light, airy texture.
• Sweetened shredded coconut – adds a tropical twist and delightful texture.
For the Coconut Pudding Layer
• Instant coconut cream pudding mix – provides a rich, creamy layer packed with coconut flavor.
• Cold whole milk – helps thicken the pudding for a velvety consistency.
• Canned coconut milk – intensifies the coconut flavor, transforming this into a true coconut cream dream.
For the Whipped Topping
• Heavy whipping cream – whipped until fluffy for a dreamy topping.
• Powdered sugar – adds sweetness to the whipped cream for a perfect finish.
• Vanilla extract – enhances the flavor of the whipped topping.
• Sweetened shredded coconut – again adds to the tropical vibes.
• Toasted coconut flakes – a crunchy topping that delivers extra depth and flavor.
With these simple ingredients at your fingertips, creating your own No-Bake Coconut Cream Dream Dessert is a breeze!
How to Make No-Bake Coconut Cream Dream Dessert
-
Mix the Crust: In a bowl, combine graham cracker crumbs, melted butter, and granulated sugar. Stir until evenly moistened and crumbly. Press this mixture firmly into the bottom of a 9×13-inch glass baking dish for that delightful crunch.
-
Refrigerate Crust: Place the crust in the refrigerator for about 20 minutes, allowing it to firm up and set properly before adding the creamy layers.
-
Beat the Cream Cheese: In a mixing bowl, beat the softened cream cheese, powdered sugar, and vanilla extract until smooth and fluffy. This will form the luscious, creamy base for your dessert.
-
Whip the Cream: In a separate bowl, whip 1 cup of cold heavy cream until stiff peaks form. This step will add that light and airy texture to your cheesecake layer.
-
Fold Ingredients: Gently fold the whipped cream and ½ cup of shredded coconut into the cream cheese mixture. Be careful to keep it fluffy for that dreamy consistency!
-
Spread the Cream Cheese Layer: Evenly spread the coconut cream cheese mixture over the chilled graham cracker crust. Make sure to cover the crust entirely with this delicious layer!
-
Prepare the Pudding Layer: Whisk together the two boxes of instant coconut cream pudding mix, cold whole milk, and canned coconut milk for about 2 minutes until the mixture thickens. Let it stand for 5 minutes to reach the perfect consistency.
-
Layer the Pudding: Gently spread the thickened coconut pudding over the cream cheese filling, smoothing it out evenly. This layer will add a rich, creamy texture!
-
Whip the Topping: In a new bowl, whip the remaining 1½ cups of heavy cream with the powdered sugar and vanilla extract until stiff peaks form. This will create the final layer of fluffy goodness.
-
Spread the Topping: Spread the whipped cream mixture evenly over the pudding layer, making it as pretty as a tropical sunset. Sprinkle with additional shredded coconut and toasted coconut flakes for that final touch of flair!
-
Chill and Set: Cover the dessert and refrigerate for at least 6 hours, preferably overnight. This allows all the flavors to meld beautifully and the dessert to set up perfectly.
-
Serve and Enjoy: Cut into squares and serve chilled to your eager guests. Each slice is a bite of paradise!
Optional: Drizzle with chocolate sauce for a delightful twist!
Exact quantities are listed in the recipe card below.
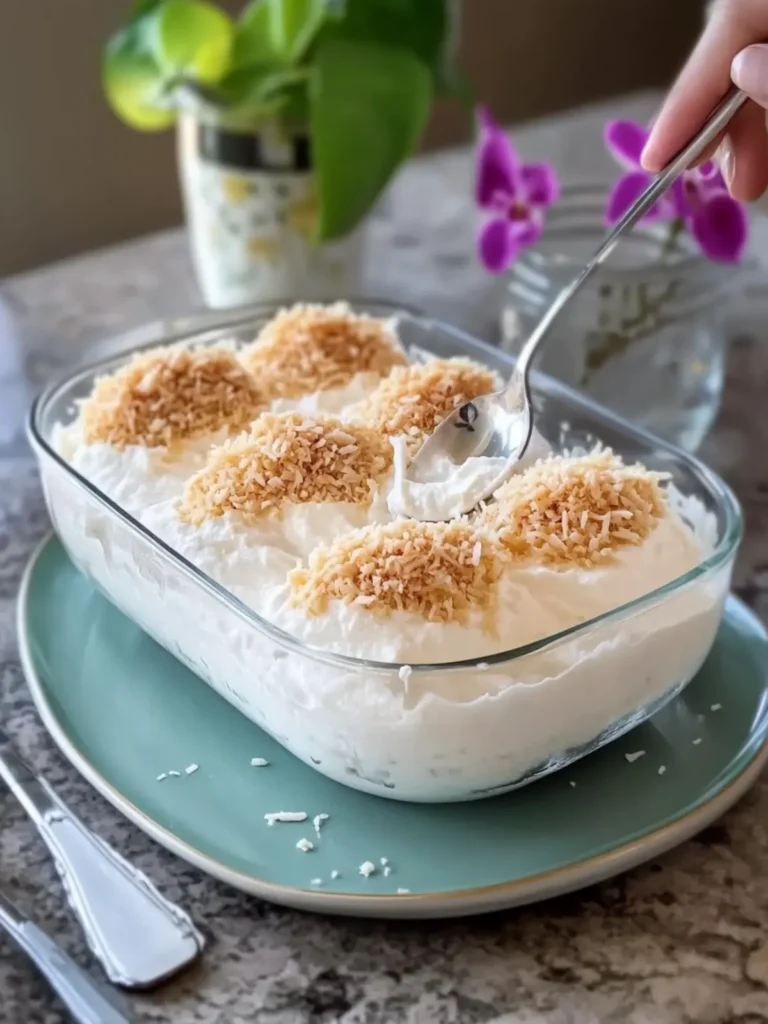
No-Bake Coconut Cream Dream Dessert Variations
Feel free to take this delightful dessert to new heights with these fun and flavorful twists!
-
Dairy-Free: Substitute cream cheese with coconut cream and use almond milk in place of whole milk for a creamy vegan-friendly option.
-
Chocolate Lover’s Dream: Layer chocolate ganache between the coconut cream layers for a luscious, rich flavor explosion that chocolate lovers can’t resist.
-
Nutty Crunch: Add chopped nuts, like pecans or almonds, between the layers for added texture and a nutty flavor that pairs beautifully with coconut.
-
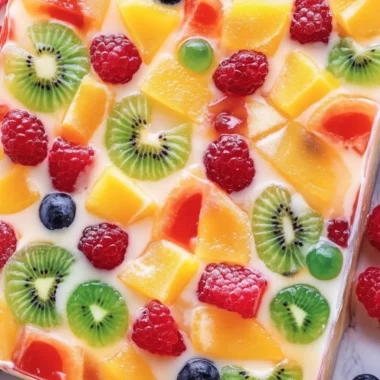
Tropical Fruit Boost: Incorporate fresh fruit like sliced mango or crushed pineapple atop the pudding layer for a fruity, refreshing twist that brightens it up.
-
Citrus Zest: Add lime or lemon zest to the cream cheese layer for a zesty contrast that elevates the tropical flavors of the dessert.
-
Spiced Variation: Sprinkle a dash of cinnamon or nutmeg into the cream cheese layer for a warm spice, providing a cozy twist to the tropical treat.
-
Coconut Variants: Change up the coconut flavor by using coconut-flavored yogurt in the cream cheese layer, enhancing the coconut dream experience.
-
Minty Freshness: Fold in crushed peppermint candies into the whipped topping for a minty twist that will surprise and delight each taster.
With these variations, you can make this No-Bake Coconut Cream Dream Dessert uniquely yours, inviting everyone into a flavor adventure!
Make Ahead Options
These No-Bake Coconut Cream Dream Dessert layers are perfect for meal prep enthusiasts! You can prepare the graham cracker crust and the cream cheese layer up to 24 hours in advance; simply keep them covered in the refrigerator to maintain freshness. Additionally, the pudding layer can be made and stored for up to 3 days before serving, but be sure to layer it right before chilling to avoid any sogginess. When it’s time to finish up, simply whip the cream topping and spread it over the set pudding layer. This method not only saves you time on busy weeknights but also ensures your dessert is just as delicious and satisfying when it’s time to serve!
Expert Tips for No-Bake Coconut Cream Dream Dessert
-
Chill Well: Ensure the dessert is refrigerated for at least 6 hours. This allows the layers to set properly, making it easier to cut and serve.
-
Stable Whipped Cream: Whip heavy cream until stiff peaks form. This gives your topping that light, airy texture and prevents it from deflating.
-
Folding Technique: When incorporating whipped cream into the cream cheese mixture, use a gentle folding technique. This helps maintain the airy texture crucial for the dessert’s creamy layers.
-
Ingredient Temperature Matters: Make sure all dairy ingredients, like cream cheese and heavy whipping cream, are cold. This helps achieve the best whipped consistency and flavor.
-
Customize Flavors: Don’t hesitate to add a splash of rum extract or lime zest for a zesty twist on the classic coconut flavor. The No-Bake Coconut Cream Dream Dessert can be tailored to fit your taste!
-
Watch the Crust Firming: It’s essential to let the crust set in the refrigerator. If it’s too crumbly, the layers may not hold together when served.
What to Serve with No-Bake Coconut Cream Dream Dessert?
Imagine a delightful feast that complements each layer of creamy goodness in this scrumptious treat.
-
Fresh Tropical Fruit: A medley of pineapple, mango, and kiwi adds brightness and balances the dessert’s richness. The natural sweetness enhances every bite, creating a refreshing contrast.
-
Coconut Flavored Iced Tea: This cool, gently sweetened beverage mirrors the coconut notes in the dessert, making each sip a delightfully harmonious experience. Serve it in tall glasses with a slice of lemon for a tropical flair.
-
Chocolate Drizzle: A rich drizzle of melted dark chocolate over the dessert elevates it to new heights. The bitter notes of chocolate beautifully complement the sweet and creamy layers, making every bite irresistible.
-
Crispy Waffle Cones: Serve the dessert in waffle cones for a fun and playful treat. The crunchiness of the cone pairs wonderfully with the creamy layers, perfect for enjoying on a warm summer afternoon.
-
Cashew & Coconut Energy Bites: For those craving something healthy alongside, these energy bites offer a nutty crunch and a slight sweetness that plays well with the dessert’s tropical essence.
-
Lemon Sorbet: This light and refreshing dessert offers a zesty counterpart to the creamy coconut layers. It’s a simple way to cleanse the palate and keep the meal light, balanced, and delightful.
How to Store and Freeze No-Bake Coconut Cream Dream Dessert
Fridge: Store any leftover slices in an airtight container in the refrigerator for up to 3 days. Enjoy it cool for the best flavor and texture!
Freezer: If you’d like to keep the dessert longer, freeze individual slices wrapped tightly in plastic wrap for up to 2 months. Thaw in the refrigerator before serving.
Reheating: This dessert is best served chilled, so there’s no need to reheat it. Simply cut, serve, and savor the layers of creamy coconut delight!
Wrap Pro Tip: When covering the dessert for storage, use plastic wrap against the surface to prevent moisture buildup and maintain that perfect fresh taste.
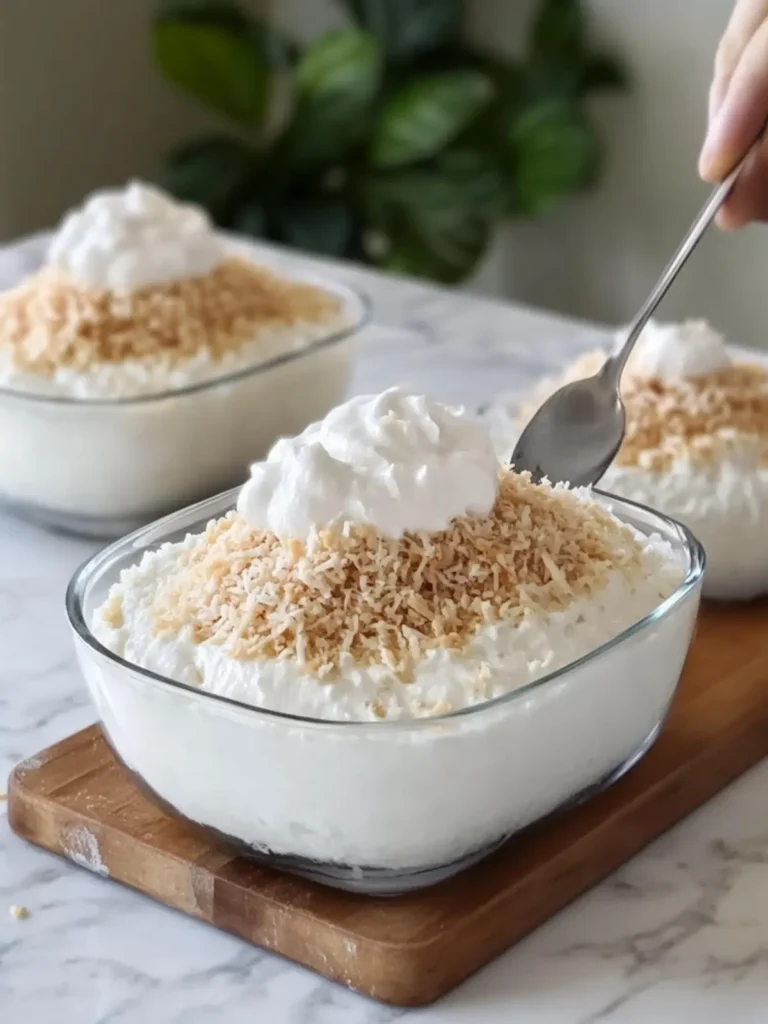
No-Bake Coconut Cream Dream Dessert Recipe FAQs
What type of coconut should I use?
Absolutely! For the best flavor in your No-Bake Coconut Cream Dream Dessert, I recommend using sweetened shredded coconut for the layers. It provides a sweeter profile that complements the lush creaminess perfectly. If you’re looking for a lighter option, unsweetened coconut can work as well, but it might lack that extra sweetness.
How long does this dessert last in the fridge?
Very good question! This delightful dessert can stay fresh in an airtight container in the refrigerator for up to 3 days. Just make sure it’s well-covered to prevent it from absorbing any odors or moisture from the fridge. I often find that it tastes even better the next day after all those lovely flavors have had a chance to meld together!
Can I freeze the No-Bake Coconut Cream Dream Dessert?
Yes, indeed! If you want to enjoy this creamy masterpiece later, you can freeze individual slices. Wrap each slice tightly in plastic wrap, then place them in a freezer-safe container. This way, they will last up to 2 months! When you’re ready to enjoy, simply thaw the slices in the refrigerator overnight. They’ll taste just as delightful as when you made them!
What if my whipped cream isn’t forming stiff peaks?
Sometimes, whipping cream can be tricky. If your heavy cream isn’t forming stiff peaks, make sure it’s chilled completely (below 40°F) before whipping. Additionally, using a metal bowl can help maintain the cold temperature. If you’re still having trouble, you can add a tablespoon of cornstarch or powdered sugar to help stabilize the whipped cream. Keep whipping until you see that beautiful fluffy texture!
Is this dessert suitable for someone with a dairy allergy?
You can make this dessert dairy-free by using alternative ingredients! Substitute the cream cheese with a dairy-free cream cheese and use coconut cream instead of heavy whipping cream. For the pudding layer, look for a dairy-free instant pudding mix. Just ensure your graham crackers are also dairy-free, as some brands may contain butter. This way, you can include everyone in the fun without worry.
How do I make this dessert a little more festive?
The more the merrier! Add flair by incorporating fresh fruit like sliced strawberries or mangoes on top, or simply drizzle some chocolate sauce on each serving to elevate the flavor. You could even garnish with a sprig of mint for a pop of color. Your No-Bake Coconut Cream Dream Dessert will become the star of the table!
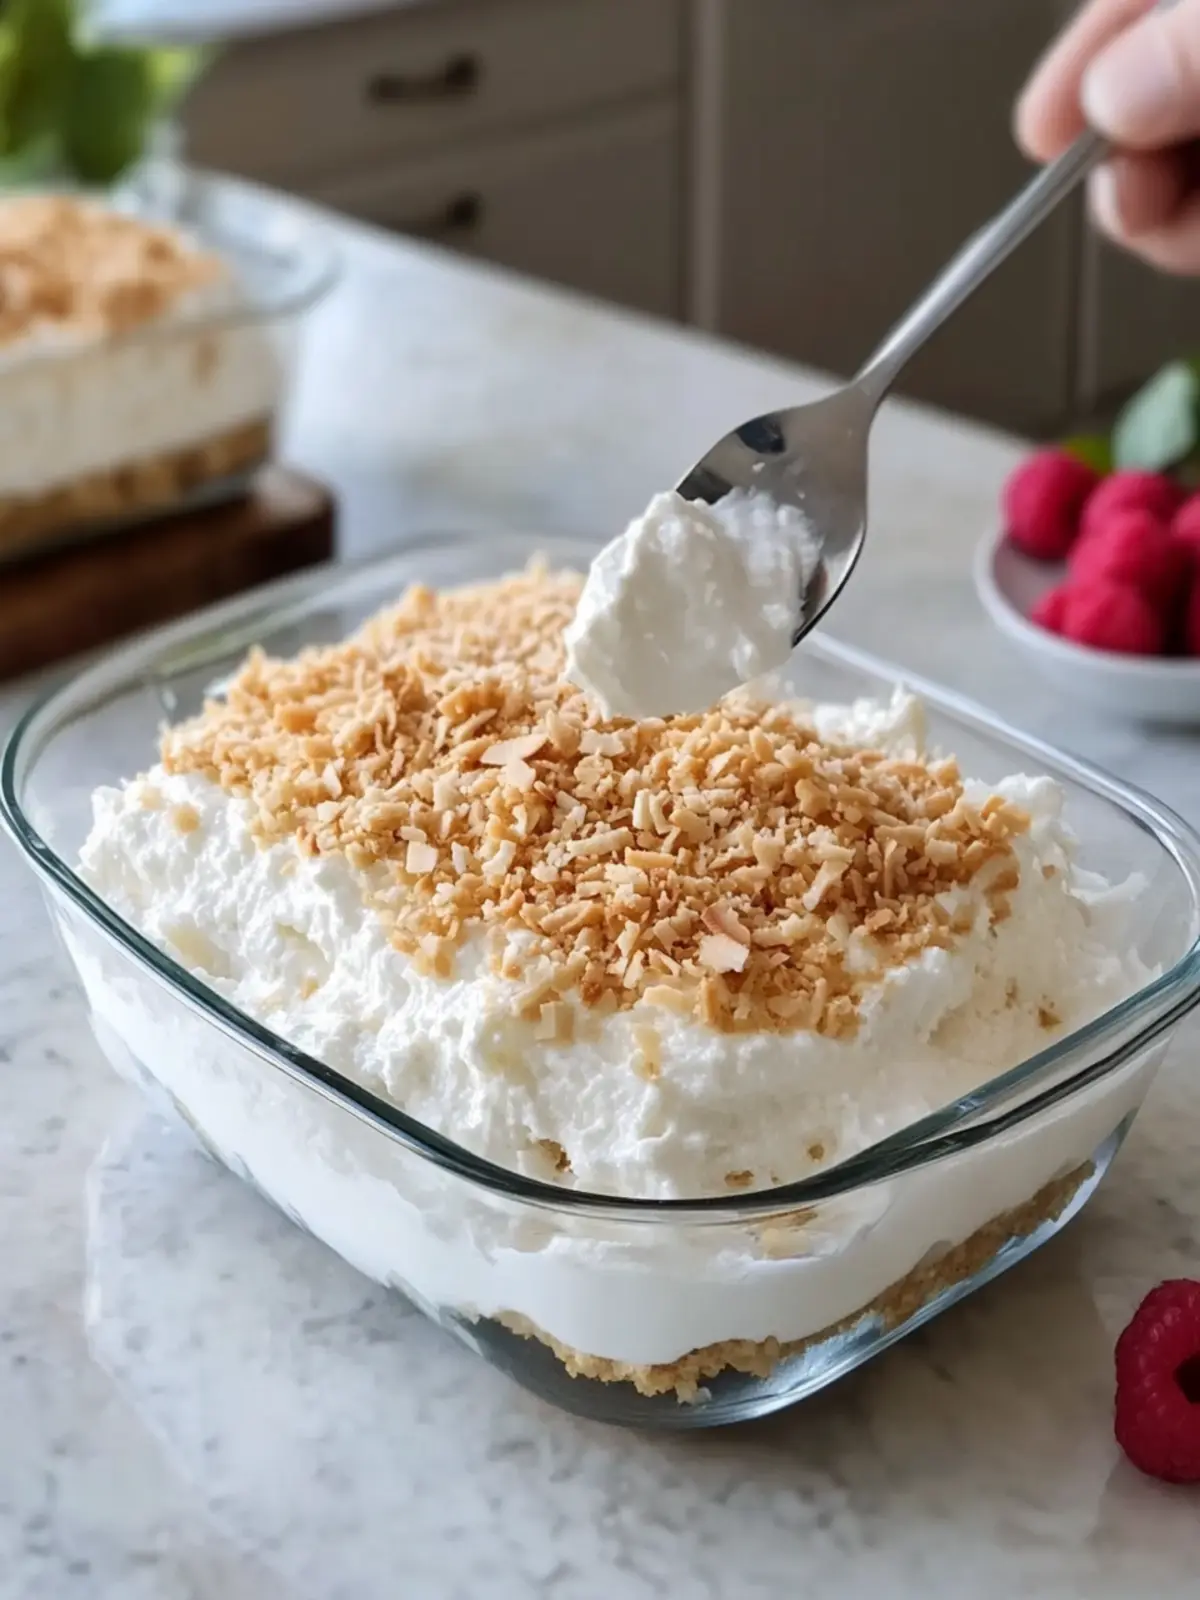
No-Bake Coconut Cream Dream Dessert That Will Wow Everyone
Ingredients
Equipment
Method
- In a bowl, combine graham cracker crumbs, melted butter, and granulated sugar. Stir until evenly moistened and crumbly. Press this mixture firmly into the bottom of a 9×13-inch glass baking dish.
- Place the crust in the refrigerator for about 20 minutes to firm up.
- In a mixing bowl, beat the softened cream cheese, powdered sugar, and vanilla extract until smooth and fluffy.
- In a separate bowl, whip 1 cup of cold heavy cream until stiff peaks form.
- Gently fold the whipped cream and ½ cup of shredded coconut into the cream cheese mixture.
- Spread the cream cheese mixture evenly over the chilled graham cracker crust.
- Whisk together the instant coconut cream pudding mix, cold whole milk, and canned coconut milk for about 2 minutes until it thickens. Let it stand for 5 minutes.
- Spread the thickened coconut pudding over the cream cheese layer evenly.
- In a new bowl, whip the remaining 1 ½ cups of heavy cream with the powdered sugar and vanilla extract until stiff peaks form.
- Spread the whipped cream mixture over the pudding layer and sprinkle with additional shredded coconut and toasted coconut flakes.
- Cover and refrigerate for at least 6 hours, preferably overnight.
- Cut into squares and serve chilled to your guests.