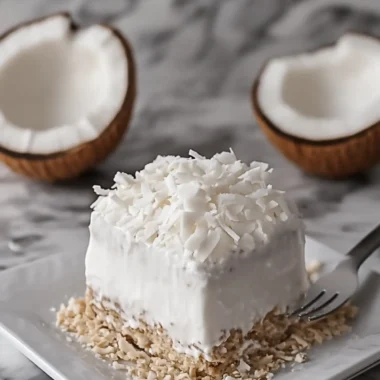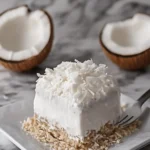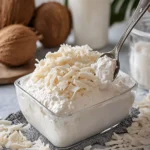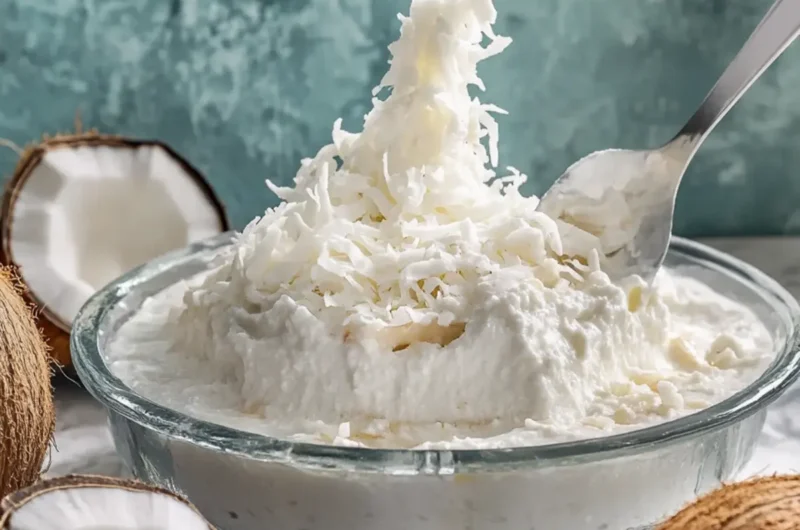
There’s nothing quite like a dessert that transports you straight to a tropical paradise, and this No-Bake Coconut Dream does just that! I first stumbled upon this delightful treat during a hot summer backyard barbecue when someone brought it along—its creamy layers danced with the sweet scent of coconut, instantly winning my heart.
If you’re tired of the same old desserts and looking for something crowd-pleasing yet effortlessly easy to whip up, this is your answer. With simple ingredients like creamy cheese, fluffy whipped topping, and sweet vanilla wafers, this dessert comes together without ever needing to turn on the oven. Perfect for gatherings, it’s chilled to perfection, ready to impress your friends and family with its refreshing flavor.
Join me as we dive into the delightful layers of this Coconut Cream Dessert. Trust me; it’s about to become your favorite go-to recipe!
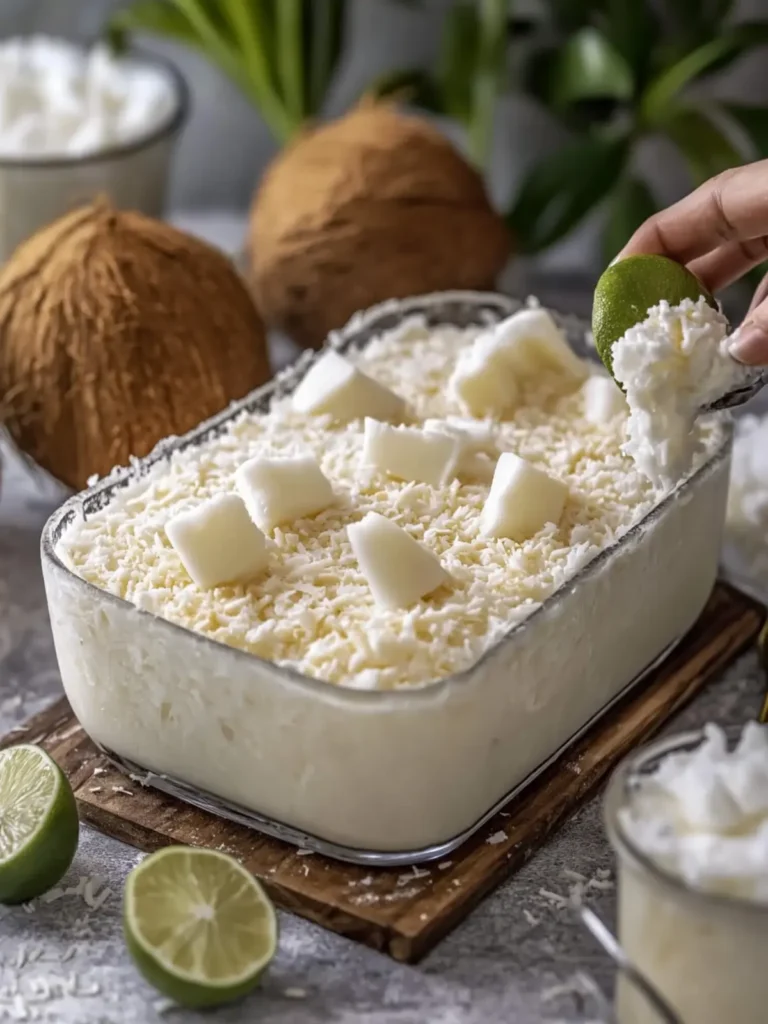
Why is No-Bake Coconut Dream So Irresistible?
Creamy, Dreamy Layers: Each bite reveals a silky combination of cream cheese and whipped topping that melts in your mouth.
Tropical Flavor: Bursting with coconut goodness, this dessert brings the taste of the tropics to your table.
Effortlessly Simple: No baking required—just mix and chill for an easy treat that’s perfect for busy days.
Crowd Favorite: Impress your guests at potlucks or BBQs with this show-stopping dessert that appeals to all ages!
Versatile Options: Feel free to customize with your favorite toppings or switch in different extracts for a unique twist.
Indulge in this No-Bake Coconut Dream and elevate your dessert game with its irresistible charm!
No-Bake Coconut Dream Ingredients
• Get ready to embark on a tropical adventure with these delightful ingredients!
For the Crust
- Vanilla wafer crumbs – a sweet and crunchy base that holds all the creamy goodness together.
- Unsalted butter – binds the crust for a rich, buttery flavor.
For the Cream Layer
- Cream cheese – provides a creamy texture and richness that perfectly balances the sweetness.
- Powdered sugar – sweetens the cream layer without any graininess.
- Coconut extract – infuses each bite with an aromatic coconut essence.
- Whipped topping – adds a light, airy texture to the cream mixture.
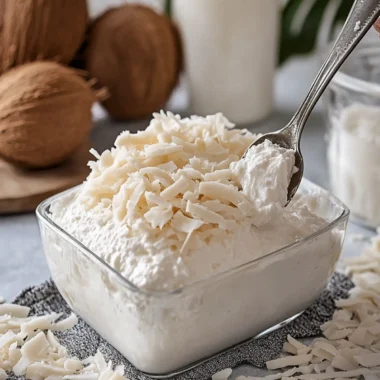
- Sweetened shredded coconut – enhances the coconut flavor and adds texture to the cream layer.
For the Pudding Layer
- Instant coconut cream pudding mix – this key ingredient brings a luscious, rich creaminess to the dessert.
- Cold whole milk – helps activate the pudding mix, creating a thick, creamy layer.
For the Topping
- Whipped topping – a fluffy finish that seals in the deliciousness beneath.
- White shredded coconut – adds a beautiful, festive touch and extra coconut flavor.
- White coconut flakes – sprinkle these for added texture and visual appeal.
With these ingredients combined, your No-Bake Coconut Dream will transport everyone to a sunny beach with just one bite!
How to Make No-Bake Coconut Dream
-
Grease the baking dish.
Lightly coat a 9 × 13-inch glass baking dish with cooking spray or butter to ensure easy release. -
Combine crust ingredients.
In a mixing bowl, blend the vanilla wafer crumbs with the melted butter until evenly moistened. -
Press into the dish.
Firmly pack the crust mixture into the bottom of the prepared dish and refrigerate for about 15 minutes until set. -
Beat the cream mixture.
Using an electric mixer, whip the cream cheese, powdered sugar, and coconut extract until it’s creamy and smooth. -
Fold in toppings.
Gently combine one container of thawed whipped topping and sweetened shredded coconut into the cream mixture for added fluffiness. -
Spread the cream layer.
Evenly distribute the coconut cream mixture over the chilled crust, smoothing it out with a spatula. -
Whisk the pudding.
In a separate bowl, whisk the instant coconut cream pudding mix with cold whole milk for about 2 minutes until it thickens nicely. -
Layer the pudding.
Carefully pour the pudding mixture over the coconut cream layer, spreading it out evenly. -
Top with whipped topping.
Spread the second container of whipped topping over the pudding layer for a light and fluffy finish. -
Sprinkle the finishing touches.
Generously add white shredded coconut and coconut flakes on top for a delightful crunch and beautiful presentation. -
Chill before serving.
Cover the dish and refrigerate for at least 4–6 hours, or ideally overnight, allowing the flavors to meld and set.
Optional: For an added touch, garnish with extra shredded coconut just before serving.
Exact quantities are listed in the recipe card below.
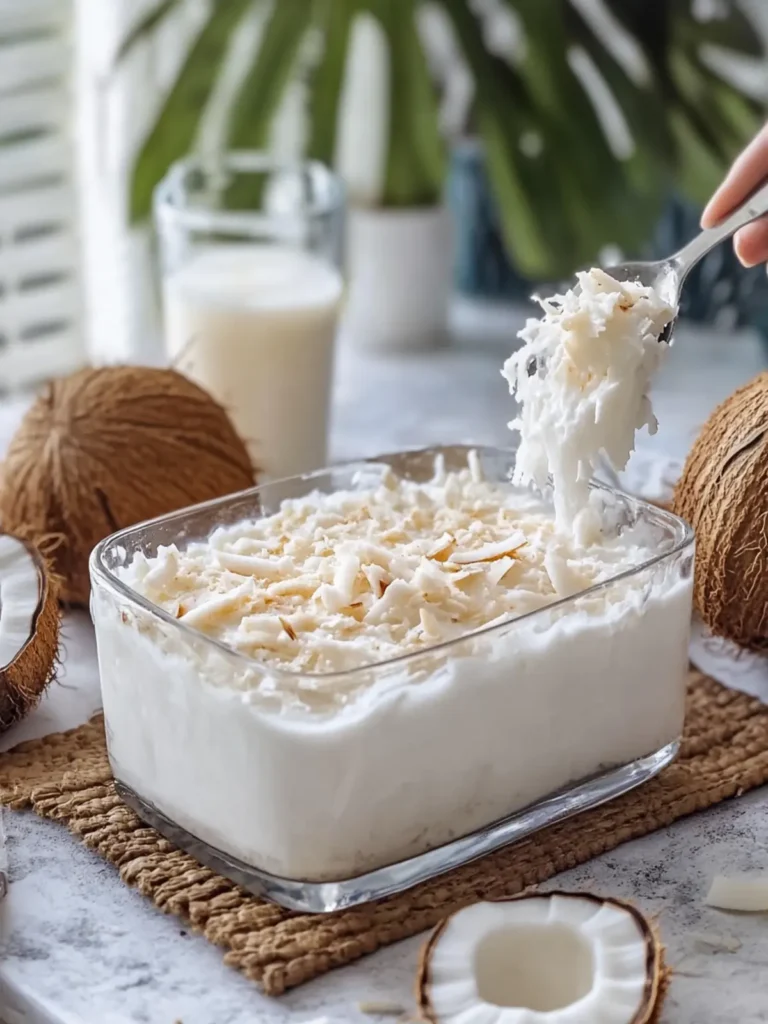
Expert Tips for No-Bake Coconut Dream
-
Perfect Crust: Ensure the butter is fully melted and mixed with the crumbs to achieve a solid crust that won’t crumble when sliced.
-
Room Temperature Cream Cheese: Always start with softened cream cheese for a smooth mixture—cold cream cheese will create lumps in your filling.
-
Gentle Folding: When adding the whipped topping and coconut, fold gently to maintain airiness, making your No-Bake Coconut Dream light and fluffy.
-
Patience is Key: Letting the dessert chill for at least 4–6 hours allows the flavors to develop and the layers to set, preventing a runny texture.
-
Storing Leftovers: If you have any leftovers, cover them tightly and store in the refrigerator for up to 3 days for the best flavor and texture.
No-Bake Coconut Dream Variations
Feel free to explore these delicious twists to elevate your dessert experience even further!
-
Gluten-Free: Substitute vanilla wafer crumbs with gluten-free cookie crumbs to enjoy this dessert without worry.
-
Dairy-Free: Use vegan cream cheese and coconut whipped cream for a rich yet dairy-free delight that everyone can enjoy.
-
Chocolate Lovers: Fold in chocolate shavings or use chocolate-flavored pudding mix to add an indulgent twist to your coconut layers.
-
Nutty Variation: Add crushed almonds or pecans to the crust for an unexpected crunch and a delicious nutty flavor.
-
Layered Fruit: Top your No-Bake Coconut Dream with sliced bananas or fresh berries for a pop of freshness and color.
Consider incorporating any of these variations to make this dessert your own. With endless possibilities, your No-Bake Coconut Dream will never get boring!
-
Spiced Up: Add a sprinkle of cinnamon or nutmeg to the cream layer for a warm and comforting twist.
-
Coconut Cream Frosting: Swap out the whipped topping for a coconut cream frosting made from coconut cream, making your dessert even creamier.
With these easy substitutions, you can create a tropical paradise tailored to your taste buds!
What to Serve with No-Bake Coconut Dream?
Create a tropical feast that will leave your guests dreaming of sandy beaches and sunshine!
-
Fresh Fruit Salad: A vibrant mix of tropical fruits like mango, pineapple, and strawberries adds a refreshing contrast to the creamy layers.
-
Grilled Shrimp Skewers: The smoky, savory flavors of grilled shrimp perfectly balance the sweetness of the dessert, creating a delightful harmony.
-
Coconut Lime Rice: Fluffy rice with a hint of coconut and zesty lime brightens the palate and enhances the tropical theme of your meal.
-
Chocolate Drizzle: A rich chocolate sauce drizzled over the dessert adds depth and a touch of decadence, making each bite even more irresistible.
-
Iced Tea or Lemonade: Refreshing beverages like iced tea flavored with mint or a zesty lemonade provide a crisp, thirst-quenching complement to the sweet dessert.
-
Toasted Coconut Flakes: Serve additional toasted coconut flakes on the side for guests to sprinkle on their portions, boosting the coconut flavor and offering a fun textural variation.
Bring your gathering to life by pairing your No-Bake Coconut Dream with these delightful accompaniments!
How to Store and Freeze No-Bake Coconut Dream
- Fridge: Keep your No-Bake Coconut Dream covered in the refrigerator for up to 3 days. This ensures it stays fresh and maintains its delicious creamy texture.
- Freezer: You can freeze the dessert for up to 2 months, just be sure to wrap it tightly in plastic wrap followed by aluminum foil to prevent freezer burn.
- Thawing: When ready to enjoy, transfer it to the fridge to thaw overnight. Avoid thawing at room temperature to maintain the creaminess of the layers.
- Serving: After thawing, give the dessert a gentle stir if needed, and feel free to add a sprinkle of fresh coconut before serving for an extra touch of tropical delight.
Make Ahead Options
These No-Bake Coconut Dream layers are perfect for busy home cooks who want to save time while still serving a delightful dessert! You can prepare the crust and cream layer up to 24 hours ahead by mixing the vanilla wafer crumbs with melted butter, pressing it into the dish, and following up with the cream mixture. To maintain quality, cover tightly with plastic wrap or a lid to prevent moisture buildup. When you’re ready to finish the dessert, simply whisk the coconut cream pudding mix with cold milk, layer it over the cream, and top with whipped topping before chilling for at least 4–6 hours. With these make ahead steps, you’ll enjoy this creamy treat with minimal last-minute effort!
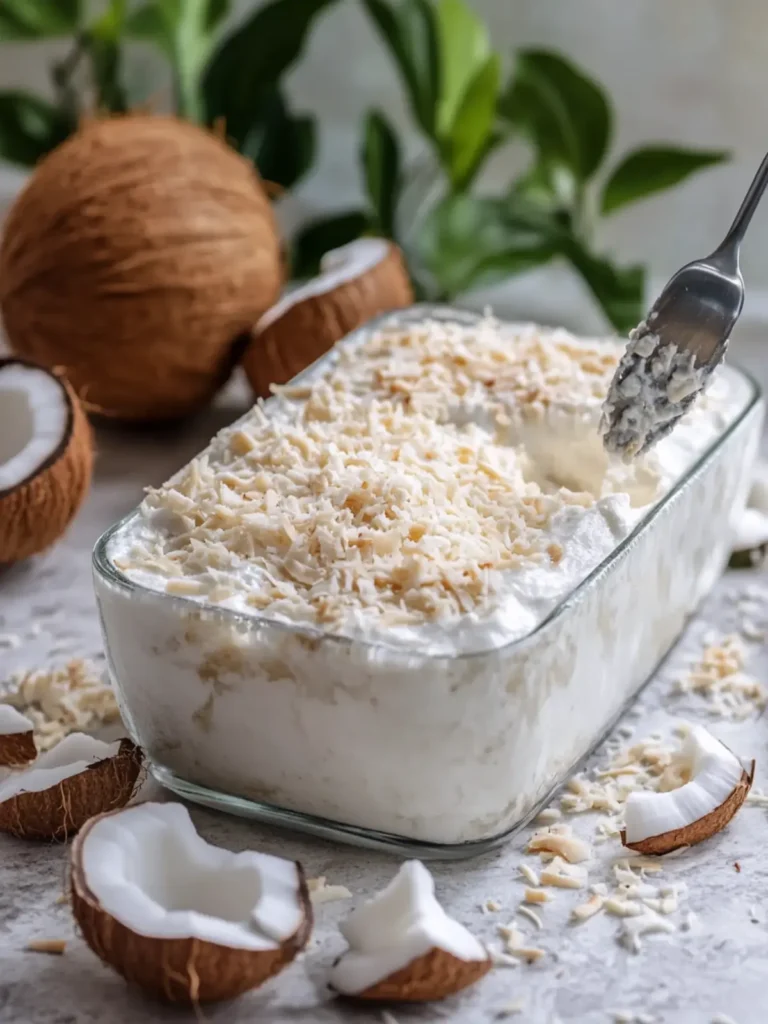
No-Bake Coconut Dream Recipe FAQs
How do I choose ripe coconuts?
To select ripe coconuts, choose ones that feel heavy for their size and have a solid shell. When you shake it, you should hear liquid inside. Look for dark spots or blemishes, indicating it may be spoiled. Fresh coconuts have firm husks and are free from cracks.
What’s the best way to store leftovers?
Store your No-Bake Coconut Dream tightly covered in the refrigerator for up to 3 days. This helps preserve its creamy texture and flavors. I often use plastic wrap, but an airtight container works just as well!
Can I freeze No-Bake Coconut Dream?
Absolutely! You can freeze your No-Bake Coconut Dream for up to 2 months. Just wrap it tightly in plastic wrap, followed by aluminum foil to prevent freezer burn. When you’re ready to serve, thaw it in the fridge overnight for the best texture.
What should I do if the pudding layer is too runny?
If the pudding layer is too runny, it may not have been mixed with the cold whole milk long enough. Whisk it for about 2 minutes until it thickens. Also, ensure you’re using the correct instant pudding mix and that it’s not expired, as this can affect the consistency.
Can pets eat coconut in this recipe?
A small amount of unsweetened coconut is generally safe for pets, but this No-Bake Coconut Dream contains ingredients like cream cheese and sugar that are not ideal for them. Always consult with your veterinarian before sharing human food with your furry friends.
What if I’m allergic to coconut?
If you or someone you’re serving has a coconut allergy, consider substituting the coconut extract with vanilla extract and omitting both the shredded coconut and coconut flakes. You can still maintain a delicious flavor profile while accommodating dietary restrictions!
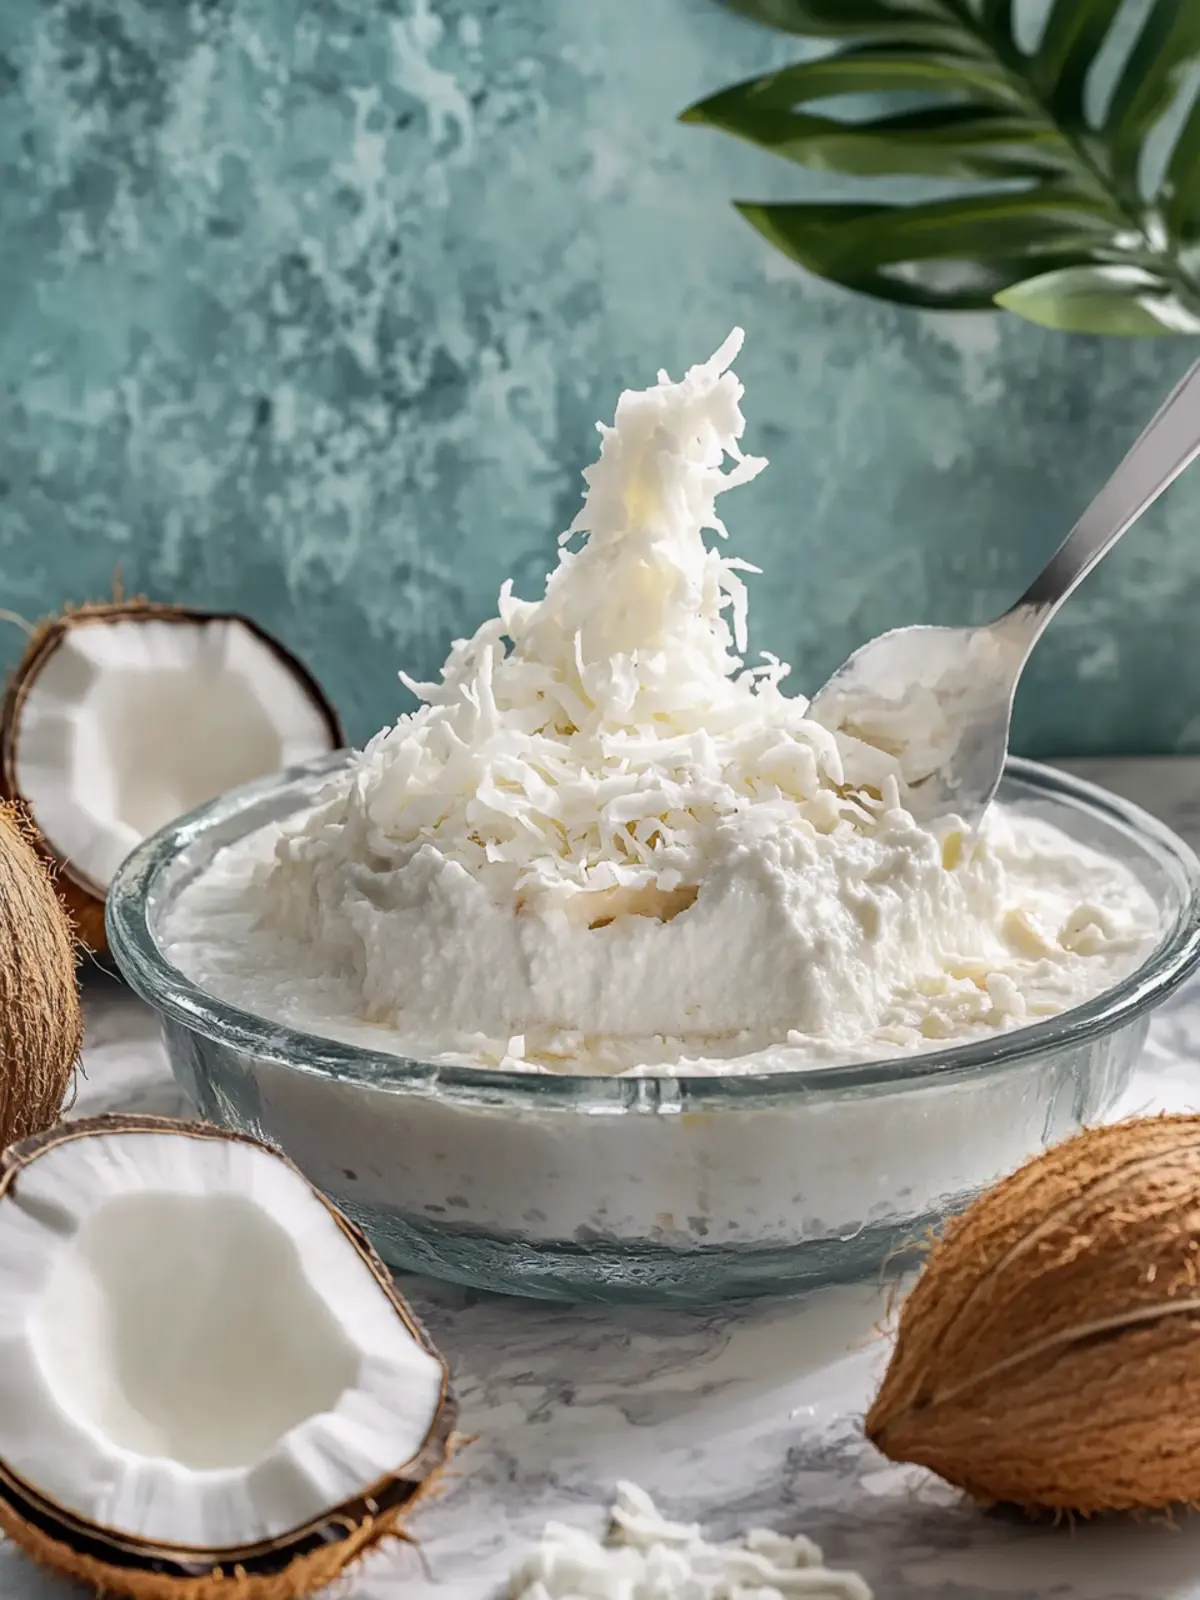
No-Bake Coconut Dream: Your Creamy Tropical Escape
Ingredients
Equipment
Method
- Grease the baking dish.
- Combine crust ingredients.
- Press into the dish.
- Beat the cream mixture.
- Fold in toppings.
- Spread the cream layer.
- Whisk the pudding.
- Layer the pudding.
- Top with whipped topping.
- Sprinkle the finishing touches.
- Chill before serving.