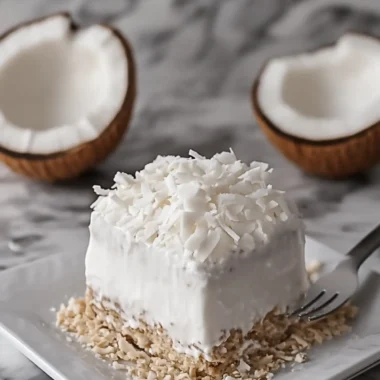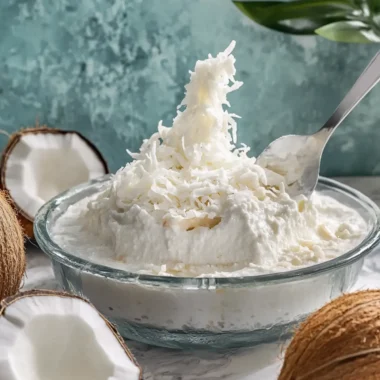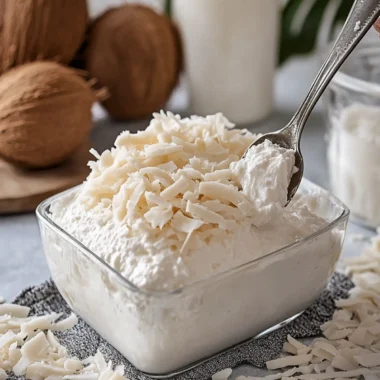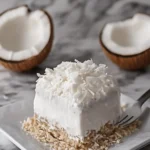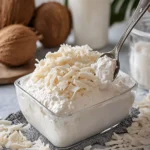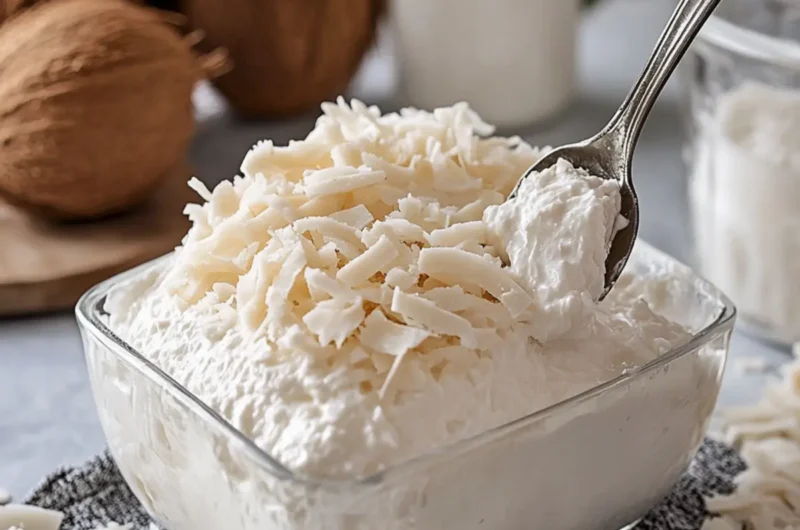
There’s something truly enchanting about dessert recipes that whisk us away to a tropical paradise. This No-Bake Coconut Dream is a delightful escape from the ordinary, perfect for those warm afternoons when all you crave is something light, sweet, and utterly satisfying. With the whipped cream and luscious layers of coconut cream, this dessert is not just easy to prepare; it’s a guaranteed crowd-pleaser.
I first dove into this recipe during a sunny weekend gathering when the humidity suggested no one wanted to turn on the oven. After stumbling upon a stash of coconut cream pudding mix, I crafted this no-bake beauty that transformed my kitchen into a coconut paradise. Every spoonful transports you to a beachside retreat, making it an ideal treat for potlucks or simply to enjoy on any rainy afternoon when you need a little cheer.
Join me as we whip up this creamy delight that promises to become a staple in your dessert repertoire, leaving everyone asking for seconds—and the recipe!
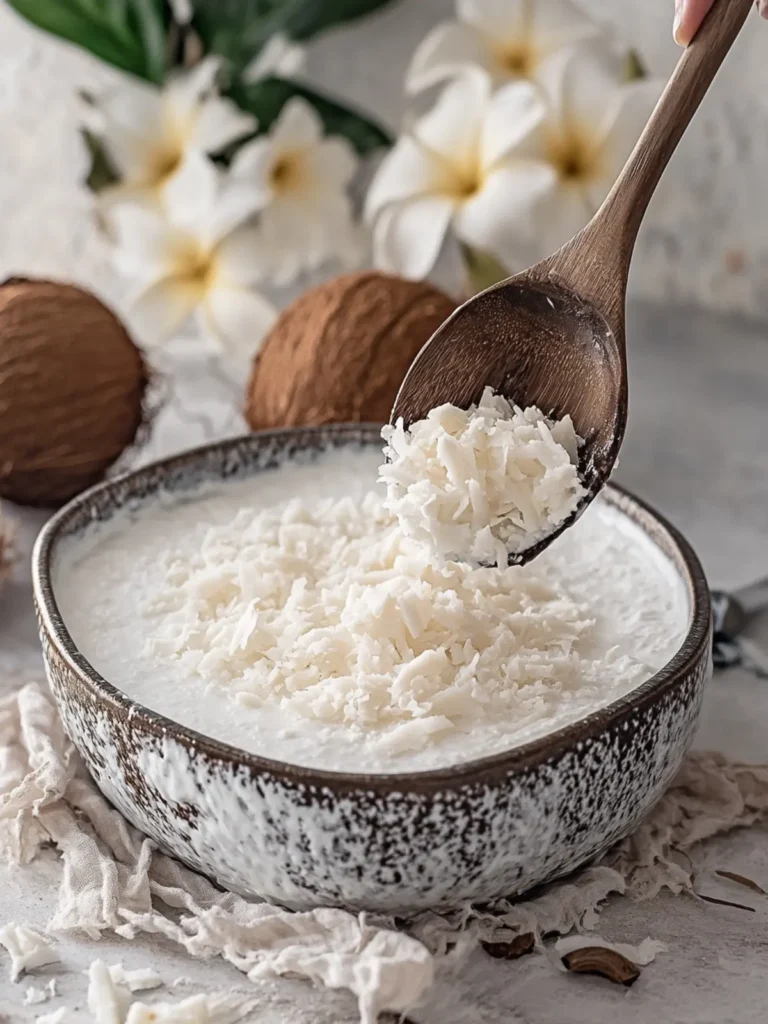
Why is No-Bake Coconut Dream so special?
Delightful layers of creamy coconut goodness come together effortlessly, making this dessert a breeze to whip up! Crowd-pleaser vibes are guaranteed with its luscious texture and tropical flavor. Perfect for warm days, you can chill it ahead, leaving you free to enjoy the company. Versatile enough for potlucks or cozy nights in, it appeals to everyone—no baking required! If you’re looking for more easy desserts to impress, check out my collection of delightful treats to enjoy all year round!
No-Bake Coconut Dream Ingredients
• Prepare to indulge in a tropical treat!
For the Crust
- Vanilla wafer crumbs – these provide a sweet, crunchy base that pairs perfectly with the creamy layers.
- Unsalted butter – enhances the flavor and helps bind the crumbs for that perfect crust!
For the Coconut Layer
- Cream cheese – this gives the dessert a rich, creamy texture that’s simply irresistible.
- Powdered sugar – sweetens the cream cheese while ensuring a smooth consistency.
- Coconut extract – infuses the layer with a delightful coconut flavor that makes this dessert truly dreamlike.
- Whipped topping – adds fluffiness and lightness to the coconut layer, making it a heavenly bite.
- Sweetened shredded coconut – provides delightful coconut flakes throughout, adding texture and taste.
For the Pudding Layer
- Instant coconut cream pudding mix – the star of the show, creating a rich, creamy pudding that enhances the coconut experience.
- Cold whole milk – helps set the pudding and brings the layers together in a deliciously thick texture.
For Topping
- Whipped topping – another layer of lightness that perfectly finishes off this no-bake wonder.
- White shredded coconut – sprinkle on top for an inviting and visually appealing touch.
- Coconut flakes – adds crunch and an extra burst of tropical flavor for that tropical vibe!
Get ready to embark on a delightful journey as you prepare the No-Bake Coconut Dream, where every layer offers a taste of bliss!
How to Make No-Bake Coconut Dream
-
Grease the baking dish: Lightly grease a 9 × 13-inch glass baking dish to ensure your dessert comes out smoothly after chilling.
-
Combine crust ingredients: In a mixing bowl, mix the vanilla wafer crumbs with the melted butter until well combined and crumbly.
-
Press the crust: Firmly press the crumb mixture into the bottom of the greased dish. Refrigerate for 15 minutes for the crust to set.
-
Beat the cream cheese: In a large bowl, beat the softened cream cheese, powdered sugar, and coconut extract together until the mixture is smooth and creamy.
-
Fold in toppings: Gently fold in one container of whipped topping and the sweetened shredded coconut until well combined and fluffy.
-
Spread the coconut layer: Evenly spread the coconut cream mixture over the chilled crust, smoothing it out with a spatula for an even layer.
-
Whisk the pudding: In another bowl, whisk the instant coconut cream pudding mix with 3 cups of cold whole milk for about 2 minutes. It should thicken nicely.
-
Layer the pudding: Carefully spread the thickened pudding over the coconut cream layer, creating another delicious layer of flavor.
-
Top with whipped topping: Spread the second container of whipped topping over the pudding layer, making sure to cover it completely for a lovely finish.
-
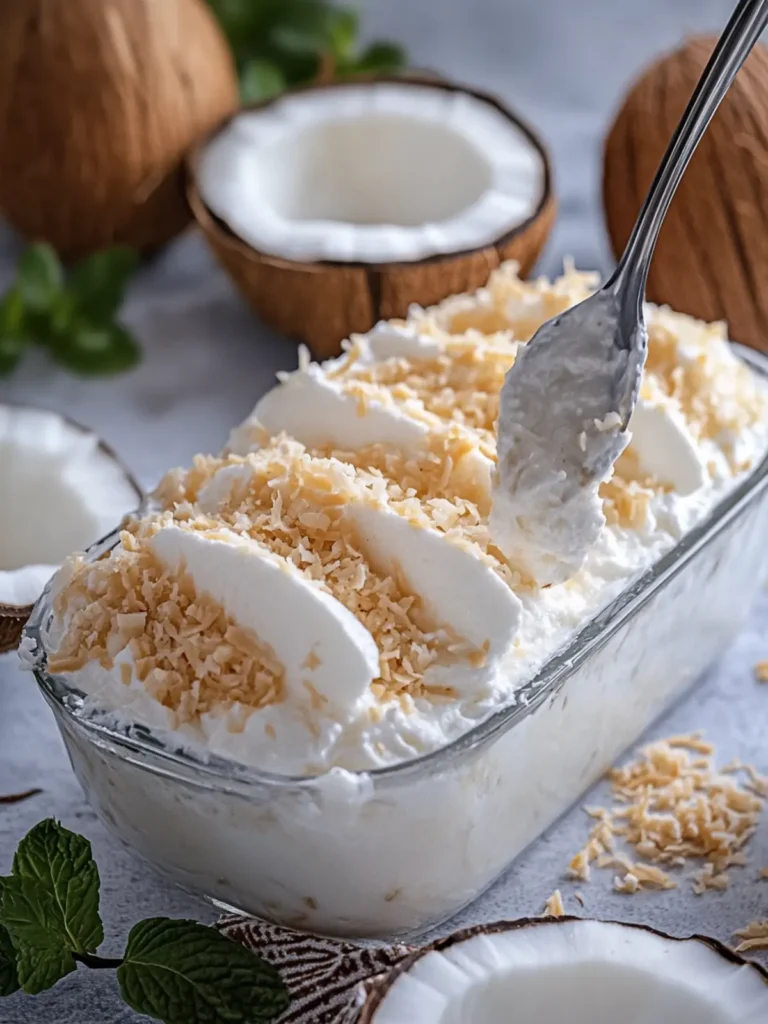
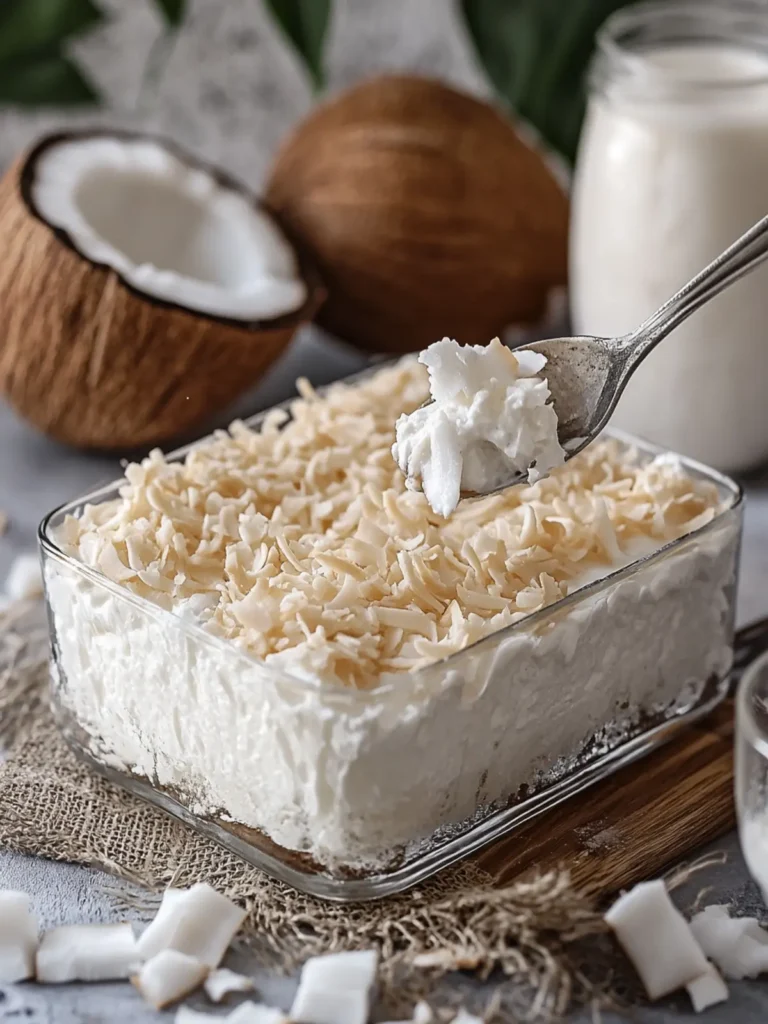
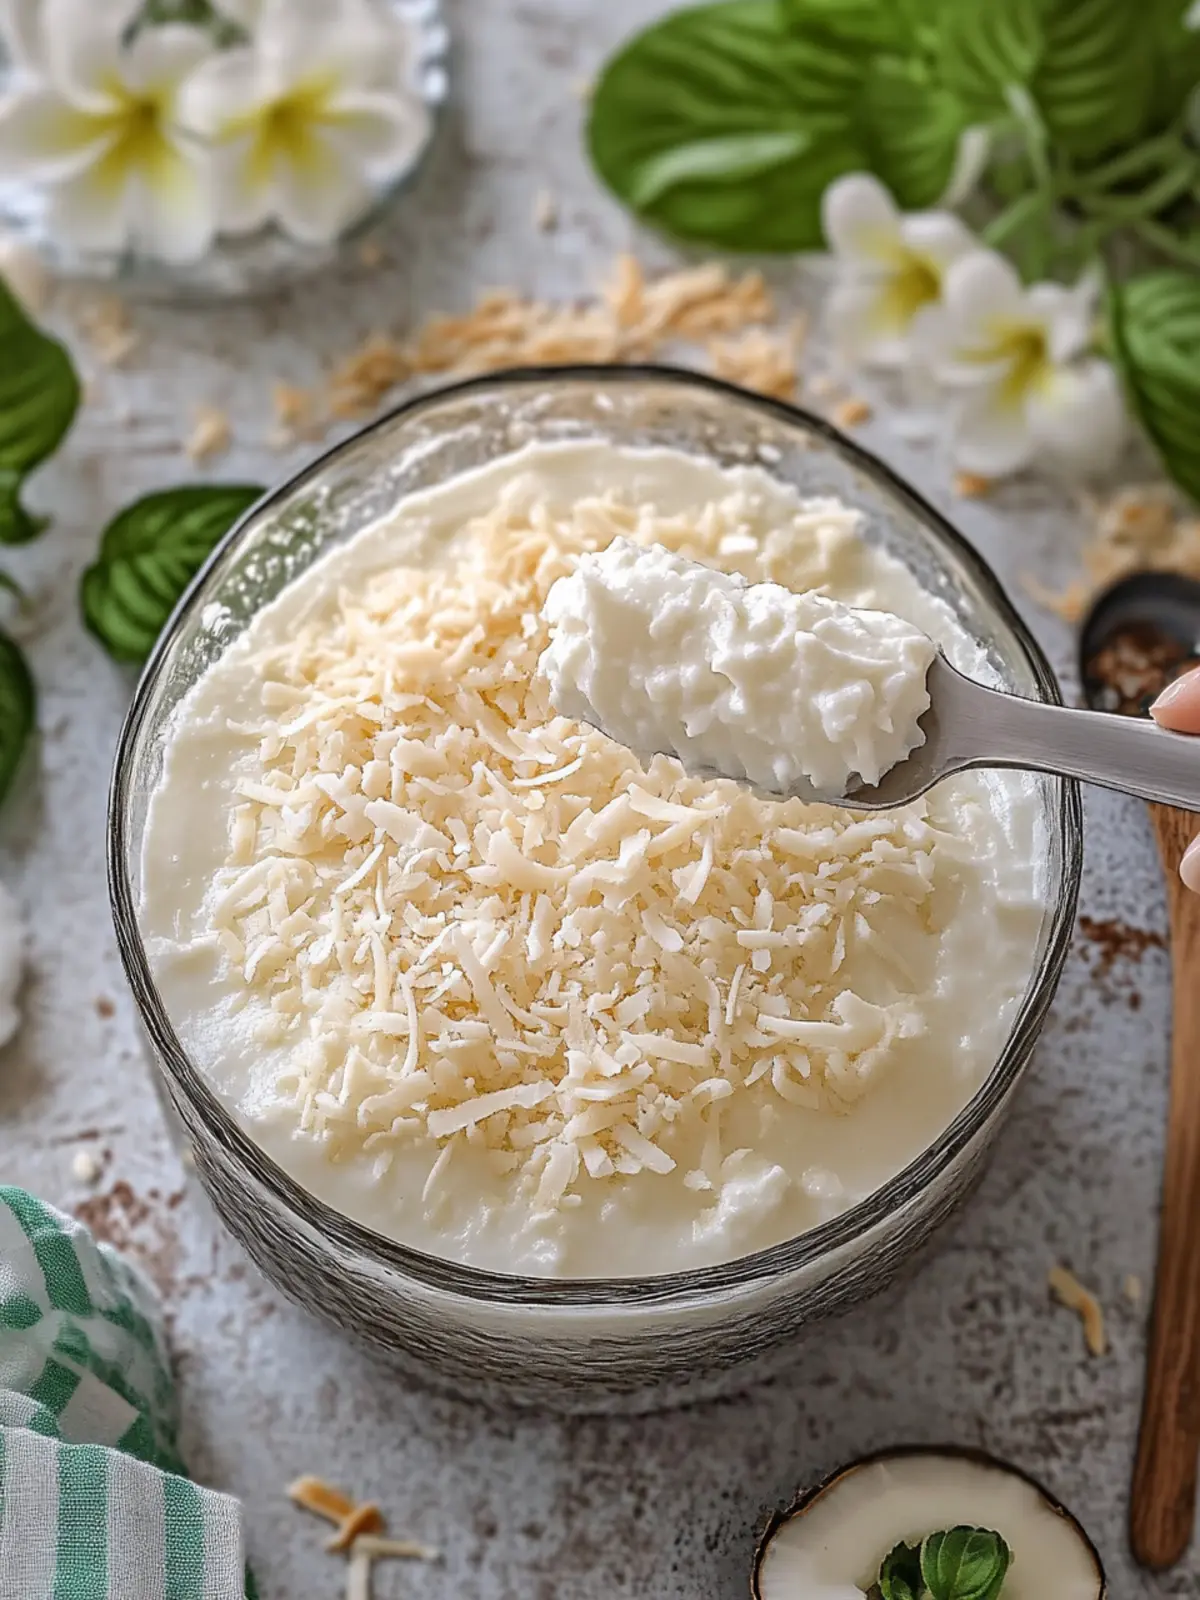
Sprinkle the toppings: Generously sprinkle the white shredded coconut and coconut flakes on top, adding a beautiful touch of tropical flair.
-
Chill the dessert: Cover the dish and refrigerate for at least 4–6 hours, or preferably overnight, allowing the layers to set and flavors to meld beautifully.
Optional: Garnish with a sprig of mint for a pop of color!
Exact quantities are listed in the recipe card below.
Expert Tips for No-Bake Coconut Dream
-
Use Fresh Ingredients: Always opt for fresh cream cheese and whipped topping. This ensures a richer taste and creamier texture in your no-bake coconut dream.
-
Chill Time Matters: Allowing the dessert to refrigerate for at least 4-6 hours is crucial. This lets the flavors meld and the layers set perfectly, avoiding a runny mess!
-
Layering Techniques: Spread each layer gently and evenly to maintain that beautiful, multi-layered look. It also helps avoid mixing the layers, keeping the coconut dream distinct and appealing!
-
Customize Your Coconut: Feel free to adjust the amount of shredded coconut in both the layers and for topping. This enhances the coconut experience and allows you to cater to your taste!
-
Watch the Pudding Mix: When whisking the pudding mix with milk, make sure to whisk vigorously until thickened. Skipping this step may lead to a softer pudding layer in your coconut dream.
What to Serve with No-Bake Coconut Dream?
Elevate your dessert experience as you pair this delightful coconut treat with complementary flavors and textures that enchant every palate.
-
Tropical Fruit Salad: A refreshing blend of mangoes, pineapples, and kiwi enhances the coconut’s tropical vibe, adding a burst of freshness.
-
Creamy Vanilla Ice Cream: This classic combo offers contrasting temperatures and a luscious creaminess that perfectly balances the coconut layers.
-
Pineapple Coconut Mojito: A zesty cocktail with mint and lime brings a refreshing brightness that channels beachy vibes alongside the coconut dream.
-
Coconut Macaroons: Intensify coconut flavor with these chewy, sweet treats, creating a delightful harmony of textures when combined.
-
Chocolate Dipped Strawberries: The rich flavor of chocolate against the creamy coconut creates a tantalizing contrast that guests will adore.
-
Coffee or Espresso: A robust cup of coffee or espresso cuts through the sweetness of the dessert and enhances its tropical flavors, making it an elegant pairing.
For a memorable celebration, don’t forget to add a tropical touch with beautiful plates or garnishes that mirror the essence of this No-Bake Coconut Dream.
How to Store and Freeze No-Bake Coconut Dream
Fridge: Keep your No-Bake Coconut Dream covered in the refrigerator for up to 3 days. This ensures it stays fresh and the flavors continue to meld beautifully.
Freezer: If you wish to store it longer, freeze individual portions in airtight containers for up to 2 months. Thaw in the fridge before serving for the best texture.
Reheating: There’s no need to reheat this dessert! Simply enjoy it cold and refreshing, straight from the fridge or after thawing from the freezer.
Serving Tip: Before serving, consider adding a sprinkle of fresh coconut flakes or a dollop of whipped cream to elevate its presentation and flavor.
No-Bake Coconut Dream Variations
Feel free to get creative with this delightful dessert to make it truly yours!
- Dairy-Free: Substitute cream cheese with a dairy-free alternative and use coconut whipped cream instead of regular whipped topping for a luscious twist.
- Nutty Crunch: Add chopped macadamia nuts or almond flour to the crust for a deliciously nutty flavor that pairs perfectly with coconut.
- Chocolate Lover’s: Incorporate a layer of chocolate pudding between the coconut layers for an indulgent chocolate twist that will surprise your taste buds.
- Tropical Fruit: Layer fresh kiwi or pineapple on top of the whipped topping for a refreshing and fruity burst that enhances each bite.
- Coconut Milk: Replace the whole milk in the pudding layer with coconut milk to amplify that tropical flavor, making every bite a coconut explosion.
- Adjust Sweetness: If you prefer a less sweet dessert, reduce the amount of powdered sugar in the cream cheese mixture or use unsweetened shredded coconut.
- Spiced Twist: Add a pinch of cinnamon or nutmeg to the coconut cream mixture to introduce a warm, cozy spice element that balances the tropical sweetness.
- Citrus Zing: Grate fresh lime or orange zest into the layers to provide a bright, zesty contrast that enhances the overall flavor experience.
Experiment and make the No-Bake Coconut Dream your very own masterpiece!
Make Ahead Options
These No-Bake Coconut Dream desserts are perfect for meal prep, allowing you to save time on busy days! You can prepare the crust and the coconut cream filling up to 24 hours ahead of time. Simply follow the initial steps of mixing the vanilla wafer crumbs with melted butter, pressing it into the dish, and then preparing the coconut cream filling. After that, cover them tightly and refrigerate. When you’re ready to serve, just whisk together the pudding mix with cold milk, layer it on top, and finish with the whipped topping. This method ensures your dessert remains just as delicious and fresh, making it an ideal treat ready to impress guests or family any day of the week!
No-Bake Coconut Dream Recipe FAQs
What kind of vanilla wafers are best for the crust?
Absolutely! I recommend using classic vanilla wafer cookies for their sweet and buttery flavor, which perfectly complements the creamy filling. If you’re feeling adventurous, you can also try using graham crackers for a different taste.
How long can I store leftover No-Bake Coconut Dream in the fridge?
You can store any leftover portions in an airtight container in the fridge for up to 3 days. This helps maintain its creamy texture and delightful flavors. However, it’s best enjoyed fresh!
Can I freeze No-Bake Coconut Dream?
Yes, you can easily freeze your No-Bake Coconut Dream for up to 2 months! To do this, wrap the dessert tightly in plastic wrap and then cover it with aluminum foil to prevent freezer burn. When you’re ready to enjoy it, thaw it overnight in the fridge and serve it chilled.
What should I do if my pudding layer isn’t thickening?
If your pudding layer doesn’t thicken after whisking for 2 minutes, try refrigerating it for a few minutes before spreading it on the dessert. The cool temperature can help it set more effectively. Just make sure to whisk it again briefly before using!
Is this dessert safe for those with nut allergies?
Yes! The No-Bake Coconut Dream recipe is nut-free, making it a safe option for people with nut allergies. However, always double-check all ingredient labels to ensure they’re free from cross-contamination.
How can I make this dessert dairy-free?
Very! To make a dairy-free version, substitute cream cheese with a dairy-free cream cheese alternative, and use coconut whipped cream to replace the whipped toppings. For the pudding layer, look for a dairy-free instant pudding mix, typically made with almond or coconut milk. Enjoy the creaminess guilt-free!
No-Bake Coconut Dream: Delightfully Creamy Coconut Bliss
Ingredients
Equipment
Method
- Grease the baking dish: Lightly grease a 9 × 13-inch glass baking dish to ensure your dessert comes out smoothly after chilling.
- Combine crust ingredients: In a mixing bowl, mix the vanilla wafer crumbs with the melted butter until well combined and crumbly.
- Press the crust: Firmly press the crumb mixture into the bottom of the greased dish. Refrigerate for 15 minutes for the crust to set.
- Beat the cream cheese: In a large bowl, beat the softened cream cheese, powdered sugar, and coconut extract together until the mixture is smooth and creamy.
- Fold in toppings: Gently fold in one container of whipped topping and the sweetened shredded coconut until well combined and fluffy.
- Spread the coconut layer: Evenly spread the coconut cream mixture over the chilled crust, smoothing it out with a spatula for an even layer.
- Whisk the pudding: In another bowl, whisk the instant coconut cream pudding mix with 3 cups of cold whole milk for about 2 minutes. It should thicken nicely.
- Layer the pudding: Carefully spread the thickened pudding over the coconut cream layer, creating another delicious layer of flavor.
- Top with whipped topping: Spread the second container of whipped topping over the pudding layer, making sure to cover it completely for a lovely finish.
- Sprinkle the toppings: Generously sprinkle the white shredded coconut and coconut flakes on top, adding a beautiful touch of tropical flair.
- Chill the dessert: Cover the dish and refrigerate for at least 4–6 hours, or preferably overnight, allowing the layers to set and flavors to meld beautifully.