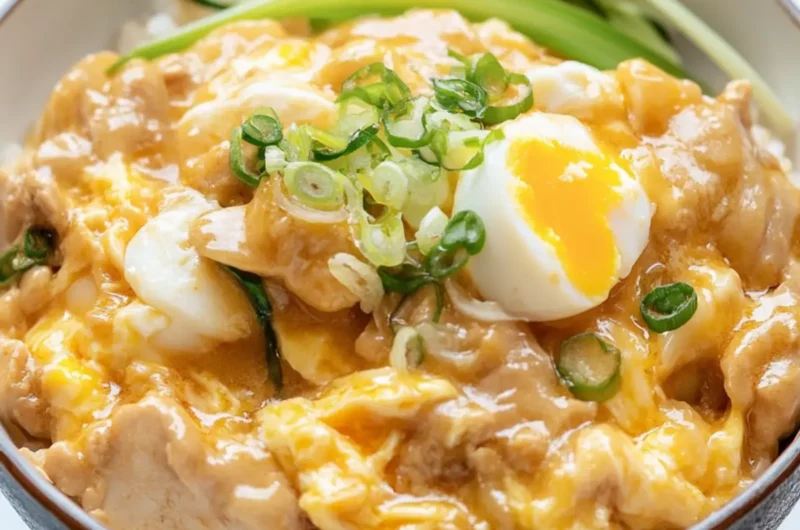
If you’re yearning for a comforting, quick meal that encapsulates the essence of home-cooked goodness, look no further than this delightful Oyakodon—Japan’s beloved chicken and egg rice bowl. Inspired by the warmth of family meals, the intricate dance of tender chicken simmered alongside velvety eggs creates a charming harmony that will instantly uplift your spirits. Picture the enticing aroma of dashi wafting through your kitchen as you prepare this umami-rich dish, perfect for busy weeknights yet special enough to impress guests.
As I stood in my kitchen on a chilly evening, I found myself craving something nourishing but easy to whip up. That’s when this recipe came to life, with its straightforward steps and heartwarming results. Each scoop over fluffy rice is a treasure trove of flavor and nostalgia, reminding me of cherished meals shared with loved ones. Join me as we explore how to make this traditional Japanese comfort food that’s not just a meal but a cozy embrace in a bowl!
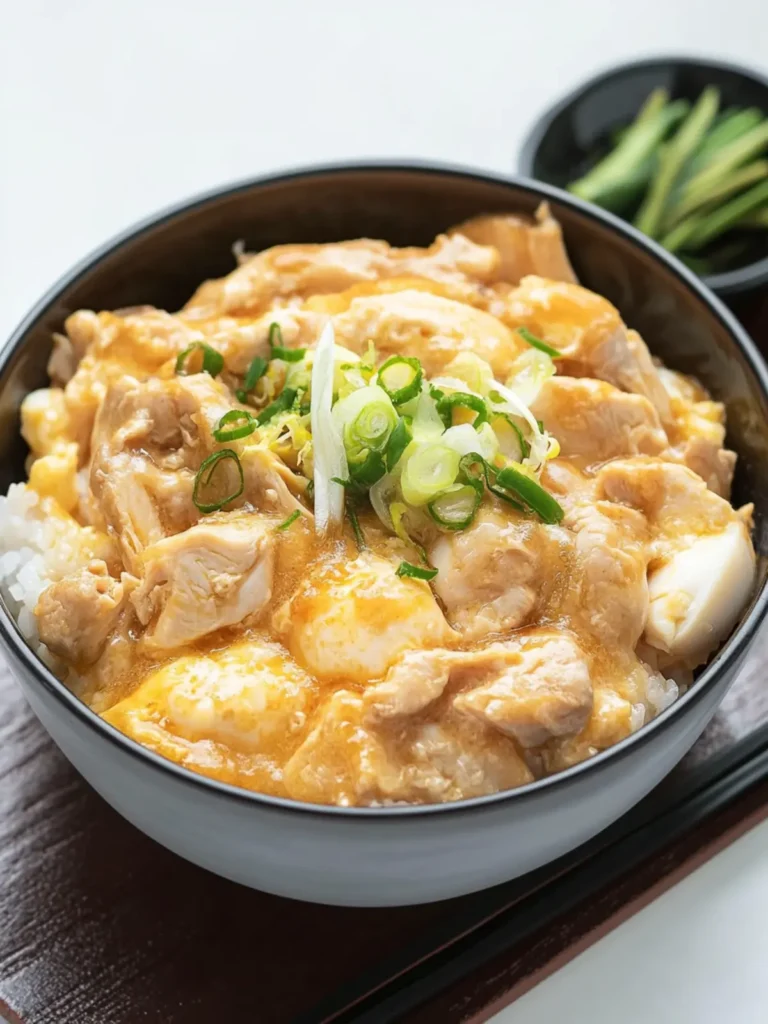
Why is Japanese Oyakodon so beloved?
Comforting, heartwarming flavors: The rich dashi broth envelops tender chicken and silky eggs, creating a meal that feels like a warm hug.
Quick preparation: Whip up this simple dish in just 30 minutes, making it perfect for busy weeknights.
Versatile ingredients: Customize with your favorite chicken cuts or add vegetables for an extra nutritional boost.
Umami explosion: The blend of soy sauce and mirin infuses each bite with a delightful depth of flavor that will keep you coming back for more.
Crowd-pleaser: Whether cooking for family or guests, this dish’s charm is sure to impress everyone at the table. Discover more inspiring recipes like this by checking out our post on quick comfort food ideas.
Ingredients for Japanese Oyakodon
For the Chicken and Broth
• Boneless skinless chicken thighs – Provides tender meat with rich taste; substitute with chicken breast for a leaner option.
• Large onion – Adds sweetness and depth; use yellow or white onions, or scallions for a milder flavor.
• Dashi (Japanese soup stock) – Infuses umami and depth of flavor; homemade or store-bought works well, with chicken or vegetable broth as an alternative.
• Soy sauce – Adds savory elements and color; tamari can easily replace it for a gluten-free version.
• Mirin (sweet rice wine) – Enhances sweetness; honey or sugar diluted with water can work if mirin isn’t available.
• Sugar – Balances the savory and sweet in the broth; feel free to reduce if you prefer it less sweet.
• Sake (optional) – Adds complexity; simply omit it if you don’t have it on hand.
For the Toppings
• Large eggs – Contribute a creamy texture to the dish; using fresh eggs yields the best results.
• Freshly chopped green onions – Garnish this dish with freshness; chives can be substituted if desired.
• Shichimi togarashi (optional) – Adds a delightful spice; chili flakes can stand in if you prefer.
For the Rice
• Japanese short-grain rice – Acts as the base of the dish, soaking up flavors; sushi rice can be a fantastic alternative.
Embrace the joy of cooking with this recipe for Japanese Oyakodon, where every bite is a comforting embrace!
How to Make Japanese Oyakodon
-
Whisk the Sauce: In a medium bowl, combine dashi, soy sauce, mirin, sugar, and optional sake. Whisk until smooth, ensuring the sugar has dissolved for a flavorful broth.
-
Slice the Onion: Thinly slice the large onion and set it aside. Its sweetness will enhance the depth of the dish as it cooks.
-
Prepare the Eggs: In a separate bowl, lightly beat the large eggs. Avoid over-mixing so they retain a nice texture when added to the pan.
-
Simmer the Onions: Heat the sauce you prepared in a large skillet over medium heat until it begins to simmer. Add the sliced onions and cook for about 3-4 minutes until translucent.
-
Cook the Chicken: Add the boneless skinless chicken thighs to the pan. Cook for 6-7 minutes, ensuring the chicken is fully cooked and tender.
-
Add the Eggs: Lower the heat slightly, and gently pour in the beaten eggs. Cover the pan and cook for 2-3 minutes until the eggs are just set but still slightly runny for creaminess.
-
Serve it Up: Scoop portions over bowls of hot steamed rice. Garnish with freshly chopped green onions and a sprinkle of shichimi togarashi for an extra kick, if desired.
Optional: Drizzle a little extra soy sauce over the top for added flavor.
Exact quantities are listed in the recipe card below.
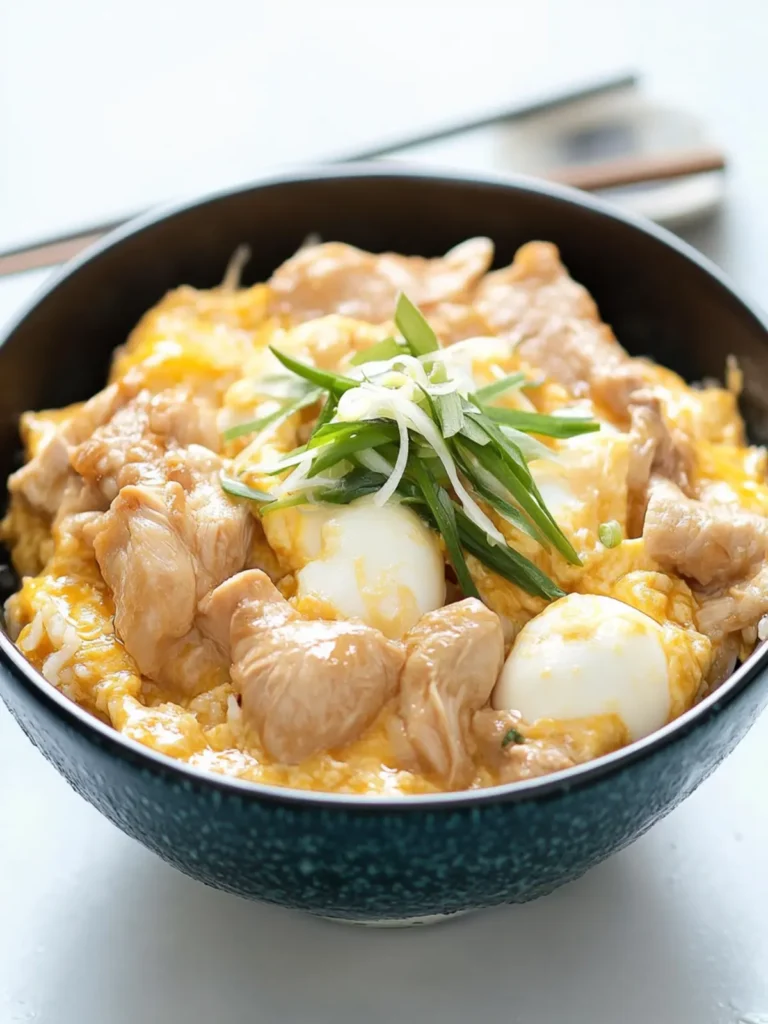
Expert Tips for Japanese Oyakodon
• Mix Well: Ensure that the dashi sauce is well-mixed and the sugar is fully dissolved before cooking to achieve a balanced flavor.
• Perfect Eggs: Don’t overcook the eggs to maintain that luscious, creamy texture. They should be just slightly runny when served.
• Pan Choice: Use a wide, shallow pan for even cooking and easier serving; it allows all elements to mingle beautifully.
• Rice Preparation: Rinse the Japanese short-grain rice thoroughly before cooking to remove excess starch, resulting in fluffier rice that absorbs flavors beautifully.
• Tweak to Taste: Feel free to adjust the sugar and soy sauce levels according to your palate, creating a perfect umami-rich balance for your Japanese Oyakodon.
Make Ahead Options
These delightful Japanese Oyakodon bowls are perfect for meal prep enthusiasts! You can prepare the dashi sauce and chop the onions up to 24 hours in advance, storing them in an airtight container in the refrigerator to preserve their freshness. You can also cut the chicken and keep it marinated in the sauce for up to 3 days, ensuring maximum flavor without worrying about spoilage. When you’re ready to enjoy your comforting dish, simply heat the sauce in a skillet, add the marinated chicken, and follow the recipe instructions to finish with the eggs. This easy prep will save you valuable time, giving you a cozy meal with minimal effort on busy nights!
Storage Tips for Japanese Oyakodon
Fridge: Store leftover Japanese Oyakodon in an airtight container for up to 2 days to maintain freshness.
Freezer: If you want to store it longer, freeze the components separately—chicken and broth can be kept for up to 3 months, while rice can last up to 6 months.
Reheating: When ready to enjoy, thaw in the fridge overnight, then reheat gently in the microwave or on the stovetop, being careful not to overcook the eggs.
Serving: For the best experience, reheat with a splash of water in the pan to avoid drying out the dish.
What to Serve with Japanese Oyakodon?
Elevate your Oyakodon experience by pairing it with delightful sides that create a well-rounded meal.
-
Miso Soup: A warm bowl of miso soup complements the meal perfectly, adding a savory depth and a comforting touch. Its umami flavor enhances the overall dining experience.
-
Pickled Vegetables: Crunchy, tangy pickles like takuan or pickled radishes offer a delightful contrast to the rich, creamy Oyakodon, cleansing the palate between bites.
-
Steamed Edamame: Lightly salted edamame pods are a nutritious side that adds a lovely texture. They’re fun to eat and rich in protein, making your meal more substantial.
-
Cucumber Salad: A simple Japanese cucumber salad with sesame dressing introduces a refreshing crunch, balancing the hearty flavors of the Oyakodon beautifully.
-
Japanese Pancakes: Light and fluffy, served with a hint of maple syrup or soy sauce, these treats can be a delightful way to end your meal, providing a sweet finish.
-
Green Tea: Serve with a cup of freshly brewed green tea for a soothing, earthy drink that pairs beautifully with the flavors of the dish, enhancing its umami profile.
These accompaniments transform your Oyakodon into a multi-dimensional meal, perfect for family gatherings or intimate dinners!
Japanese Oyakodon Variations
Feel free to let your creativity shine as you tailor this dish to your taste preferences!
-
Chicken Breast: Swap chicken thighs for tender chicken breast for a lighter dish. The flavors remain rich, but the meat is leaner.
-
Vegetable Boost: Add shiitake mushrooms or fresh spinach for nutrition and color. Their earthiness pairs beautifully with the umami broth.
-
Miso Infusion: Incorporate miso paste into the broth for added depth and a unique flavor twist. This adds a whole new layer of savory goodness!
-
Spicy Kick: A dash of sriracha or chili oil can elevate the heat level. Just a little sprinkle can transform your bowl into a spicy delight!
-
Brown Rice: Substitute white rice with brown rice for a heartier, whole grain alternative. This adds a nutty flavor and more nutritional benefits.
-
Herb Garnish: Top each serving with fresh herbs like cilantro or basil for an aromatic twist. The vibrant flavor can elevate the Oyakodon experience.
-
Fish Option: Replace chicken with sautéed salmon or tuna for a seafood variation. The rich flavors of the fish complement the dashi beautifully.
-
Egg Choices: Try duck eggs instead of chicken eggs for a richer taste. Their creaminess adds an indulgent touch to the dish.
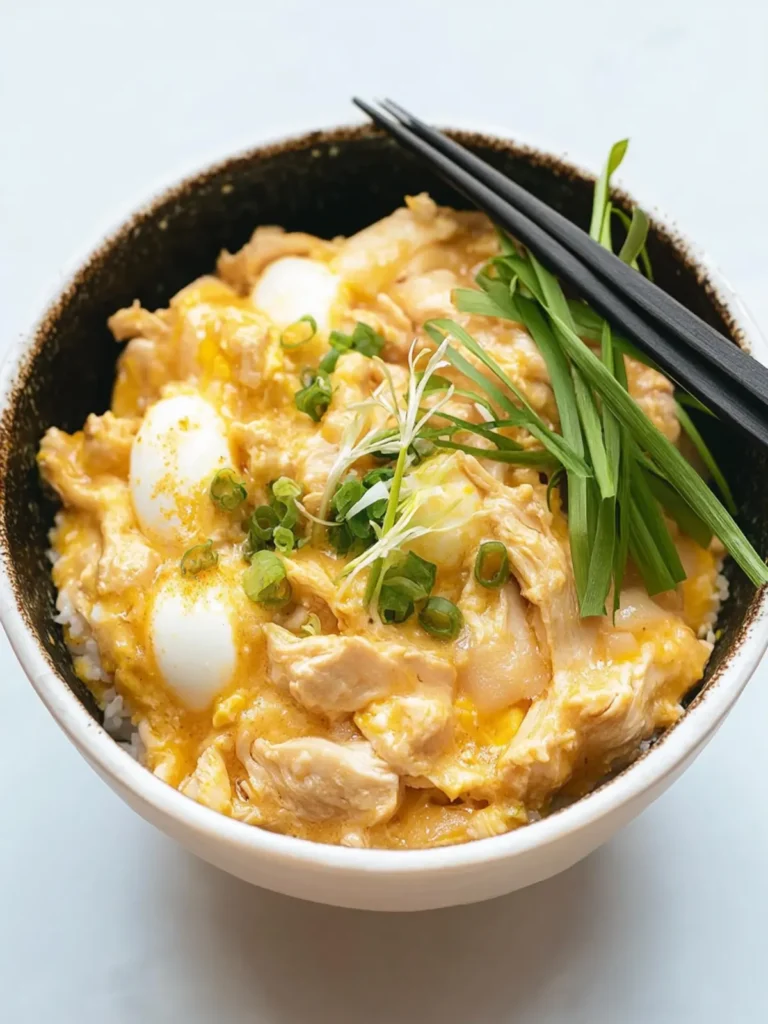
Japanese Oyakodon Recipe FAQs
What type of chicken is best for Oyakodon?
Using boneless skinless chicken thighs is ideal, as they provide rich flavor and tenderness. However, if you prefer a leaner option, chicken breast will work just fine. For a twist, try substituting chicken with other proteins like tofu or even duck!
How should I store leftover Oyakodon?
After enjoying your Oyakodon, store any leftovers in an airtight container in the fridge for up to 2 days. If you want to keep it longer, you can freeze the chicken and broth separately for up to 3 months, but remember that rice is best enjoyed fresh.
Can I freeze Oyakodon?
Absolutely! To freeze, separate the chicken and broth from the rice. Place the chicken and broth in an airtight container, and it will last up to 3 months in the freezer. For the rice, use a freezer bag and ensure to squeeze out as much air as possible; it can last up to 6 months. When ready to eat, thaw everything in the fridge overnight and reheat gently.
What should I do if my eggs are overcooked in the Oyakodon?
If you find your eggs overcooked, don’t panic! For the next time, make sure to lower the heat before adding the eggs and cover the pan to steam them just until they are slightly runny. If it happens again, try adding a small splash of soy sauce or broth when reheating to enhance moisture and richness.
Can I use gluten-free ingredients for Oyakodon?
Very much! To keep your Japanese Oyakodon gluten-free, opt for tamari instead of regular soy sauce and ensure the mirin is gluten-free as well. This way, you can savor this delightful dish without compromising on taste or dietary needs.
What’s the recommended ripeness of the eggs and onions?
For the best flavor and texture, use fresh, large eggs—look for those without cracks and with a bright yolk. For onions, choose firm ones without dark spots or soft spots; the sweetness of fresh onions enhances the overall depth of your Oyakodon.
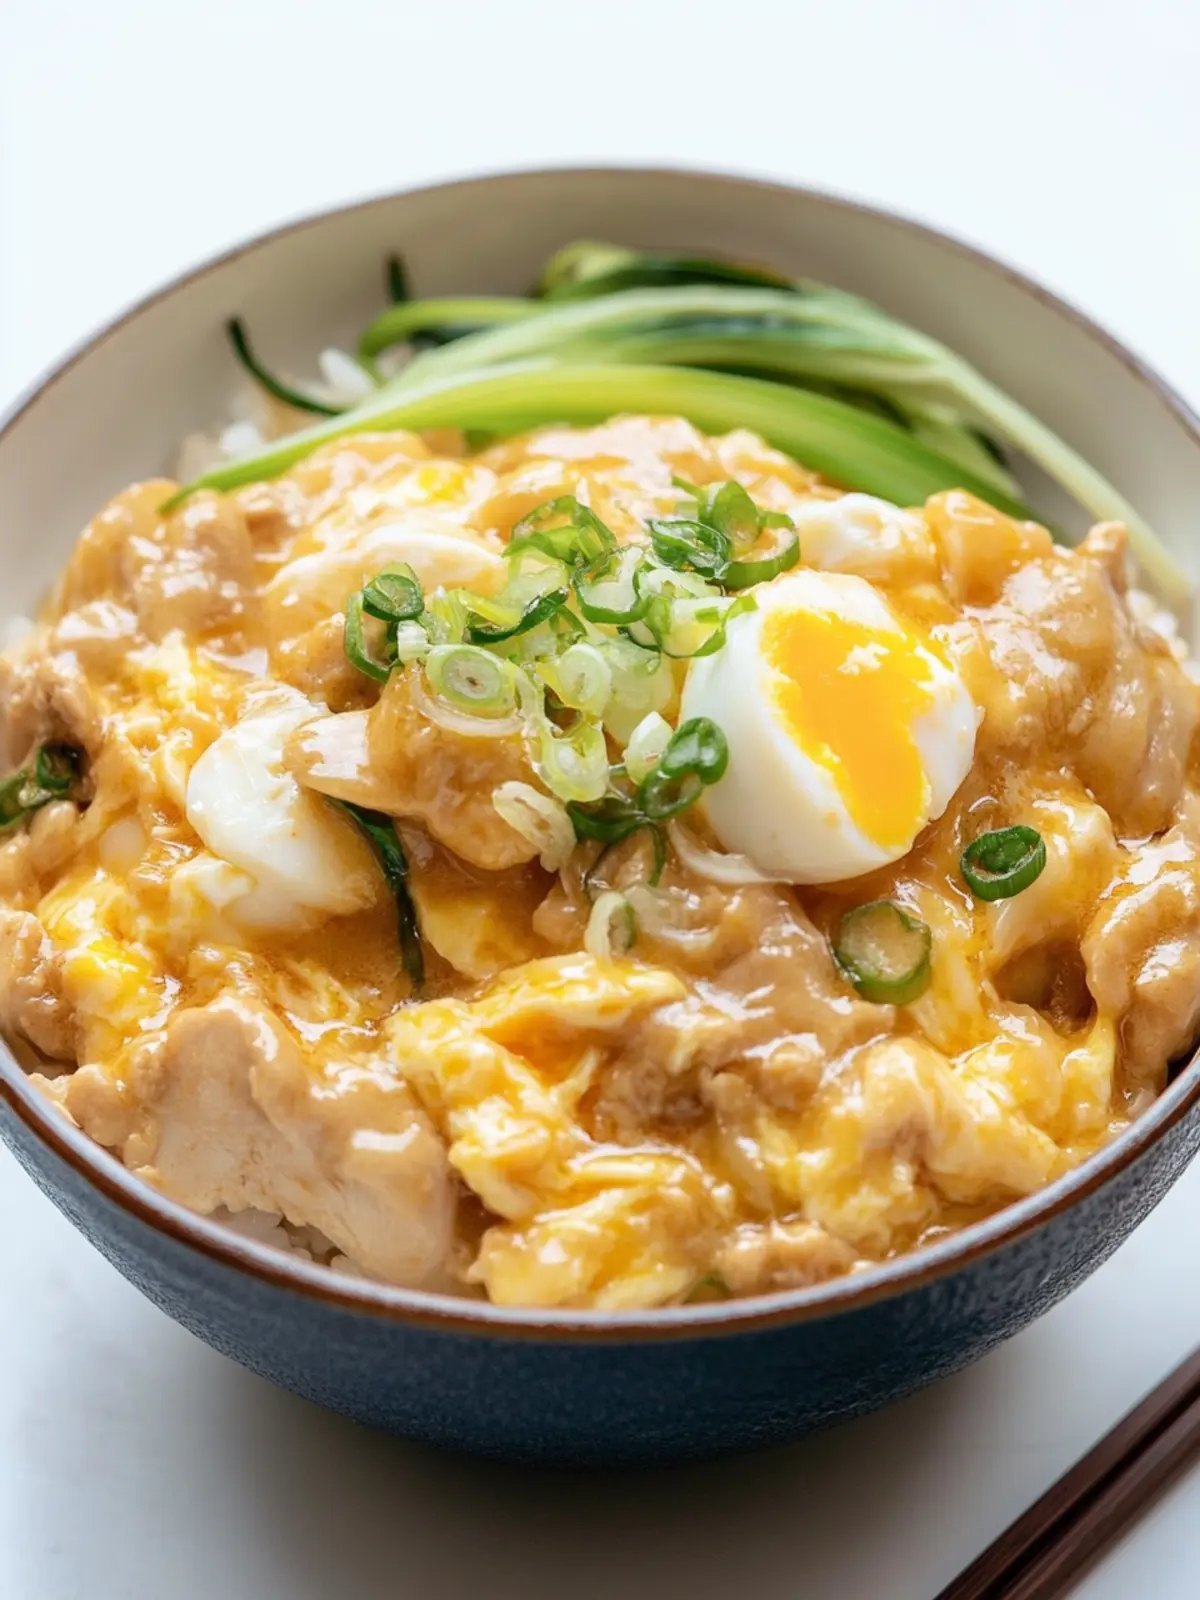
Savory Japanese Oyakodon: Quick Comfort in Every Bite
Ingredients
Equipment
Method
- In a medium bowl, combine dashi, soy sauce, mirin, sugar, and optional sake. Whisk until smooth, ensuring the sugar has dissolved.
- Thinly slice the large onion and set it aside.
- In a separate bowl, lightly beat the large eggs.
- Heat the sauce in a large skillet over medium heat until it begins to simmer. Add the sliced onions and cook for about 3-4 minutes until translucent.
- Add the boneless skinless chicken thighs to the pan. Cook for 6-7 minutes.
- Lower the heat slightly, and gently pour in the beaten eggs. Cover the pan and cook for 2-3 minutes.
- Scoop portions over bowls of hot steamed rice. Garnish with freshly chopped green onions and shichimi togarashi.