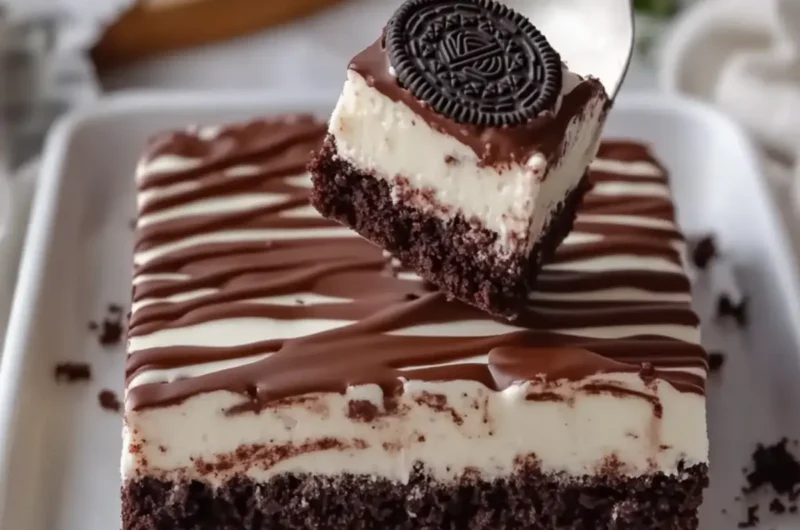
As the clock struck 4 PM and the sweet cravings kicked in, I found myself rummaging through the pantry, uncertain of what to whip up. Then, my eyes landed on a treasure trove of Oreo cookies—a classic favorite just waiting to be transformed! I had a lightbulb moment: why not create a delicious, Super Easy Oreo Cake Bars with Rich Chocolate and Cream Cheese Topping?
These indulgent bars bring together the nostalgic crunch of Oreos and the smooth, rich flavor of chocolate ganache. Perfect for a cozy afternoon treat or a show-stopping dessert to impress unexpected guests, this recipe is all about simplicity without sacrificing taste. Imagine slicing into a fudgy chocolate cake topped with elegantly swirled white chocolate, all while the enticing aroma fills your kitchen. Let’s dive in and create a dessert that’s not only easy and fun but also certain to leave everyone asking for seconds!
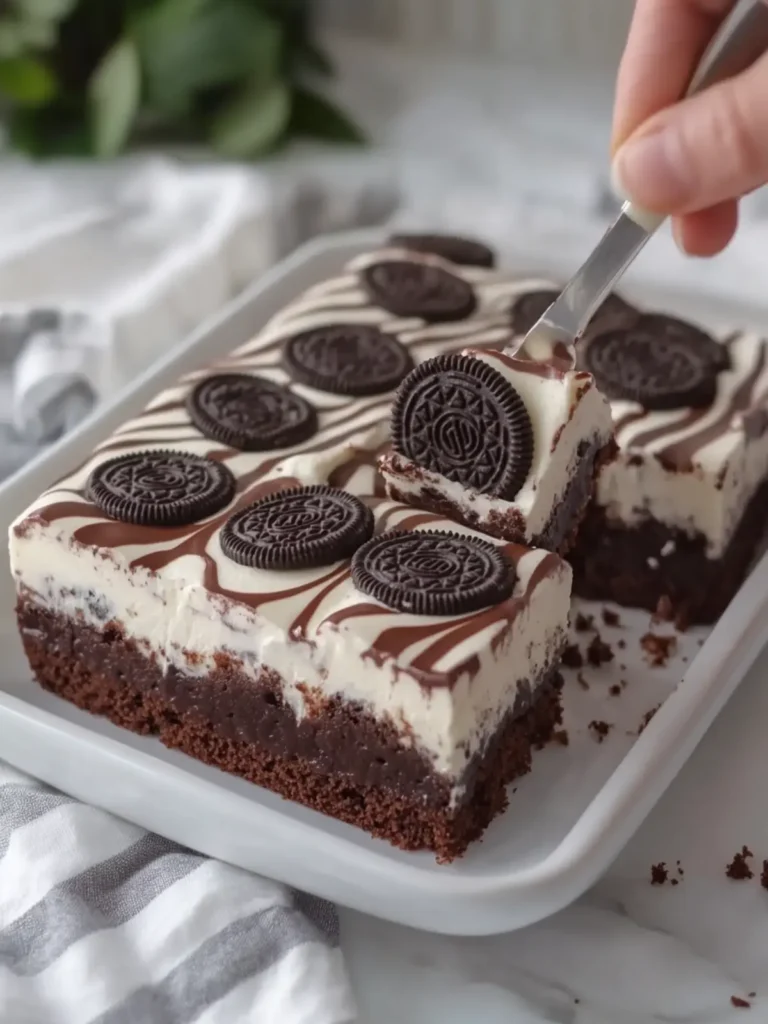
Why will you love Super Easy Oreo Cake Bars?
Decadent flavor pairs perfectly with simplicity; you’ll be amazed at how easily these bars come together. Indulgent chocolate ganache drapes across a rich, fudgy base, creating a dessert no one can resist. Crowd-pleaser status is guaranteed, making it perfect for both family gatherings and unexpected guests. Plus, with minimal prep time, you can enjoy your creation right when cravings hit! Don’t forget to whip up a batch of these delightful bars for a charming afternoon treat or special occasion!
Super Easy Oreo Cake Bars Ingredients
• Get ready to indulge in a delightful dessert!
For the Cake Base
- Crushed Oreo cookies – 2 cups (200 g); these give the bars that iconic flavor and texture.
- All-purpose flour – 1 cup (125 g); helps to bind the ingredients together for a stable cake.
- Unsweetened cocoa powder – ½ cup (50 g); adds rich chocolate flavor to your cake base.
- Granulated sugar – ¾ cup (150 g); balances the chocolate flavor with a touch of sweetness.
- Unsalted butter – ½ cup (115 g), melted; ensures a moist and tender crumb in your cake.
- Large eggs – 2; provide the essential lift and structure to your cake.
- Whole milk – ½ cup (120 ml); enhances moisture and gives a rich texture to the batter.
- Vanilla extract – 1 teaspoon; adds aromatic flavor and depth to your cake.
- Baking powder – 1 teaspoon; helps the cake rise and become fluffy.
- Salt – ¼ teaspoon; enhances the overall sweetness and flavor of the cake.
For the Toppings
- Milk chocolate chips – 1½ cups (255 g); these melt into a luscious ganache for a decadent topping.
- Heavy cream – ¾ cup (180 ml); creates a silky texture for your chocolate ganache.
- Unsalted butter – 1 tablespoon; adds richness and a glossy finish to the ganache.
- White chocolate chips – ½ cup (85 g); perfect for achieving that beautiful marble effect on top.
- Heavy cream – 2 tablespoons (30 ml); used for melting the white chocolate for drizzling.
- Crushed Oreo cookies – 4–5; sprinkle on top for added crunch and fun decoration.
- Whole Oreo cookies – 4; a charming optional garnish for serving, making your dessert look extra festive!
Get ready to dive into these Super Easy Oreo Cake Bars and impress your family and friends with an unforgettable dessert experience!
How to Make Super Easy Oreo Cake Bars
-
Preheat the oven to 350°F (175°C). Grease a 9 × 13-inch baking dish and line the bottom with parchment paper for easy removal later.
-
Crush the Oreo cookies into fine crumbs. You can use a food processor or a rolling pin to get them nice and fine. The filling adds extra creaminess to your cake!
-
Combine the flour, cocoa powder, sugar, baking powder, salt, and crushed Oreo cookies in a large bowl. Mix well to ensure the dry ingredients are evenly distributed.
-
Whisk together the melted butter, eggs, milk, and vanilla extract in another bowl until smooth and creamy. This will add richness to your cake!
-
Mix the wet ingredients into the dry ingredients. Stir gently until a thick chocolate cake batter forms, taking care not to overmix.
-
Spread the batter evenly into your prepared baking dish. Use a spatula to smooth the surface so every bite is deliciously fudgy!
-
Bake for 25–30 minutes, or until a toothpick inserted into the center comes out with a few moist crumbs. Keep an eye on it; we want it just right!
-
Cool the chocolate cake base for approximately 30 minutes on a wire rack, allowing it to set and become easier to handle.
-
Heat the heavy cream in a small saucepan until steaming but not boiling. Pour it over the milk chocolate chips, let it stand for 2 minutes, then stir until smooth and glossy. Add the butter and mix until fully incorporated.
-
Melt the white chocolate chips with 2 tablespoons of heavy cream in the microwave in 15-second intervals, stirring in between until completely smooth.
-
Pour the rich milk chocolate ganache over the cooled cake base. Spread it evenly using a spatula for that glossy finish.
-
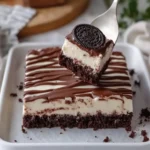
Decorate by spooning thin lines of melted white chocolate over the chocolate topping. Use a toothpick to create swirling patterns—this is where the fun begins!
-
Refrigerate for 1–2 hours or until the chocolate topping is completely firm. This will help set that delicious ganache!
-
Cut into neat rectangular portions using a warm, sharp knife for clean edges.
-
Serve chilled or allow the bars to sit at room temperature for a creamy, fudgy texture that melts in your mouth.
Optional: Garnish with extra crushed Oreos for added crunch!
Exact quantities are listed in the recipe card below.
Make Ahead Options
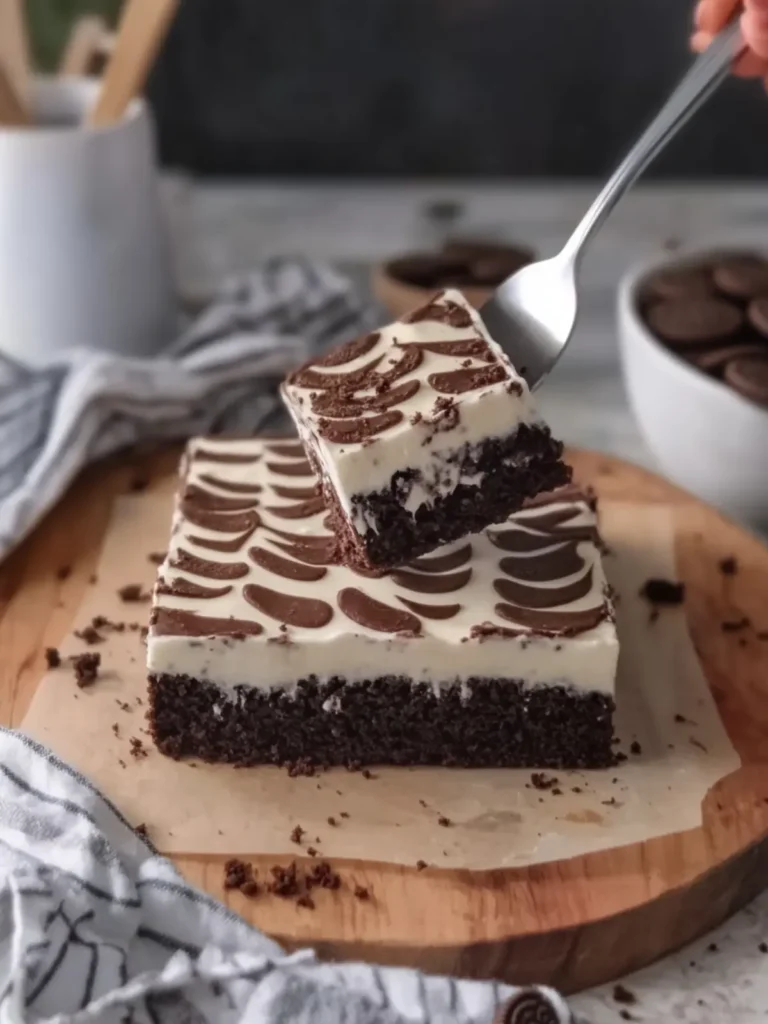
These Super Easy Oreo Cake Bars with Rich Chocolate and Cream Cheese Topping are perfect for meal prep enthusiasts! You can prepare the chocolate cake base up to 24 hours in advance, storing it tightly wrapped in the refrigerator to maintain its moistness. Additionally, the chocolate ganache can be made and refrigerated for up to 3 days before pouring it onto the cake. When you’re ready to serve, simply reheat the ganache slightly if firm, pour it over the chilled cake, and allow it to set for about 1-2 hours. This way, you’ll have delectable dessert bars ready to impress with minimal last-minute effort!
What to Serve with Super Easy Oreo Cake Bars?
What could be better than pairing sweet treats with complementary flavors to craft an unforgettable dessert experience?
- Fresh Berries: Juicy strawberries or raspberries provide a bright, tart contrast to the rich chocolate, refreshing the palate between bites.
- Vanilla Ice Cream: A scoop of creamy vanilla ice cream enhances each fudgy bite, creating a delightful cold and warm contrast that’s simply irresistible.
- Whipped Cream: Light and airy whipped cream adds an elegant touch, making each slice feel even more indulgent without overshadowing the cake’s flavors.
- Chocolate Sauce: Drizzling warm chocolate sauce over the top intensifies the chocolatey goodness and makes for a decadent visual presentation.
- Coffee or Espresso: The deep, rich flavors of coffee balance the sweetness perfectly, making every bite of the cake bars truly memorable.
- Milk: A glass of cold milk is a classic pairing that nourishes nostalgia, making each bite of these bars feel like a step back to childhood.
- Creamy Cheesecake Filling: A dollop of smooth cheesecake filling on the side creates a heavenly contrast that elevates each bar to new heights.
- Mint Chocolate Chip Ice Cream: The refreshing mint with chocolate undertones creates a delightful flavor combination that brightens up the dessert platter.
- Chocolate Milkshake: Indulge in a nostalgic chocolate milkshake to complement the cake bars’ rich flavors while providing a fun, sippable element to the treat.
Helpful Tricks for Super Easy Oreo Cake Bars
-
Crush Evenly: Ensure Oreo cookie crumbs are fine and uniform; this helps the bars hold together and creates a smoother texture.
-
Don’t Overmix: Gently combine wet and dry ingredients to maintain the fudgy texture of your super easy Oreo cake bars. Overmixing can lead to a tough cake!
-
Check for Doneness: Use a toothpick to test doneness. A few moist crumbs should cling to it, indicating that the cake is perfectly baked and not dry.
-
Chill for Success: Refrigerating your cake bars after decorating allows the ganache to set correctly, yielding a firm yet melt-in-your-mouth topping.
-
Warm Knife Tips: Use a warm, sharp knife to slice into the bars neatly; this prevents the chocolate from cracking and makes for beautiful portions.
Super Easy Oreo Cake Bars Variations
Feel free to let your creativity shine by customizing these delightful cake bars to match your taste preferences!
-
Gluten-Free: Substitute all-purpose flour with a gluten-free flour blend to enjoy the same great taste without the gluten.
-
Dairy-Free: Use almond milk and coconut oil instead of butter and whole milk for a lactose-free version that’s still deliciously moist.
-
Chewy Texture: Swap out a quarter cup of crushed Oreo cookies for finely chopped walnuts to add a delightful crunch and nutty flavor.
-
Minty Fresh: Incorporate a teaspoon of peppermint extract into the batter for a refreshing twist that pairs beautifully with chocolate.
-
Extra Decadence: Add a layer of peanut butter or Nutella between the cake and chocolate ganache for a rich, nutty flavor explosion.
-
Caramel Drizzle: Drizzle some caramel sauce over the ganache before the chocolate sets for an irresistible sweet and salty treat.
-
Spicy Kick: For an unexpected punch, sprinkle a dash of cayenne pepper into the cake batter, adding a warm heat that balances the sweetness.
-
Fruit Twists: Fold in some fresh raspberries or chopped strawberries into the batter before baking for a fruity contrast against the chocolate.
Keep experimenting until you find your perfect version of these Super Easy Oreo Cake Bars!
How to Store and Freeze Super Easy Oreo Cake Bars
Fridge: Keep the bars in an airtight container for up to 5 days. This ensures they maintain their rich flavor and fudgy texture.
Freezer: Wrap individual portions tightly in plastic wrap and store in a freezer-safe container for up to 3 months. Allow them to thaw in the fridge overnight before enjoying.
Reheating: For a warm treat, gently microwave a bar for about 10-15 seconds. This will enhance that deliciously gooey center!
Room Temperature: If serving at room temperature, allow the bars to sit out for about 30 minutes before serving for optimal flavor and texture.
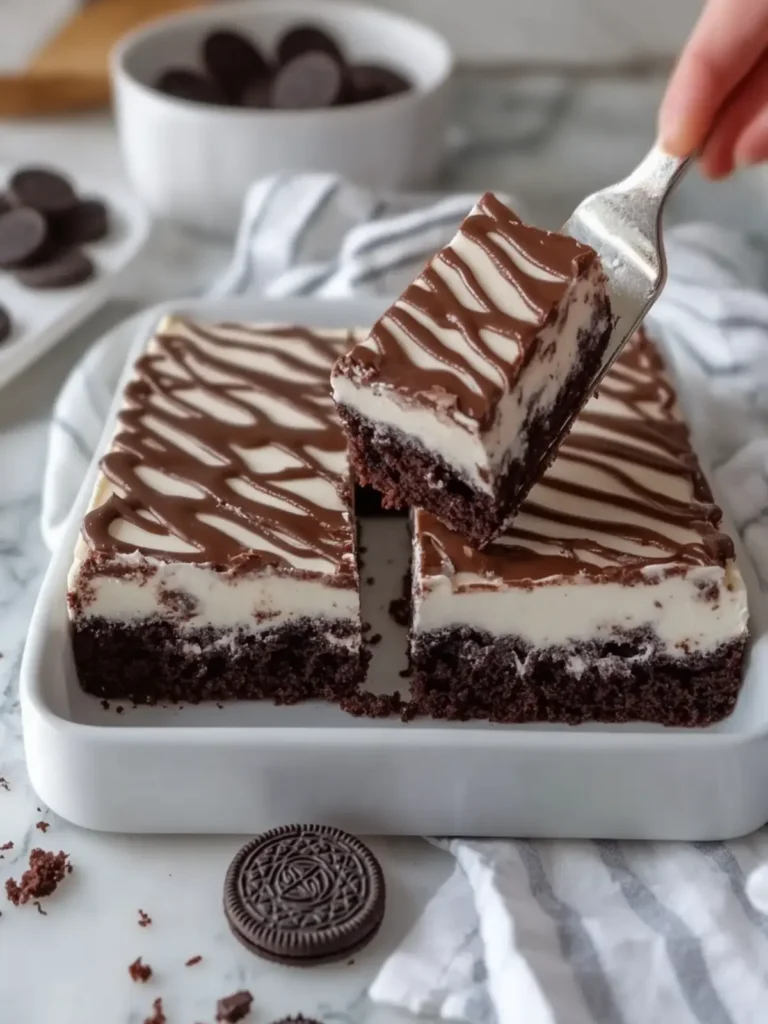
Oreo Chocolate Cake Recipe FAQs
How do I choose the right Oreos for this recipe?
Absolutely! Opt for regular Oreos—avoid the double-stuffed varieties as they can make the mixture too creamy, resulting in a cake that’s too dense. Make sure the cookies are fresh and crispy. Check for dark spots all over, which may indicate they are stale.
How should I store the Oreo Cake Bars?
To keep your Super Easy Oreo Cake Bars delightful, store them in an airtight container in the fridge for up to 5 days. This helps maintain their rich flavor and that lovely fudgy texture everyone craves!
Can I freeze the Oreo Cake Bars?
Certainly! To freeze, wrap individual portions tightly in plastic wrap and place them in a freezer-safe container. They will last up to 3 months. To enjoy, thaw them in the fridge overnight before serving. When you’re ready for a taste, microwave for about 10-15 seconds for a warm and gooey bite!
What should I do if my cake bars turn out dry?
Very! If your bars end up dry, remember to check your oven’s temperature; it might run hot. Also, measure your ingredients accurately, as too much flour can lead to a dry texture. Next time, try underbaking slightly—aim for a toothpick with a few moist crumbs when testing for doneness.
Are there any dietary considerations I should be aware of?
Yes! If you’re serving to guests with allergies, make sure they are aware that this recipe contains dairy and gluten. For a nut-free option, ensure your chocolate chips are specifically labeled as nut-free. As for pets, keep these delicious treats away from pets, especially chocolate, which can be harmful to them.
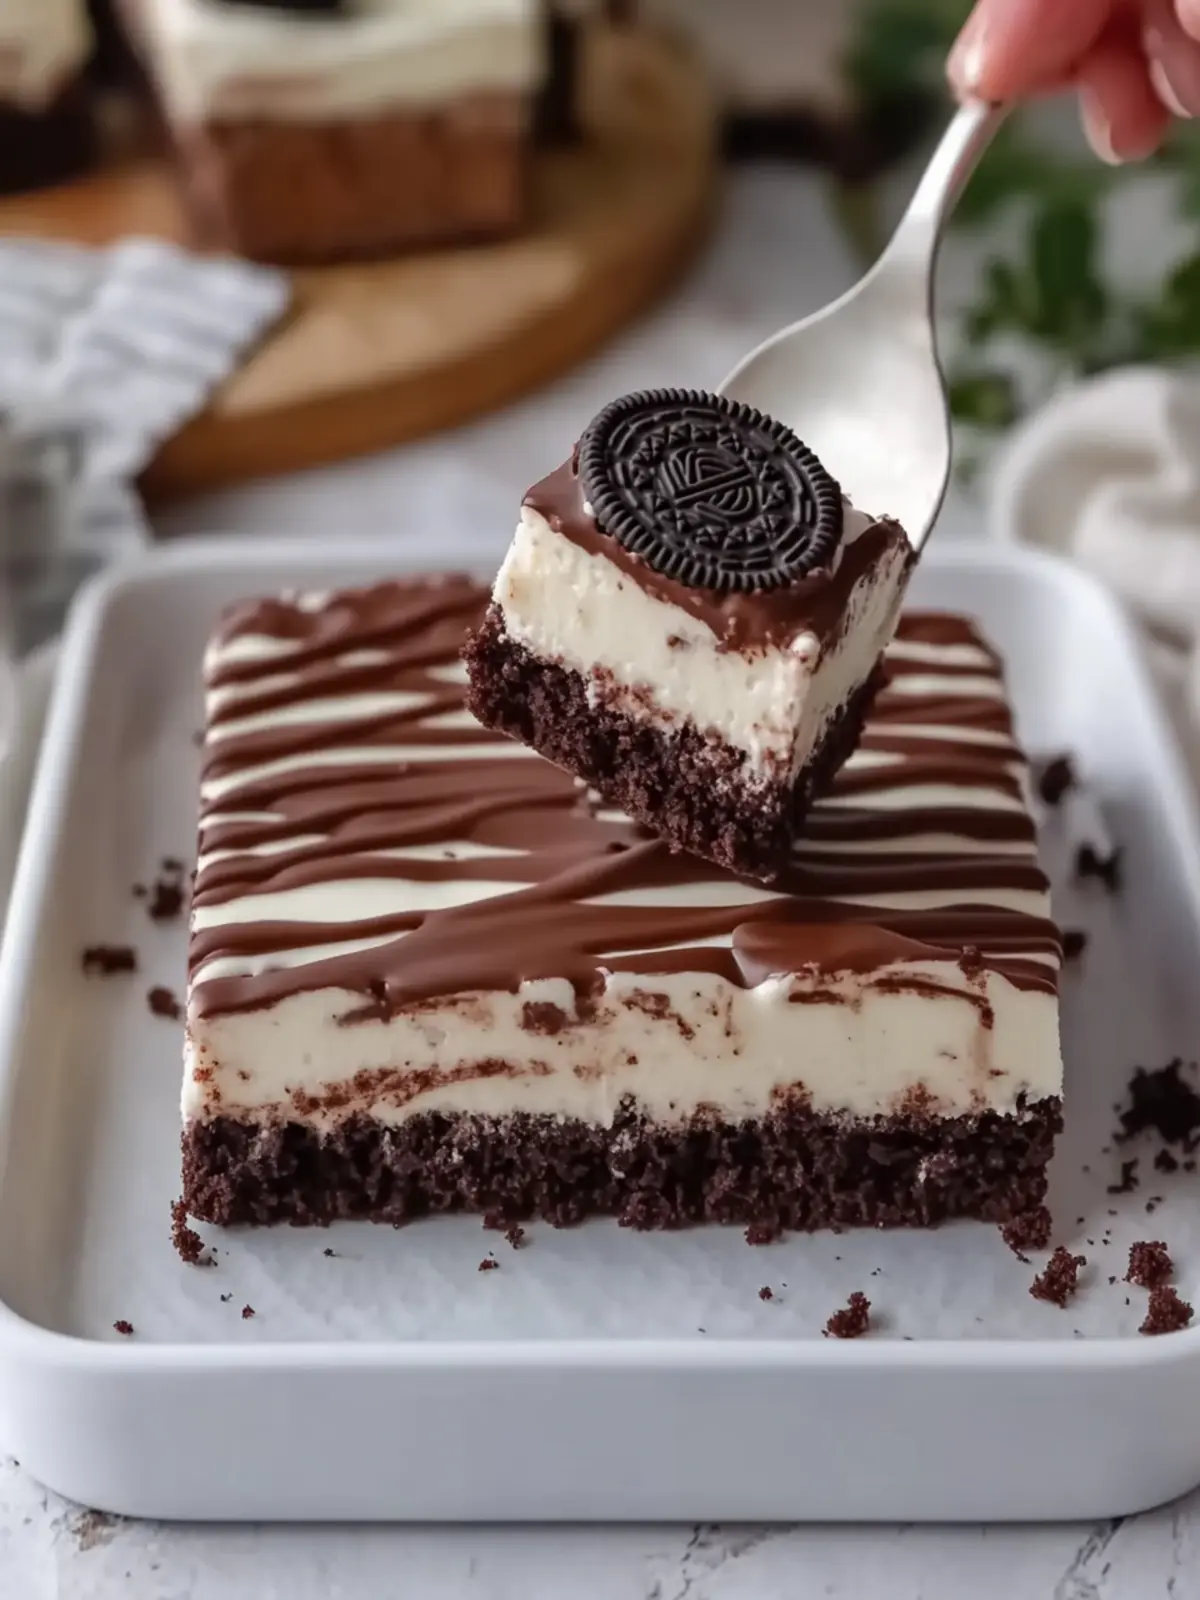
Decadent Super Easy Oreo Cake Bars with Chocolate Cream Cheese Topping
Ingredients
Equipment
Method
- Preheat the oven to 350°F (175°C). Grease a 9 × 13-inch baking dish and line the bottom with parchment paper.
- Crush the Oreo cookies into fine crumbs using a food processor or a rolling pin.
- Combine flour, cocoa powder, sugar, baking powder, salt, and crushed Oreo cookies in a large bowl.
- Whisk together melted butter, eggs, milk, and vanilla extract until smooth and creamy.
- Mix the wet ingredients into the dry ingredients until a thick batter forms, being careful not to overmix.
- Spread the batter evenly into the prepared baking dish, smoothing the surface with a spatula.
- Bake for 25–30 minutes, or until a toothpick comes out with a few moist crumbs.
- Cool the chocolate cake base for approximately 30 minutes on a wire rack.
- Heat heavy cream in a saucepan until steaming, pour over milk chocolate chips, let stand for 2 minutes, then stir until smooth.
- Melt white chocolate chips with 2 tablespoons of heavy cream in the microwave in 15-second intervals.
- Pour the chocolate ganache over the cooled cake base and spread evenly.
- Decorate by spooning lines of melted white chocolate over the chocolate topping and swirl with a toothpick.
- Refrigerate for 1–2 hours until the chocolate topping is completely firm.
- Cut into neat portions using a warm knife.
- Serve chilled or at room temperature.