As the holiday season rolls around, there’s a certain nostalgia in the air that makes me yearn for flavors reminiscent of childhood festivities. Picture this: cozying up by the fire, surrounded by loved ones, and indulging in an irresistible dessert that captures the essence of Christmas. That’s where these Vintage Christmas Cake Dip Cups come in, transforming those cherished flavors into a fun and creamy treat that’s as easy to whip up as it is delightful to share.
One evening, after a whirlwind of holiday planning, I discovered a simple yet remarkable way to encapsulate the joy of Christmas cake in a dip. Imagine the fun of scooping layers of creamy goodness topped with colorful sprinkles—the perfect treat for parties or a cozy night in. This recipe balances the sweetness of vanilla cake with a rich, fluffy texture, making it a crowd-pleaser that ensures everyone leaves with festive smiles. Trust me, you’ll want to keep this gem in your holiday arsenal!
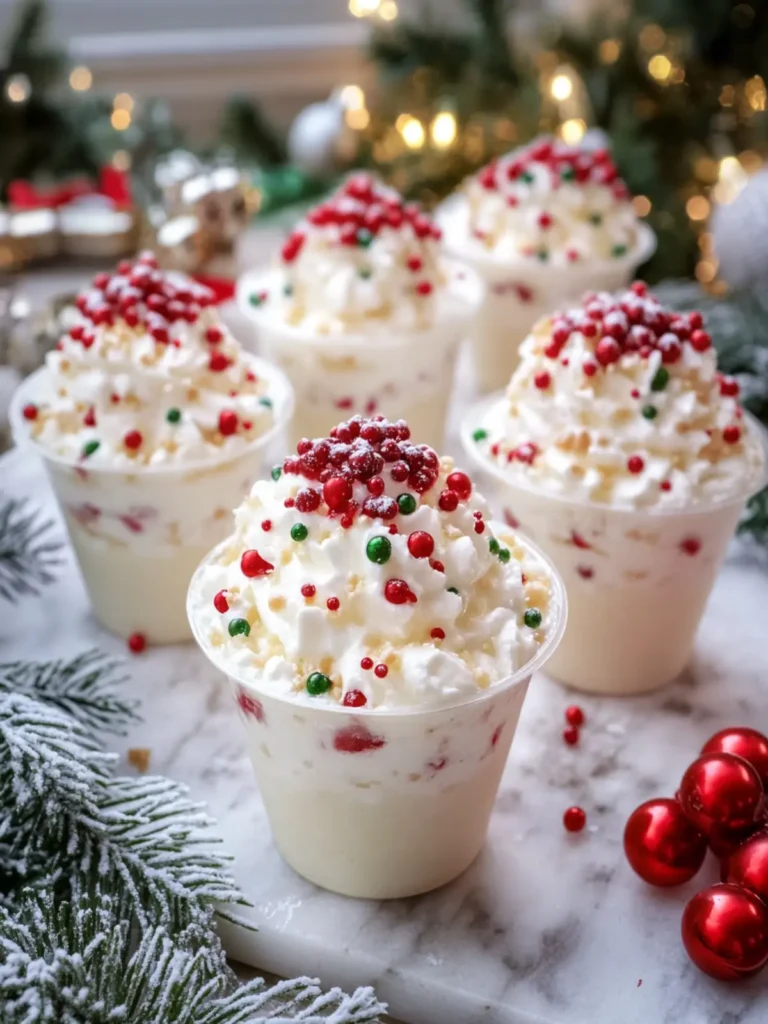
Why is Vintage Christmas Cake Dip Cups a Must-Try?
Festive Fun: This creamy dip brings a playful twist to traditional holiday desserts, perfect for family gatherings or festive parties.
Easy to Make: With simple steps and minimal fuss, you can whip these delightful cups in no time, making holiday baking a breeze.
Decadent Flavor: The combination of cream cheese, sour cream, and cake mix creates a rich and indulgent treat that will have everyone coming back for more!
Customization: Feel free to add your favorite festive toppings or sprinkles, making each cup uniquely yours.
Perfect for Sharing: These individual servings are ideal for potlucks or holiday celebrations, allowing guests to indulge without the mess of slicing cake.
Embrace the holiday spirit with these unique treats and impress your guests this season!
Vintage Christmas Cake Dip Ingredients
• Get ready to create something special!
For the Dip
- Cream cheese – ensures a creamy, smooth base for your dip.
- Dry vanilla cake mix – gives the dip its nostalgic holiday cake flavor; remember to heat-treat it for safety!
- Powdered sugar – adds the perfect sweetness to balance out the creaminess.
- Sour cream – introduces a tangy richness that enhances the overall flavor.
- Vanilla extract – amplifies the vanilla notes for a more aromatic experience.
- Whole milk – helps achieve the ideal consistency for dipping and scooping.
- Heavy whipping cream – folded in for luscious texture, making this dip irresistibly fluffy.
For the Topping
- Heavy whipping cream – this makes your whipped topping light and airy for a delightful finish.
- Powdered sugar – sweetens the whipped cream and stabilizes it for piping on your cups.
- Vanilla extract – a splash accentuates the vanilla flavor in the topping too.
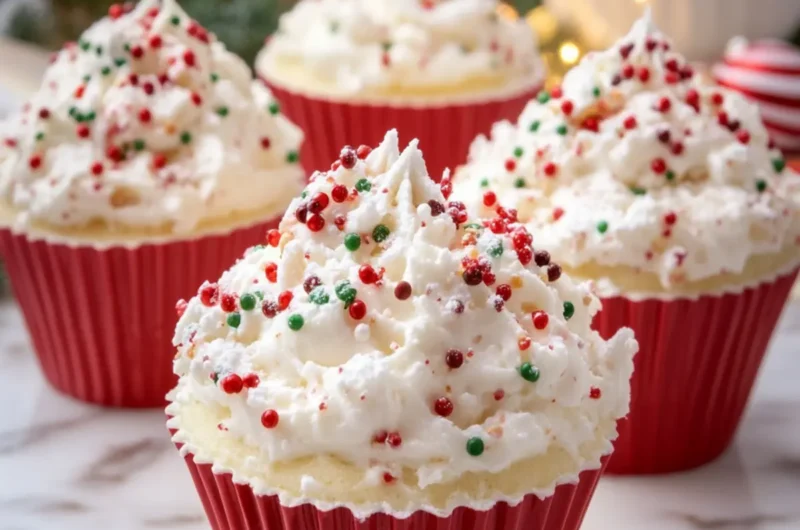
- Christmas sprinkles – adds a festive touch that makes these Vintage Christmas Cake Dip Cups truly special!
Elevate your holiday dessert game with this Vintage Christmas Cake Dip recipe that will surely bring holiday cheer to your table!
How to Make Vintage Christmas Cake Dip Cups
-
Preheat the oven to 350°F (175°C). Line a baking sheet with parchment paper, and spread the dry cake mix in a thin layer. Bake for about 5–7 minutes, until the mixture reaches 165°F (74°C). Allow it to cool completely.
-
Beat the softened cream cheese and powdered sugar together in a large mixing bowl for 2 minutes, until smooth and fluffy. This will create a delightful base for your dip!
-
Combine the cooled cake mix, sour cream, vanilla extract, and milk with the cream cheese mixture. Mix until everything is smooth and well-integrated—this is where the magic happens!
-
Whip 1½ cups of cold heavy cream using a mixer until stiff peaks form. Carefully fold this whipped cream into the cake mixture to maintain that airy fluffiness.
-
Fold in ¼ cup of Christmas sprinkles, being gentle with the mixture to keep it light and playful. These sprinkles bring the festive element to your dip.
-
Spoon or pipe the delightful mixture into ten clear 5–6 oz dessert cups, filling each one about three-quarters full. Presentation matters, so have fun with it!
-
Whip the remaining 1 cup of heavy cream with 3 tablespoons of powdered sugar and ½ teaspoon of vanilla extract until stiff peaks form. This will crown your dip with a luxurious topping!
-
Pipe decorative swirls of the whipped cream over each cup, then sprinkle the 3 tablespoons of colorful Christmas sprinkles on top for that extra holiday cheer.
-
Refrigerate the cups for at least 1 hour before serving. Keeping them chilled allows the flavors to meld beautifully—plus, who doesn’t love a cool treat?
Optional: Add crushed candy canes for a festive crunch!
Exact quantities are listed in the recipe card below.
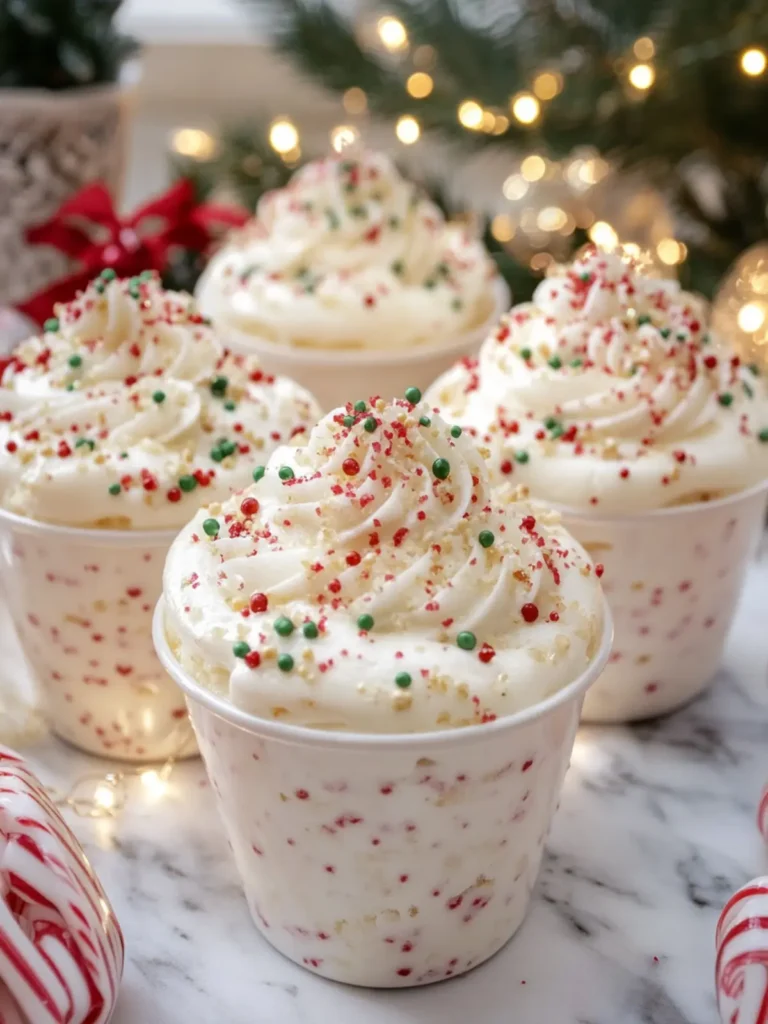
How to Store and Freeze Vintage Christmas Cake Dip Cups
Fridge: Keep the Vintage Christmas Cake Dip Cups covered in the refrigerator for up to 3 days. This will help maintain their creamy texture and delightful flavors.
Freezer: While it’s best enjoyed fresh, you can freeze the dip mixture for up to 2 months. Just make sure to store it in an airtight container, and thaw in the fridge before serving.
Reheating: There’s no need to reheat this dip! Simply serve it chilled and enjoy the refreshing taste that embodies holiday cheer.
Assembly: If you prepare the dip in advance, assemble the cups with whipped cream and sprinkles shortly before serving to ensure they stay fresh and visually appealing.
What to Serve with Vintage Christmas Cake Dip Cups?
Indulge in a delightful holiday spread that complements the creamy sweetness of these festive dip cups.
-
Gingerbread Cookies: Their spiced flavors provide a perfect contrast to the creamy dip, creating a delightful balance of textures.
-
Sugar Cookies: Soft and sweet, these classic treats are ideal for dipping and add an extra layer of cheer to your dessert table.
-
Fresh Fruit Skewers: Add a refreshing twist with seasonal fruit like strawberries and pineapple, offering a bright and juicy contrast to rich flavors.
-
Chocolate Strawberries: The luscious chocolate complements the vanilla cake dip beautifully, making for a delightful sweet treat that everyone loves.
-
Hot Cocoa: A warm mug of cocoa enhances the festive vibe, as the creamy dip and warm drink create a comforting holiday experience.
-
Spiced Apple Cider: This warm, aromatic drink brings out the cozy flavors of Christmas and pairs wonderfully with the sweet dip.
-
Peppermint Bark: The crunchy, minty layers are a magical addition, echoing the holiday spirit and adding a festive crunch alongside the dip.
-
Mini Cheesecakes: Their creamy, smooth texture harmonizes with your dip, providing a well-rounded dessert experience that’s sure to please.
-
Christmas Cake: For the ultimate nostalgia, a slice of traditional cake echoes the dip’s flavors, creating a delightful duo that no one can resist.
-
Chocolate Mousse: Light and airy, this mousse can echo the fluffiness of your dip while adding a rich chocolatey touch to the dessert table.
Expert Tips for Vintage Christmas Cake Dip Cups
-
Heat-Treat Cake Mix: Always bake your dry cake mix before using it. This step eliminates any potential bacteria and ensures safety while keeping the nostalgic flavor intact.
-
Cool Completely: Make sure the baked cake mix is completely cool before adding it to the dip mixture. Warm ingredients can alter the texture, making it less fluffy.
-
Gentle Folding: When incorporating whipped cream into the cake mixture, fold gently to maintain that airy texture. Overmixing can lead to a dense dip.
-
Chill Time Matters: Allow the dip cups to refrigerate for at least 1 hour. Chilling enhances the flavors and sets the dip, making it easier to scoop and enjoy.
-
Toppings Galore: Customize your Vintage Christmas Cake Dip Cups with your favorite festive toppings, like crushed candy canes or different colored sprinkles, for a unique flair.
Vintage Christmas Cake Dip Variations
Feel free to get creative with this festive dip and make it your own!
- Gluten-Free: Substitute the dry vanilla cake mix with a gluten-free cake mix for a deliciously safe option.
- Chocolate Lovers: Swap in chocolate cake mix for a decadent twist that pairs beautifully with the creamy base. Add chocolate sprinkles for an extra treat!
- Dairy-Free: Use vegan cream cheese and coconut cream instead of heavy whipping cream, ensuring a rich flavor without the dairy.
- Spice It Up: Add a teaspoon of cinnamon or nutmeg to the mixture for a warm holiday spice that complements the flavors beautifully. It’s amazing how a little spice can elevate your dip!
- Fruity Freshness: Incorporate some finely chopped dried fruit like cranberries or cherries to add a tangy sweetness that balances the richness.
- Nutty Crunch: Fold in crushed nuts, such as pecans or walnuts, for a delightful crunch in each bite. The added texture makes every scoop an adventure!
- Coconut Twist: Mix in shredded coconut for a tropical flair that complements the vanilla and gives a dreamy finish.
- Heat It Up: Add a pinch of cayenne or chili powder for a surprising kick that pairs interestingly with the sweetness—a bold choice for the adventurous palates!
Make Ahead Options
These Vintage Christmas Cake Dip Cups are perfect for meal prep, allowing you to enjoy the festive flavors without the last-minute rush. You can prepare the creamy base with the cake mix, cream cheese, and other ingredients up to 24 hours in advance; simply store it in an airtight container in the refrigerator to maintain its fluffy texture. For the best results, wait to fold in the whipped cream and sprinkles until just before serving, ensuring that they remain light and colorful. When you’re ready to impress your guests, spoon or pipe the mixture into dessert cups, top with whipped cream, and garnish with Christmas sprinkles—an effortless way to bring joy to your holiday gatherings!
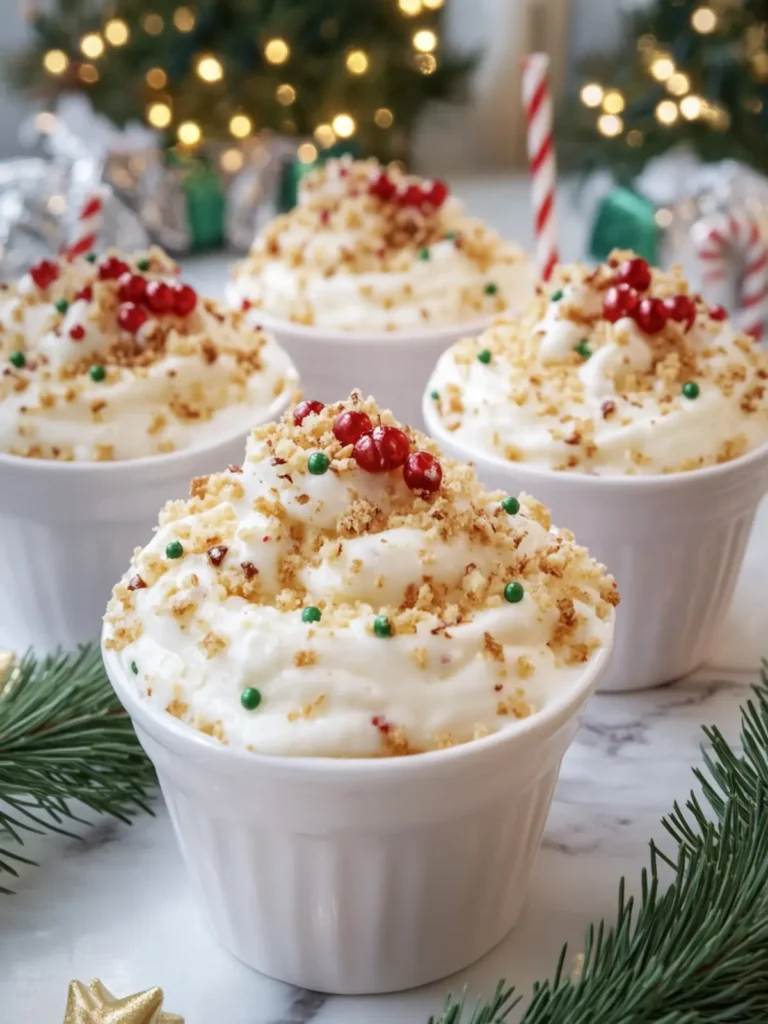
Vintage Christmas Cake Dip Cups Recipe FAQs
How do I know if my cream cheese is ripe enough?
Absolutely! Look for cream cheese that’s soft and spreadable, ideally at room temperature. If it has a slight sheen and no dark spots or cracks, it’s perfect for mixing. If it seems too hard, let it sit out for about 20-30 minutes before using.
What’s the best way to store leftover Vintage Christmas Cake Dip Cups?
Very! Keep your cups covered in the fridge for up to 3 days. Make sure to use airtight containers or plastic wrap to prevent them from drying out. If you notice any separation in the whipped topping, just give it a gentle stir before serving again.
Can I freeze the Vintage Christmas Cake Dip?
Absolutely! The dip mixture can be frozen for up to 2 months. Simply place it in an airtight container and label it with the date. When you’re ready to enjoy, thaw it in the refrigerator overnight. However, I recommend assembling the whipped cream and sprinkles just before serving for the best texture.
What if my whipped cream doesn’t form stiff peaks?
Don’t worry! If your whipped cream isn’t thickening, make sure your bowl and beaters are completely clean and cold. It’s best to chill your mixing bowl in the fridge for about 15 minutes beforehand. Beat the cream on medium speed, gradually increasing it to high, and add a touch of powdered sugar to help stabilize it. If all else fails, just use store-bought whipped topping as a substitute!
Are there any common allergies I should be aware of with this recipe?
Definitely! This Vintage Christmas Cake Dip contains dairy, so it’s not suitable for those with lactose intolerance or dairy allergies. For a dairy-free version, you can substitute cream cheese with a plant-based alternative, use non-dairy milk, and a vegan whipped topping. Always check labels carefully for potential allergens.
What types of sprinkles can I use for decoration?
Very! While I love using red, green, and white Christmas sprinkles for that festive flair, feel free to get creative! X sprinkles such as chocolate jimmies, edible glitter, or even crushed candy canes add unique and fun touches to your Vintage Christmas Cake Dip Cups. Just remember to sprinkle them on right before serving to keep their shape!
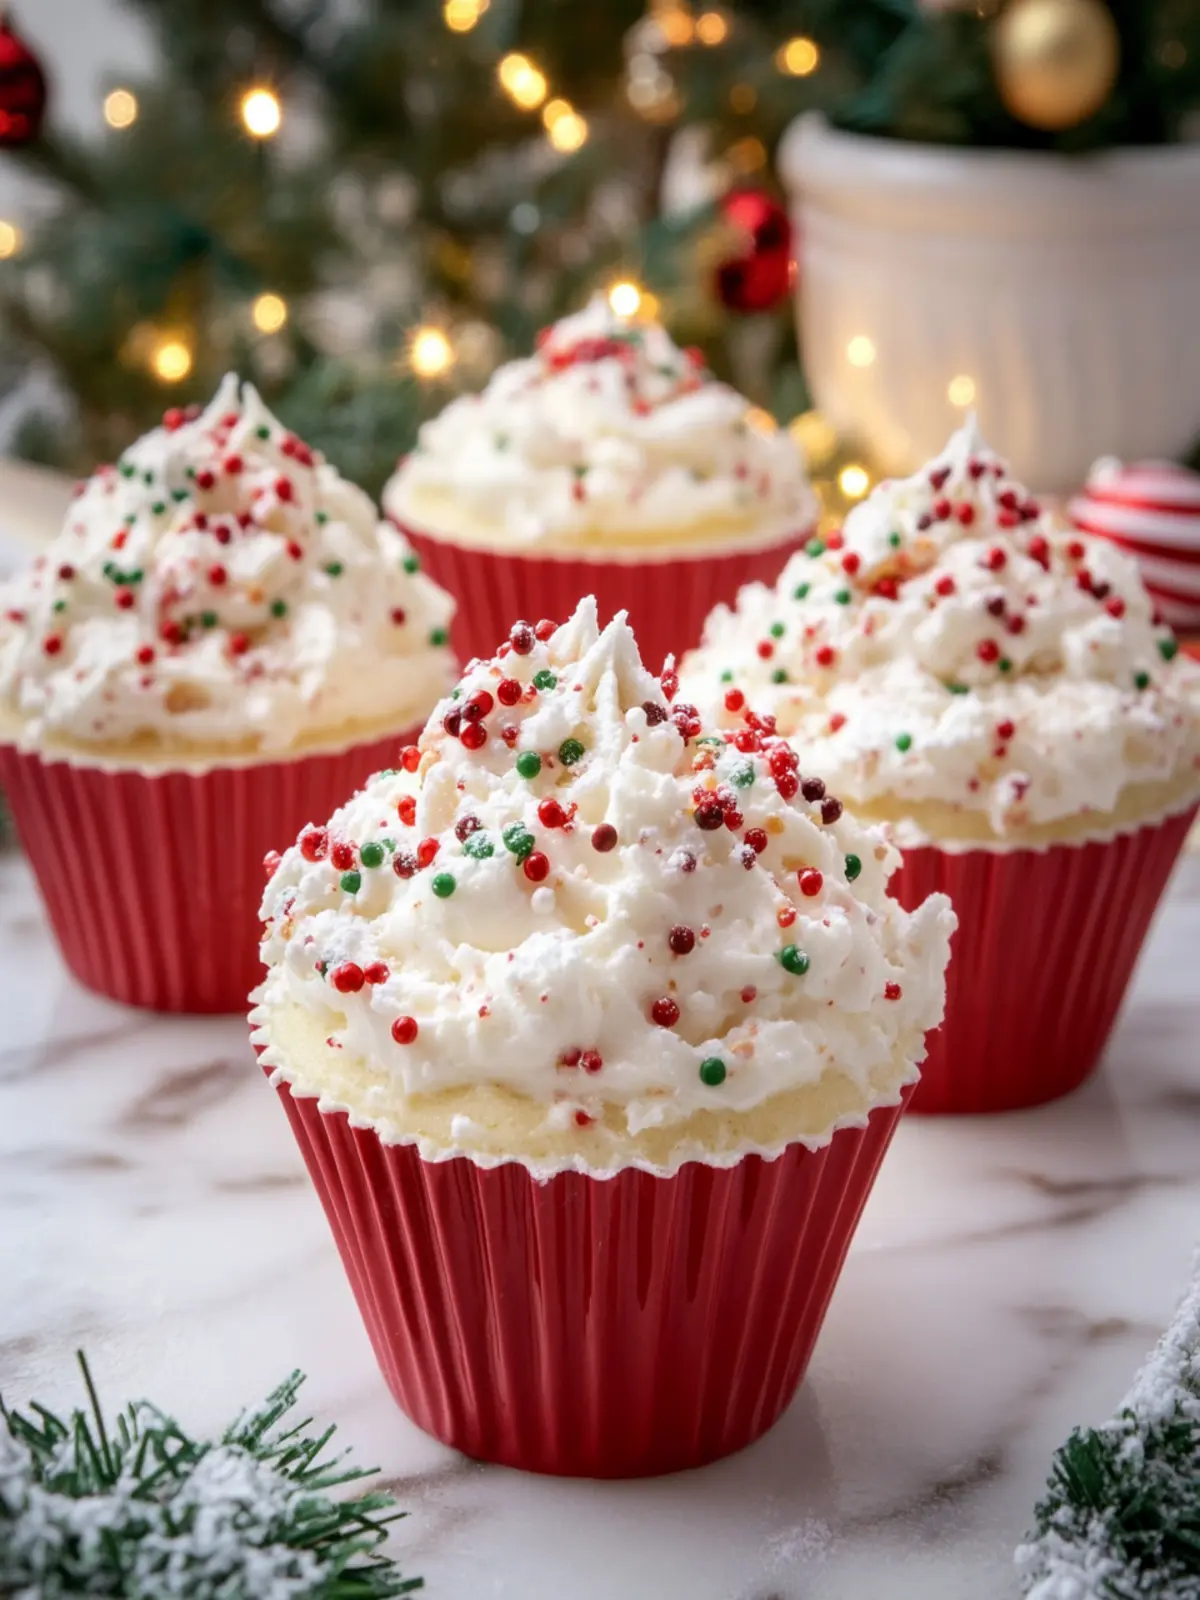
Vintage Christmas Cake Dip Cups That Bring Holiday Cheer
Ingredients
Equipment
Method
- Preheat the oven to 350°F (175°C). Line a baking sheet with parchment paper, and spread the dry cake mix in a thin layer. Bake for about 5–7 minutes, until the mixture reaches 165°F (74°C). Allow it to cool completely.
- Beat the softened cream cheese and powdered sugar together in a large mixing bowl for 2 minutes, until smooth and fluffy.
- Combine the cooled cake mix, sour cream, vanilla extract, and milk with the cream cheese mixture. Mix until everything is smooth and well-integrated.
- Whip 1½ cups of cold heavy cream using a mixer until stiff peaks form. Carefully fold this whipped cream into the cake mixture.
- Fold in ¼ cup of Christmas sprinkles gently to keep it light and playful.
- Spoon or pipe the mixture into ten clear 5–6 oz dessert cups, filling each one about three-quarters full.
- Whip the remaining 1 cup of heavy cream with 3 tablespoons of powdered sugar and ½ teaspoon of vanilla extract until stiff peaks form.
- Pipe decorative swirls of the whipped cream over each cup, then sprinkle with 3 tablespoons of colorful Christmas sprinkles.
- Refrigerate the cups for at least 1 hour before serving.