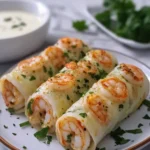
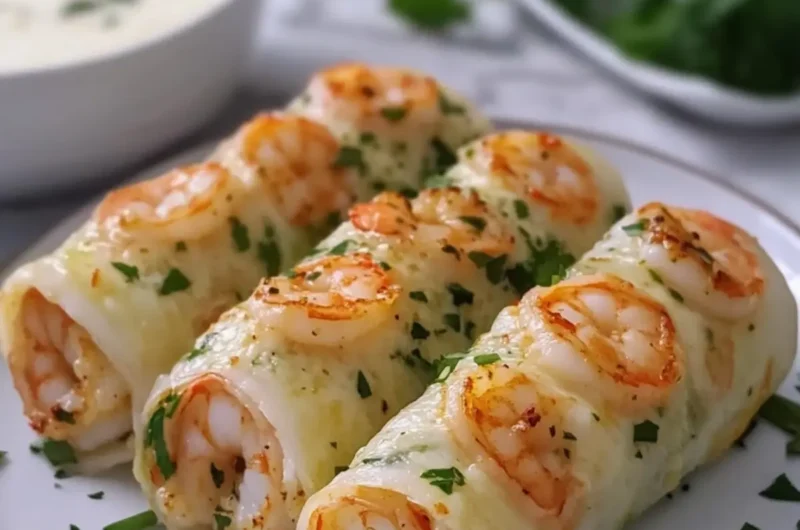
When my friends and I decided to host a game night, I knew I wanted to impress everyone without spending all day in the kitchen. As I rummaged through my fridge, the fleeting aroma of buttery garlic tempts the taste buds, and then it hit me: Cheesy Garlic Shrimp Roll Ups. Imagine fresh shrimp, tender tortillas, and a gooey blend of cheeses all rolled up and baked to crispy perfection! It’s a delightful combination that whispers decadence while still being easy enough for a weeknight dinner or a casual gathering.
With just a handful of ingredients, I transformed simple shrimp into an unforgettable dish that had everyone coming back for seconds (and thirds!). Whether you’re a seasoned chef or just looking for a fun way to bring homemade flair back to your table, this recipe has you covered. Plus, they’re perfect for dipping in a zesty creamy sauce that makes each bite that much more delightful. Dive in with me as we create these scrumptious roll ups that are sure to become a favorite in your home!
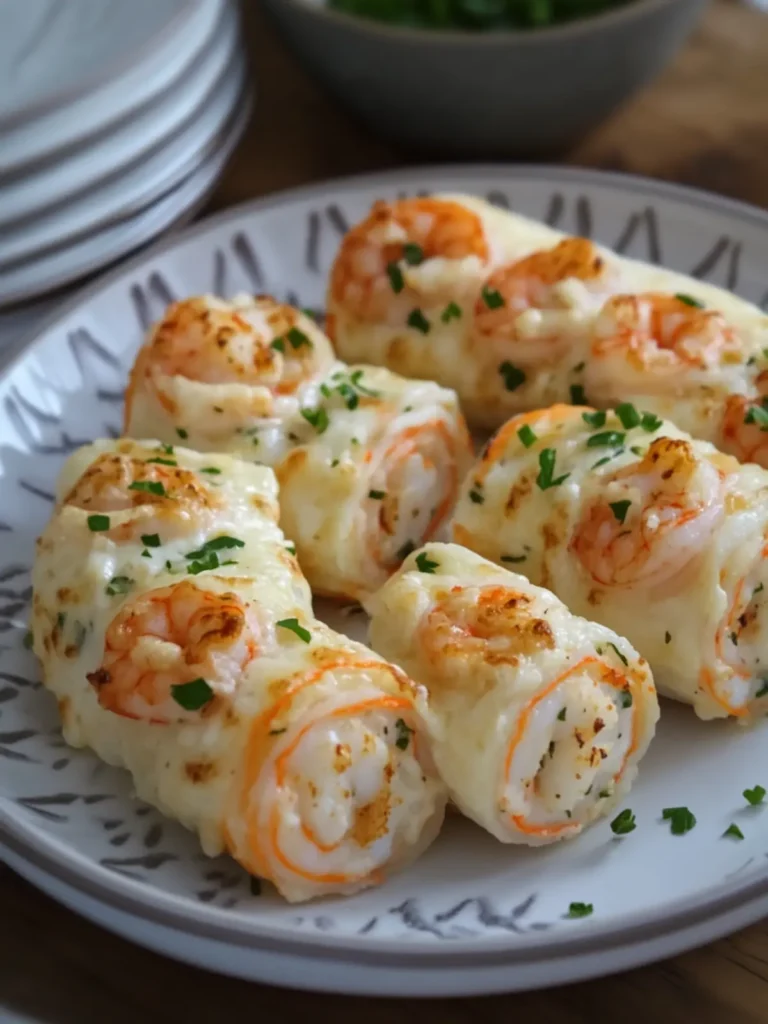
Why are Cheesy Garlic Shrimp Roll Ups a must-try?
Simplicity at its finest: With just a few ingredients, these roll ups come together in no time, making them a perfect choice for busy weeknights or impromptu gatherings.
Deliciously cheesy: The blend of mozzarella, cheddar, and cream cheese envelops succulent shrimp, creating a rich and satisfying flavor explosion.
Crispy perfection: Baked until golden brown, each bite offers a delightful crunch that contrasts beautifully with the creamy interior.
Versatile snack: Whether you serve them as appetizers or a main dish, they’re sure to win over your guests, making them excited for more.
Looking for a quick dip to elevate this dish? Try making your own zesty creamy sauce to complement these flavorful roll ups!
Cheesy Garlic Shrimp Roll Ups Ingredients
Elevate your snack game with these cheesy delights!
For the Roll Ups
• Flour tortillas – 8 large tortillas create a perfect wrap for your tasty filling.
• Raw shrimp – 1½ pounds, peeled and deveined; fresh shrimp add a juicy burst of flavor.
• Butter – 2 tablespoons; use unsalted for better control over seasoning.
• Garlic – 4 cloves, minced; enhances the aroma and savory notes in the roll ups.
• Olive oil – 1 tablespoon; provides a rich flavor base for cooking the shrimp.
• Mozzarella cheese – 1 cup shredded; melts beautifully for a gooey texture.
• Cheddar cheese – ½ cup shredded; adds a sharp, tangy flavor to the mix.
• Cream cheese – 4 oz, softened; binds the filling together with creamy goodness.
• Parmesan cheese – ¼ cup grated; adds a nutty depth to the cheesy filling.
• Salt – ½ teaspoon; enhances the flavors of the shrimp and cheese.
• Italian seasoning – 1 teaspoon; infuses the roll ups with aromatic herbs.
• Fresh chives – 2 tablespoons, chopped; brightens the dish with a mild onion flavor.
• Melted butter – 2 tablespoons, for brushing; helps achieve that golden-brown crisp.
For the Dipping Sauce
• Sour cream – ½ cup; adds a rich, creamy element.
• Mayonnaise – 2 tablespoons; for smoothness and tang.
• Garlic – 1 small clove, minced; delivers an extra kick of flavor.
• Lemon juice – 1 teaspoon; balances richness with a bright acidity.
• Chopped chives – 1 tablespoon; a lovely garnish that complements the roll ups.
Get ready to roll up some Cheesy Garlic Shrimp Roll Ups that will leave everyone craving more!
How to Make Cheesy Garlic Shrimp Roll Ups
-
Prepare Shrimp: Pat the shrimp dry and season them with salt and Italian seasoning. Chop the shrimp into bite-sized pieces for easy eating.
-
Cook Shrimp: Heat olive oil and 2 tablespoons of butter in a 12-inch skillet over medium heat. Add minced garlic and cook for 30 seconds until fragrant. Add the shrimp and cook for 3–5 minutes, stirring until they turn pink, opaque, and fully cooked through.
-
Mix Cheese Filling: In a bowl, combine softened cream cheese, mozzarella, cheddar, grated Parmesan, and 1 tablespoon of chopped chives. Gently fold in the cooked shrimp, creating a creamy mixture.
-
Fill Tortillas: Take a tortilla and place an equal amount of the shrimp filling in the center. Fold in the sides and roll it tightly, ensuring all the deliciousness is enclosed.
-
Preheat Oven: Preheat your oven to 400°F (200°C) and line a large baking sheet with parchment paper to prevent sticking and aid in cleanup.
-
Arrange & Brush: Place the roll ups seam-side down on the prepared baking sheet. Brush the tops with melted butter for that golden, crispy finish.
-
Bake: Bake for 12–15 minutes until the roll ups are golden brown and crispy, and the cheese is fully melted inside.
-
Make Dipping Sauce: While the roll ups are baking, mix sour cream, mayonnaise, minced garlic, lemon juice, and chopped chives in a small bowl to create a delightful dipping sauce.
-
Serve: Once the roll ups are out of the oven, arrange them on a serving platter. Sprinkle with remaining chives and serve warm alongside the creamy garlic dip for a scrumptious experience.
Optional: For an extra kick, sprinkle red pepper flakes over the filling before rolling!
Exact quantities are listed in the recipe card below.
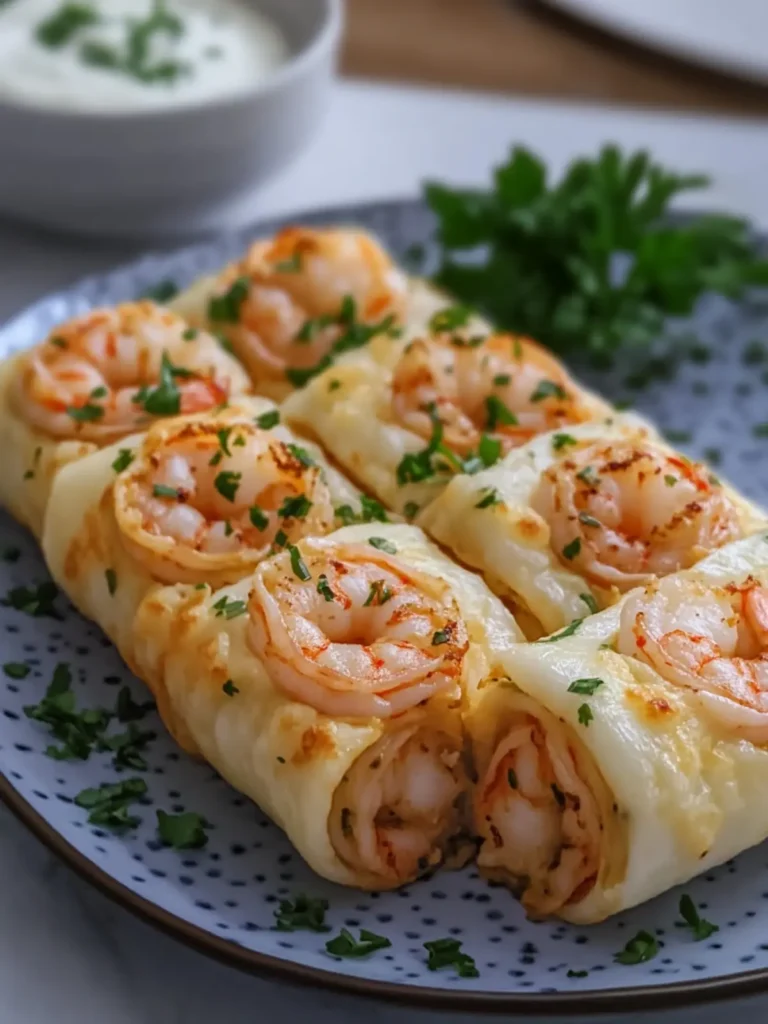
What to Serve with Cheesy Garlic Shrimp Roll Ups?
Elevate your dining experience with delightful pairings that complement the rich, cheesy goodness of these roll ups.
-
Crispy Green Salad: A refreshing mix of greens adds a crunchy contrast, enhancing the overall meal with a touch of lightness.
-
Garlic Toast: Perfectly toasted bread seasoned with garlic complements the dish and provides a satisfying crunch that mirrors the roll ups.
-
Roasted Vegetables: A medley of seasonal vegetables brings earthy flavors to the table. The caramelization from roasting adds an irresistible sweetness.
-
Lemon Wedge: A squeeze of fresh lemon brightens the flavors of the shrimp and adds a zesty kick that cuts through the richness.
-
Chilled White Wine: A crisp Chardonnay or Sauvignon Blanc pairs beautifully, enhancing the meal’s lightness and offering a refreshing sip.
-
Creamy Coleslaw: The creamy texture and tangy flavor of coleslaw balance the savory roll ups, providing a delightful contrast that diners will enjoy.
-
Zesty Dipping Sauce: Try serving with a side of your favorite hot sauce or a tangy avocado dip for an added layer of flavor.
-
Fruit Salad: Fresh, juicy fruits create a sweet contrast, providing a refreshing end to the meal and cleansing the palate beautifully.
These delicious accompaniments will make your Cheesy Garlic Shrimp Roll Ups shine at any gathering!
Make Ahead Options
These Cheesy Garlic Shrimp Roll Ups are perfect for busy cooks looking to save time while still enjoying a delicious homemade meal! You can prepare the shrimp filling and roll them up up to 24 hours in advance. To do this, follow the first three steps of the recipe and store the filled roll ups in an airtight container in the refrigerator to keep them fresh. When you’re ready to serve, simply preheat your oven to 400°F (200°C), arrange the roll ups on a baking sheet, brush them with melted butter, and bake for 12–15 minutes until golden and crispy. This method ensures that your roll ups are just as delicious and ready to impress your family or guests with minimal effort!
Expert Tips for Cheesy Garlic Shrimp Roll Ups
Fresh Shrimp: Always use fresh shrimp when possible. Frozen shrimp can work, but make sure to thaw them properly and pat them dry to avoid excess water.
Don’t Overcook: Cook the shrimp just until they are pink and opaque. Overcooking can lead to rubbery shrimp, ruining the texture of your Cheesy Garlic Shrimp Roll Ups.
Even Filling: Distribute the shrimp filling evenly in each tortilla to ensure every roll up is delicious and has the same cheesy and garlicky flavor.
Seal Tightly: Be sure to roll the tortillas tightly to prevent the filling from leaking out while baking. A secure roll up ensures the perfect crispy bite.
Butter Brushing: Don’t skip brushing melted butter on top; it not only adds flavor but also helps achieve the beautiful golden-brown crust.
Perfect Dip: Pair these roll ups with the garlic dip mentioned in the recipe, but feel free to get creative and add your favorite hot sauce for an extra zesty kick!
Cheesy Garlic Shrimp Roll Ups Variations
Feel free to put your unique spin on this delightful recipe with these delicious twists!
-
Spicy Kick: Add 1 teaspoon of red pepper flakes to the shrimp mixture for a zesty surprise. Perfect for those who love a little heat!
-
Veggie Delight: Incorporate 1 cup of sautéed bell peppers and onions into the filling for a colorful, crunchy texture that complements the shrimp.
-
Herb Infusion: Swap Italian seasoning with fresh herbs like dill or parsley for a burst of vibrant, garden-fresh flavor. Each roll up will feel like a sunny day!
-
Gluten-Free: Use corn tortillas instead of flour tortillas. They hold the filling well and are a fantastic option for gluten-sensitive diners.
-
Creamy Avocado: Add a ripe avocado, diced, to the shrimp mixture for creaminess and a hint of unexpected richness. It truly elevates each bite!
-
Cheddar Swap: Try sharp white cheddar or pepper jack cheese for a bolder flavor punch. You’ll be impressed by how each cheese transforms the roll ups!
-
Lemon Zest: Grate some lemon zest into the shrimp filling for a bright, citrusy note that adds a refreshing twist to the rich, cheesy filling.
-
Bacon Bit Crunch: Sprinkle crispy bacon bits into the mixture for a savory, salty crunch that will make these roll ups unforgettable!
How to Store and Freeze Cheesy Garlic Shrimp Roll Ups
Fridge: Store leftovers in an airtight container for up to 3 days. Reheat in the oven at 350°F (175°C) for about 10 minutes to restore crispiness.
Freezer: For long-term storage, freeze before baking. Wrap individually in plastic wrap and place in a freezer bag for up to 2 months. Bake directly from the freezer, adding an extra 5 minutes to the cooking time.
Reheating: If already baked, reheat in the oven to maintain texture, or in the microwave for 1-2 minutes, but note that this may make the roll ups less crispy.
Serving Tip: These roll ups are best enjoyed warm, so plan to reheat just before serving for maximum flavor and crunch!
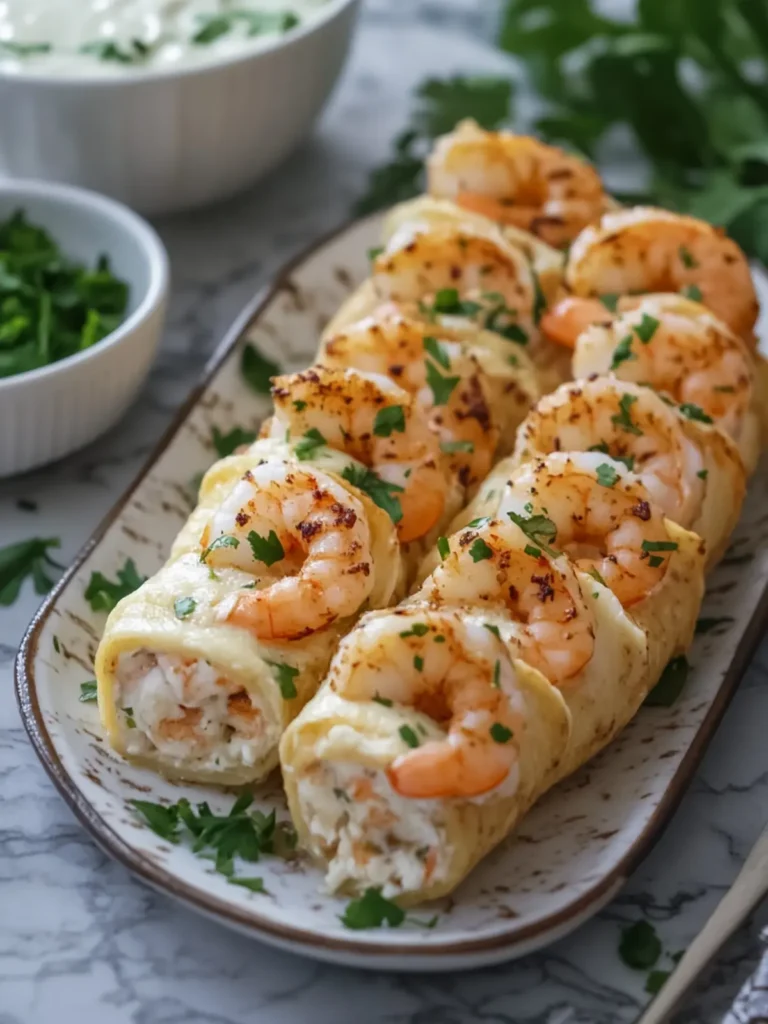
Cheesy Garlic Shrimp Roll Ups Recipe FAQs
How do I select the best shrimp for this recipe?
Absolutely! Choose large, fresh shrimp that are firm and have a slight sea scent. When buying frozen shrimp, opt for those that are properly thawed and show no signs of dark spots or freezer burn.
What is the best way to store leftover roll ups?
Very! Store leftovers in an airtight container in the fridge for up to 3 days. To reheat and restore that delicious crunch, pop them back in the oven at 350°F (175°C) for about 10 minutes.
Can I freeze Cheesy Garlic Shrimp Roll Ups?
Yes, you can! For best results, freeze the roll ups before baking them. Wrap each individual roll tightly in plastic wrap and then place them in a freezer-safe bag or container. They can be stored for up to 2 months. Bake directly from frozen, but remember to add an extra 5 minutes to the cooking time!
What should I do if my shrimp ends up rubbery?
Don’t worry; this can happen! To avoid rubbery shrimp, be mindful of cooking time. Cook your shrimp just until they turn pink and opaque—this typically takes 3-5 minutes over medium heat. Overcooking creates that unwanted rubbery texture.
Are there any dietary considerations for the ingredients?
Sure! For those with shellfish allergies, substituting shrimp with grilled chicken or a mix of sautéed vegetables can be a delightful alternative. If you’re making these for a gathering, always check with your guests regarding food allergies before serving.
How can I enhance the flavor of the cheesy filling?
Great question! For an extra burst of flavor, consider adding some sautéed spinach or sautéed bell peppers to the cheese mixture before adding the shrimp. This not only enhances the taste but also adds beautiful color and nutrients!
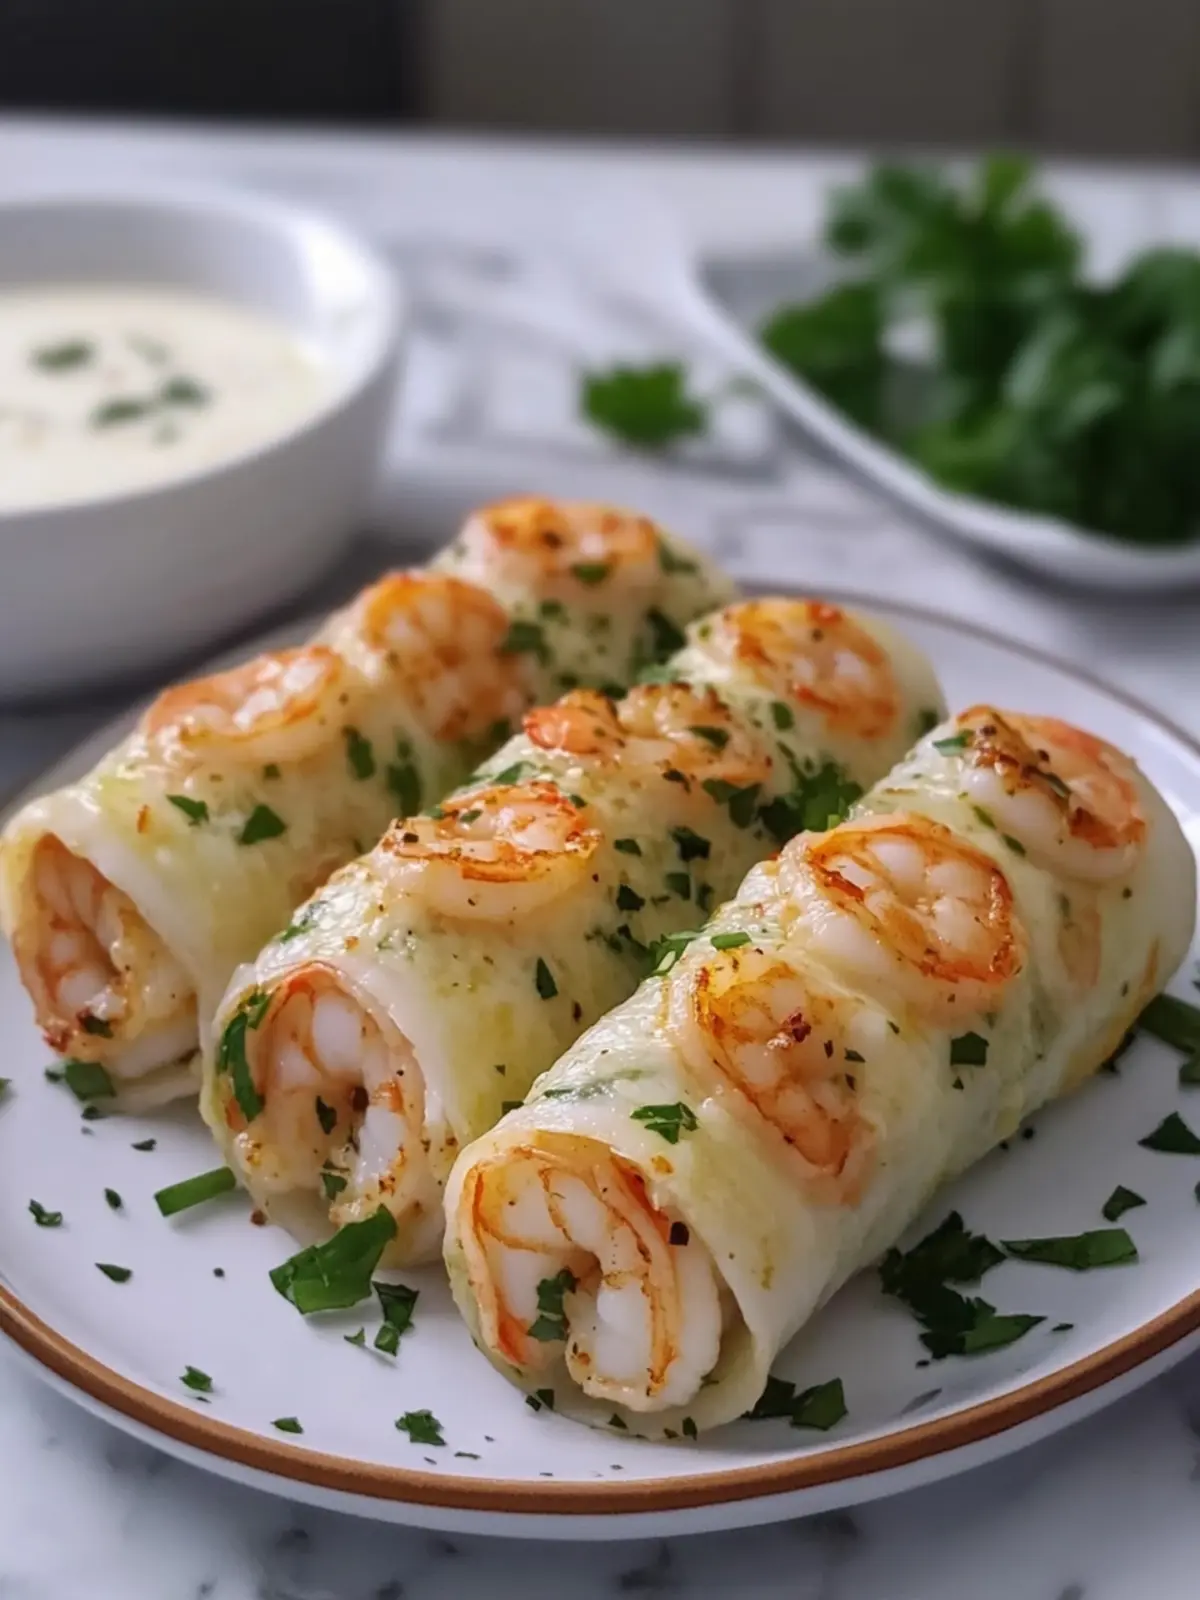
Cheesy Garlic Shrimp Roll Ups for the Perfect Snack Adventure
Ingredients
Equipment
Method
- Pat the shrimp dry and season them with salt and Italian seasoning. Chop the shrimp into bite-sized pieces for easy eating.
- Heat olive oil and 2 tablespoons of butter in a 12-inch skillet over medium heat. Add minced garlic and cook for 30 seconds until fragrant. Add the shrimp and cook for 3–5 minutes, stirring until they turn pink, opaque, and fully cooked through.
- In a bowl, combine softened cream cheese, mozzarella, cheddar, grated Parmesan, and 1 tablespoon of chopped chives. Gently fold in the cooked shrimp, creating a creamy mixture.
- Take a tortilla and place an equal amount of the shrimp filling in the center. Fold in the sides and roll it tightly, ensuring all the deliciousness is enclosed.
- Preheat your oven to 400°F (200°C) and line a large baking sheet with parchment paper to prevent sticking and aid in cleanup.
- Place the roll ups seam-side down on the prepared baking sheet. Brush the tops with melted butter for that golden, crispy finish.
- Bake for 12–15 minutes until the roll ups are golden brown and crispy, and the cheese is fully melted inside.
- While the roll ups are baking, mix sour cream, mayonnaise, minced garlic, lemon juice, and chopped chives in a small bowl to create a delightful dipping sauce.
- Once the roll ups are out of the oven, arrange them on a serving platter. Sprinkle with remaining chives and serve warm alongside the creamy garlic dip for a scrumptious experience.