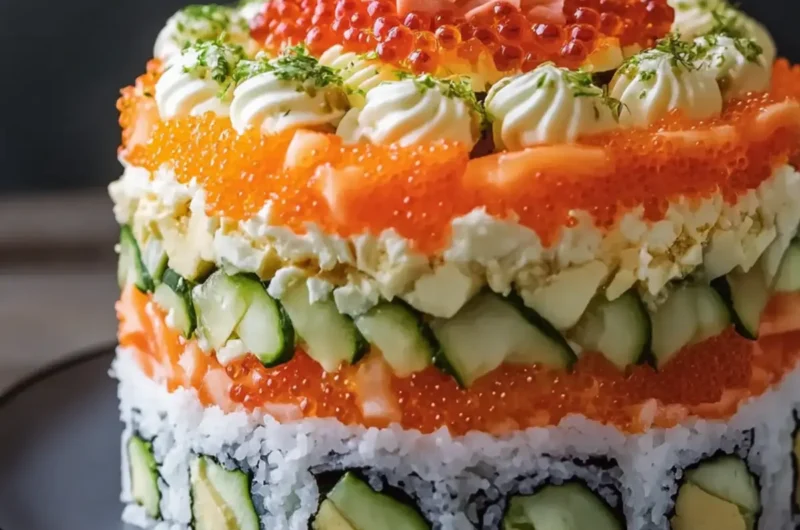
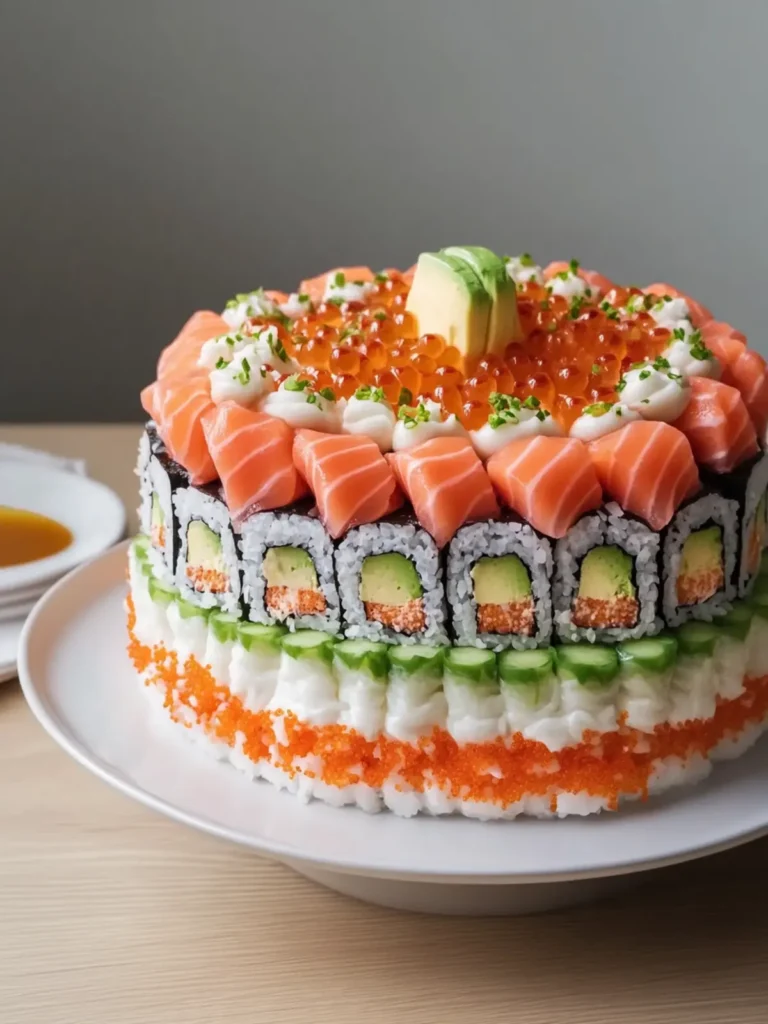
There’s a certain thrill that comes with reinventing a classic favorite, and that’s exactly what I felt the first time I made this Sushi Cake. Imagine the rich flavors of sushi beautifully layered into a stunning cake form that not only catches the eye but also tantalizes the taste buds. It was a delightful surprise when I realized I could serve sushi in a whole new way, gathering around the table with friends and family, reveling in the joy of homemade food without the fuss.
Whether you’re looking to impress at a potluck or want to transform a casual dinner night into something extraordinary, this Sushi Cake delivers on both flavor and presentation. With its combination of fluffy seasoned rice, creamy fillings, and fresh toppings, this dish is bound to become a crowd-pleaser. Plus, it’s surprisingly easy to assemble, making it perfect for those nights when cooking feels more like a chore than a pleasure.
So, grab your sushi ingredients and let’s embark on this delicious adventure together—your taste buds will thank you!
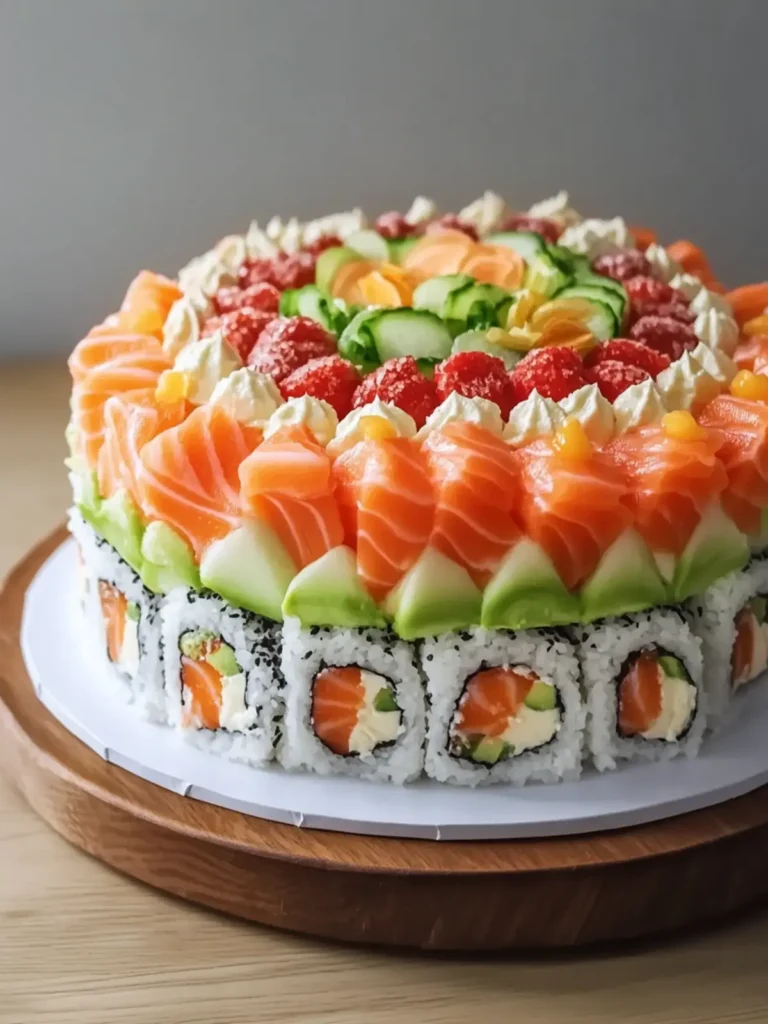
Why is Sushi Cake a must-try?
Unique presentation: This Sushi Cake is not your typical sushi dish—it’s a stunning, layered masterpiece perfect for sharing.
Flavors galore: The delightful combination of fresh salmon, creamy avocado, and tangy cream cheese will leave everyone wanting more.
Easy assembly: With simple steps and minimal cooking hassle, it’s ideal for home cooks who want to impress without stress.
Fresh & healthy: Packed with nutritious ingredients, this dish is a guilt-free indulgence that can brighten up your mealtime.
Crowd-pleaser: Whether for a special occasion or a casual dinner, no one can resist this show-stopping dish. Get ready to elevate your at-home dining experience!
Sushi Cake Ingredients
Explore the delicious components that make this Sushi Cake a delightful treat!
For the Sushi Rice
• 3 cups uncooked sushi rice – This will form the base, providing that perfect chewy texture.
• 3 tablespoons rice vinegar – Essential for flavor, it gives the rice a subtle tang that complements the fillings.
• 1 tablespoon sugar – Balances the acidity of the vinegar for a well-rounded taste.
• 1 teaspoon salt – Enhances all the flavors in this delightful dish.
For the Filling
• 12 oz (340 g) sushi-grade salmon – Opt for the freshest sushi-grade fish to ensure the best flavor and quality.
• 2 ripe avocados – Their creaminess adds richness that beautifully contrasts with the other ingredients.
• 4 oz (115 g) cream cheese – This creates a luscious layer that ties all the flavors together.
• 3 tablespoons mayonnaise – Adds extra creaminess; consider using Japanese mayo for a richer flavor.
• 1 tablespoon sriracha sauce (optional) – A splash of heat to spice things up if you love a kick!
For Toppings
• 2 tablespoons soy sauce – Essential for serving, it amplifies the taste of the sushi cake drastically.
• 2 tablespoons tobiko (fish roe) – These little pops of flavor add a touch of luxury and crunch!
• 2 green onions – Their fresh zing is a perfect complement, adding color and flavor to the top.
• 1 tablespoon toasted sesame seeds – These give a nice nutty crunch when sprinkled on top.
• 1 sheet nori – Cut into strips for an added touch of texture and authenticity in presentation.
Gather these ingredients, and you’ll be on your way to creating an unforgettable Sushi Cake that will wow your family and friends!
How to Make Sushi Cake
-
Rinse the sushi rice until the water runs mostly clear. Cooking it correctly is essential for that perfect texture. Once rinsed, cook according to the package instructions and let it rest for 10 minutes to cool down.
-
Mix rice vinegar, sugar, and salt until dissolved. Gently fold this mixture into the warm rice. Let it cool to room temperature, ensuring every grain is coated with flavor.
-
Combine cream cheese, mayonnaise, and sriracha (if using) until smooth. This creamy filling adds delicious richness to your Sushi Cake and binds the layers together beautifully.
-
Line an 8-inch round cake pan with plastic wrap, leaving extra wrap over the edges. This step helps you easily remove your cake later and maintain its shape.
-
Press half the seasoned rice evenly into the pan using a lightly dampened spoon. Pack it down gently to create a firm base for your delicious layers.
-
Spread the creamy mixture over the rice, then layer with half the salmon and half the avocado. This combination brings a burst of flavors that make each slice delightful.
-
Top with the remaining rice, pressing it evenly over the filling. Cover and refrigerate for 20–30 minutes to help the cake hold its shape, allowing the flavors to meld together.
-
Invert the pan by placing a serving plate over it, and carefully remove the pan and plastic wrap. This reveals your stunning Sushi Cake, ready for garnish!
-
Arrange the remaining salmon and avocado on top. Garnish with tobiko, green onions, sesame seeds, and nori strips for an appealing finish that takes your dish to the next level.
-
Slice with a sharp, damp knife. Serve with soy sauce for dipping, inviting your family and friends to enjoy a unique dining experience.
Optional: Add extra slices of avocado or a drizzle of sriracha for an enhanced presentation.
Exact quantities are listed in the recipe card below.
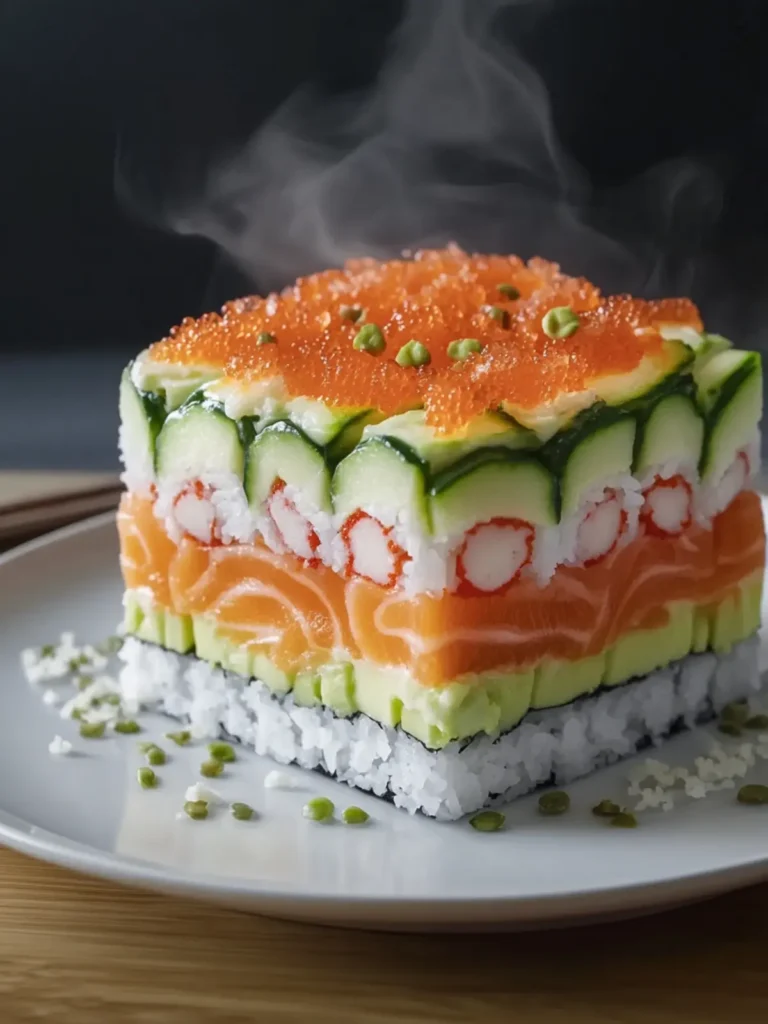
How to Store and Freeze Sushi Cake
Fridge: Store your Sushi Cake in an airtight container for up to 3 days. To maintain freshness, cover it with plastic wrap or foil to avoid drying out.
Freezer: For longer storage, wrap individual slices in plastic wrap and place them in a freezer-safe container. It can stay good for up to 2 months.
Thawing: To enjoy frozen slices, thaw them in the fridge overnight. Serve chilled or let them come to room temperature before indulging.
Serving Reminder: Sushi Cake is best enjoyed fresh, so try to consume it within the recommended time frames for optimal taste and texture.
Tips for the Best Sushi Cake
-
Perfect Rice: Rinse until clear: Properly rinsing the sushi rice ensures it’s not too starchy, giving you that ideal chewy texture for your Sushi Cake.
-
Layering Technique: Press firmly: When layering, press down evenly using a damp spoon to avoid any gaps, which helps maintain the cake structure when you slice.
-
Chill Time: Don’t skip refrigeration: Allowing the cake to chill for 20-30 minutes is crucial for it to hold its shape when you invert it for serving.
-
Sharp Knife: Use a damp knife: To get clean cuts through the layers without tearing, dip your knife in water before slicing the Sushi Cake.
-
Garnishing Options: Get creative: Feel free to use additional toppings like sesame seeds, or thinly sliced vegetables to add extra texture and flavor.
Sushi Cake Variations
Feel free to make this Sushi Cake your own with these exciting twists!
-
Vegetarian: Substitute sushi-grade fish with thinly sliced cucumbers, carrots, and bell peppers for a fresh, crunchy bite. This version is equally vibrant and satisfying.
-
Spicy Tuna: Replace salmon with spicy tuna mix (a blend of diced sushi-grade tuna, mayo, and sriracha) for an extra kick. The creamy heat will delight any spice lover!
-
Quinoa Base: Swap sushi rice for cooked quinoa for a gluten-free and protein-packed alternative. You’ll embrace new textures and flavors in this fabulous rendition.
-
Cream Cheese Alternatives: Use vegan cream cheese or cashew cream for a dairy-free version. Your taste buds won’t miss the traditional cream!
-
Tropical Twist: Add diced mango or pineapple to the layers along with the avocado for a sweetness that will brighten your dish. This tropical twist will transport you straight to paradise!
-
Asian Fusion: Incorporate kimchi as a layer for a spicy, tangy surprise. It adds a fermented kick that contrasts beautifully with the creamy layers.
-
Heat Level: Experiment with different hot sauces or add jalapeños to the layers for an additional heat level. Enjoy the flavor explosion with each bite!
-
Fried Tofu: For a hearty vegetarian option, include crispy fried tofu slices layered with the other ingredients. This adds a satisfying crunch and extra protein to your cake.
What to Serve with Sushi Cake?
Enjoying a slice of sushi cake is a delightful culinary experience that can be perfectly complemented with a few delicious sides and beverages.
- Soy Sauce: A must-have accompaniment, its savory flavor enhances the sushi cake, adding depth to each bite.
- Miso Soup: Light and comforting, this traditional soup warms the palate and adds a smooth contrast to the sushi cake layers.
- Crispy Edamame: These little green gems provide a fresh, crunchy element, making for a well-rounded meal filled with texture.
- Seaweed Salad: This light and tangy salad balances the richness of the cake, while introducing a burst of umami flavor.
- Sake Spritzer: A refreshing blend of sake and sparkling water uplifts the flavors, creating a joyous drink experience to accompany your meal.
- Pickled Ginger: Light and zingy, pickled ginger refreshes the palate between bites, complementing the savory notes of the sushi cake.
Incorporating these pairings will elevate your sushi cake feast—transforming it into an unforgettable dining experience filled with delightful flavors and textures!
Make Ahead Options
These Sushi Cakes are perfect for busy weeknights or meal prep enthusiasts! You can prepare the sushi rice, creamy filling, and layer your Sushi Cake up to 24 hours in advance—just be sure to cover it tightly with plastic wrap to keep everything fresh. Simply press the seasoned rice into the pan, add the creamy mixture and fish, and refrigerate. When you’re ready to impress your guests, only the final garnishing remains: simply invert the cake onto a serving plate, top with the remaining salmon, avocado, and garnishes, and it’ll be just as delicious as if made fresh. Embrace the time-saving benefits and enjoy a homemade meal with minimal effort!
Sushi Cake Recipe FAQs
How do I select ripe avocados for my Sushi Cake?
Absolutely! Look for avocados that are slightly soft to the touch but not mushy. A perfect avocado should yield gently when pressed, indicating it’s ripe and ready to enhance your Sushi Cake with its creamy texture. If you press on it and it feels hard, give it a few days to ripen at room temperature.
How long can I store my Sushi Cake in the fridge?
Very good question! You can store your Sushi Cake in an airtight container for up to 3 days. Be sure to cover it tightly with plastic wrap or aluminum foil to keep out air and moisture, which could dry it out. When ready to serve, just take it out, and it’s good to go!
Can I freeze Sushi Cake, and how do I do it?
Sure thing! For freezing, wrap individual slices of your Sushi Cake in plastic wrap and place them in a freezer-safe container or zip-top bag. It will stay fresh for up to 2 months. When you’re ready to enjoy it, thaw the slices overnight in the fridge. Serve chilled or let them sit at room temperature for a bit before serving for optimal taste.
What should I do if my sushi rice is too sticky?
No worries! If your sushi rice becomes too sticky, try rinsing it more thoroughly next time to remove excess starch. You can also adjust the cooking time slightly, keeping an eye on it to achieve that perfect chewy consistency. If it’s already cooked, letting it cool and fluffing it gently with a fork can help separate the grains, too.
Are there any dietary considerations I should keep in mind with Sushi Cake?
Definitely! If you’re serving guests, be mindful of potential allergies such as seafood (the salmon), dairy (cream cheese), and gluten (if using soy sauce). For alternatives, you can use substitutes like canned tuna or tempeh for the protein and dairy-free cream cheese if available. Always check with your guests beforehand to ensure everyone can enjoy this delicious treat!
Can I use other fish or proteins instead of salmon in my Sushi Cake?
The more the merrier! While salmon is a classic option, feel free to experiment with other sushi-grade fish like tuna, shrimp, or even grilled chicken for a twist. Just make sure whatever protein you choose is fresh and safe for sushi consumption to keep that delightful flavor intact!
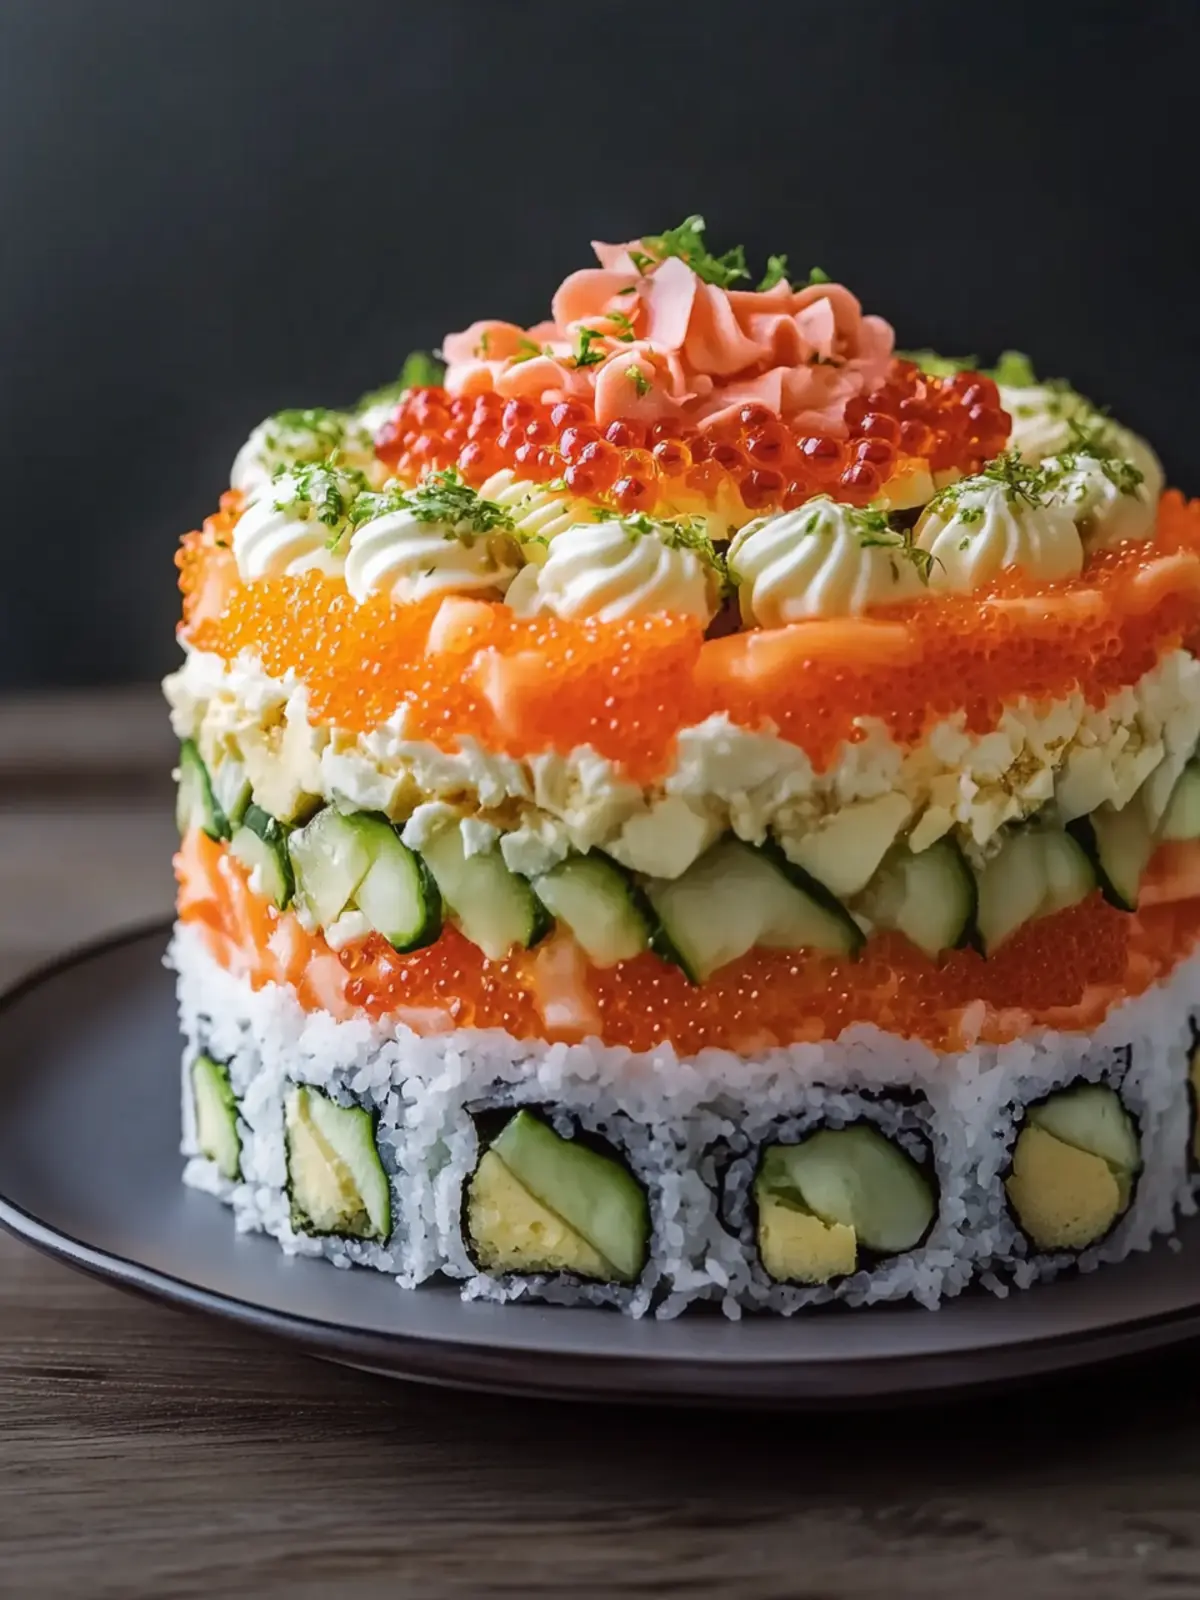
Sushi Cake: A Fun Twist on Your Favorite Rolls at Home
Ingredients
Equipment
Method
- Rinse the sushi rice until the water runs mostly clear.
- Mix rice vinegar, sugar, and salt until dissolved. Gently fold this mixture into the warm rice.
- Combine cream cheese, mayonnaise, and sriracha (if using) until smooth.
- Line an 8-inch round cake pan with plastic wrap, leaving extra wrap over the edges.
- Press half the seasoned rice evenly into the pan using a lightly dampened spoon.
- Spread the creamy mixture over the rice, then layer with half the salmon and half the avocado.
- Top with the remaining rice, pressing it evenly over the filling.
- Invert the pan by placing a serving plate over it, and carefully remove the pan and plastic wrap.
- Arrange the remaining salmon and avocado on top. Garnish with tobiko, green onions, sesame seeds, and nori strips.
- Slice with a sharp, damp knife. Serve with soy sauce for dipping.