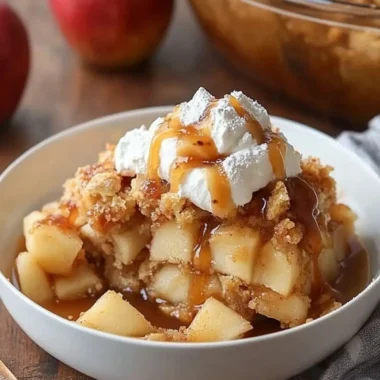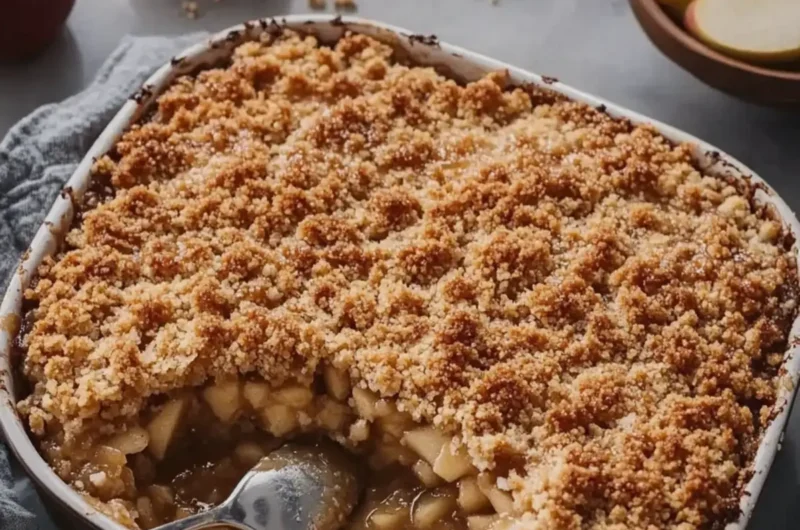
As the leaves begin to turn and the air grows crisp, the crave for comfort food often kicks in. Picture this: a warm, inviting kitchen filled with the sweet aroma of caramel melting into fresh apples, all while a buttery crumble forms the perfect topping. It’s amazing how a simple dessert can transform a chilly evening into a cozy gathering, where laughter and joy fill the air.
I personally stumbled upon this Salted Caramel Apple Crumble while trying to create a delightful treat for a last-minute get-together. What started as a spontaneous kitchen experiment evolved into a show-stopping dessert that’s become a staple in my home. This recipe boasts layers of creamy cheesecake paired with tender, spiced apples and a rich, salted caramel drizzle—everything you could want on a plate.
Easier to make than you might think, and even more pleasurable to eat, these cheesecake bars are sure to impress your friends and family. So, gather your ingredients and let’s dive into a recipe that will warm your heart and satisfy your sweet tooth!
Why You’ll Love This Salted Caramel Apple Crumble
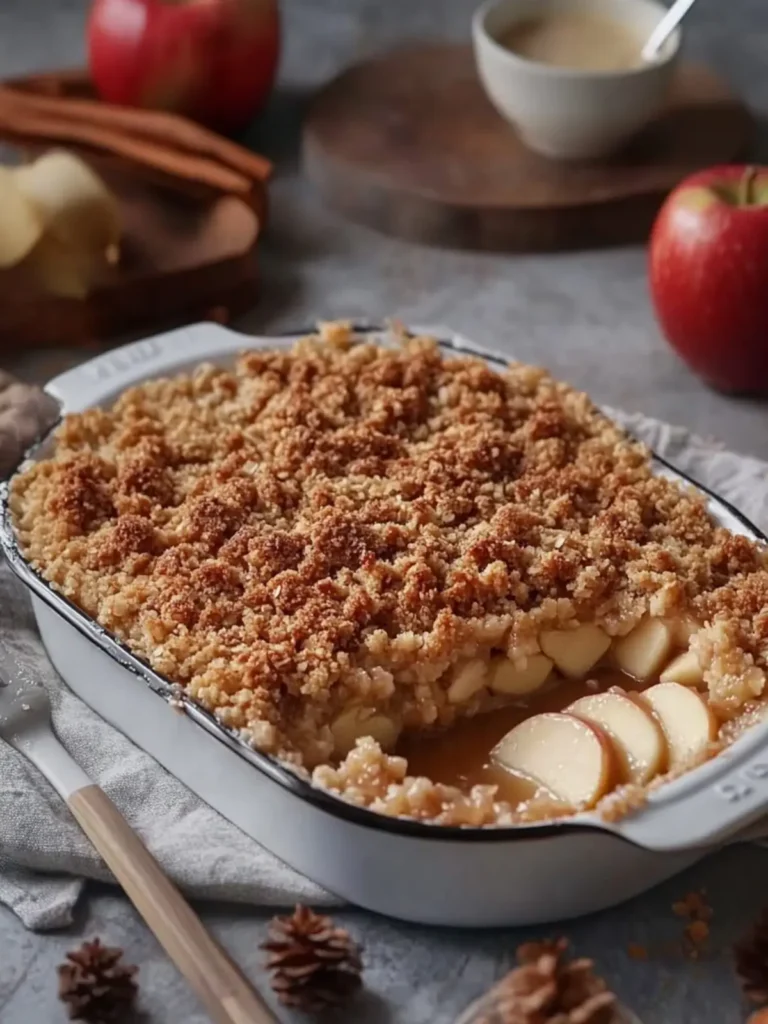
Decadent layers: Each bite features a rich cheesecake base topped with spiced apples.
Sweet and savory: The salted caramel drizzle perfectly balances the sweetness, elevating this dessert to new heights.
Simple preparation: With just 30 minutes of prep, you’ll have a stunning treat ready in no time!
Crowd-pleaser: Whether it’s a dinner party or family gathering, this dessert is sure to steal the show.
Versatile option: Serve chilled or at room temperature; it pleases every palate!
Experience for yourself how delightful homemade desserts can be; check out my easy cheesecake recipe for more delicious inspiration!
Salted Caramel Apple Crumble Ingredients
• Let’s create a delicious Salted Caramel Apple Crumble!
For the Crust
- Graham cracker crumbs – these provide a sweet and crunchy base for the dessert.
- Unsalted butter – melted for easy mixing and helps bind the crust together.
- Granulated sugar – adds a subtle sweetness to enhance the crust flavor.
For the Cheesecake Layer
- Cream cheese – make sure it’s softened for a smooth and creamy filling.
- Granulated sugar – this sweetens the cheesecake and balances the tang of the cream cheese.
- Large eggs – essential for binding the ingredients to create a luscious texture.
- Vanilla extract – adds a warm and inviting flavor that elevates the cheesecake.
For the Apple Filling
- Medium apples – peeled, cored, and diced; use your favorite variety for a fresh burst of flavor.
- Brown sugar – enhances the apples’ natural sweetness and adds a caramel-like richness.
- Ground cinnamon – gives that warm, comforting spice that complements the apples beautifully.
- Ground nutmeg – adds a hint of warmth and depth to the filling.
For the Crumble Topping
- Old fashioned oats – these provide texture and a chewy element to the topping.
- All-purpose flour – helps bind the crumble together while adding structure.
- Brown sugar – contributes to the caramel-like richness and sweetness of the topping.
- Unsalted butter – softened to blend into the crumble, giving it a buttery flavor.
For the Drizzle
- Caramel sauce – drizzle this over the bars for a sweet and rich finish.
- Flaky sea salt – complements the sweet caramel and adds that “salted” aspect for balance.
Prepare your ingredients and let’s get started on this delicious Salted Caramel Apple Crumble that will surely steal your heart!
How to Make Salted Caramel Apple Crumble
- Preheat your oven to 350°F (175°C). This gets things ready for baking, ensuring even cooking.
- Line a 9 by 13 inch rectangular baking dish with parchment paper. This will prevent sticking and make cleanup a breeze!
- Combine the graham cracker crumbs, melted butter, and granulated sugar in a medium bowl. Mix until everything is well incorporated and crumbly.
- Press the mixture firmly into the bottom of the prepared baking dish. Make sure it’s even to create a solid crust.
- Bake the crust for 8 minutes. You want it to be just set but not browned yet!
- Cool the crust slightly after removing it from the oven. This helps to set the foundation for the creamy cheesecake layer.
- Beat the softened cream cheese in a large mixing bowl until smooth and creamy. An electric mixer works best for this!
- Add the granulated sugar and continue beating until fully combined and fluffy. This creates the sweet base for your cheesecake.
- Incorporate the eggs one at a time, mixing well after each addition. This helps achieve a silky texture in your filling.
- Pour in the vanilla extract and beat until it’s all blended together. The aroma will be delightful!
- Spread the cheesecake layer evenly over the cooled crust. This will provide a rich base for the apples.
- Toss the diced apples in a separate bowl with brown sugar, cinnamon, and nutmeg. Make sure every piece is coated evenly!
- Layer the seasoned apples over the cheesecake layer. The apples will add a wonderful burst of flavor and texture.
- Combine oats, flour, and brown sugar in another bowl for the crumble topping. Stir until well mixed.
- Work the softened butter into the mixture using your fingers until it resembles coarse crumbs. This adds a lovely buttery texture to the topping.
- Sprinkle the crumble mixture evenly over the apples, ensuring every bite will be topped with crispy goodness.
- Bake for 40 to 45 minutes, or until the center is set and the crumble topping turns golden brown. Your kitchen will smell heavenly!
- Cool the baking dish completely on a wire rack. This allows the bars to firm up before chilling.
- Refrigerate for at least 3 hours. This helps the flavors meld together and creates a perfect texture.
- Drizzle the caramel sauce over the chilled bars just before serving. This adds a luscious finishing touch!
- Sprinkle lightly with flaky sea salt. It will enhance the sweetness of the caramel beautifully.
- Cut into squares and serve chilled or allow them to sit at room temperature for a softer bite.
- Store any leftovers covered in the refrigerator, but they might not last long!
Optional: Garnish with extra apple slices for a delightful presentation.
Exact quantities are listed in the recipe card below.
Salted Caramel Apple Crumble Variations
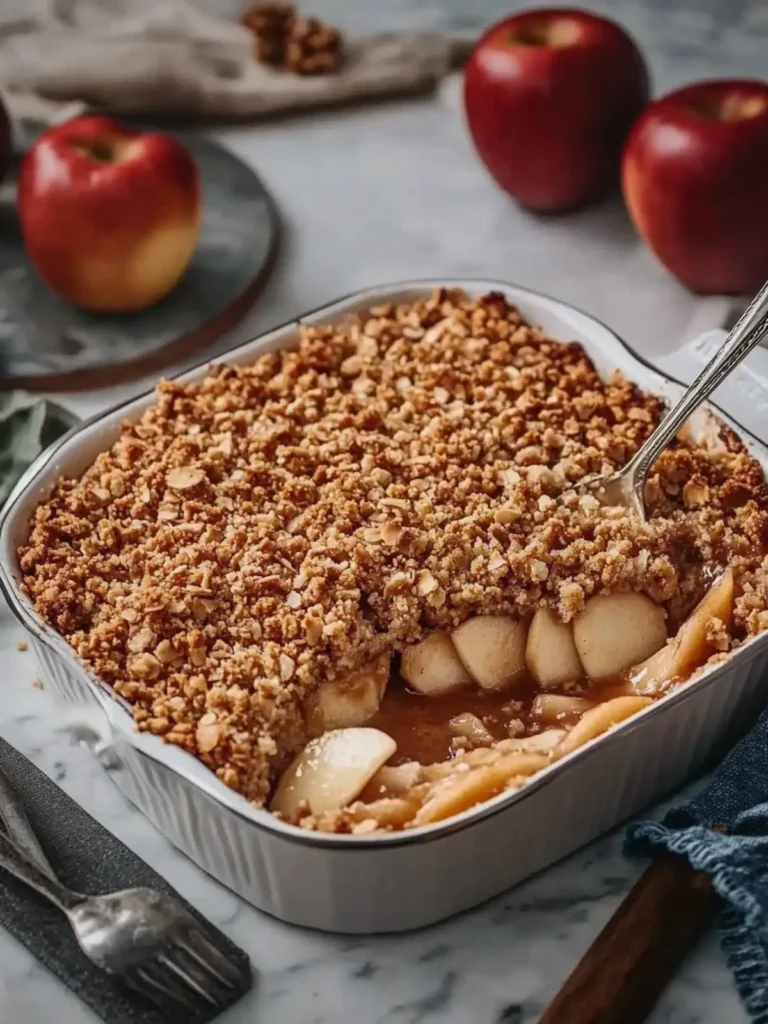
Feel free to take this delicious recipe to new heights with these fun and simple twists that will make your taste buds tingle!
-
Gluten-Free: Swap graham crackers for gluten-free crumbs and use almond flour for the crumble to enjoy a gluten-free delight.
-
Nutty Crunch: Add 1/2 cup chopped walnuts or pecans to the crumble topping for an extra layer of crunchy texture and rich flavor.
-
Berry Bliss: Mix in1 cup of fresh or frozen berries with the apples for a pop of color and sweetness that balances beautifully.
-
Maple Drizzle: Replace caramel sauce with pure maple syrup for a more subtle sweetness that pairs wonderfully with apples and cinnamon.
-
Spicy Kick: Add a pinch of cayenne pepper to the apple filling for a surprising warmth that will delight adventurous palates.
-
Cheesecake Twist: Blend in a dash of lemon zest and fresh lemon juice into the cheesecake layer for a bright, zesty flavor that lightens the dessert.
-
Dairy-Free: Use coconut cream in place of cream cheese and a dairy-free buttery spread for the crust, maintaining the creamy goodness without the dairy.
-
Choco-Licious: Stir in chocolate chips into the cheesecake mixture for a decadent layer of chocolatey goodness, making your dessert utterly irresistible.
What to Serve with Salted Caramel Apple Crumble?
Indulging in this delightfully rich dessert is just the beginning—let’s complete this culinary experience with the perfect accompaniments.
- Vanilla Ice Cream: The creamy, cool texture of vanilla ice cream offers a delightful contrast to the warm layers of your crumble.
- Whipped Cream: A light dollop of freshly whipped cream adds an airy finish and balances the richness of the cheesecake.
- Spiced Apple Cider: Sip on warm spiced apple cider for a cozy pairing that echoes the flavors of the crumble and enhances autumn vibes.
- Chai Tea: The warm spices from chai tea harmonize beautifully with the flavors in the crumble, creating a heartwarming experience.
- Coffee: A cup of freshly brewed coffee complements the sweetness of the caramel and allows the dessert to shine through.
- Chocolate Drizzle: Consider adding a drizzle of melted chocolate for a decadent touch, enhancing the dessert’s overall richness.
Each of these delightful pairings elevates your Salted Caramel Apple Crumble experience, making it truly unforgettable!
Expert Tips for Salted Caramel Apple Crumble
- Crust Care: Don’t skip cooling the crust before adding the cheesecake layer. This prevents the crust from becoming soggy!
- Cheesecake Smoothness: Make sure your cream cheese is at room temperature. Cold cream cheese can lead to a lumpy filling in your salted caramel apple crumble.
- Apple Choice: Use a mix of sweet and tart apples for depth of flavor; Granny Smith and Fuji work beautifully together!
- Crumble Texture: To achieve a crispy crumble, don’t overwork the butter into the dry ingredients; aim for coarse crumbs to help ensure a crunchy topping.
- Serving Suggestion: Allow the bars to chill in the fridge for a minimum of 3 hours for the best texture and flavor integration before drizzling with caramel.
- Flavor Boost: Add a dash more cinnamon to the apples for an extra kick of warmth in your salted caramel apple crumble!
Make Ahead Options
These Salted Caramel Apple Crumble bars are a delightfully easy make-ahead dessert, perfect for busy weeknights or gatherings! You can prepare the graham cracker crust and cheesecake layer up to 24 hours in advance, then refrigerate them covered to maintain freshness. Additionally, the seasoned apple filling can be prepped and stored separately in the fridge for up to 3 days to keep the apples crisp. When you’re ready to serve, simply layer the apples over the cheesecake, add the crumble topping, and bake as directed. This way, you save precious time while enjoying the same delightful flavors that will impress your family and friends!
How to Store and Freeze Salted Caramel Apple Crumble
Fridge: Store any leftover salted caramel apple crumble in an airtight container for up to 5 days. Keeping them covered helps maintain freshness.
Freezer: To freeze, wrap the chilled bars tightly in plastic wrap, then in aluminum foil. They can be stored for up to 2 months!
Thawing: When ready to enjoy, thaw the frozen bars in the fridge overnight for the best texture.
Reheating: If you prefer them warm, gently reheat in the microwave for 15-20 seconds, or enjoy at room temperature for a softer bite.
Salted Caramel Apple Crumble Recipe FAQs
What type of apples should I use for the filling?
Absolutely! I recommend using a mix of sweet and tart apples, like Granny Smith and Fuji. This combination gives your salted caramel apple crumble depth and balance, making each bite extraordinarily flavorful.
How should I store leftover salted caramel apple crumble?
To keep your bars fresh, store any leftovers in an airtight container in the fridge for up to 5 days. This helps prevent drying out and keeps the flavors intact.
Can I freeze salted caramel apple crumble?
Yes, you can! To freeze, wrap the chilled bars tightly in plastic wrap and then in aluminum foil to protect them from freezer burn. They will stay fresh in the freezer for up to 2 months. When you’re ready to enjoy, simply thaw them in the fridge overnight.
What’s the best way to reheat the crumble if I prefer it warm?
If you like your salted caramel apple crumble warm, gently reheat it in the microwave for about 15 to 20 seconds. This gives it that cozy, freshly baked feel without compromising the texture. Enjoy it slightly warm or let it sit at room temperature for a softer bite!
Why did my cheesecake layer turn out lumpy?
Very important! Ensure your cream cheese is at room temperature before mixing. Cold cream cheese can lead to a lumpy filling. Beat it well until smooth and creamy before adding the other ingredients for a silky texture in your salted caramel apple crumble.
How long do the cheesecake bars need to cool before serving?
After removing the salted caramel apple crumble from the oven, let it cool completely on a wire rack. Then, refrigerate for at least 3 hours to allow the flavors to meld and the filling to set. This resting period is crucial for achieving the perfect texture!
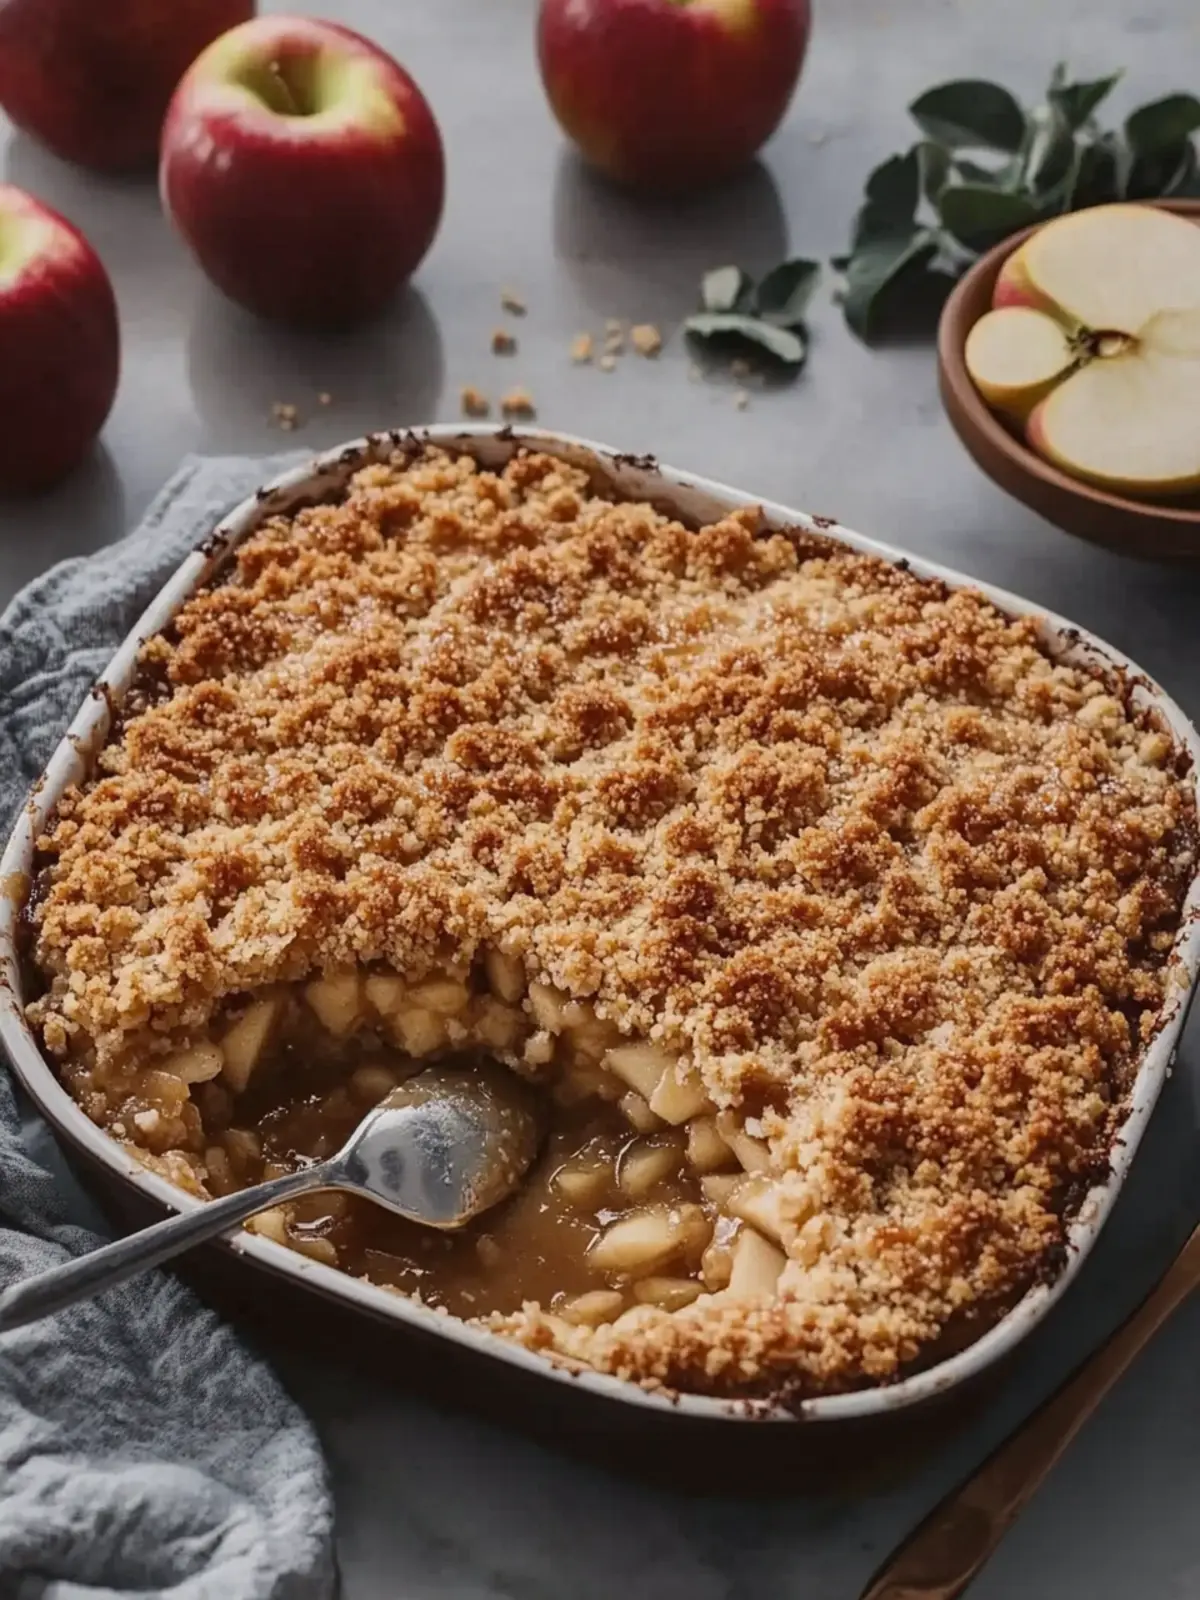
Salted Caramel Apple Crumble That'll Steal Your Heart
Ingredients
Equipment
Method
- Preheat your oven to 350°F (175°C).
- Line a 9 by 13 inch rectangular baking dish with parchment paper.
- Combine the graham cracker crumbs, melted butter, and granulated sugar in a medium bowl.
- Press the mixture firmly into the bottom of the prepared baking dish.
- Bake the crust for 8 minutes.
- Cool the crust slightly after removing it from the oven.
- Beat the softened cream cheese in a large mixing bowl until smooth and creamy.
- Add the granulated sugar and continue beating until fully combined and fluffy.
- Incorporate the eggs one at a time, mixing well after each addition.
- Pour in the vanilla extract and beat until blended.
- Spread the cheesecake layer evenly over the cooled crust.
- Toss the diced apples in a separate bowl with brown sugar, cinnamon, and nutmeg.
- Layer the seasoned apples over the cheesecake layer.
- Combine oats, flour, and brown sugar in another bowl for the crumble topping.
- Work the softened butter into the mixture until it resembles coarse crumbs.
- Sprinkle the crumble mixture evenly over the apples.
- Bake for 40 to 45 minutes, until the center is set and the crumble topping is golden brown.
- Cool the baking dish completely on a wire rack.
- Refrigerate for at least 3 hours.
- Drizzle the caramel sauce over the chilled bars just before serving.
- Sprinkle lightly with flaky sea salt.
- Cut into squares and serve chilled or at room temperature.
- Store any leftovers covered in the refrigerator.