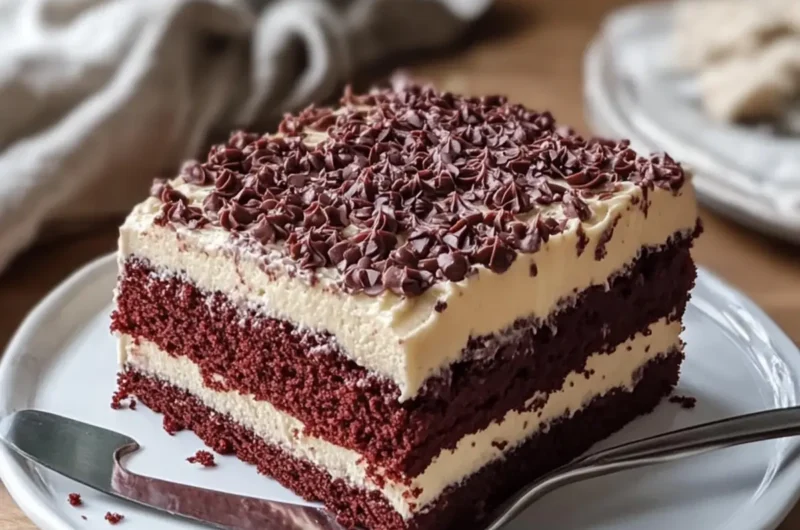
There’s something incredibly satisfying about the first slice of a homemade cake, especially when it’s a stunning Red Cocoa Sheet Cake. Picture this: warm cake cooling on the counter, the vibrant red hue melting into lush textures, while the rich aroma of cocoa dances in the air. Just the thought makes my heart race with excitement!
This cake came to life during a weekend baking spree, born from a moment of creative impulse when I decided to combine my love for the classic red velvet with a simpler sheet cake format. The decadent cream cheese frosting? Oh, it takes everything up a notch, making it a true crowd-pleaser, whether it’s a birthday celebration or a casual Sunday afternoon treat.
If you find yourself in a baking rut, looking for a dessert that’s both easy to whip up and impressively delicious, you’re in the right place. Trust me, your friends and family will be begging for seconds! Let’s dive into this delightful recipe and transform your kitchen into a sweet haven.
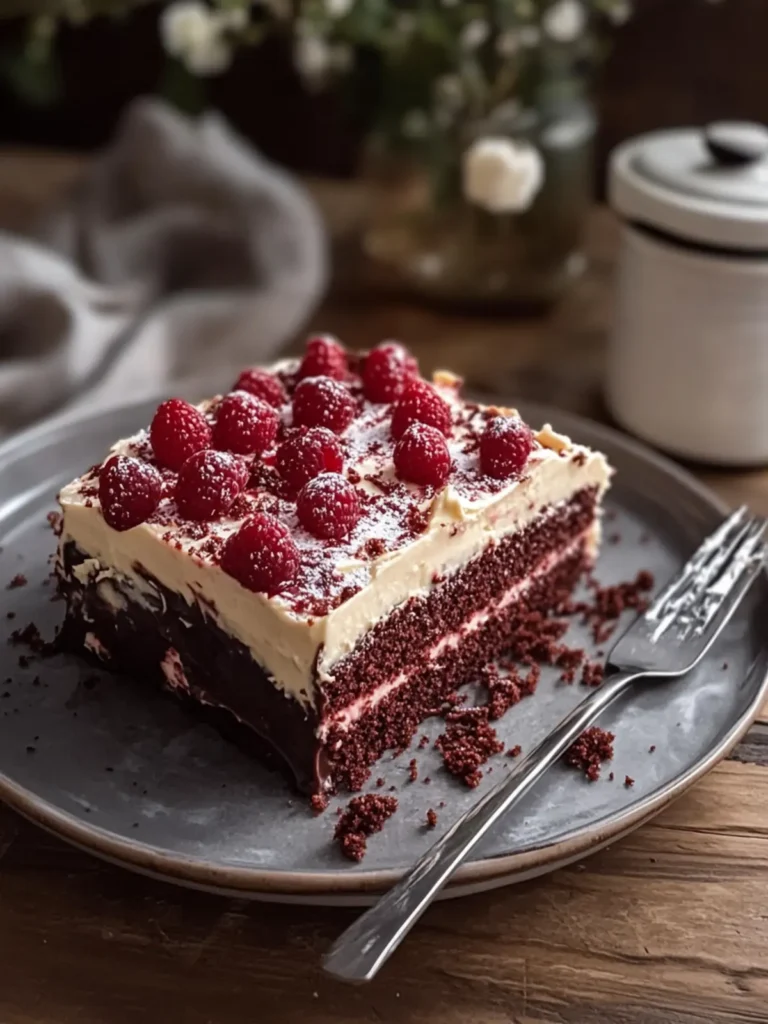
Why is this Red Cocoa Sheet Cake special?
Simplicity shines through with this recipe, making it accessible for bakers of all skill levels. Stunning visuals will captivate your guests, as its vibrant red hue is simply irresistible. Rich, velvety texture paired with creamy frosting offers a mouthwatering indulgence in every bite. Versatile enough for any occasion, be it festive holidays or cozy get-togethers, and it pairs magnificently with coffee or tea! If you’re eager for more delightful desserts, don’t miss our handy guide on easy homemade cakes.
Essential Red Cocoa Sheet Cake Ingredients
For the Cake
• All-purpose flour – 2½ cups (315 g) adds structure to your cake.
• Natural unsweetened cocoa powder – 2 tablespoons (10 g) gives a rich chocolate flavor.
• Baking soda – 1 teaspoon helps the cake rise beautifully.
• Salt – ½ teaspoon enhances the overall flavors.
• Unsalted butter – ½ cup (113 g), softened, for a moist and buttery texture.
• Granulated sugar – 1½ cups (300 g) provides sweetness and structure.
• Vegetable oil – ½ cup (120 ml) keeps the cake tender and moist.
• Large eggs – 2 at room temperature, essential for binding the ingredients.
• Buttermilk – 1 cup (240 ml), at room temperature, gives a tangy depth.
• Vanilla extract – 2 teaspoons infuses lovely aroma and flavor.
• White vinegar – 1 teaspoon reacts with baking soda for extra fluffiness.
• Concentrated red gel food coloring – 1 teaspoon adds that iconic red hue.
• Unsalted butter – 1 teaspoon, for greasing the baking dish.
For the Frosting
• Full-fat cream cheese – 8 oz (226 g), softened, provides a creamy, tangy base.
• Unsalted butter – ½ cup (113 g), softened, for a rich frosting texture.
• Powdered sugar – 3 cups (360 g) sweetens and thickens the frosting.
• Vanilla extract – 1 teaspoon enhances the frosting’s flavor.
Whether you’re preparing this Red Cocoa Sheet Cake for a festive gathering or just as a sweet treat for yourself, having these ingredients ready will set you on the path to baking bliss!
How to Make Red Cocoa Sheet Cake
-
Preheat the oven to 350°F (175°C). In the meantime, grease a 9 × 13-inch (23 × 33 cm) baking dish with the teaspoon of butter to prevent sticking.
-
Whisk together the all-purpose flour, natural cocoa powder, baking soda, and salt in a mixing bowl. This mixture will be essential for the cake’s texture.
-
Beat the softened unsalted butter and granulated sugar in a large bowl for 2–3 minutes until light and fluffy. Then, mix in the vegetable oil, and add the eggs one at a time, ensuring they’re well incorporated.
-
Combine the buttermilk, vanilla extract, white vinegar, and red gel food coloring in another bowl. This mixture will bring together the tanginess and iconic color of your cake.
-
Add the flour mixture to the butter mixture in three additions, alternating with the buttermilk mixture. Mix just until smooth—don’t overmix to keep your cake fluffy!
-
Spread the batter evenly into the prepared dish. Bake for 30–38 minutes, checking with a toothpick in the center; it should come out clean or with a few moist crumbs.
-
Cool the cake completely for about 1½ hours. Once cooled, trim a small piece from one edge and crumble it for the delicious topping.
-
Make the frosting by beating the softened cream cheese and unsalted butter until smooth. Gradually mix in the powdered sugar and vanilla extract until the mixture is creamy and well-blended.
-
Spread the frosting evenly over the cooled cake, and top it with the reserved crumbled cake to add a delightful crunch.
-
Chill in the refrigerator for 30 minutes to firm the frosting, then cut the cake into 12 irresistible pieces.
Optional: Garnish with fresh raspberries for an extra touch of sweetness!
Exact quantities are listed in the recipe card below.
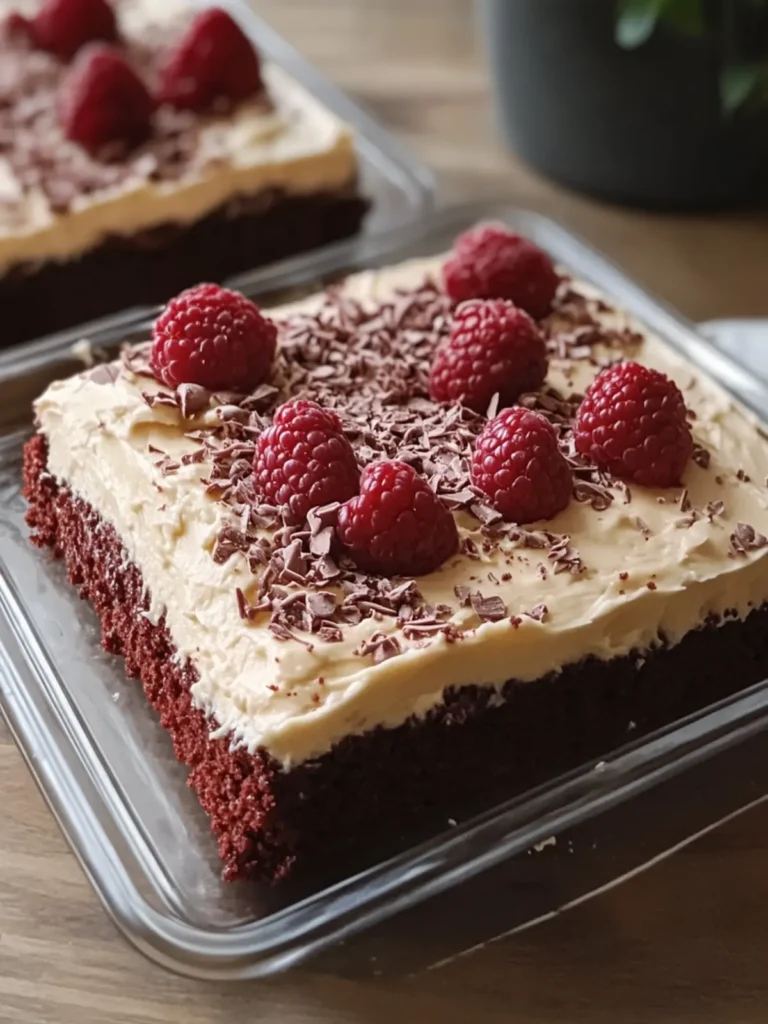
Make Ahead Options
These Red Cocoa Sheet Cake preparations are perfect for busy home cooks looking to save time! You can make the cake batter and store it in the refrigerator up to 24 hours ahead of time, which allows the flavors to meld beautifully. Just remember to cover the bowl tightly to maintain freshness. Alternatively, bake the cake ahead and keep it wrapped in plastic wrap at room temperature for up to 3 days. When ready to serve, simply whip up the frosting, spread it on the cooled cake, and chill for 30 minutes to set the frosting. You’ll have a delicious dessert with minimal effort on the day of your gathering!
Storage Tips for Red Cocoa Sheet Cake
Room Temperature: Allow the cake to cool completely before wrapping it. If kept at room temperature, it will stay fresh for up to 1 day.
Fridge: Store leftover Red Cocoa Sheet Cake in an airtight container in the refrigerator for up to 3 days. This helps maintain the texture and flavor.
Freezer: For longer storage, freeze individual slices wrapped in plastic wrap and then foil for up to 2 months. Thaw in the fridge overnight before enjoying.
Reheating: If desired, warm individual pieces in the microwave for about 10-15 seconds to bring back its delightful softness before serving!
Expert Tips for Red Cocoa Sheet Cake
• Room Temperature Ingredients: Ensure your eggs and buttermilk are at room temperature; this helps improve the batter’s consistency, resulting in a fluffier cake.
• Don’t Overmix: When combining the flour mixture with the wet ingredients, mix just until smooth. Overmixing can lead to a dense cake instead of the light texture you want.
• Check for Doneness: Use a toothpick to check if the cake is done. If it comes out clean or with a few moist crumbs, it’s ready! If it’s wet with batter, give it a few more minutes.
• Cool Completely: Allow the cake to cool for at least 1½ hours before frosting to keep the icing from melting and sliding off.
• Experiment with Frosting: Feel free to add a splash of lemon juice or a hint of almond extract to the frosting for a unique twist that enhances the flavor of your Red Cocoa Sheet Cake!
• Storage Tips: Keep any leftovers in an airtight container in the fridge to maintain freshness. Generally, this cake stays delicious for up to 3 days!
What to Serve with Red Cocoa Sheet Cake?
Indulging in a slice of this luscious cake is just the beginning of your sweet adventure. Let’s explore amazing pairings that will elevate your dessert experience!
-
Fresh Berries: Bright berries like strawberries or raspberries add a tartness that perfectly balances the sweetness of the cake. Their vibrant colors also make for an eye-catching presentation.
-
Vanilla Ice Cream: A scoop of creamy vanilla ice cream melts deliciously over the cake, offering a wonderful contrast between hot and cold. It turns this dessert into an exquisite treat!
-
Coffee or Espresso: A rich cup of coffee enhances the cocoa flavors, creating a delightful experience for coffee lovers. Pairing it with dessert brings comfort and warmth to your gathering.
-
Chocolate Ganache Drizzle: A silky chocolate ganache poured over the top enhances the richness of your cake. This decadent addition can truly take your dessert to the next level.
-
Spiced Chai Tea: The warming spices in chai tea complement the moist cake beautifully. Sip together for a comforting experience that warms both heart and soul.
-
Whipped Cream: Light and fluffy whipped cream adds a luscious touch and a hint of airiness that contrasts wonderfully with the dense cake. It’s a timeless classic for a reason!
-
Nutty Caramel Sauce: Drizzling a nutty caramel sauce over the cake adds a sweet and salty note. The crunch from nuts incorporated in the sauce takes the texture to delightful heights.
-
Lemon Zest: A sprinkle of fresh lemon zest over the frosting brightens the flavor, providing a refreshing counterpoint to the rich cake. This unexpected twist can surprise your senses!
-
Sparkling Water: For a non-sweet drink option, serve sparkling water with a twist of lemon. It cleanses the palate and makes the cake feel less rich, allowing for more indulgence!
Red Cocoa Sheet Cake Variations
Feel free to put your own spin on this delicious cake—there are so many ways to personalize it!
-
Gluten-Free: Substitute all-purpose flour with a gluten-free blend for a cake that everyone can enjoy.
-
Cocoa Boost: Increase cocoa powder to 1/4 cup for a richer chocolate taste that will satisfy any chocolate lover.
-
Nutty Crunch: Add 1 cup chopped walnuts or pecans to the cake batter for a delightful crunch and extra flavor.
-
Berry Zing: Fold in 1 cup of fresh raspberries or blueberries before baking for a burst of fruity flavor and a pop of color.
-
Chocolate Frosting: Replace half the powdered sugar in the frosting with cocoa powder for a decadent chocolate cream cheese frosting.
-
Vegan Twist: Swap eggs with 1/2 cup unsweetened applesauce and use plant-based butter and milk for a vegan-friendly version.
-
Spicy Kick: Stir in 1/2 teaspoon cinnamon or a pinch of cayenne pepper to the batter for a surprising touch of warmth.
-
Layered Delight: Bake an extra layer and stack it with frosting in between for an impressive layered cake that’ll wow your guests!
Each of these variations adds its own unique charm, so don’t hesitate to get creative and make this recipe your own!
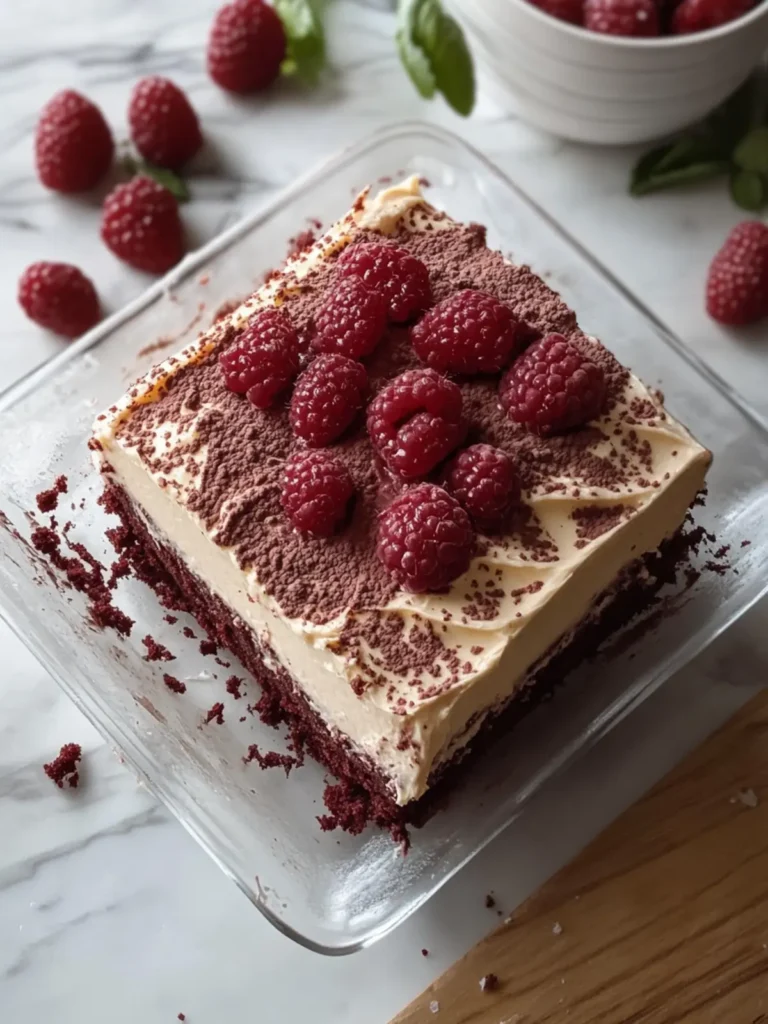
Red Cocoa Sheet Cake Recipe FAQs
What kind of food coloring should I use for this Red Cocoa Sheet Cake?
Absolutely! I recommend using concentrated red gel food coloring as it delivers that iconic hue without adding too much liquid to your batter. Liquid food colorings can dilute the recipe, affecting texture and flavor. A single teaspoon of the gel is usually enough to achieve a beautiful vibrant red!
How should I store leftover Red Cocoa Sheet Cake?
Very good question! Allow the cake to cool completely before wrapping it. If you plan to enjoy it within a day, you can keep it at room temperature covered with plastic wrap. For longer storage, place it in an airtight container in the refrigerator, where it will remain fresh for up to 3 days!
Can I freeze this cake, and if so, how?
Certainly! Freezing this delightful cake is a great option. To do so, wrap individual slices in plastic wrap, followed by aluminum foil to prevent freezer burn. Enjoy the cake up to 2 months later! Just remember to let them thaw in the fridge overnight before indulging again for the best results.
What should I do if my cake turns out too dry?
If your Red Cocoa Sheet Cake ends up dry, it could be due to overbaking or not enough moisture in the batter. Be sure to keep an eye on the baking time and check with a toothpick to test doneness. If you find it has already overbaked, a simple remedy is to drizzle a bit of simple syrup (made from equal parts sugar and water heated until dissolved) over the cake to add moisture back.
Are there any dietary considerations for pets regarding this cake?
Absolutely! The Red Cocoa Sheet Cake contains ingredients like chocolate and sugar that can be toxic to pets, particularly dogs. If your furry friends are part of your household, ensure they don’t get access to this cake. It’s best to keep homemade treats just for the humans!
What can I do to make this Red Cocoa Sheet Cake gluten-free?
For a gluten-free version, I recommend substituting the all-purpose flour with a 1:1 gluten-free baking blend. Be sure to check that it includes xanthan gum, which helps with the structure. This way, you can still enjoy your buddies’ company with a delicious treat!
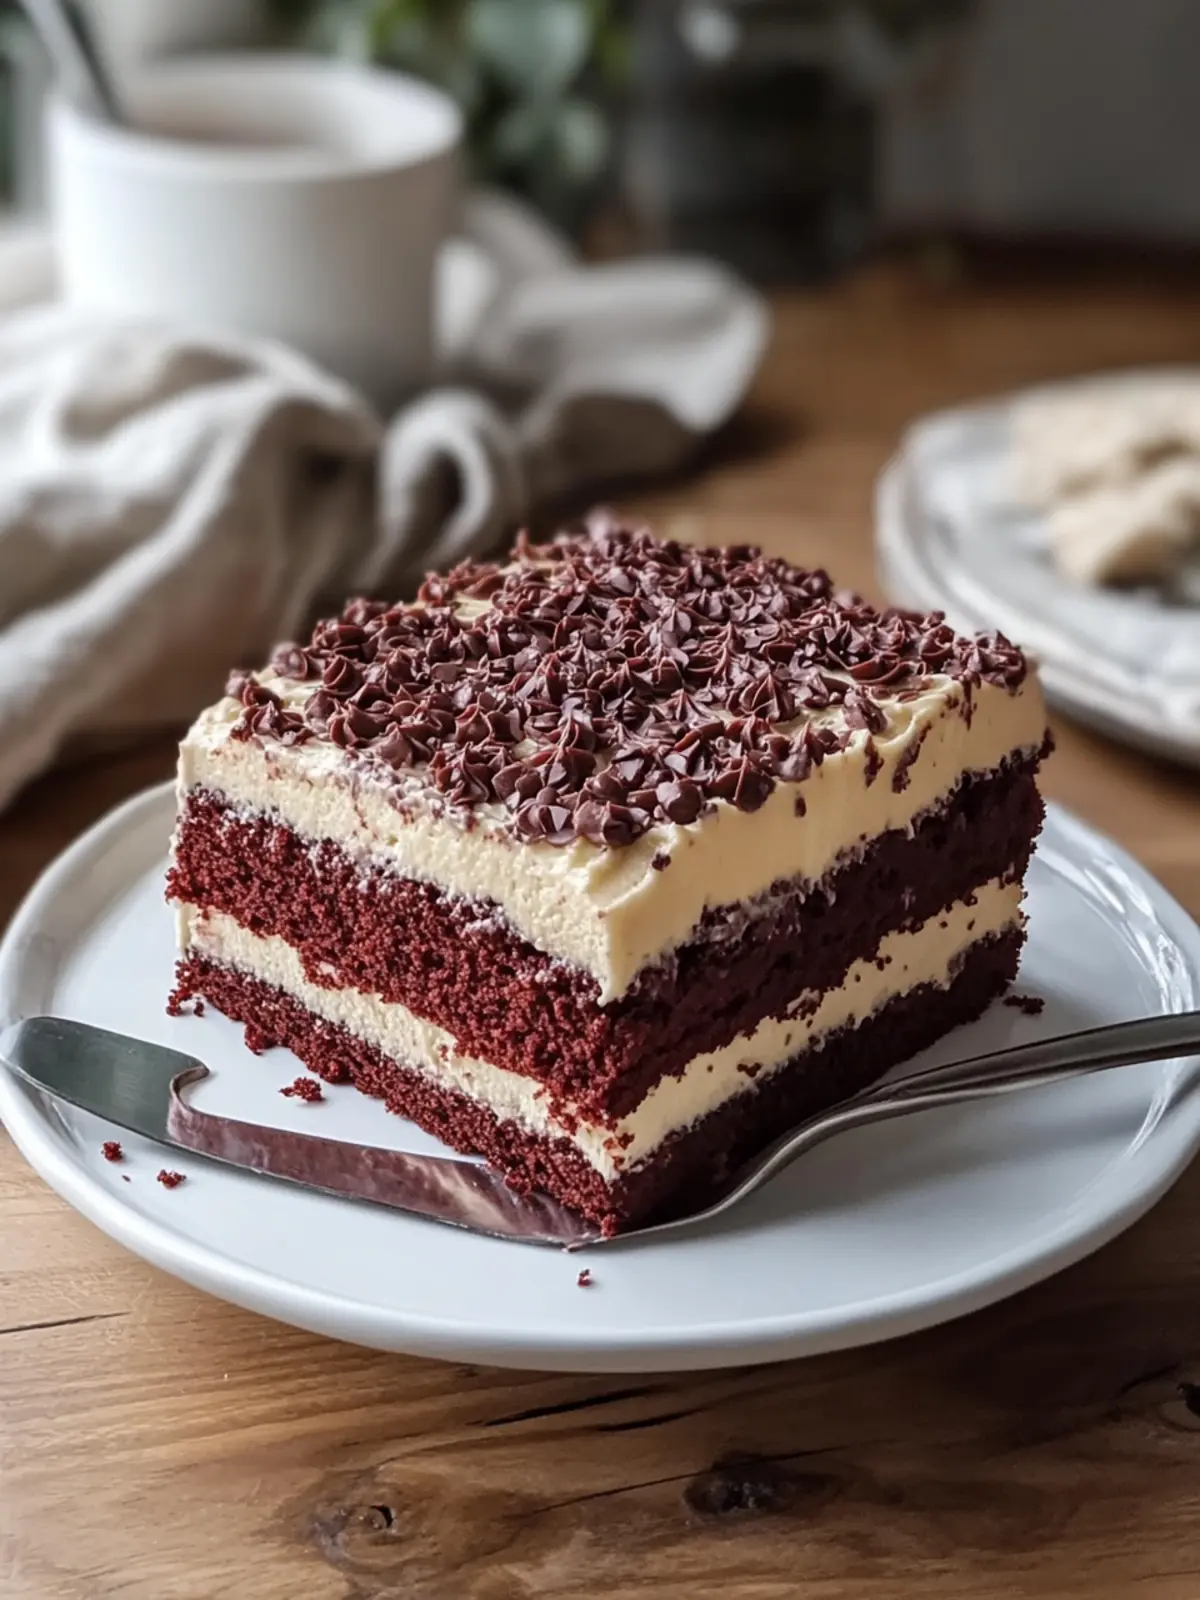
Decadent Red Cocoa Sheet Cake That Will Wow Everyone
Ingredients
Equipment
Method
- Preheat the oven to 350°F (175°C). Grease a 9 × 13-inch baking dish with butter.
- Whisk together the all-purpose flour, natural cocoa powder, baking soda, and salt in a mixing bowl.
- Beat the softened unsalted butter and granulated sugar in a large bowl for 2–3 minutes until light and fluffy. Mix in the vegetable oil, then add the eggs one at a time.
- Combine buttermilk, vanilla extract, white vinegar, and red gel food coloring in another bowl.
- Add the flour mixture to the butter mixture in three additions, alternating with the buttermilk mixture. Mix until smooth.
- Spread the batter evenly into the prepared dish. Bake for 30–38 minutes until a toothpick comes out clean.
- Cool the cake completely for about 1½ hours. Crumble a small piece from one edge for topping.
- Beat the softened cream cheese and unsalted butter until smooth. Gradually mix in powdered sugar and vanilla extract.
- Spread the frosting evenly over the cooled cake and top with reserved crumbled cake.
- Chill in the refrigerator for 30 minutes, then cut the cake into 12 pieces.