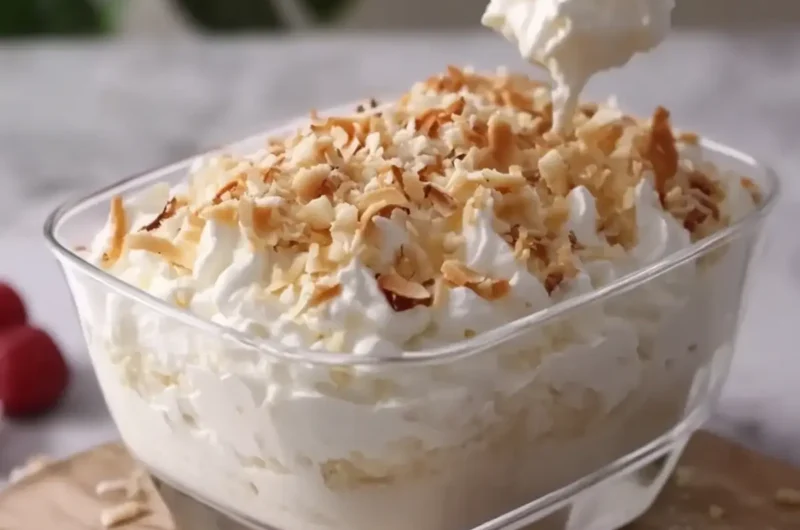
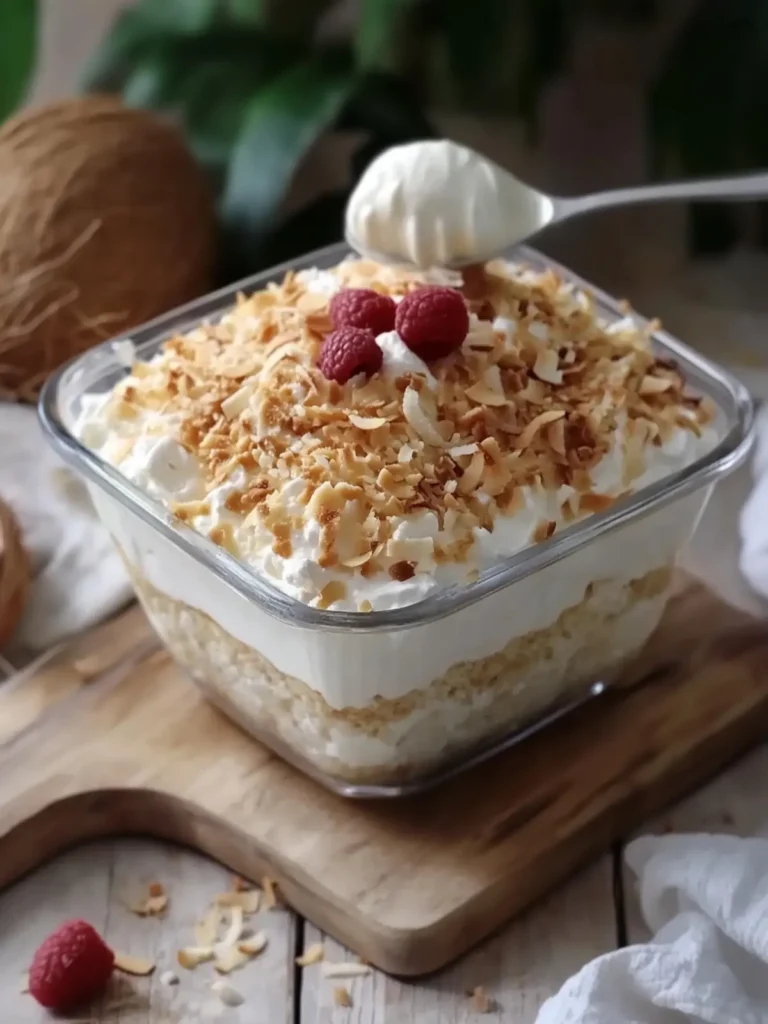
There’s something truly special about how flavors can transport you to a sun-soaked beach, and this No-Bake Coconut Cream Dream Dessert does just that. I first encountered this delightful treat at a summer picnic, where the icy, creamy layers layered with a buttery graham cracker crust captured the hearts of everyone present. The initial bite revealed a burst of coconut bliss that was both refreshing and indulgent—all without having to turn on the oven.
As the days grow warmer, I crave light desserts like this one that require minimal effort yet deliver maximum flavor. This dessert comes together in a few simple steps and can be made ahead of time, which makes it a lifesaver for busy days or when you’re hosting a gathering. Whether you’re looking to impress your friends or simply treat yourself, this recipe is bound to be a hit. So, let’s dive into this irresistible no-bake creation that effortlessly marries creamy richness with tropical flair!
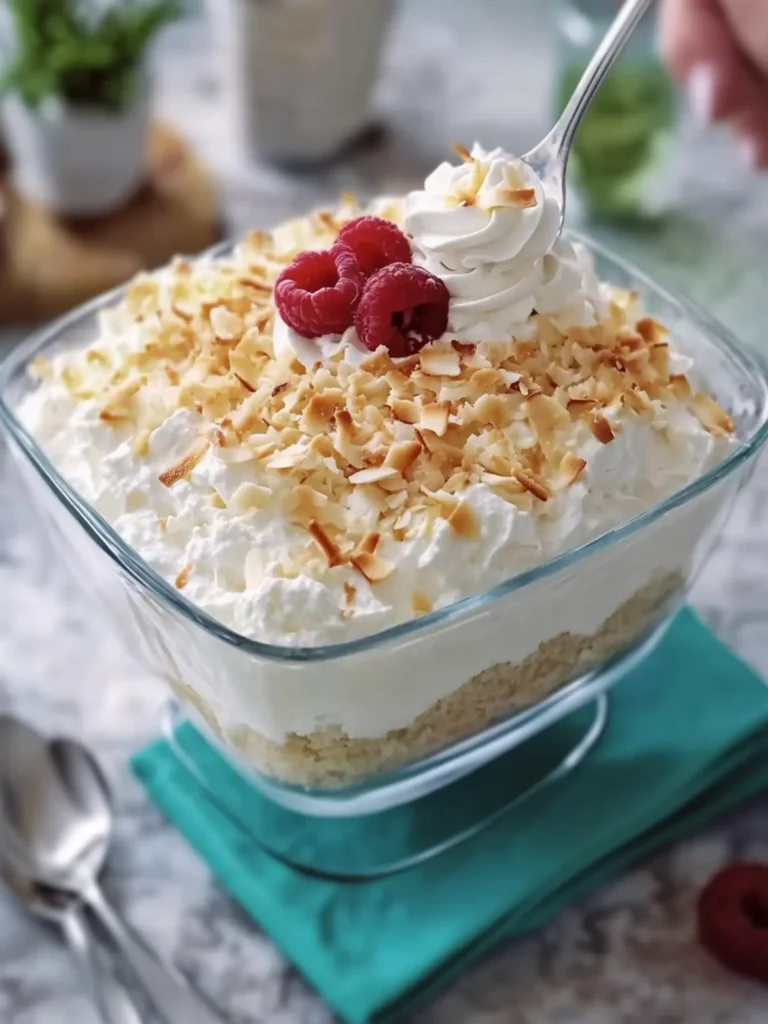
Why is No-Bake Coconut Cream Dream Dessert irresistible?
Indulgent layers of creamy goodness make this dessert a standout at any gathering. Easy preparation means no baking required, freeing up your time for other activities. Tropical flavors bring that vacation vibe straight to your kitchen! Versatile serving options allow you to customize for any occasion—perfect for summer parties or cozy family snacks. Plus, it’s the ideal dish to make ahead; let it chill overnight and be ready to impress! If you love quick, crowd-pleasing desserts, check out my no-bake cheesecake recipe for more inspiration!
No-Bake Coconut Cream Dream Dessert Ingredients
Make your coconut dreams come true!
For the Crust
• Graham cracker crumbs – A buttery base that brings texture and sweetness to your dessert.
• Unsalted butter – Helps bind the crumbs together for the perfect crust consistency.
• Granulated sugar – Adds a touch of sweetness to enhance the crust’s flavor.
For the Cream Layer
• Cream cheese – Creates a rich and creamy layer that balances the sweetness.
• Powdered sugar – Provides a smooth sweetness that’ll make this layer simply irresistible.
• Vanilla extract – Adds a warm, aromatic touch that complements the flavors beautifully.
• Whipped topping – Lightens the cream cheese mixture for a fluffy texture, making it even more delightful.
For the Coconut Pudding Layer
• Instant coconut cream pudding mix – Essential for achieving that distinct coconut flavor in the dessert.
• Cold whole milk – Used to whisk the pudding mix, creating a luscious, creamy layer.
• Sweetened shredded coconut – Introduces extra texture and coconut joy into the pudding layer.
For Topping
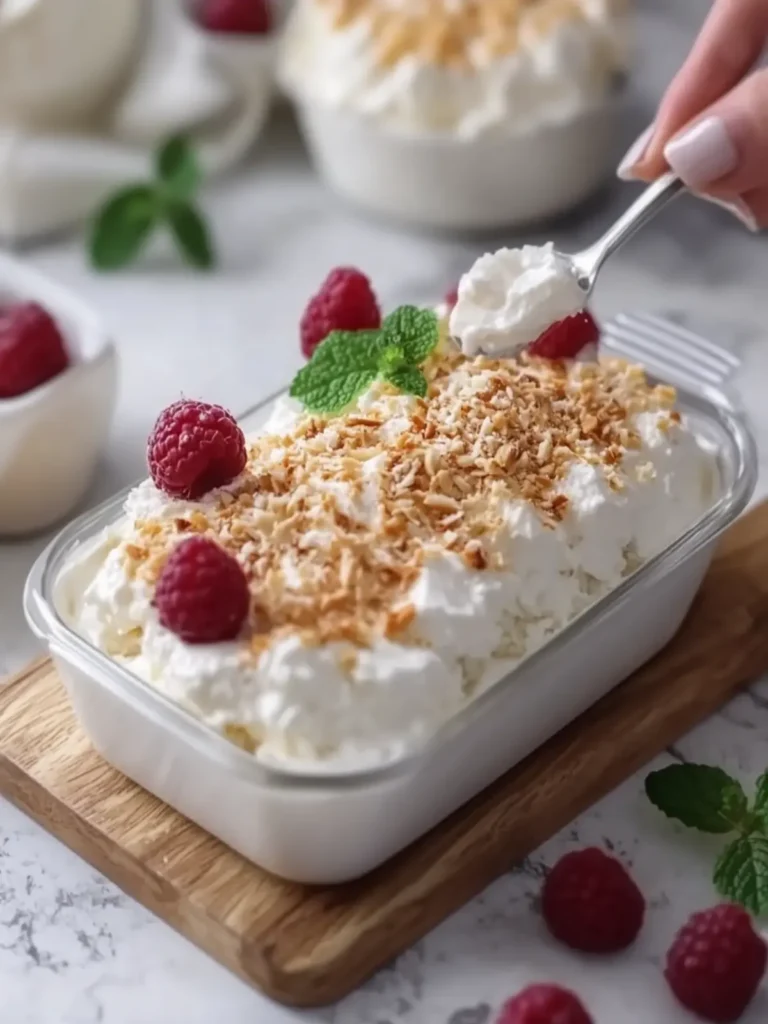
• Whipped topping – A light and airy finish that makes each bite feel indulgent.
• Sweetened shredded coconut (toasted) – Adds a toasty crunch that elevates the overall flavor and presentation.
This No-Bake Coconut Cream Dream Dessert is as simple as it is delicious, ensuring you’ll be the star of your next gathering or special occasion!
How to Make No-Bake Coconut Cream Dream Dessert
-
Combine Ingredients: In a medium bowl, mix graham cracker crumbs, melted butter, and granulated sugar until they are evenly combined. This blend will form the delicious crust.
-
Press Crust: Firmly press the crumb mixture into the bottom of a 9×13-inch glass casserole dish. Refrigerate for 20–30 minutes to help it set perfectly.
-
Beat Cream Cheese: Beat the softened cream cheese, powdered sugar, and vanilla extract together until the mixture is smooth and creamy. This will create a luscious filling for your dessert.
-
Fold in Whipped Topping: Gently fold 1 cup of whipped topping into the cream cheese mixture until fluffy. This will add a light, airy texture that is simply irresistible.
-
Spread Cream Layer: Carefully spread the cream cheese filling evenly over the chilled graham cracker crust, making sure it’s smooth and even.
-
Whisk Pudding Mix: In a separate bowl, whisk the instant coconut cream pudding mix with 3 cups of cold milk for about 2 minutes until thickened. Stir in ½ cup of shredded coconut for extra flavor.
-
Add Pudding Layer: Spread the coconut pudding mixture evenly over the cream cheese layer, creating a delightful layer of coconut goodness.
-
Spread Whipped Topping: Gently spread the remaining 2 cups of whipped topping over the pudding layer, smoothing it out for a beautiful finish.
-
Toast Coconut: In a dry skillet over medium-low heat, toast ¾ cup of shredded coconut for 3–5 minutes, stirring frequently until it’s lightly golden. Allow it to cool completely before using.
-
Top with Toasted Coconut: Sprinkle the toasted coconut evenly over the whipped topping to add a crunchy, flavorful layer on top.
-
Chill: Cover and refrigerate for at least 4–6 hours, or preferably overnight, until the layers are firm and chilled to perfection.
-
Serve and Enjoy: Slice into generous squares and serve chilled, enjoying each creamy bite of tropical delight.
Optional: Garnish with extra shredded coconut or a drizzle of chocolate sauce for a decadent touch.
Exact quantities are listed in the recipe card below.
How to Store and Freeze No-Bake Coconut Cream Dream Dessert
Fridge: Keep the dessert covered in the refrigerator for freshness. It will stay good for up to 3 days before the layers start to lose their texture.
Freezer: If you’d like to freeze it, slice individual portions and wrap them in plastic wrap, then place them in an airtight container. The dessert can be frozen for up to 1 month.
Thawing: To enjoy, simply transfer the frozen dessert to the fridge for several hours or overnight to thaw. Avoid microwaving, as it may alter the creaminess of the layers.
Serving After Storage: Always serve chilled for the best experience, and consider adding fresh toasted coconut on top for that finishing touch!
What to Serve with No-Bake Coconut Cream Dream Dessert?
There’s something magical about pairing this creamy delight with complementary flavors that elevate your dining experience.
-
Tropical Fruit Salad: Fresh and vibrant, a fruit salad with pineapple, mango, and kiwi brightens each bite of dessert and adds a refreshing contrast.
-
Ice-Cold Lemonade: The tangy zing of lemonade cuts through the rich creaminess, providing a refreshing palate cleanser between bites of your No-Bake Coconut Cream Dream Dessert.
-
Coconut Macaroons: These chewy coconut treats enhance the tropical theme, offering a delightful texture contrast that highlights the dessert’s creamy layers.
-
Chocolate Drizzle: Adding a silky, chocolate drizzle over each slice introduces a luscious contrast to the coconut flavor, making every bite even more indulgent.
-
Minted Greek Yogurt: Light and creamy, a dollop of yogurt with fresh mint brightens the dish, providing both cooling creaminess and a hint of herbal freshness.
-
Vanilla Ice Cream: A scoop of vanilla ice cream plunges you into dessert euphoria, providing a smooth texture that melts beautifully with the layers of coconut.
-
Colada Mocktail: A blend of coconut milk and pineapple juice shakes up the summer fun, perfectly matching the tropical beach vibes of this sensational dessert!
Enhance your dessert experience and create cherished memories by serving any of these delightful pairings alongside your No-Bake Coconut Cream Dream Dessert!
No-Bake Coconut Cream Dream Dessert Variations
Feel free to let your creativity soar by transforming this delicious dessert into something uniquely yours!
- Gluten-Free: Substitute graham cracker crumbs with gluten-free alternatives or crushed nuts for a delightful crunch.
- Dairy-Free: Use coconut cream in place of cream cheese and non-dairy whipped topping for a vegan twist. Your coconut flavor will still shine through!
- Tropical Twist: Add diced pineapple or mango between layers for an extra burst of tropical flavor—this creates a delightful surprise in every bite.
- Chocolate Lovers: Drizzle melted dark chocolate over the top layer or fold in chocolate chips for a heavenly cocoa contrast. It’s a wonderful blend of flavors!
- Nutty Crunch: Add chopped walnuts or pecans to the crust for an added texture that complements the softness of the dessert. It creates a perfect balance!
- Extra Creamy: Incorporate an additional layer of whipped topping in between the pudding and cream cheese layers for extra indulgence. Trust me, it’s a dream!
- Spicy Kick: Sprinkling a bit of cinnamon or nutmeg into the cream cheese mixture adds a warm, spicy depth that works beautifully with the coconut.
- Layered Delight: Consider serving it in individual cups or jars for an elegant presentation—perfect for gatherings or simply treating yourself!
Let your imagination and taste buds be your guide as you explore these fun variations!
Make Ahead Options
This No-Bake Coconut Cream Dream Dessert is perfect for busy cooks looking to save time without sacrificing flavor! You can prepare the graham cracker crust and cream cheese filling up to 24 hours in advance. Simply mix and press the crust into the casserole dish, then cover and refrigerate. The cream cheese layer can also be made ahead; just keep it chilled until you’re ready to assemble. For best results, wait to complete the pudding layer and add the whipped topping until just before serving to maintain that light texture. Once it’s all layered together, let it chill for at least 4-6 hours or overnight, ensuring every slice is just as delicious as when you first made it!
Tips for the Best No-Bake Coconut Cream Dream Dessert
• Chill Time: Ensure you refrigerate the dessert for at least 4–6 hours, preferably overnight, for the best texture and flavor.
• Coconut Toasting: Watch the shredded coconut closely while toasting; it can go from golden to burnt quickly. Stir frequently for even browning.
• Whipped Topping: Make sure the whipped topping is thawed completely before folding it into the cream cheese mixture to avoid lumps.
• Layer Evenly: Spread each layer carefully and evenly for a visually appealing dessert. Uneven layers may lead to a messy cut.
• Customization: Feel free to add your twist! Use different flavored pudding mixes or adjust the sweetness to match your taste. This flexibility keeps the No-Bake Coconut Cream Dream Dessert exciting and fun.
Enjoy every delightful bite of this dessert, perfect for hot summer days or any occasion!
No-Bake Coconut Cream Dream Dessert Recipe FAQs
How do I choose the right graham crackers for the crust?
Absolutely! Look for graham crackers that are fresh and free from any dark spots or stale portions. Whole grain options can also add a lovely texture and flavor to your crust. If you want a fun twist, try flavored graham crackers like honey or cinnamon for added depth.
Can I store No-Bake Coconut Cream Dream Dessert, and for how long?
Very! You can keep the dessert covered in the refrigerator for up to 3 days. It’s best enjoyed while the layers are still crisp and have that delightful texture. If you need it to last longer, slice it into individual portions, wrap each piece tightly in plastic wrap, and store them in an airtight container for up to 1 month.
What’s the best way to freeze this dessert?
You can easily freeze the No-Bake Coconut Cream Dream Dessert by following these steps:
- Slice it into squares after it has set completely.
- Wrap each slice individually in plastic wrap to prevent freezer burn.
- Place all wrapped slices in a single layer in an airtight container or a resealable freezer bag.
- Label with the date and freeze for up to 1 month.
When you’re ready to enjoy, move the slices to the refrigerator for several hours or overnight to thaw gently.
What should I do if the layers of my dessert are too runny?
If your dessert layers turn out runny, it may be due to insufficient chilling time or not whisking the pudding mix thoroughly. Make sure you let the dessert chill for at least 4 to 6 hours or preferably overnight for the best firm texture. When mixing the pudding, whisk it for a full 2 minutes until it thickens. This method will help ensure your dessert holds its shape.
Are there any dietary considerations I should be aware of?
Absolutely! This No-Bake Coconut Cream Dream Dessert contains dairy and sugar, so it’s important to note for those with dairy allergies or lactose intolerance. You can substitute the cream cheese with a dairy-free alternative, and use coconut whipped cream instead of regular whipped topping for a vegan version. Additionally, ensure that the toppings used are free from allergens to accommodate guests with specific dietary needs.
Can I customize the flavors of this dessert?
Very! There’s plenty of room for creativity! You can swap the instant coconut pudding with vanilla or banana pudding for a new flavor profile. For a chocolate twist, consider adding cocoa powder to the cream cheese layer or using chocolate shavings as a topping. The more the merrier when it comes to experimenting!
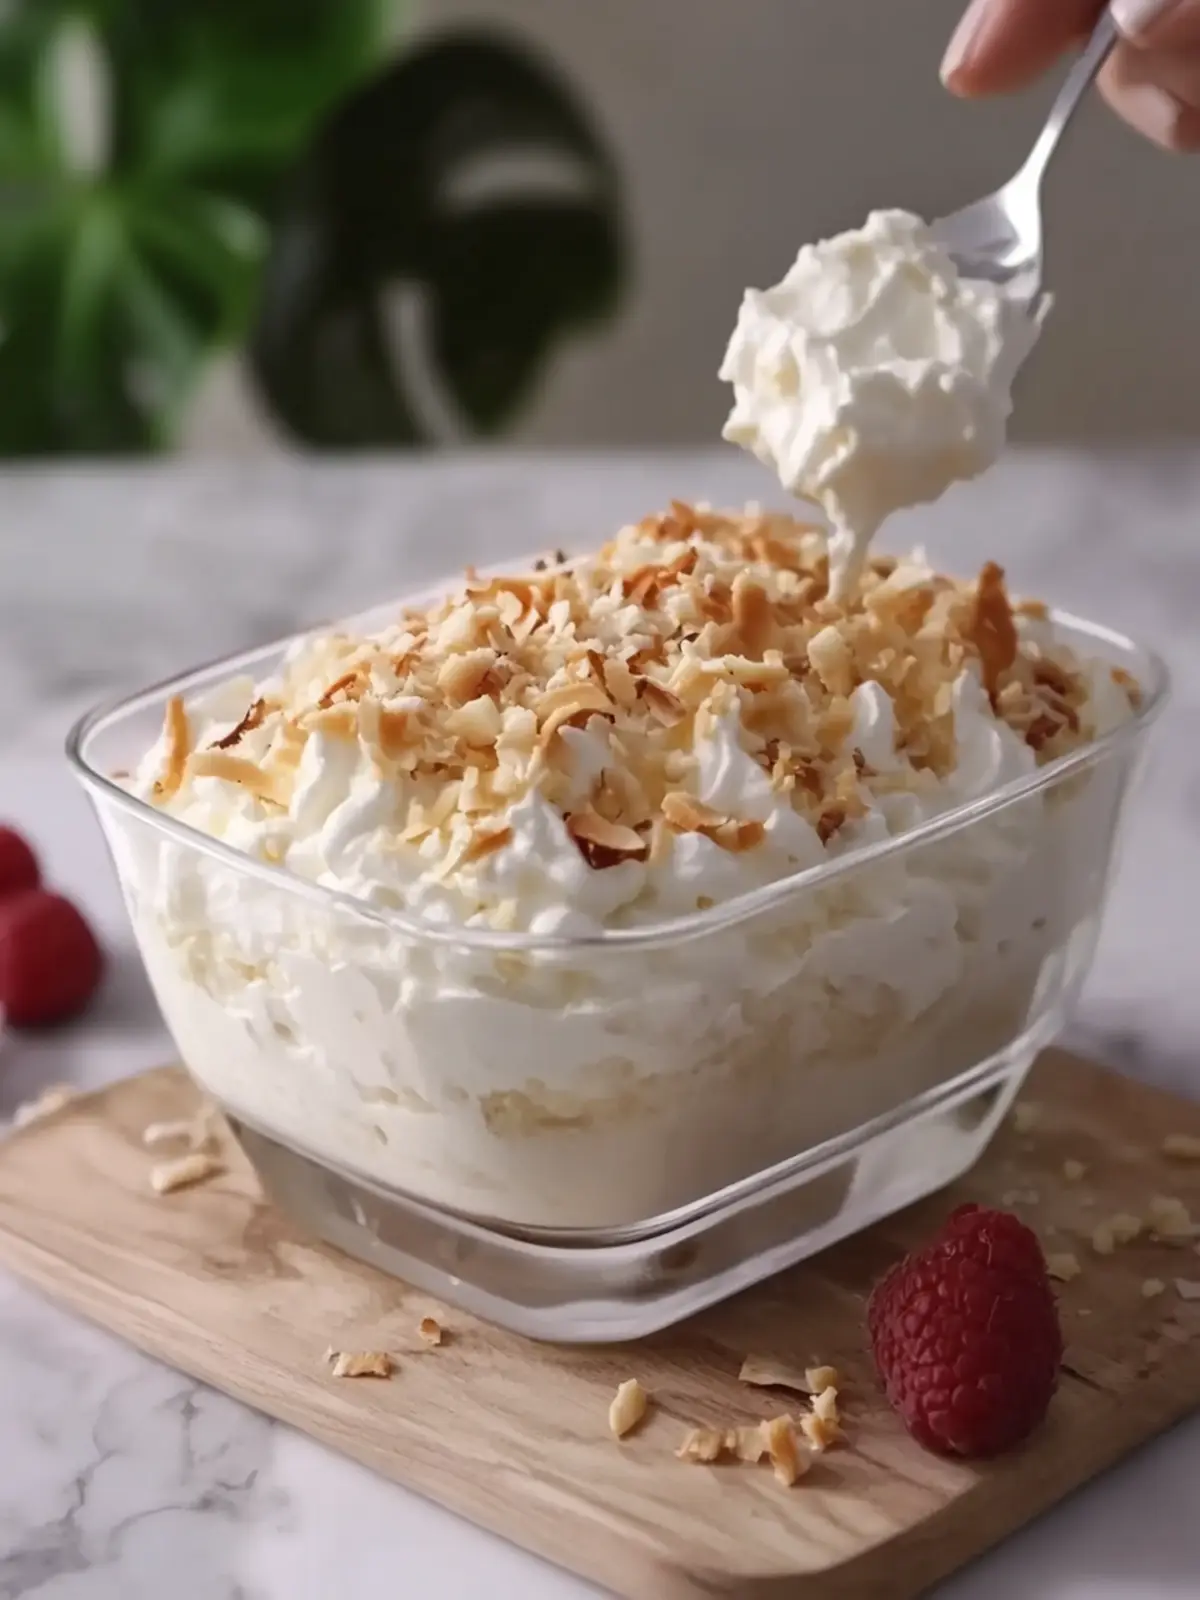
No-Bake Coconut Cream Dream Dessert That's a Slice of Paradise
Ingredients
Equipment
Method
- In a medium bowl, mix graham cracker crumbs, melted butter, and granulated sugar until evenly combined.
- Firmly press the crumb mixture into the bottom of a 9×13-inch glass casserole dish. Refrigerate for 20–30 minutes.
- Beat softened cream cheese, powdered sugar, and vanilla extract together until smooth and creamy.
- Gently fold 1 cup of whipped topping into the cream cheese mixture until fluffy.
- Spread the cream cheese filling evenly over the chilled graham cracker crust.
- In a separate bowl, whisk the instant coconut cream pudding mix with 3 cups of cold milk for about 2 minutes until thickened.
- Stir in ½ cup of shredded coconut for extra flavor.
- Spread the coconut pudding mixture evenly over the cream cheese layer.
- Gently spread the remaining 2 cups of whipped topping over the pudding layer.
- In a dry skillet over medium-low heat, toast ¾ cup of shredded coconut for 3–5 minutes.
- Sprinkle the toasted coconut evenly over the whipped topping.
- Cover and refrigerate for at least 4–6 hours, or preferably overnight.
- Slice into generous squares and serve chilled.