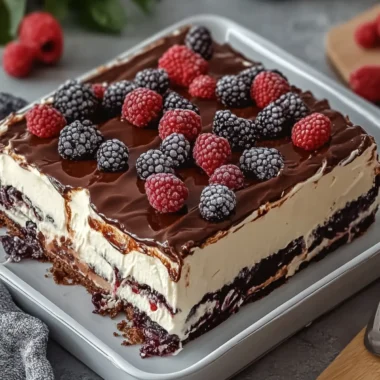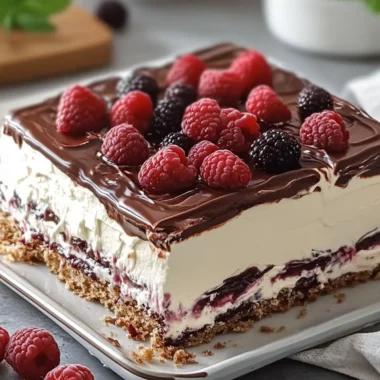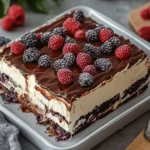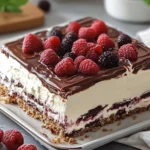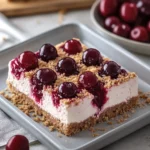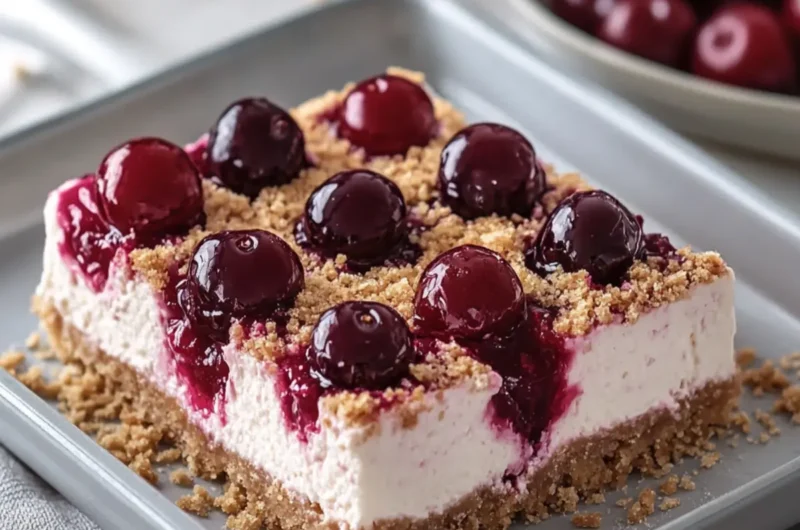
If you’re anything like me, the mere mention of cherry cheesecake conjures up blissful memories of summer picnics and family gatherings. There’s something about the juiciness of fresh cherries, layered atop a creamy, dreamy filling, that captures both warmth and nostalgia. Just recently, while sorting through my pantry, I discovered a stash of graham cracker crumbs just begging to be transformed into something delightful. That’s when it hit me: why not whip up No-Bake Upside-Down Cherry Cheesecake Bars?
This no-fuss recipe takes less than a day to set and creates a stunning dessert that’s as impressive as it is easy to make. Each layer bursts with flavor—from the buttery crust to the luscious cherry topping—and it’s a guaranteed crowd-pleaser for gatherings, potlucks, or that sweet craving at home. You’ll cherish serving these delightful bars, bringing people together around the table, sharing smiles and sweet bites. Grab your ingredients, and let’s dive into this treat that’s sure to evoke smiles and memories alike!
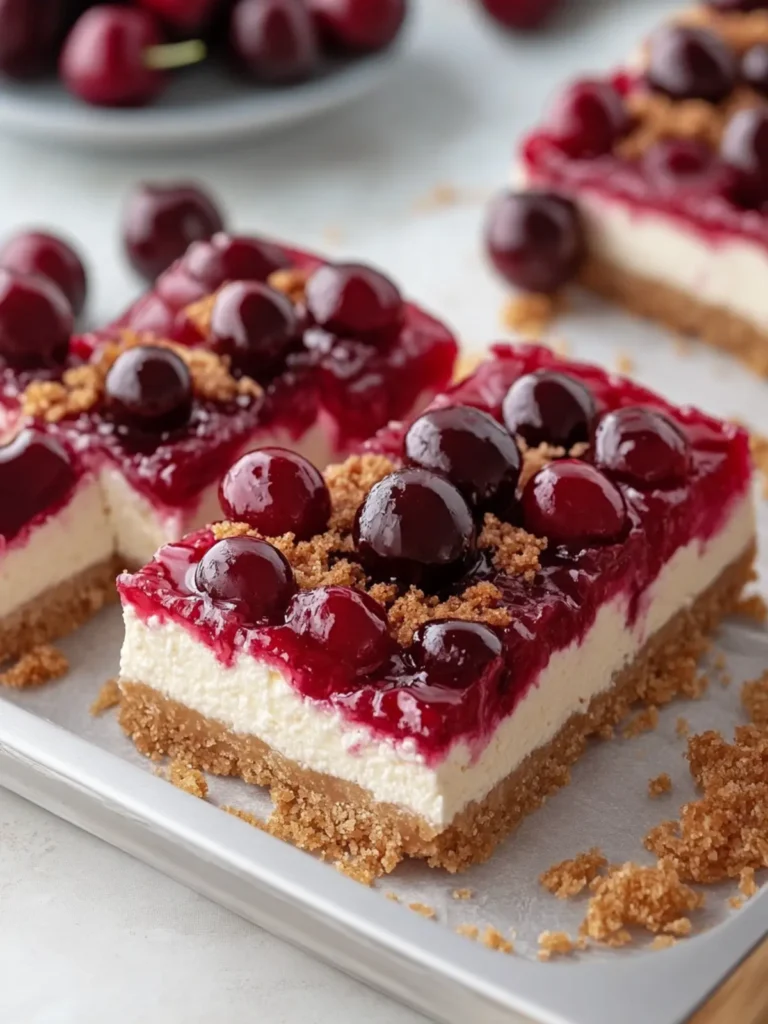
Why will you love No-Bake Upside-Down Cherry Cheesecake Bars?
Deliciously Easy: This dessert requires minimal effort with no baking needed, making it perfect for busy days or last-minute gatherings.
Flavor Explosion: The combination of creamy cheesecake and juicy cherry topping creates a delightful contrast that will have everyone coming back for seconds.
Versatile Delight: Whether it’s summer picnics or cozy winter get-togethers, these bars are an all-season treat that fits any occasion.
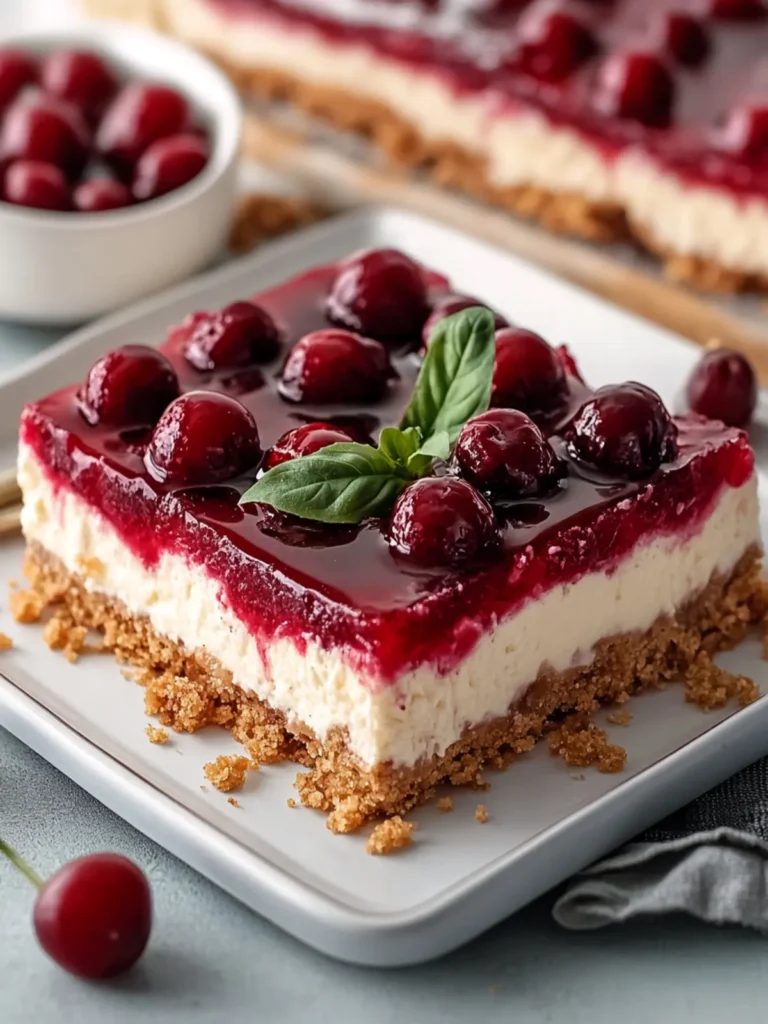
Impressive Presentation: The upside-down layering technique gives a stunning visual appeal, making it a standout dessert at potlucks or family dinners.
Make-Ahead Magic: With a refrigerate time of at least six hours, you can prepare these bars in advance and enjoy stress-free entertaining.
Satisfy your sweet tooth and impress your friends with these delightful bars; they’re sure to become a staple recipe in your collection.
No-Bake Upside-Down Cherry Cheesecake Bars Ingredients
Get ready to create a luscious treat that brings together the irresistible charm of cherries and the comfort of a creamy cheesecake!
For the Crust
• Graham cracker crumbs – 2½ cups (250 g) form a buttery base for a perfect crunch.
• Unsalted butter – ½ cup (115 g), melted to bind the crumbs together for a rich flavor.
• Granulated sugar – ¼ cup (50 g) adds just the right touch of sweetness.
• Ground cinnamon – ½ tsp enhances the warmth and comfort of the crust.
For the Cherry Topping
• Fresh or frozen cherries – 2½ cups (350 g), pitted and halved yield a juicy, fruity burst on top.
• Granulated sugar – ⅓ cup (65 g) helps bring out the natural sweetness of the cherries.
• Lemon juice – 1 tbsp adds brightness to balance the flavors.
• Cornstarch – 1 tbsp thickens the cherry mixture for a luscious topping.
• Water – 2 tbsp aids in dissolving the cornstarch and cooking down the cherries.
• Vanilla extract – ½ tsp complements the cherry flavor beautifully.
For the Cheesecake Filling
• Cream cheese – 16 oz (450 g), softened for a creamy, rich texture.
• Cold heavy whipping cream – 1 cup (240 ml) creates a light and airy cheesecake texture when whipped.
• Powdered sugar – ¾ cup (90 g) brings sweetness without the grittiness of granulated sugar.
• Vanilla extract – 1 tsp adds delightful warmth to the filling.
• Lemon juice – 1 tbsp enhances flavor and brightness in the cheesecake.
For the Crumble Topping
• Graham cracker crumbs – 1½ cups (150 g) provide an extra crunch on top of your bars.
• Unsalted butter – ¼ cup (55 g), melted, gives richness to the crumble.
• Brown sugar – ¼ cup (50 g) adds a hint of caramel flavor for depth.
• Ground cinnamon – ½ tsp ties the crumble together with a warm spice note.
• Pinch of salt – balances sweetness and enhances all flavors present.
Dive into creating these No-Bake Upside-Down Cherry Cheesecake Bars, and enjoy the delightful blend of flavors and textures in each bite!
How to Make No-Bake Upside-Down Cherry Cheesecake Bars
-
Prepare the Pan: Line a 9×13-inch baking pan with parchment paper, ensuring some overhang for easy removal later. This makes serving your bars a breeze!
-
Make the Crust: Combine the graham cracker crumbs, melted butter, sugar, and cinnamon in a bowl. Press this mixture firmly into the bottom of the prepared pan, and refrigerate for 20 minutes to set.
-
Cook the Cherries: In a saucepan, mix the halved cherries, sugar, and lemon juice. Cook over medium heat for 5–7 minutes until the cherries release their juices and become tender.
-
Thicken the Mixture: Mix cornstarch with water in a small bowl until smooth. Pour it into the cherry mixture and cook for another 1–2 minutes until thick and glossy. Stir in the vanilla extract and let it cool completely.
-
Beat the Cream Cheese: In a large bowl, beat the softened cream cheese, powdered sugar, vanilla extract, and lemon juice until the mixture is smooth and fluffy. This will be your creamy cheesecake filling!
-
Whip the Cream: In a separate chilled bowl, whip the heavy cream until stiff peaks form. This adds a light and airy texture to your cheesecake.
-
Fold the Mixtures: Gently fold the whipped cream into the cream cheese mixture until everything is light and smooth. Be careful not to deflate the whipped cream!
-
Prepare the Crumble: In another bowl, combine graham cracker crumbs, melted butter, brown sugar, cinnamon, and a pinch of salt. Mix until you have coarse, moist crumbs for the topping.
-
Layer the Cheesecake: Spread half of the cheesecake mixture over the chilled crust. Spoon the cooled cherry filling evenly on top of this layer.
-
Add Remaining Cheesecake: Carefully spread the remaining cheesecake mixture over the cherry layer, ensuring it is even and smooth.
-
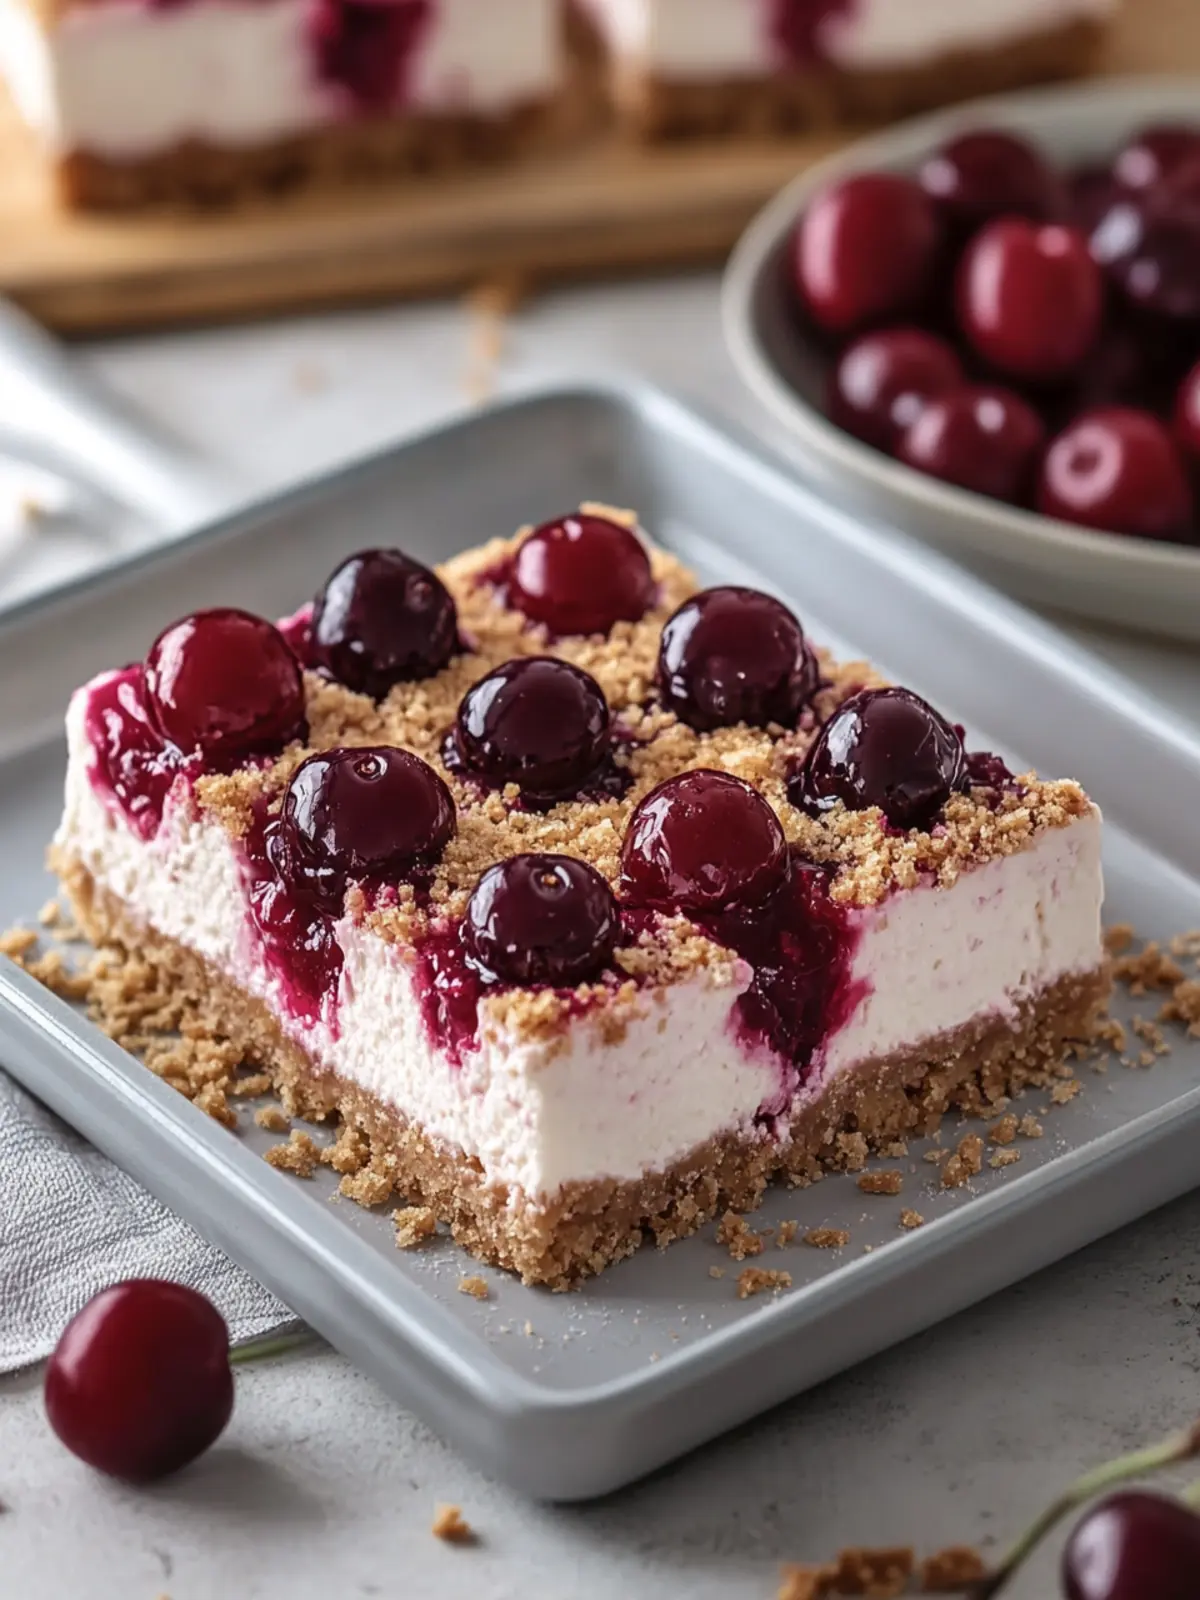
Top with Crumble: Sprinkle the graham cracker crumble generously over the top of your bars, ensuring even coverage for that delightful crunch.
-
Chill: Refrigerate the completed bars for at least 6 hours, preferably overnight, until they are completely firm and ready to slice.
-
Serve: Lift the cheesecake from the pan using the parchment paper. Slice into squares with a warm knife and serve chilled for the best flavor.
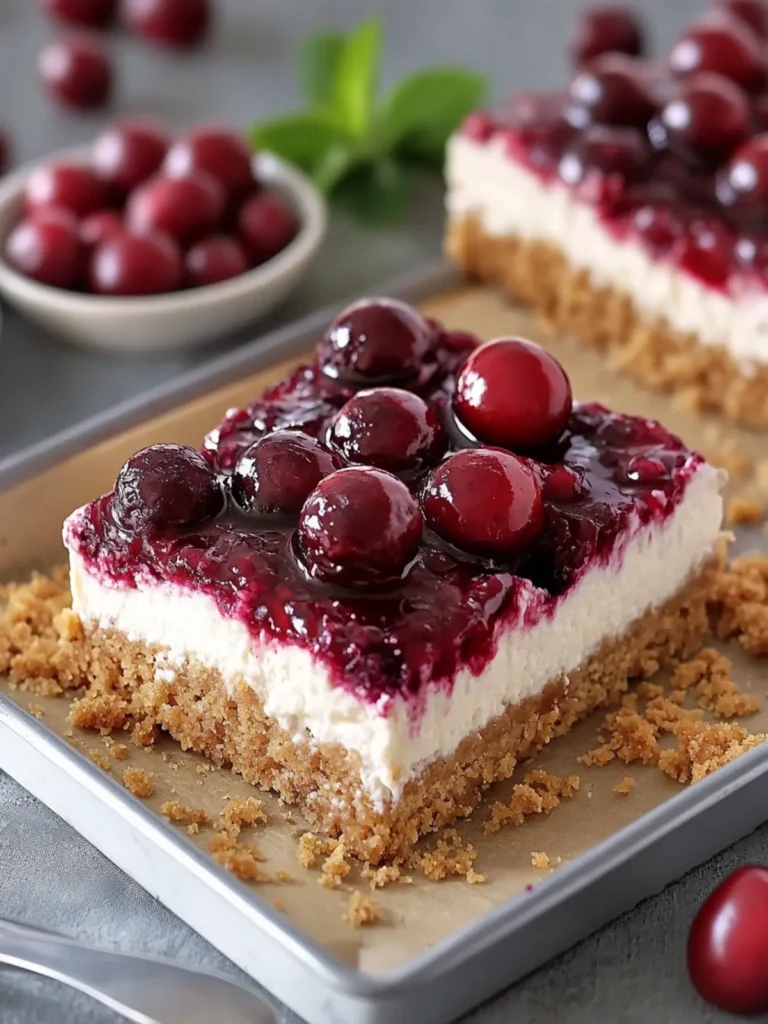
Optional: Garnish with a dollop of whipped cream and fresh cherries for a stunning presentation.
Exact quantities are listed in the recipe card below.
Expert Tips for No-Bake Upside-Down Cherry Cheesecake Bars
- Crust Perfection: Ensure you press the graham cracker mix firmly to create a solid base; a loose crust can crumble when sliced.
- Chill Time: Don’t rush the refrigeration! Allowing the bars to set overnight will ensure a firmer, sliceable dessert that holds its shape beautifully.
- Cherry Sweetness: Adjust the sugar in the cherry topping based on the tartness of your cherries; taste before adding all the sugar to avoid overwhelming sweetness.
- Whipped Cream Technique: Be gentle when folding the whipped cream into the cheesecake mixture; over-mixing can deflate the airiness that makes it so delightful.
- Serving Tip: Use a warm knife to slice the cheesecake bars for a cleaner cut, preventing the layers from squishing together.
Enjoy creating the No-Bake Upside-Down Cherry Cheesecake Bars, and remember these tips for the best results!
How to Store and Freeze No-Bake Upside-Down Cherry Cheesecake Bars
Fridge: Store your cheesecake bars in an airtight container in the fridge for up to 5 days. This keeps them fresh and creamy, perfect for enjoying after a meal.
Freezer: If you want to keep your no-bake cherry cheesecake bars longer, freeze them for up to 3 months. Wrap tightly in plastic wrap and then foil to prevent freezer burn.
Thawing: To enjoy frozen bars, simply transfer them to the fridge and allow to thaw overnight. This way, they maintain their delicious flavor and texture.
Serving: For the best experience, serve chilled, and feel free to add a dollop of whipped cream or fresh cherries just before enjoying!
Make Ahead Options
These No-Bake Upside-Down Cherry Cheesecake Bars are a lifesaver for busy home cooks, allowing for effortless meal prep! You can prepare the graham cracker crust and the cherry filling up to 3 days in advance. Simply keep the crust stored in the refrigerator wrapped tightly to maintain freshness. The cheesecake mixture can also be made ahead of time, stored in an airtight container, and kept refrigerated for up to 24 hours. When you’re ready to serve, layer the cheesecake filling over the crust, then add the cherry topping and crumble. Allow it to set in the fridge for at least 6 hours, preferably overnight, to ensure it achieves the perfect texture. Enjoy the time-saving benefits while still delivering a delicious dessert!
What to Serve with No-Bake Upside-Down Cherry Cheesecake Bars?
Satisfy your guests’ cravings while enhancing your dessert experience with perfect pairings that elevate each delicious bite.
-
Fresh Berries: A mix of strawberries and blueberries adds a vibrant, tart contrast that complements the sweetness of the cherry topping beautifully.
-
Whipped Cream: Light and airy, a dollop of freshly whipped cream can take each bar to the next level, adding luxury and richness.
-
Decadent Chocolate Drizzle: A drizzle of chocolate sauce creates a delightful new layer of flavor, balancing the tart cherries with luscious sweetness.
-
Vanilla Ice Cream: Creamy, cold ice cream brings a contrasting temperature and creaminess that pairs wonderfully with the cherry and cheesecake layers.
-
Iced Tea: A refreshing glass of iced tea offers a perfect palate cleanser that complements the sweetness of the bars without overwhelming them.
-
Coffee: The rich notes of a good cup of coffee enhance the creamy cheesecake while providing a delightful warm contrast to the chilled dessert.
-
Lemon Sorbet: Light and refreshing, lemon sorbet adds a zingy touch that refreshes the palate, making it a wonderful accompaniment to these rich bars.
-
Cheese Plate: A small cheese board with creamy brie or tangy goat cheese can provide a savory balance, perfect for cutting through the dessert’s sweetness.
-
Dark Chocolate Bark: Homemade dark chocolate bark with a sprinkle of sea salt brings a crunchy element and a sophisticated sweetness to your dessert table.
-
Sparkling Water: A bubbly glass of sparkling water keeps things light and refreshing, helping cleanse the palate between bites.
No-Bake Upside-Down Cherry Cheesecake Bars Variations
Feel free to get creative and make this recipe truly your own, personalizing each bar with delightful twists!
- Gluten-Free: Swap graham crackers with gluten-free cookie crumbs or ground almonds for a nutty flavor.
- Vegan: Use plant-based cream cheese and coconut cream for a dairy-free option that still packs a creamy punch.
- Nutty Delight: Mix crushed nuts like pecans or almonds into the graham cracker crust for added crunch and a rich flavor.
- Zesty Kick: Enhance the cherry topping with a sprinkle of cinnamon or nutmeg to evoke a warm, aromatic sensation.
- Chocolate Lovers: Drizzle melted dark chocolate over the top before adding the crumble for a decadent finish that chocolate fans will adore.
- Berry Medley: Swap cherries with mixed berries like blueberries or raspberries for a colorful and tangy alternative that excites the palate.
- Caramel Drizzle: Elevate the bars by drizzling homemade caramel sauce on top before serving, transforming this dessert into a luxurious treat.
- Heat Wave: Add a pinch of cayenne or a splash of jalapeño juice to the cherry mixture for an unexpected, spicy twist that’s sure to surprise.
Mix and match these ideas to elevate your No-Bake Upside-Down Cherry Cheesecake Bars, creating variations that bring joy to every bite!
No-Bake Upside-Down Cherry Cheesecake Bars Recipe FAQs
How do I choose the right cherries for the recipe?
Absolutely! If you’re using fresh cherries, look for ones that are plump and firm with a deep, vibrant color. Avoid any with dark spots or wrinkled skin. For frozen cherries, ensure they are pitted and free from ice crystals to guarantee optimal texture.
What’s the best way to store No-Bake Upside-Down Cherry Cheesecake Bars?
You can store the cheesecake bars in an airtight container in the fridge for up to 5 days. This keeps them fresh and creamy, allowing you to savor a delightful treat for several days after making them.
Can I freeze the cheesecake bars?
Very much so! To freeze, wrap the bars tightly in plastic wrap and then in foil to protect against freezer burn. They can be stored this way for up to 3 months. Just remember to label the container with the date, so you know when to enjoy them by!
What should I do if the cheesecake mixture is too runny after mixing?
If your cheesecake filling seems too runny, don’t worry. Make sure you’ve whipped the heavy cream to stiff peaks before folding it into the cream cheese mixture, as this helps add stability. If it’s still too soft, you can refrigerate it for a bit longer to firm up before layering it over the cherries.
Can I make this recipe dairy-free or gluten-free?
Absolutely! For a dairy-free option, you can substitute the cream cheese with a dairy-free alternative made from cashews or tofu, and use coconut cream in place of heavy cream. For a gluten-free crust, choose gluten-free graham cracker crumbs or blend oats to create a similar texture.
How long should I refrigerate the cheesecake bars before serving?
It’s best to refrigerate your No-Bake Upside-Down Cherry Cheesecake Bars for at least 6 hours, but ideally overnight. This allows all the flavors to meld beautifully and ensures the bars firm up nicely for slicing. Enjoy every bite!
No-Bake Upside-Down Cherry Cheesecake Bars You’ll Love
Ingredients
Equipment
Method
- Line a 9×13-inch baking pan with parchment paper, ensuring some overhang for easy removal later.
- Combine the graham cracker crumbs, melted butter, sugar, and cinnamon in a bowl. Press this mixture firmly into the bottom of the prepared pan, and refrigerate for 20 minutes to set.
- In a saucepan, mix the halved cherries, sugar, and lemon juice. Cook over medium heat for 5–7 minutes until the cherries release their juices and become tender.
- Mix cornstarch with water in a small bowl until smooth. Pour it into the cherry mixture and cook for another 1–2 minutes until thick and glossy. Stir in the vanilla extract and let it cool completely.
- In a large bowl, beat the softened cream cheese, powdered sugar, vanilla extract, and lemon juice until the mixture is smooth and fluffy.
- In a separate chilled bowl, whip the heavy cream until stiff peaks form.
- Gently fold the whipped cream into the cream cheese mixture until everything is light and smooth.
- In another bowl, combine graham cracker crumbs, melted butter, brown sugar, cinnamon, and a pinch of salt. Mix until you have coarse, moist crumbs.
- Spread half of the cheesecake mixture over the chilled crust. Spoon the cooled cherry filling evenly on top.
- Carefully spread the remaining cheesecake mixture over the cherry layer.
- Sprinkle the graham cracker crumble generously over the top.
- Refrigerate the completed bars for at least 6 hours, preferably overnight, until they are completely firm.
- Lift the cheesecake from the pan using the parchment paper. Slice into squares with a warm knife and serve chilled.