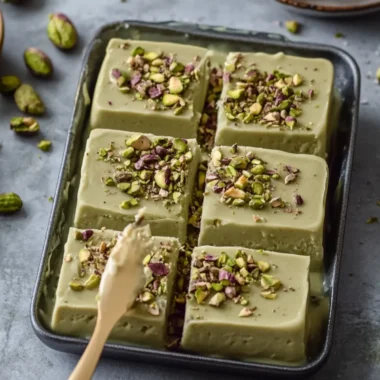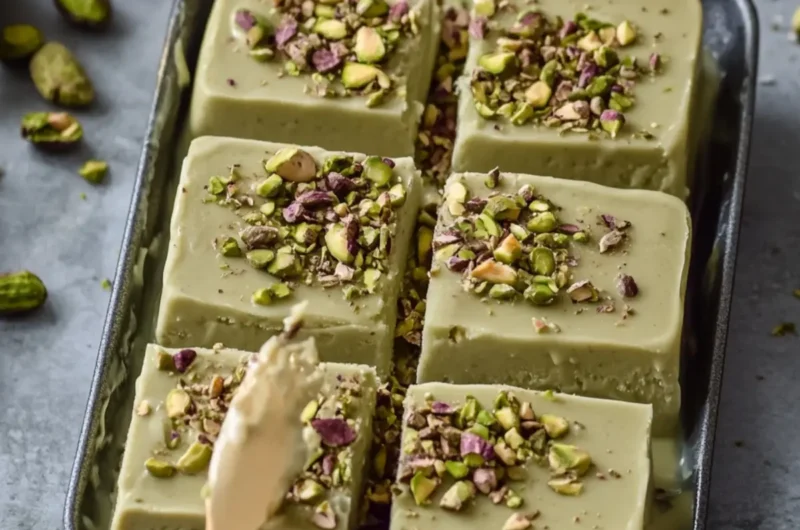
As the summer sun begins to wane, I find myself craving something just a little indulgent yet unbelievably refreshing—these No-Bake Pistachio Ice Cream Bars with Chocolate Cookie Crust are the perfect answer. I still remember the delight on my family’s faces as I unveiled this colorful treat, complete with a rich chocolate base and creamy pistachio filling that could rival any gelato shop. The best part? They can be prepped in moments and require zero baking!
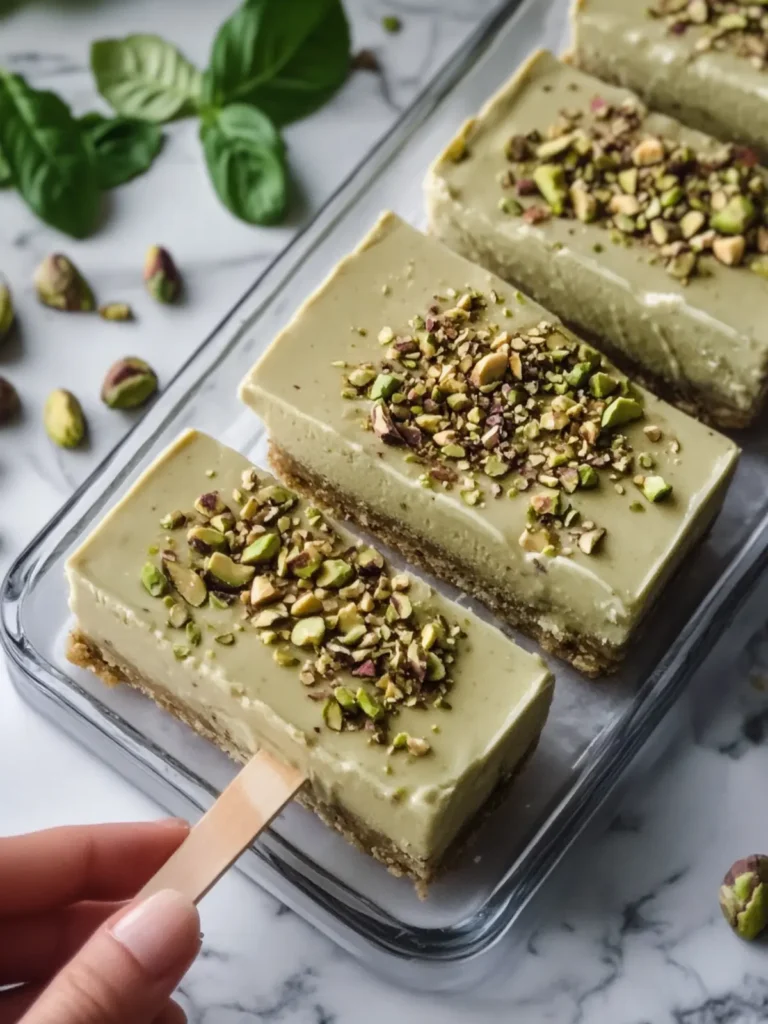
Imagine the joyous crunch of the chocolate crust melting in your mouth, followed by the smooth swirl of pistachio ice cream, brightened by the delicate crunch of finely chopped nuts. Each bite feels like a celebration of flavor, making them ideal for spontaneous get-togethers or a cozy night in. So, let’s shake off the fast-food fatigue together and explore this delightful homemade dessert that will have you dreaming of summer long after it’s gone!
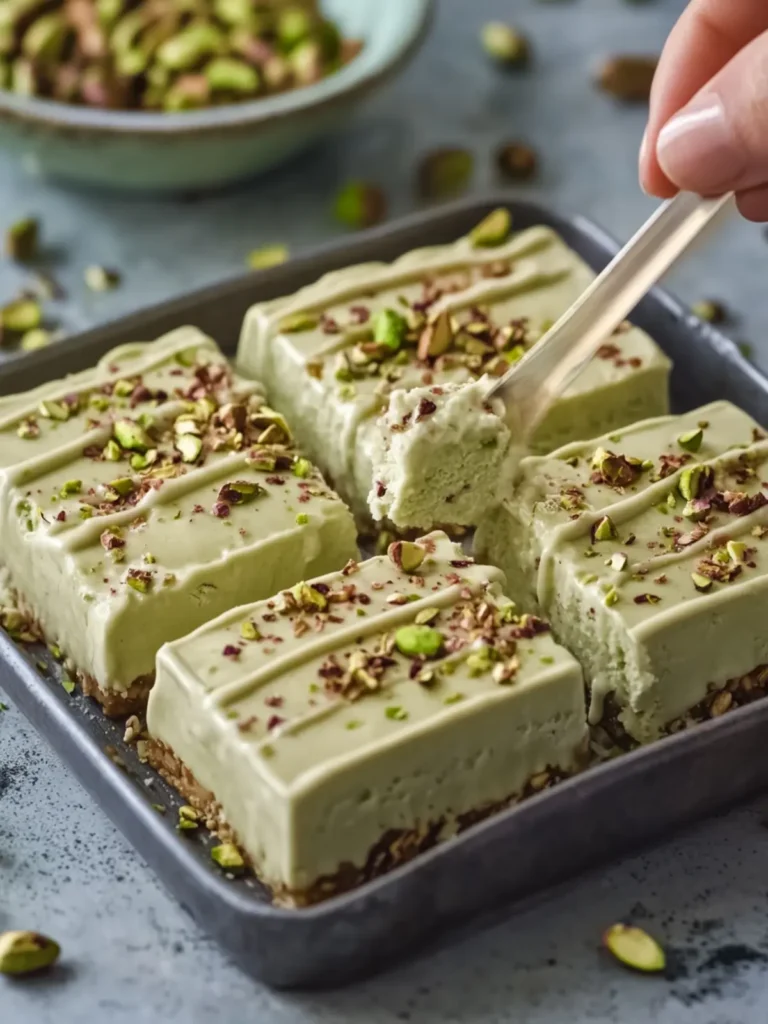
Why You’ll Love No-Bake Pistachio Ice Cream Bars
Easy Preparation: These bars come together in mere minutes, making them an ideal treat for busy schedules.
Decadent Layers: A crunchy chocolate crust pairs perfectly with a creamy pistachio filling, creating a delightful contrast in textures.
Vegan-Friendly: Made with dairy-free ingredients, everyone can indulge without compromise, ensuring all your guests are satisfied.
Crowd-Pleasing Delight: Perfect for parties, picnics, or just a cozy night at home, these bars are a guaranteed hit with family and friends.
Make Ahead: Freeze them for a tasty on-demand dessert, saving you time while still impressing everyone with your culinary skills.
Guilt-Free Indulgence: With wholesome ingredients like pistachios, you can savor every bite without the guilt—an ideal alternative to fast-food desserts.
No-Bake Pistachio Ice Cream Bars Ingredients
For the Crust
• Chocolate cookie crumbs – these create a rich base that complements the creamy filling beautifully.
• Vegan butter – adds moisture and helps bind the crust together, making it extra delicious.
• Cocoa powder – enhances the chocolate flavor and deepens the color of the crust.
• Pinch of salt – balances the sweetness and brings out the flavor of the chocolate.
For the Pistachio Filling
• Dairy-free whipping cream – whips up easily for a light, airy texture; essential for that ice cream feel.
• Full-fat coconut cream – provides creaminess and richness, making the filling luxuriously smooth.
• Smooth pistachio butter – offers a delectable nutty flavor, central to our No-Bake Pistachio Ice Cream Bars.
• Sweetened condensed coconut milk – adds a sweet, luscious element that binds everything together.
• Powdered sugar – sweetens the filling without adding grittiness, giving a silky finish.
• Vanilla extract – enhances the overall flavor profile; a little goes a long way!
• Finely chopped pistachios – adds texture and a burst of nutty goodness throughout the ice cream.
For the Topping
• Pistachio butter – a final drizzle of nutty flavor, making every bite a treat.
• Coconut oil – helps create a smooth, pourable topping that sets perfectly.
• Powdered sugar – sweetens and completes the topping for that refined finish.
• Chopped pistachios – adds a delightful crunch and visual appeal to your gorgeous creation.
How to Make No-Bake Pistachio Ice Cream Bars
-
Prepare the Dish: Line a 9 × 13-inch (23 × 33 cm) baking dish with parchment paper to prevent sticking and ensure easy removal of the bars later.
-
Mix the Crust: Combine chocolate cookie crumbs, cocoa powder, salt, and melted vegan butter. Mix until the crumbs resemble wet sand, then press the mixture firmly into the bottom of the dish. Freeze for 20–30 minutes until firm.
-
Whip Cream: In a large chilled bowl, whip the dairy-free whipping cream until stiff peaks form. This lightens up the filling and adds a delightful texture.
-
Combine Filling Ingredients: In another bowl, combine chilled coconut cream, smooth pistachio butter, condensed coconut milk, powdered sugar, vanilla extract, and salt. Beat until smooth and creamy.
-
Fold in Cream: Gently fold the whipped cream into the pistachio mixture, being careful not to deflate the airy texture. Fold in the finely chopped pistachios for added texture and flavor.
-
Layer the Filling: Pour the pistachio mixture over the chilled chocolate crust and spread evenly using a spatula. Cover the dish tightly with plastic wrap or foil. Freeze for at least 5–6 hours, preferably overnight, until completely firm.
-
Make the Topping: In a microwave-safe bowl, combine pistachio butter and coconut oil. Heat in 15-second intervals until smooth and pourable. Stir in powdered sugar and allow the mixture to cool slightly.
-
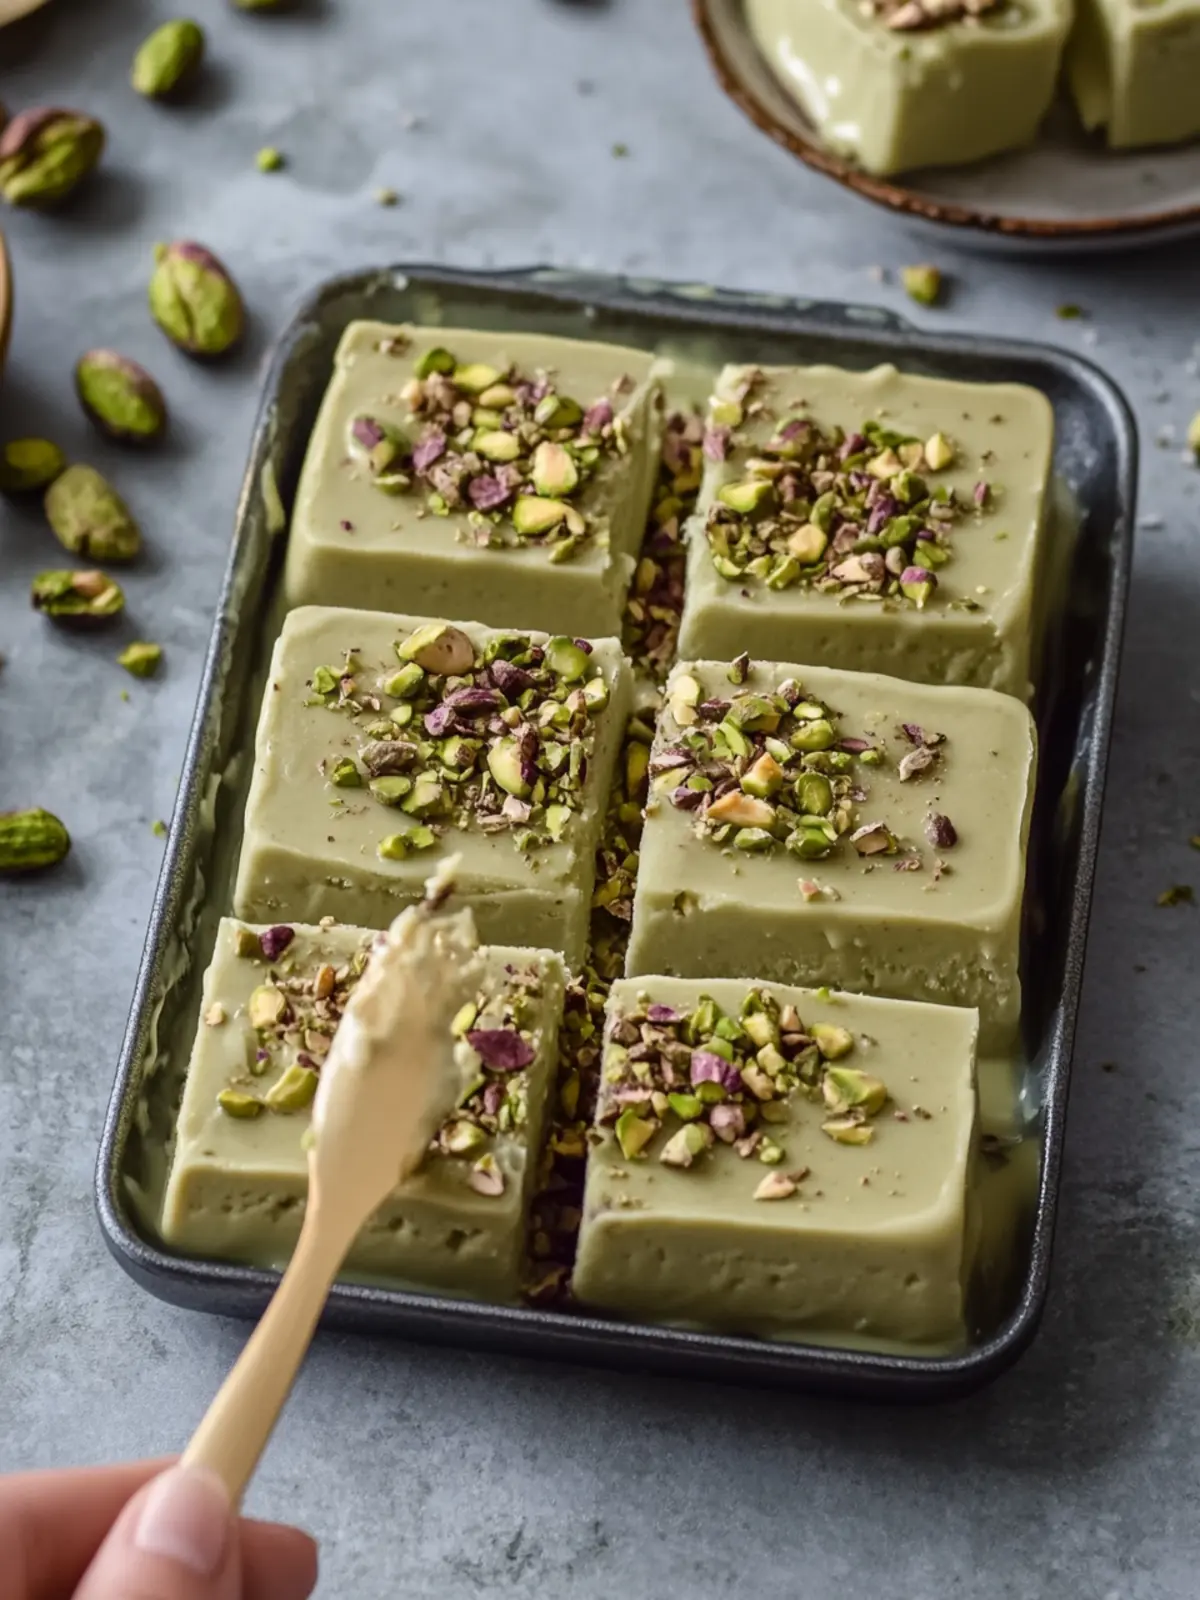
Add Topping: Remove the frozen dessert from the freezer and pour the pistachio topping over the surface. Spread evenly with a spatula and sprinkle generously with chopped pistachios. Return to the freezer for another 20–30 minutes until the topping sets.
-
Slice and Serve: Remove the dessert from the freezer and let it soften for 5–8 minutes. Lift it out using the parchment paper and cut into 12–15 rectangular bars using a warm knife. Serve immediately or return the bars to the freezer.
Optional: Drizzle extra pistachio butter on the cut bars for a decadent twist.
Exact quantities are listed in the recipe card below.
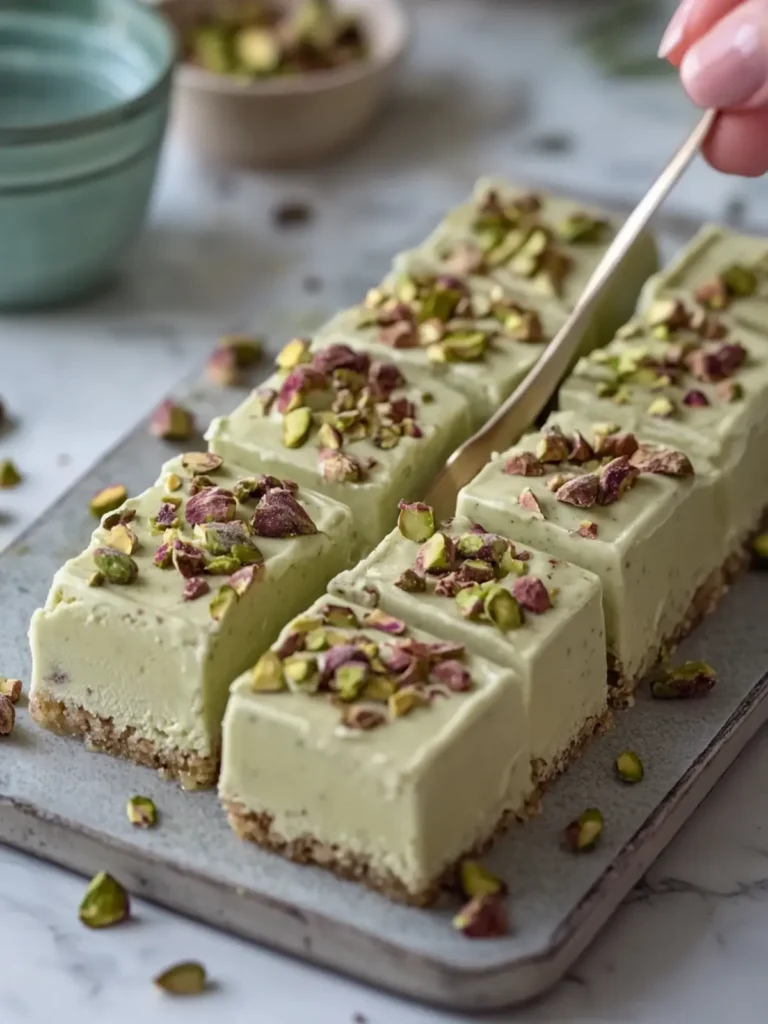
No-Bake Pistachio Ice Cream Bars Variations
Get creative and make these delightful bars your own, elevating every bite to new heights!
-
Nut Butter Swaps: Replace pistachio butter with almond or cashew butter for a different nutty flavor.
-
Flavor Crush: Add a scoop of matcha powder to the pistachio mixture for a lovely green tea twist in both taste and color.
-
Chocolate Lovers: Drizzle melted dark chocolate over the top for an extra indulgent layer that brings richness to each bar.
-
Sweeten Smart: Use maple syrup instead of sweetened condensed coconut milk for a natural sweetener that adds a twist of flavor.
-
Fruity Kick: Fold in pureed raspberries or strawberries before freezing for a burst of fresh fruit flavor that beautifully contrasts with the pistachio.
-
Crunch Enhancer: Add crushed pretzels to the chocolate crust for a salty-sweet combination that provides an unexpected surprise.
-
Coconut Vibes: Incorporate shredded coconut into the filling for extra texture and a hint of tropical flavor that complements the pistachios beautifully.
-
Spicy Twist: Add a pinch of cayenne or chili powder to the chocolate topping for a playful heat that pairs well with the creaminess.
Make Ahead Options
These No-Bake Pistachio Ice Cream Bars are a fantastic choice for meal prep, allowing you to savor a delicious dessert without the last-minute rush. You can easily prepare the chocolate cookie crust and pistachio filling up to 24 hours in advance. Simply follow the initial steps to create the crust and freeze it as instructed. Once the filling is mixed, cover it tightly with plastic wrap and refrigerate. To finish, just pour the topping over the chilled bars and freeze again for a few hours before serving. This way, you’ll have a delightful treat ready to impress your guests—just as tasty and creamy as when freshly made!
Tips for the Best No-Bake Pistachio Ice Cream Bars
-
Chill Ingredients: Ensure your dairy-free whipping cream and coconut cream are thoroughly chilled before whipping; this helps achieve the best airy texture in the filling.
-
Don’t Overmix: When folding the whipped cream into the pistachio mixture, do it gently to maintain that light and fluffy texture essential for your no-bake pistachio ice cream bars.
-
Use Quality Chocolate Crumbs: Opt for high-quality chocolate cookies to create a rich crust that enhances the flavor of the bars and doesn’t taste overly sweet.
-
Avoid Warm Topping: Allow the pistachio topping to cool slightly after mixing before pouring it on the frozen bars; this prevents melting the filling underneath.
-
Cut with Care: Use a warm knife to slice the bars smoothly, avoiding any messy edges and ensuring a clean presentation for your guests.
How to Store and Freeze No-Bake Pistachio Ice Cream Bars
Freezer: These bars can be stored in the freezer for up to 2 months, wrapped tightly in plastic wrap or placed in an airtight container to avoid freezer burn.
Serving: When ready to enjoy, remove the bars from the freezer and let them soften for 5–8 minutes at room temperature before slicing to maintain a clean edge.
Leftovers: If you have any leftovers from a gathering, just cover them back up and return to the freezer for a delightful treat later!
Tip: For best flavor, consume the no-bake pistachio ice cream bars within 1 month of storage, ensuring you savor the vibrant pistachio flavor and creamy texture!
What to Serve with No-Bake Pistachio Ice Cream Bars?
Elevate your dessert experience by pairing these indulgent bars with delightful accompaniments that bring out their delicious flavors.
-
Fresh Berries: Sweet and slightly tart, fresh berries contrast beautifully with the creamy ice cream, adding a refreshing brightness.
-
Chocolate Sauce: A drizzle of rich chocolate sauce enhances the dessert’s flavor while adding an extra touch of decadence.
-
Coconut Whipped Cream: Light and fluffy coconut whipped cream creates a luscious companion, complementing the nutty pistachio filling perfectly.
-
Iced Coffee: The bold flavors of iced coffee provide a delightful counterpart, making every bite of your bars even more enjoyable.
-
Nutty Granola: A sprinkle of crunchy granola adds texture and enhances the nutty essence of pistachios, turning each bite into a masterpiece.
-
Mint Leaves: Garnishing with fresh mint leaves not only adds a pop of color but brings a refreshing taste that balances the richness of the bars.
With these pairing ideas, your dessert spread will turn into a flavorful and memorable feast!
No-Bake Pistachio Ice Cream Bars Recipe FAQs
How do I choose the right pistachios for this recipe?
Absolutely! When selecting pistachios, look for nuts that are plump and have a vibrant green color. Avoid any that are discolored or have dark spots, as these may indicate spoilage. Freshness is key to achieving that rich flavor, so buying from a reputable source, like a specialty store or bulk section, is recommended.
How should I store my No-Bake Pistachio Ice Cream Bars?
To keep your delicious bars fresh, wrap them tightly in plastic wrap or place them in an airtight container before storing in the freezer. They can last for up to 2 months this way. When you’re ready to enjoy them, let them sit at room temperature for 5–8 minutes to soften slightly before slicing.
Can these bars be frozen?
Yes, indeed! If you want to prepare ahead of time, these bars can be stored in the freezer for up to 2 months. Simply wrap them well in plastic wrap or aluminum foil, or place them in an airtight container. To thaw, leave them out for about 10 minutes before serving, or pop them in the fridge for a few hours if you prefer a slower thaw.
What should I do if the filling is too soft after blending?
If you find that your pistachio filling is too soft, don’t worry! You can thicken it by chilling the mixture in the refrigerator for 30 minutes before folding in the whipped cream. If that doesn’t help, you can add an additional tablespoon of powdered sugar or whip more dairy-free cream to fold in, which helps stabilize the mixture.
Are there any allergy considerations I should be aware of?
Yes, if you’re serving these bars to others, consider allergy concerns. This recipe is vegan, but always check all your ingredients for possible allergens, especially the pistachio butter as it can contain traces of other nuts. It’s best to confirm that your guests do not have any sensitivities to nuts or coconut products before serving.
How can I make this recipe nut-free?
If you’re looking to make nut-free No-Bake Ice Cream Bars, consider substituting the pistachio butter with sunflower seed butter. Ensure you adjust the amount of sugar as needed since sunflower seed butter can have a different taste profile. For the crust, you can stick with chocolate cookie crumbs made from nut-free cookies to keep it completely free of allergens!
Irresistible No-Bake Pistachio Ice Cream Bars Ready in Minutes
Ingredients
Equipment
Method
- Line a 9 × 13-inch baking dish with parchment paper.
- Combine chocolate cookie crumbs, cocoa powder, salt, and melted vegan butter. Mix until the crumbs resemble wet sand and press into the bottom of the dish. Freeze for 20–30 minutes until firm.
- In a chilled bowl, whip the dairy-free whipping cream until stiff peaks form.
- In another bowl, combine chilled coconut cream, smooth pistachio butter, condensed coconut milk, powdered sugar, vanilla extract, and salt. Beat until smooth and creamy.
- Gently fold the whipped cream into the pistachio mixture and fold in chopped pistachios.
- Pour the pistachio mixture over the chilled chocolate crust and freeze for at least 5–6 hours, preferably overnight.
- In a microwave-safe bowl, combine pistachio butter and coconut oil. Heat until smooth, then stir in powdered sugar and cool slightly.
- Pour the pistachio topping over the bars, sprinkle with chopped pistachios, and freeze for another 20–30 minutes until the topping sets.
- Let the dessert soften for 5–8 minutes, cut into rectangular bars and serve.