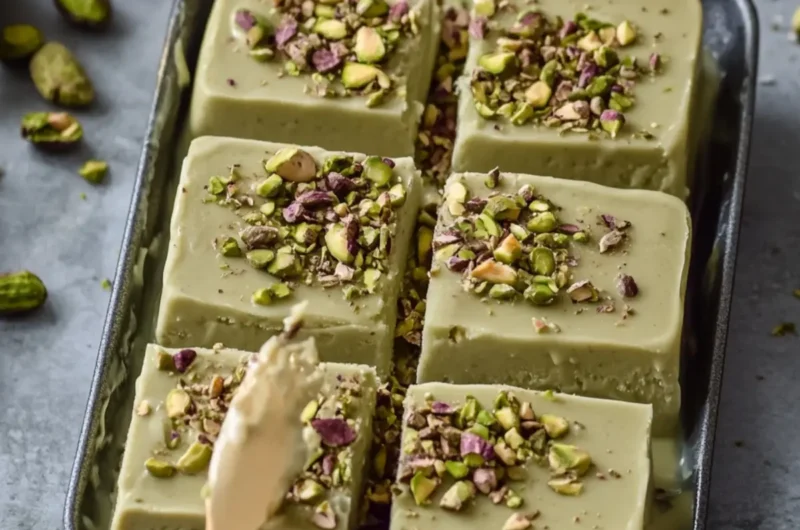
There’s something utterly delightful about creating a dessert that dazzles the senses without even turning on the oven. When I first concocted these No-Bake Pistachio Ice Cream Bars, it was one of those sweltering summer days when the thought of baking felt unbearable. Instead, I found refuge in the cool embrace of creamy, nutty pistachios combined with a rich, chocolatey cookie crust that whispered indulgence.
As I whipped together the luscious dairy-free cream and smooth pistachio butter, the anticipation grew, filling my kitchen with a sweet aroma that felt like a promise of blissful bites to come. Whether you’re looking to impress guests at a gathering or simply want to treat yourself to something extraordinary at home, these bars are a crowd-pleaser that beautifully bridge the gap between simple ingredients and gourmet flavor.
Grab those pantry staples, and let’s dive into a delightful adventure of no-bake bliss that will leave you refreshed and satisfied, waiting for every layer to freeze just right!
Why No-Bake Pistachio Ice Cream Bars Delight?
Irresistible Flavor: The luscious blend of creamy pistachio and a rich chocolate cookie crust creates a decadent treat that’s hard to resist.
No-Bake Convenience: Perfect for hot summer days, this easy recipe avoids the oven while delivering gourmet vibes.
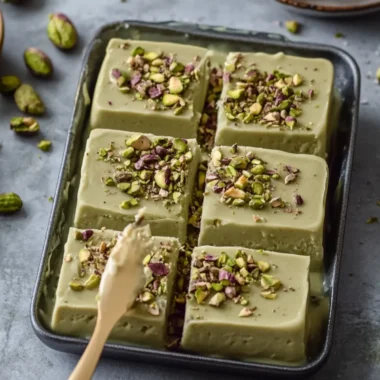
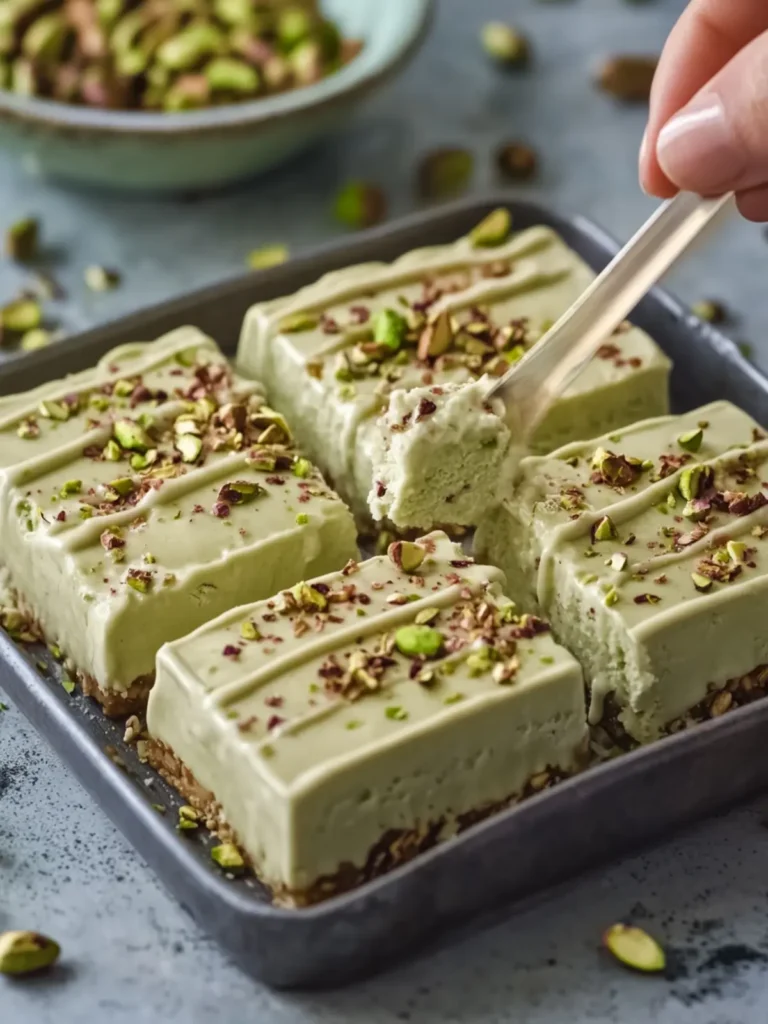
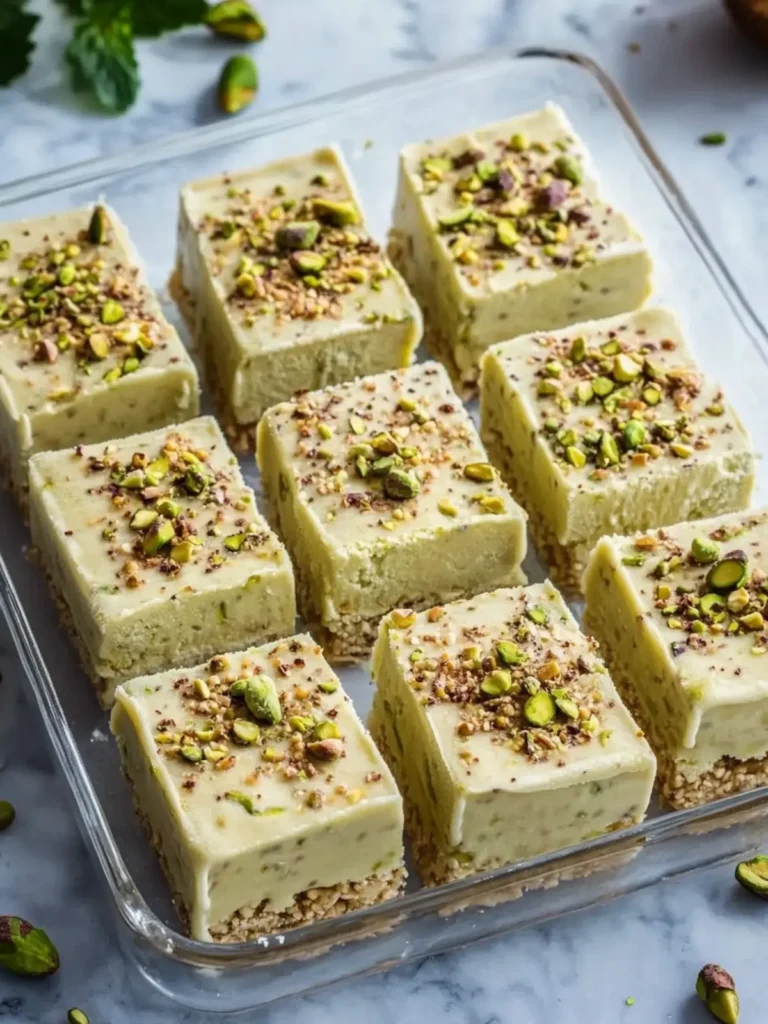
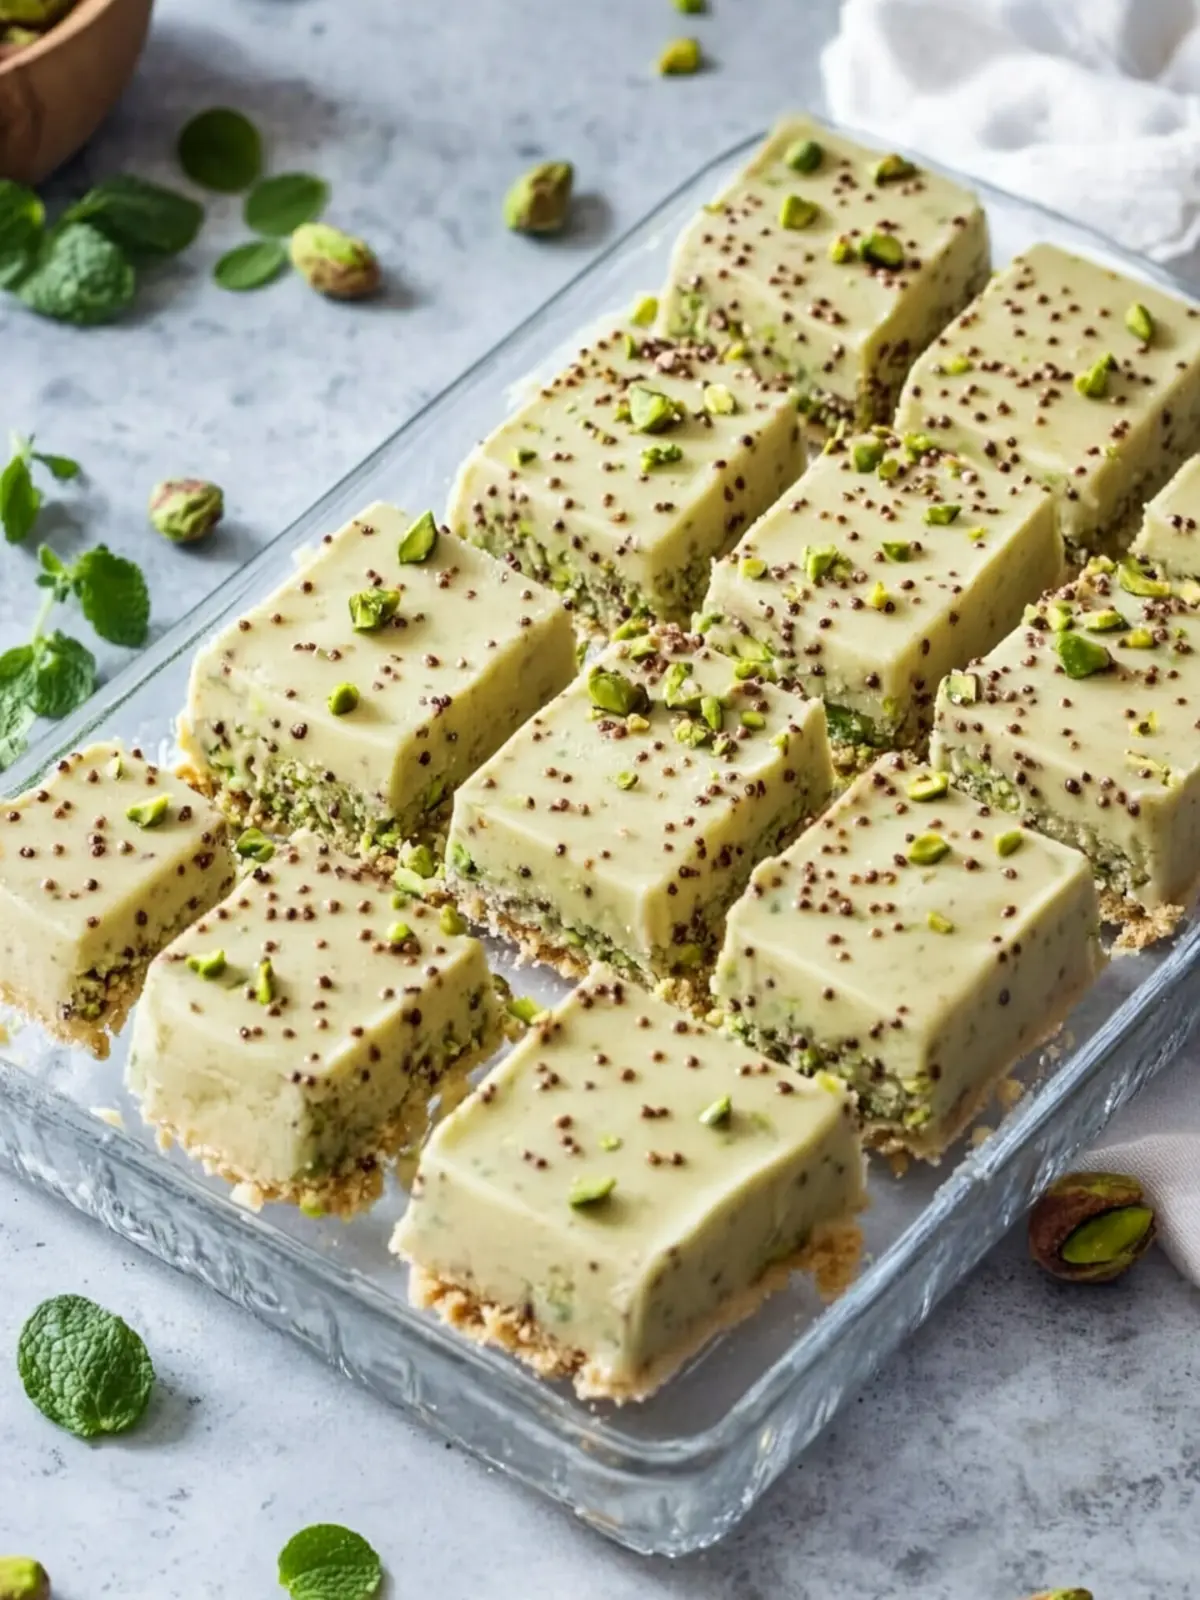
Visual Appeal: Each vibrant layer of green and brown is not only beautiful but also makes for stunning presentations at your next gathering.
Crowd-Pleasing: Whether at a picnic or family dinner, these bars with their unique flavors will surely impress your guests.
Quick Prep: In just a few minutes of hands-on time, you can set these bars to freeze, making them a breeze to prepare in advance.
For even more no-bake inspiration, don’t miss our post on delicious no-bake desserts!
No-Bake Pistachio Ice Cream Bars Ingredients
Get ready to savor these delightful bars!
For the Crust
- Chocolate cookie crumbs – gives a rich, chocolatey base for the bars.
- Vegan butter – keeps the crust moist and is a great dairy-free option.
- Cocoa powder – adds depth to the flavor of the chocolate crust.
- Pinch of salt – enhances the sweetness of the crust.
For the Creamy Filling
- Dairy-free whipping cream – creates a light, airy texture for the ice cream bars.
- Coconut cream – contributes a rich, creamy consistency that pairs well with pistachio.
- Smooth pistachio butter – the star ingredient that gives the bars their nutty flavor.
- Sweetened condensed coconut milk – adds sweetness and creaminess, balancing flavors perfectly.
- Powdered sugar – helps to gently sweeten the filling without adding granules.
- Vanilla extract – elevates the overall flavor profile of the creamy filling.
- Finely chopped pistachios – for an extra crunch and texture in each heavenly bite.
- Pinch of salt – balances the sweetness and enhances the other flavors.
For the Topping
- Pistachio butter – adds a luscious glaze that enhances the beautiful green color.
- Coconut oil – helps create a smooth, pourable topping that sets perfectly.
- Powdered sugar – sweetens the topping slightly for that perfect finishing touch.
- Chopped pistachios – sprinkle on top for added crunch and a lovely presentation.
These ingredients come together to make a truly unforgettable treat — your new favorite No-Bake Pistachio Ice Cream Bars!
How to Make No-Bake Pistachio Ice Cream Bars
-
Prepare the dish: Line a 9 × 13-inch (23 × 33 cm) baking dish with parchment paper, allowing some overhang for easy removal later. This small step makes serving a breeze!
-
Make the crust: Combine chocolate cookie crumbs, cocoa powder, salt, and melted vegan butter in a bowl. Mix until the texture resembles wet sand, then press firmly into the bottom of the dish. Freeze for 20–30 minutes until firm.
-
Whip the cream: In a large chilled bowl, whip the dairy-free whipping cream until stiff peaks form. This will give your bars a light, airy texture that you’ll love!
-
Mix the filling: In another bowl, blend together the coconut cream, smooth pistachio butter, sweetened condensed coconut milk, powdered sugar, vanilla, and a pinch of salt until smooth and creamy. Gently fold the whipped cream into this mixture along with the finely chopped pistachios.
-
Assemble the bars: Pour the pistachio filling over the chilled chocolate crust and spread evenly with a spatula. Cover the dish tightly with plastic wrap or foil and freeze for at least 5–6 hours, preferably overnight, until completely firm.
-
Prepare the topping: In a microwave-safe bowl, combine pistachio butter and coconut oil. Heat in 15-second intervals until smooth and pourable. Stir in powdered sugar and let the mixture cool slightly while remaining fluid.
-
Add the topping: Remove the frozen dessert from the freezer and pour the pistachio topping over the surface. Gently spread it evenly with a spatula and sprinkle generously with chopped pistachios. Return to the freezer for another 20–30 minutes until the topping sets.
-
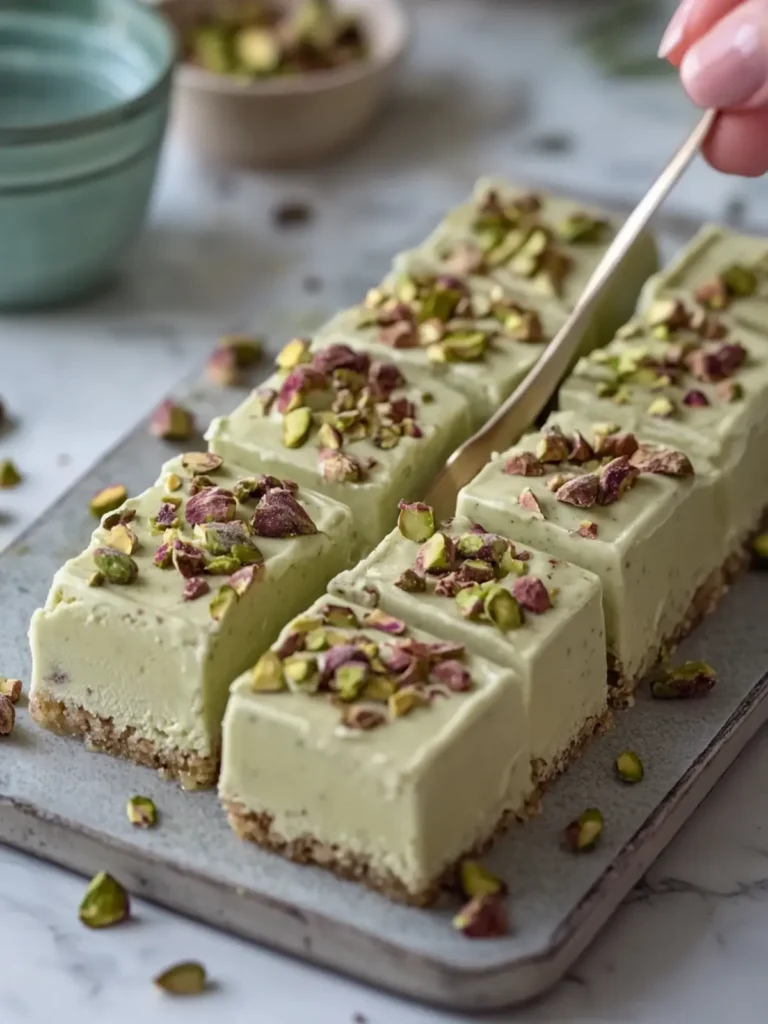
Cut and serve: When ready to enjoy, remove the dessert from the freezer and let it soften for 5–8 minutes. Lift it out using the parchment paper and cut into 12–15 rectangular bars with a warm knife. Serve immediately or return the bars to the freezer for later.
Optional: Serve with a drizzle of chocolate sauce for an extra touch of indulgence.
Exact quantities are listed in the recipe card below.
How to Store and Freeze No-Bake Pistachio Ice Cream Bars
Fridge: Keep your No-Bake Pistachio Ice Cream Bars stored in an airtight container in the fridge for up to 3 days. Enjoy them chilled for a delightful treat!
Freezer: For long-term storage, wrap each bar individually in plastic wrap and place them in an airtight container. They can be frozen for up to 3 months while maintaining their delicious flavors.
Thawing: When you’re ready to indulge, remove the bars and let them soften at room temperature for about 5–8 minutes before slicing. This will give you perfectly creamy bites.
Reheating: Since these bars are meant to be served cold, there’s no reheating necessary. Simply enjoy straight from the fridge or freezer for the best experience.
What to Serve with No-Bake Pistachio Ice Cream Bars?
Indulging in creamy, nutty treats calls for delicious accompaniments that enhance every bite and create a memorable dining experience.
-
Fresh Berries: The tartness of strawberries or raspberries beautifully contrasts the rich, sweet flavors of the ice cream bars, adding a refreshing burst.
-
Chocolate Sauce: A drizzle of warm chocolate sauce over the bars elevates the dessert to the next level, harmonizing the chocolate crust and pistachio filling.
-
Mint Leaves: Brighten up your plate with fresh mint leaves. Their aromatic touch adds a lovely green contrast and a refreshing flavor that complements the desserts perfectly.
-
Coconut Whipped Cream: For a luxurious experience, serve with a dollop of dairy-free coconut whipped cream. Its lightness pairs splendidly with the bars’ creamy textures.
-
Coffee or Espresso: The deep, roasted notes of coffee or espresso create an inviting contrast to these sweet bars, making a delightful pairing for a cozy afternoon treat or dessert.
-
Tropical Fruit Salad: A colorful tropical fruit salad brings vibrant flavors and textures that lighten the overall dessert experience, pairing wonderfully with the rich pistachio and chocolate.
-
Sparkling Water or Lemonade: For a refreshing beverage, serve with sparkling water or citrus lemonade. Their effervescence and acidity will cleanse the palate and refresh after each sweet bite.
Expert Tips for No-Bake Pistachio Ice Cream Bars
-
Perfectly Pressed Crust: Ensure cookie crumbs are tightly packed to avoid a crumbly base. A firm crust holds the layers together beautifully.
-
Chill Your Bowls: For an extra fluffy whipped cream, chill your mixing bowl beforehand. It helps achieve those stiff peaks quicker.
-
Gentle Folding: When mixing the whipped cream into the pistachio filling, fold gently. This preserves the airy texture that makes the bars so delightful.
-
Use a Warm Knife: To cut the bars neatly, run your knife under warm water for a few seconds. This method prevents the ice cream from sticking to the knife.
-
Adjust Sweetness: Taste your filling before freezing. If you prefer a sweeter bite, feel free to add a touch more powdered sugar.
-
Variations Galore: Don’t hesitate to experiment! You can switch up the pistachio butter with almond or cashew butter for a twist on these no-bake ice cream bars.
Make Ahead Options
These No-Bake Pistachio Ice Cream Bars are perfect for meal prep, allowing you to enjoy their delightful flavors even on the busiest days! You can prepare the chocolate cookie crust up to 24 hours in advance; simply mix your ingredients and freeze it to keep that wonderful texture. The creamy filling can also be made up to 3 days ahead—just whip everything together before gently folding in the whipped cream and chopped pistachios. After assembling the layered bars, allow them to freeze overnight for the best consistency. Remember to cover them tightly with plastic wrap to maintain freshness and avoid freezer burn. When ready to serve, simply let them thaw for a few minutes before cutting, and you’ll have a refreshing dessert that’s just as delicious as when freshly made!
No-Bake Pistachio Ice Cream Bars Variations
Feel free to get creative and personalize your bars with these delightful variations!
-
Nut-Free: Swap pistachio butter for sun butter for a nut-free alternative that still delivers a creamy texture.
-
Flavored Crust: Add 1 teaspoon of espresso powder to the crust mixture for a delicious coffee-chocolate combination. It’s a fantastic way to add complexity!
-
Coconut Bliss: Replace the vegan butter with coconut butter for an extra coconutty flavor. This switch enhances the tropical essence of the bars.
-
Added Fruits: Fold in 1 cup of finely diced strawberries or raspberries into your creamy filling for a fruity twist. The berries provide a pop of color and a delightful zing!
-
Chocolate Drizzle: Drizzle melted dark chocolate over the top instead of using a pistachio topping. This adds a rich contrast that chocolate lovers will adore.
-
Vegan Sweetened Condensed Milk: Use homemade vegan sweetened condensed milk from almond or cashew milk to enhance creaminess while keeping it plant-based.
-
Spicy Kick: Add a pinch of cayenne pepper to the filling for a unique and unexpected heat that plays beautifully against the cool pistachios.
-
Graham Cracker Crust: For a twist on the base, use crushed graham crackers mixed with melted vegan butter. It adds a wonderful crunch and sweetness!
No-Bake Pistachio Ice Cream Bars Recipe FAQs
What type of pistachios should I use?
Absolutely! For the best flavor, use roasted unsalted pistachios when making these No-Bake Pistachio Ice Cream Bars. Raw pistachios can work, but roasted pistachios enhance the nutty flavor profile of your bars. Look for vibrant green nuts that are fresh and free from dark spots.
How should I store my No-Bake Pistachio Ice Cream Bars?
I recommend keeping your No-Bake Pistachio Ice Cream Bars in an airtight container in the fridge for up to 3 days. However, for longer storage, wrap each bar individually in plastic wrap and store them in an airtight container in the freezer; they’ll stay fresh for up to 3 months!
Can I freeze No-Bake Pistachio Ice Cream Bars?
Yes, definitely! Here’s how: After assembling your bars, cover them tightly and place them in the freezer. For individual servings, I like to cut them into bars before freezing. Wrap each piece in plastic wrap to avoid freezer burn, and use a sturdy container. They’ll maintain their delightful taste and texture for up to 3 months!
What if my whipped cream doesn’t form stiff peaks?
Very! If your whipped cream doesn’t reach stiff peaks, it could be due to a few factors. Make sure your mixing bowl is chilled before starting. Additionally, if you’re using non-dairy whipping cream, check the brand’s instructions for optimal whipping times. If it still doesn’t hold peaks, try gradually adding a little cornstarch during whipping as a stabilizer.
Are there any allergies I should consider?
Of course! These No-Bake Pistachio Ice Cream Bars are naturally dairy-free and vegan, which is great for those with lactose intolerance. However, they do contain nuts, so be sure to inform anyone with nut allergies. Always check labels for potential allergens, especially with coconut cream and butter, as some brands may process allergens in their facilities.
Creamy No-Bake Pistachio Ice Cream Bars to Savor Today
Ingredients
Equipment
Method
- Line a 9 × 13-inch baking dish with parchment paper, allowing some overhang for easy removal later.
- Combine chocolate cookie crumbs, cocoa powder, salt, and melted vegan butter in a bowl. Mix until the texture resembles wet sand, then press firmly into the bottom of the dish. Freeze for 20–30 minutes until firm.
- In a large chilled bowl, whip the dairy-free whipping cream until stiff peaks form.
- In another bowl, blend together the coconut cream, smooth pistachio butter, sweetened condensed coconut milk, powdered sugar, vanilla, and a pinch of salt until smooth and creamy. Gently fold the whipped cream into this mixture along with the finely chopped pistachios.
- Pour the pistachio filling over the chilled chocolate crust and spread evenly with a spatula. Cover the dish tightly with plastic wrap or foil and freeze for at least 5–6 hours, preferably overnight, until completely firm.
- In a microwave-safe bowl, combine pistachio butter and coconut oil. Heat in 15-second intervals until smooth and pourable. Stir in powdered sugar and let the mixture cool slightly while remaining fluid.
- Remove the frozen dessert from the freezer and pour the pistachio topping over the surface. Gently spread it evenly with a spatula and sprinkle generously with chopped pistachios. Return to the freezer for another 20–30 minutes until the topping sets.
- When ready to enjoy, remove the dessert from the freezer and let it soften for 5–8 minutes. Lift it out using the parchment paper and cut into rectangular bars with a warm knife.