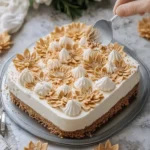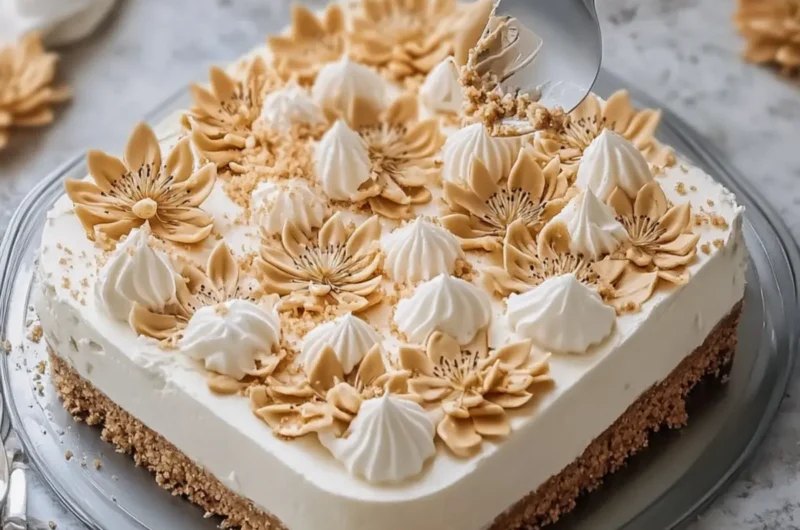
If you’re anything like me, sometimes the sweetest moments in life come from the simplest indulgences. Picture this: a creamy slice of No-Bake Lotus Cheesecake melting in your mouth, with layers of rich cream cheese and the beloved crunch of Lotus Biscoff biscuits. The first time I made this dessert, I was astounded by just how luxurious it felt, yet how easy it was to whip up without ever turning on the oven.
This cheesecake isn’t just a treat; it’s a celebration of flavors that draw you in with their warmth and familiarity. Each bite is a delightful contrast of textures—crunchy crust, velvety filling, and the iconic caramel notes of Biscoff that elicit nostalgic memories of cozy evenings with friends. Whether it’s a family gathering or a quiet night in, this dessert is guaranteed to impress.
Perfect for those who tire of the repetitive fast-food routine, this No-Bake Lotus Cheesecake offers a fun and delectable escape. Ready to elevate your dessert game? Let’s dive into this guilt-free, no-fuss cheesecake recipe that will leave your taste buds dancing and your guests begging for seconds!
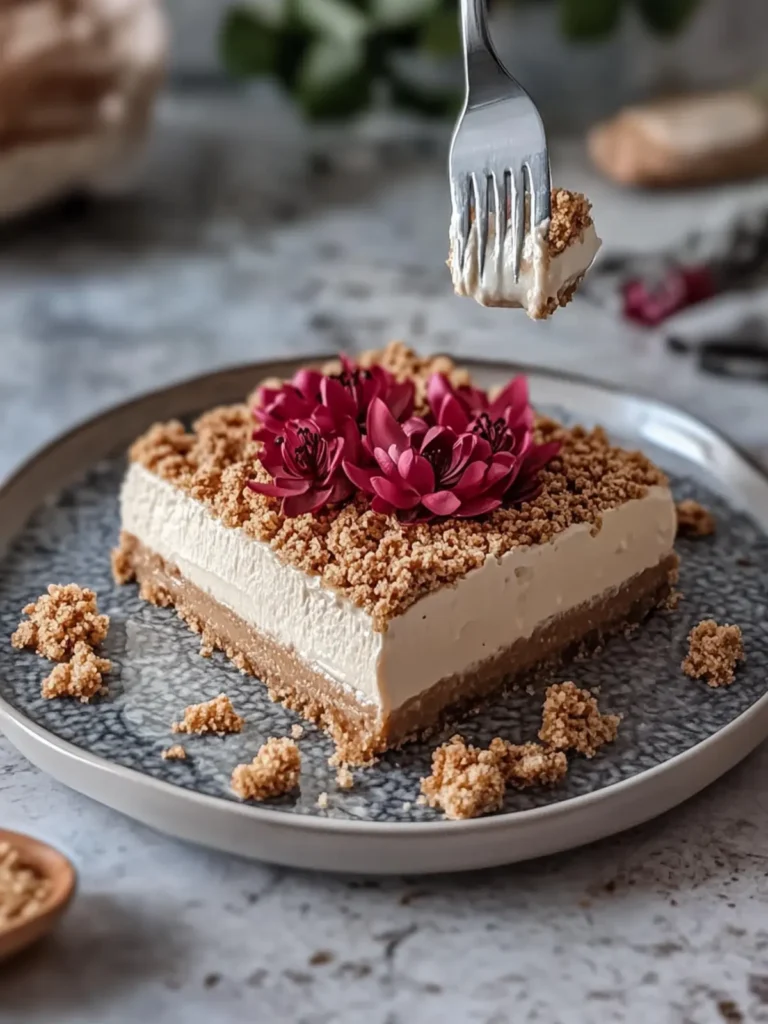
Why will you love No-Bake Lotus Cheesecake?
Delightful texture: The irresistible creaminess of the cheesecake filling paired with the crispiness of the Biscoff crust offers a unique bite that keeps you coming back for more.
Hassle-free: With no baking required, you can whip this up easily while enjoying some downtime. Just mix, layer, and chill!
Crowd-pleaser: This dessert has a magic way of impressing both friends and family, making it the perfect addition to any gathering or celebration.
Nostalgic flavors: The familiar caramel notes from Lotus Biscoff will take you back to cozy coffee shop visits, evoking warm memories in every bite.
Customize it! Feel free to adjust the toppings or serve it with your favorite fruits to make it your own. This versatility means there’s a flavor twist for everyone!
No-Bake Lotus Cheesecake Ingredients
Get ready to indulge in a creamy, blissful delight!
For the Crust
- Lotus Biscoff biscuits – finely crushed, these biscuits add that signature caramel flavor to the crust.
- Unsalted butter – melted, it helps bind the crust together for a sturdy base.
For the Cheesecake Filling
- Cream cheese – softened, this is the star ingredient for a rich and luscious cheesecake texture.
- Lotus Biscoff spread – this delicious spread provides an extra layer of Biscoff flavor, enhancing the cheesecake.
- Powdered sugar – for sweetness that mixes smoothly into the filling without graininess.
- Vanilla extract – a hint of this enhances the overall flavor profile, making it even more enjoyable.
For the Whipped Cream
- Heavy whipping cream – cold, it’s whipped to perfection for a light and airy cheesecake filling.
For the Topping
- Lotus Biscoff spread – use this again on top after warming for a beautiful finish.
- Lotus Biscoff biscuits – whole or crushed, these make for an attractive garnish and boost that beloved texture.
Get ready to create this fantastic no-bake Lotus cheesecake that will surely be a hit!
How to Make No-Bake Lotus Cheesecake
-
Prepare the pan: Line a 9×13-inch sheet pan or glass baking dish with parchment paper. This will ensure easy removal of your cheesecake later on, preventing any sticky situations!
-
Make the crust: Mix the finely crushed Lotus Biscoff biscuits with the melted butter until well combined. Press the mixture firmly into the bottom of the pan, creating a solid foundation. Refrigerate for 20 minutes to set.
-
Make the filling: In a mixing bowl, beat the softened cream cheese, Lotus Biscoff spread, powdered sugar, and vanilla extract until the mixture is completely smooth. You want it to feel velvety and luscious!
-
Whip the cream: In a separate bowl, beat the cold heavy whipping cream until stiff peaks form. This will add lightness to your cheesecake! Gently fold the whipped cream into the cream cheese mixture until it’s smooth and fluffy.
-
Layer: Spread the cheesecake filling evenly over the chilled crust. Use a spatula to smooth the top for an elegant finish that invites everyone to take a slice!
-
Add the topping: Warm the Lotus Biscoff spread in the microwave for about 10-15 seconds, or until easily spreadable. Layer it over the cheesecake filling, then sprinkle crushed biscuits on top and arrange whole Lotus biscuits decoratively.
-
Chill: Cover and refrigerate the cheesecake for at least 6 hours, preferably overnight. This allows it to firm up beautifully, making each slice easy to cut.
-
Serve: When ready to serve, lift the cheesecake from the pan using the parchment paper. Cut into squares with a sharp, warm knife for clean edges.
Optional: Drizzle some additional warmed Biscoff spread on each slice before serving for an extra touch of decadence.
Exact quantities are listed in the recipe card below.
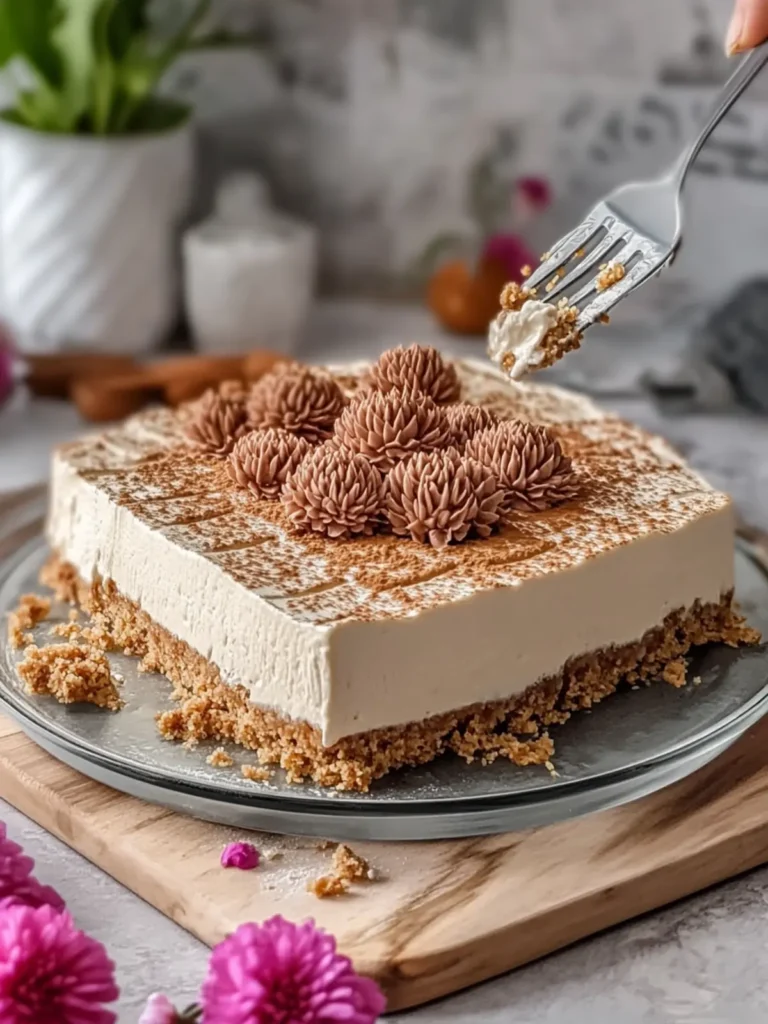
What to Serve with No-Bake Lotus Cheesecake?
Enhance your dessert experience with delightful pairings that complement the creamy richness of this scrumptious cheesecake.
-
Fresh Berries: The tartness of strawberries or raspberries cuts through the creamy sweetness, adding a refreshing contrast with every bite.
-
Chocolate Sauce: A drizzle of warm chocolate sauce adds a luxurious, indulgent element, elevating the dessert into a chocolate lover’s dream.
-
Whipped Cream: Light and airy, a dollop of freshly whipped cream enhances the cheesecake’s texture, making each slice even more velvety.
-
Coffee: A steaming cup of coffee pairs perfectly, with its bold flavors balancing the sweetness of the cheesecake and triggering those warm, nostalgic feelings.
-
Crushed Caramel: Adding a sprinkle of crushed caramel on top brings an extra layer of sweetness and a delightful crunch that complements the Biscoff flavors beautifully.
-
Mint Sprigs: A sprig of fresh mint not only adds a pop of color to your plate, but its refreshing taste can brighten every bite of your cheesecake.
-
Vanilla Ice Cream: Serve alongside a scoop of creamy vanilla ice cream for a classic dessert duo that marries well with the rich cheesecake.
-
Espresso Martinis: For an adult twist, pair your cheesecake with a delicious espresso martini, blending coffee and cocktails into one sophisticated treat.
Expert Tips for No-Bake Lotus Cheesecake
-
Crust Consistency: Ensure the crushed Lotus Biscoff biscuits are finely ground. This helps achieve a firm crust that holds together without crumbling.
-
Cream Cheese Temperature: Use softened cream cheese at room temperature. This will create a smoother filling and prevent lumps in your no-bake Lotus cheesecake.
-
Whipping Cream: Make sure your heavy cream is very cold before whipping. This helps achieve the perfect stiff peaks and a light, fluffy texture.
-
Chilling Time: Don’t rush the chilling process! Allow the cheesecake to set overnight for the best results; the texture improves as it firms up.
-
Serve with Style: For a more polished presentation, run your knife under warm water before cutting. This ensures clean, beautiful slices that wow your guests.
How to Store and Freeze No-Bake Lotus Cheesecake
-
Fridge: Store any leftover cheesecake in an airtight container in the refrigerator for up to 4 days. Ensure it’s well-covered to maintain its creamy texture.
-
Freezer: You can freeze the cheesecake by wrapping it tightly in plastic wrap followed by aluminum foil. It will keep well for up to 2 months. Thaw overnight in the fridge before serving.
-
Reheating: There’s no need to reheat this no-bake dessert, but you can lightly warm the Biscoff spread before drizzling it on top for a decadent touch.
-
Portioning: If freezing, consider slicing the cheesecake into individual squares before wrapping. This allows for quick access to a satisfying slice whenever a craving strikes!
No-Bake Lotus Cheesecake Variations
Feel free to get creative and make this cheesecake uniquely yours with these delightful adaptations!
-
Chocolate Drizzle: Add a rich layer of chocolate ganache on top for a decadent twist. It complements the caramel notes beautifully.
-
Nutty Crust: Substitute half of the Biscoff biscuits with crushed almonds or walnuts to add a delightful crunch and flavor dimension.
-
Fruit Topping: Enhance your cheesecake by adding fresh berries or sliced peaches on top. Their tartness will brighten the dessert and add a refreshing contrast.
-
Dairy-Free: Swap cream cheese with a dairy-free alternative and use coconut cream instead of heavy cream for a rich, vegan-friendly option.
-
Spicy Kick: Mix in a pinch of cinnamon or a dash of cayenne pepper into the filling for a surprising flavor boost that warms the palate.
-
Layered Delight: Create a layered version by alternating the cheesecake filling and crushed Biscoff biscuits in individual cups for an eye-catching presentation.
-
Salted Caramel: Drizzle homemade or store-bought salted caramel sauce over the top before chilling. The salty-sweet flavor profiles will elevate every bite!
-
Mint Infusion: Add a few drops of peppermint extract to the vanilla extract in the filling for a refreshing minty freshness that perfectly complements the Biscoff flavors.
Make Ahead Options
These No-Bake Lotus Cheesecake bars are perfect for meal prep enthusiasts! You can prepare the crust and filling up to 24 hours in advance. Simply follow the steps to make the crust and filling, then layer them in your prepared pan, cover tightly with plastic wrap, and refrigerate overnight. This allows all the flavors to meld beautifully while keeping the cheesecake just as delicious. On the day of serving, simply add the warmed Biscoff spread and toppings before slicing. This method not only saves you time but ensures a delightful dessert that’s ready to impress your family and friends!
No-Bake Lotus Cheesecake Recipe FAQs
How do I choose the right Lotus Biscoff biscuits?
Absolutely! When selecting Lotus Biscoff biscuits, look for those that are crisp and unbroken, with no dark spots all over. Fresh biscuits ensure a crumbly, delicious crust that enhances the overall flavor of your cheesecake.
What’s the best way to store leftover cheesecake?
Very simple! Store any leftover No-Bake Lotus Cheesecake in an airtight container in the refrigerator for up to 4 days. Make sure it’s well-covered to maintain its creamy texture and delicious taste. It’s like a little sweet surprise waiting for you!
Can I freeze the cheesecake for later?
Yes, indeed! To freeze your No-Bake Lotus Cheesecake, start by cutting it into individual squares. Wrap each piece tightly in plastic wrap, followed by aluminum foil to prevent freezer burn. It can be stored this way for up to 2 months. When you’re ready to enjoy, just thaw it overnight in the refrigerator. That way, it’ll retain its delightful texture!
What should I do if my cheesecake is not firm enough?
That can happen, but don’t worry! If your cheesecake hasn’t set as expected, it may need a longer chilling time. I recommend covering it tightly and leaving it in the refrigerator overnight. If you’re really pressed for time, you can place it in the freezer for 1-2 hours. Also, ensure your cream cheese and whipping cream are at the right temperatures and whipped to stiff peaks next time for a firmer texture!
Is this recipe suitable for people with allergies?
You’ll want to be mindful! The No-Bake Lotus Cheesecake contains dairy products, making it unsuitable for those with dairy allergies or lactose intolerance. If you’re making this for guests, consider alternatives like almond cream cheese or coconut cream for a dairy-free option. Always check the packaging for allergens related to Lotus Biscoff biscuits and spread, as they may contain gluten.
How long should I chill the cheesecake before serving?
You should ideally chill your cheesecake for at least 6 hours, though I recommend overnight if possible. This allows sufficient time for the flavors to meld and for the cheesecake to firm up beautifully. Trust me, the waiting will be worth it when you taste that luscious slice!
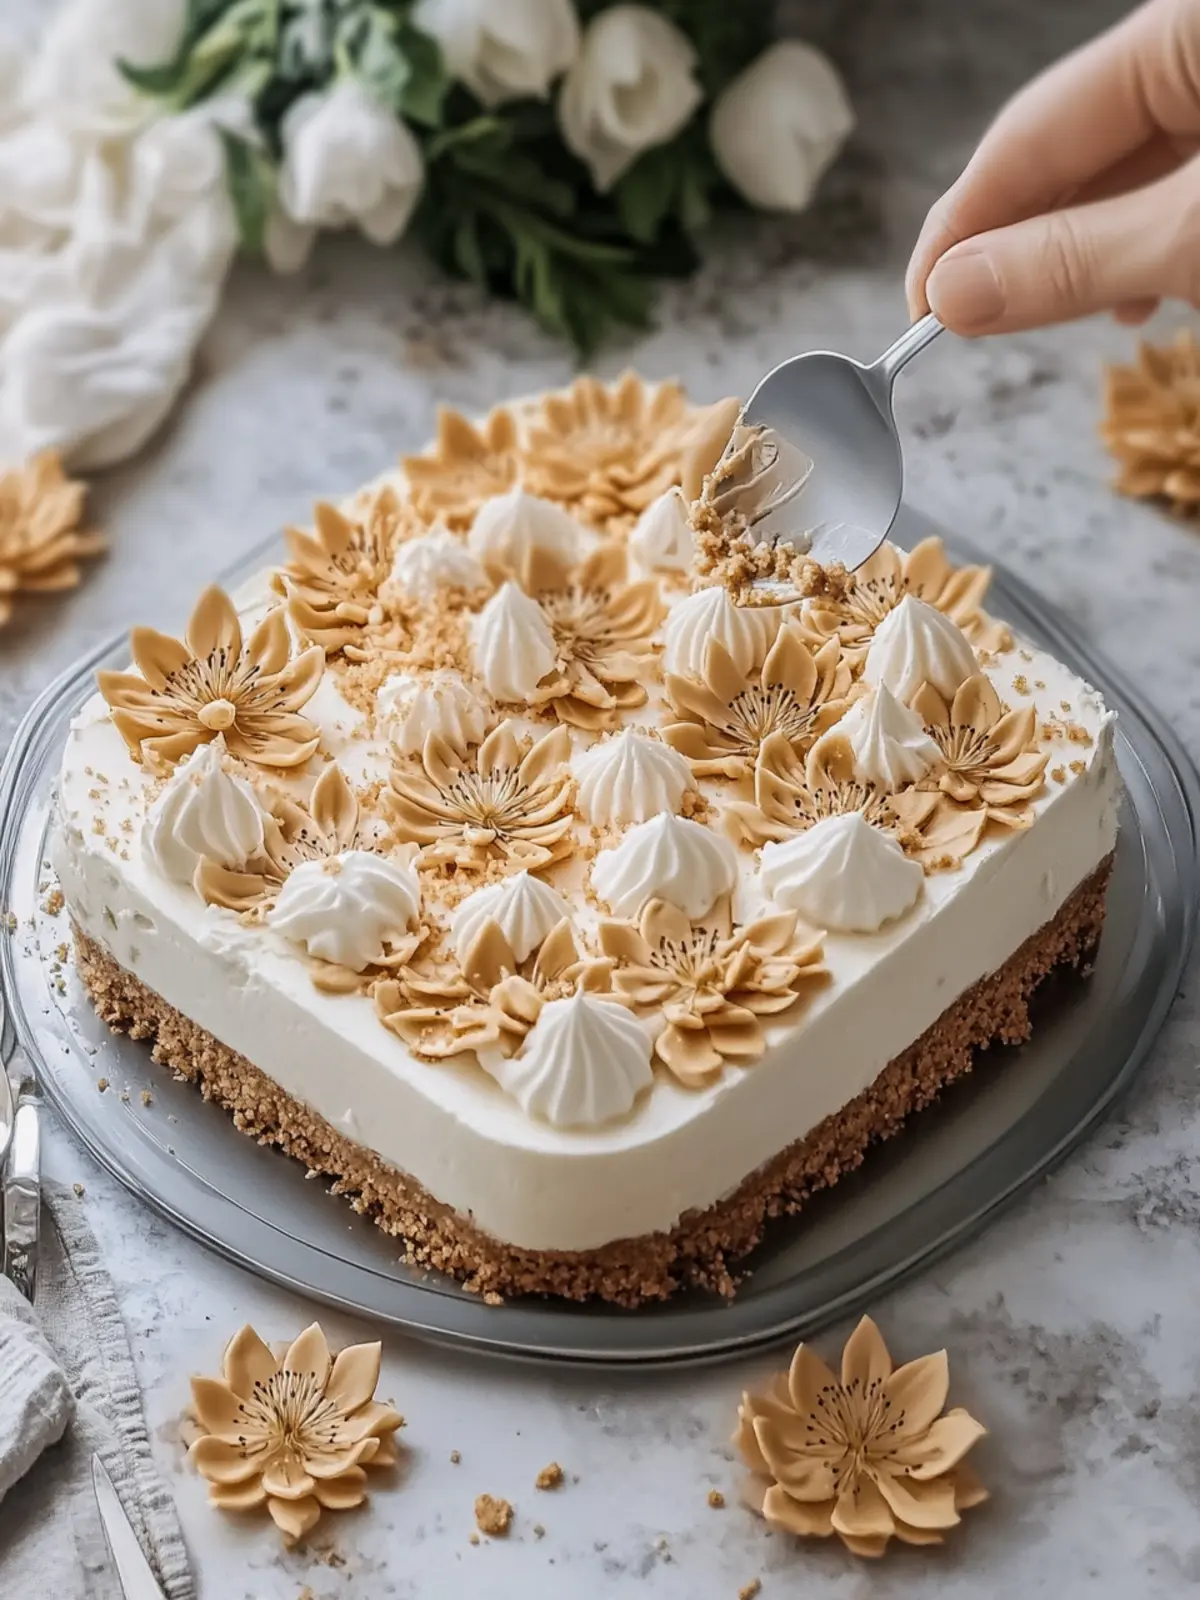
Decadent No-Bake Lotus Cheesecake That Everyone Will Love
Ingredients
Equipment
Method
- Line a 9×13-inch sheet pan or glass baking dish with parchment paper.
- Mix the finely crushed Lotus Biscoff biscuits with the melted butter until well combined. Press the mixture firmly into the bottom of the pan and refrigerate for 20 minutes.
- In a mixing bowl, beat the softened cream cheese, Lotus Biscoff spread, powdered sugar, and vanilla extract until smooth.
- In a separate bowl, beat the cold heavy whipping cream until stiff peaks form, then gently fold it into the cream cheese mixture until smooth.
- Spread the cheesecake filling evenly over the chilled crust and smooth the top.
- Warm the Lotus Biscoff spread in the microwave and layer over the cheesecake filling, then sprinkle crushed biscuits on top.
- Cover and refrigerate the cheesecake for at least 6 hours, preferably overnight.
- Lift the cheesecake from the pan using the parchment paper, cut into squares, and serve.