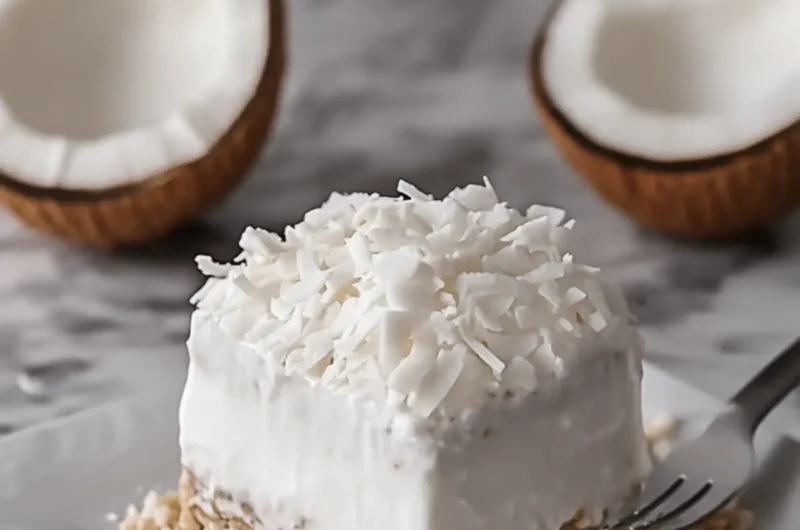
There’s something incredibly refreshing about a dessert that brings the taste of tropical paradise right to your kitchen. When I first made this No-Bake Coconut Dream, I was looking for an easy way to satisfy my sweet tooth without spending hours in the oven. To my delight, this luscious cream dessert came together with minimal effort, making it perfect for warm days or spontaneous gatherings.
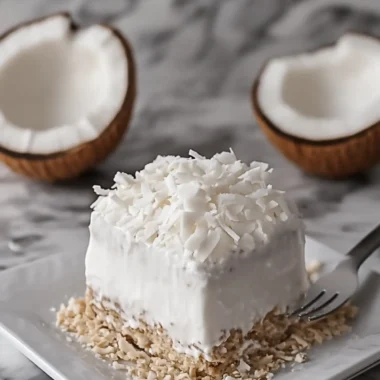
Picture creamy layers of coconut-infused goodness topped with fluffy whipped cream and a sprinkle of crunchy coconut flakes—a distraction from the everyday din of fast food. Each bite transports you to sun-soaked beaches, even on the busiest of weeks. Whether you’re hosting friends or just treating yourself, this No-Bake Coconut Dream is a guaranteed showstopper that will leave everyone asking for seconds. Let’s dive into this delightfully simple recipe that guarantees pure coconut bliss!
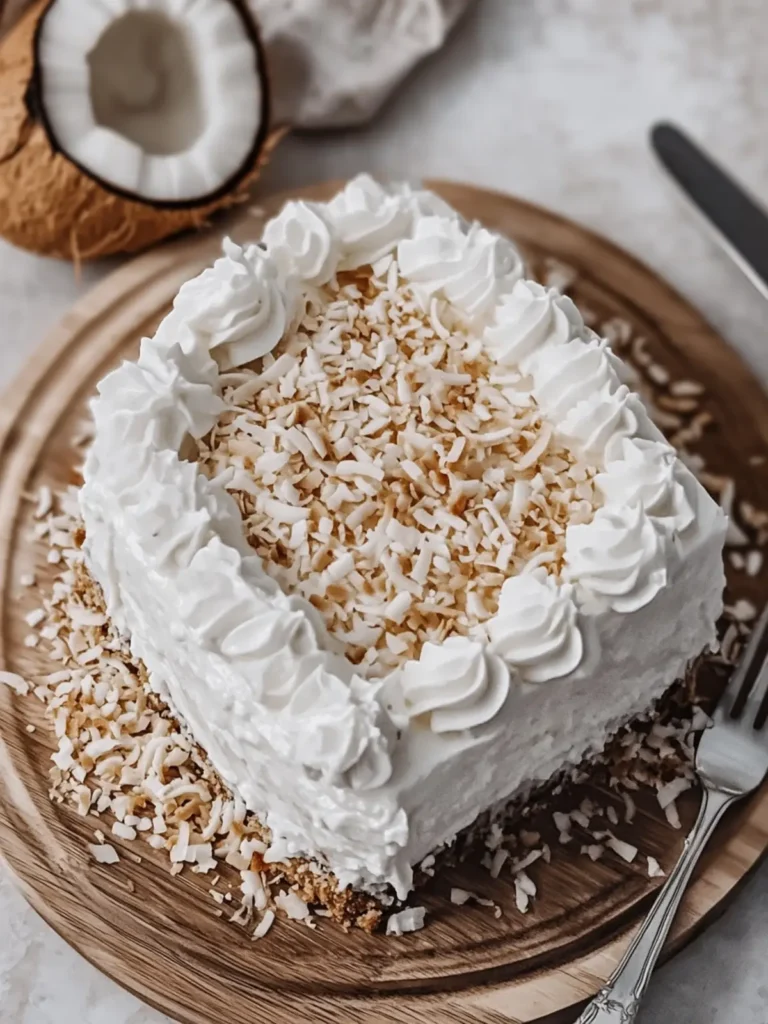
Why is No-Bake Coconut Dream a Must-Try?
Simplicity at its finest: This recipe requires no baking, allowing you to whip up a delicious dessert effortlessly.
Tropical flavor: The delightful combination of coconut cream and vanilla wafts you away to a sunny island paradise.
Versatile treat: Perfect for any occasion, this dessert makes for an ideal potluck addition or refreshing summer delight.
Crowd-pleaser: With its rich, creamy layers and light topping, it’s sure to impress family and friends alike!
Time-saving: Minimal prep and a 4–6 hour chill time means you can set it and forget it—perfect for busy days!
Bring the taste of paradise to your next gathering or simply enjoy it all for yourself. It’s truly a treat that you’ll want to savor!
No-Bake Coconut Dream Ingredients
Prepare your taste buds for this delightful coconut indulgence!
For the Crust
• Vanilla wafer crumbs – perfect for a sweet and crunchy base.
• Unsalted butter – binds the crumbs together and enhances flavor.
For the Coconut Cream Layer
• Cream cheese – provides a rich and creamy texture.
• Powdered sugar – adds sweetness without the graininess of granulated sugar.
• Coconut extract – intensifies the coconut flavor for a tropical touch.
• Whipped topping – lends a light and airy texture to the creamy filling.
• Sweetened shredded coconut – gives a delightful chew and bursts of coconut flavor.
For the Pudding Layer
• Instant coconut cream pudding mix – creates a luscious and thick layer with minimal effort.
• Cold whole milk – ensures the pudding sets perfectly, contributing to the creamy consistency.
For the Topping
• Whipped topping – adds a final layer of fluffiness on top.
• White shredded coconut – brings gorgeous texture and additional coconut flavor.
• White coconut flakes – adds crunch and visual appeal.
This No-Bake Coconut Dream is not just a dessert; it’s an experience that whisks you away to paradise with every creamy spoonful!
How to Make No-Bake Coconut Dream
-
Grease the dish: Lightly grease a 9 × 13-inch (23 × 33 cm) glass baking dish to prevent sticking and make serving easier later on.
-
Mix crust ingredients: In a bowl, combine the vanilla wafer crumbs and melted butter, mixing until the crumbs are evenly coated and slightly moist.
-
Form the crust: Press the crumb mixture firmly into the bottom of the prepared dish. Refrigerate for 15 minutes to allow it to set.
-
Beat cream mixture: In a mixing bowl, beat together the softened cream cheese, powdered sugar, and coconut extract until smooth and creamy, about 2 minutes.
-
Fold in toppings: Gently fold in one container of thawed whipped topping and the sweetened shredded coconut for a light and fluffy coconut filling.
-
Spread cream layer: Evenly spread the coconut cream mixture over the chilled crust, smoothing out the top with a spatula for an even layer.
-
Prepare pudding: In another bowl, whisk together the instant coconut cream pudding mix and cold whole milk for about 2 minutes, until the mixture thickens up nicely.
-
Layer the pudding: Carefully spread the thickened coconut pudding evenly over the coconut cream layer, ensuring an even distribution.
-
Top with whipped cream: Use the second container of whipped topping to spread a fluffy layer over the pudding, smoothing it out gently.
-
Add finishing touches: Sprinkle the top generously with white shredded coconut and coconut flakes for added texture and a beautiful presentation.
-
Chill: Cover the dish and refrigerate for at least 4–6 hours, or preferably overnight, to allow the flavors to meld and the layers to set properly.
Optional: Garnish with fresh mint leaves for a pop of color before serving.
Exact quantities are listed in the recipe card below.
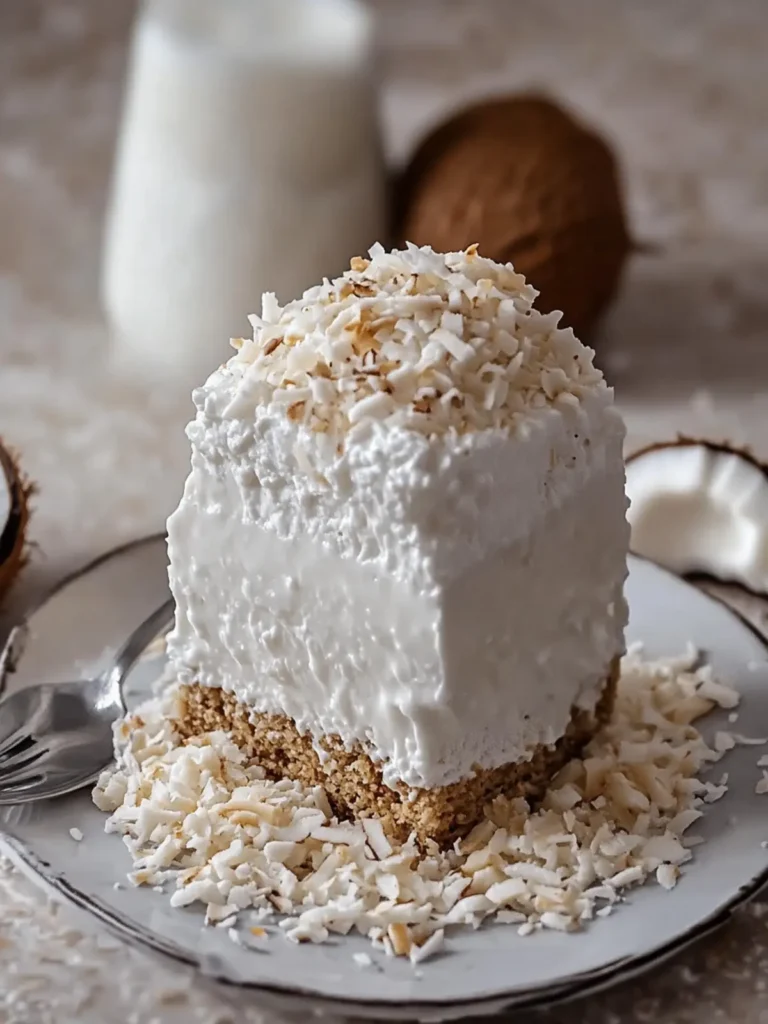
Expert Tips for No-Bake Coconut Dream
-
Chill Time Matters: Ensure you refrigerate the dessert for at least 4 hours; this helps the layers set properly and intensifies the flavors.
-
Perfect Texture: Beat the cream cheese well until smooth to avoid lumps; a creamy consistency ensures a decadent filling in your No-Bake Coconut Dream.
-
Coconut Extraction: Use high-quality coconut extract for a richer flavor; don’t skip this step, as it elevates the dessert to tropical perfection!
-
Layer with Care: Spread each layer evenly; this not only looks appealing but also enhances the taste with every bite you take.
-
Store Wisely: Keep any leftovers covered in the fridge; this helps maintain the creamy texture and prevents the flavors from fading.
No-Bake Coconut Dream Variations
Feel free to have fun customizing your No-Bake Coconut Dream to suit your taste and dietary preferences!
-
Gluten-Free: Substitute vanilla wafer crumbs with gluten-free cookies or almond flour to create a similar crust without gluten.
Enjoy the buttery crunch of your favorite gluten-free treats while indulging in coconut bliss! -
Dairy-Free: Use dairy-free cream cheese and whipped topping for a rich yet completely dairy-free version.
This twist allows everyone to enjoy the creamy layers without compromising on flavor! -
Chocolate Drizzle: Add a drizzle of melted dark chocolate over the top layer for a decadent chocolate-coconut fusion.
The combination adds a delightful richness that makes each bite even more irresistible. -
Tropical Fruit: Layer in fresh fruits like pineapple or mango for a burst of color and flavor amid the creamy layers.
Fruits not only enhance the taste but also provide a refreshing contrast to the richness of the dessert. -
Toasted Coconut: Toast your shredded coconut in the oven until golden brown before sprinkling it on top for extra crunch and depth.
This simple step will elevate the flavors and add a satisfying texture to your dreamy dessert. -
Nutty Crunch: Incorporate crushed nuts, like almonds or macadamias, into the crust or as a topping for an added crunch.
A nutty flavor complements the creamy layers beautifully, creating a well-rounded dessert experience. -
Coconut Infused Whipped Cream: Whip up your own coconut-flavored whipped cream by adding coconut extract to regular cream.
This homemade touch will amplify the coconut goodness while providing a fluffy finish to your dessert. -
Spiced Layer: Add a teaspoon of cinnamon or nutmeg to the cream cheese mixture for a warming spice twist that tempts your taste buds.
This subtle enhancement brings a cozy vibe that pairs perfectly with the tropical elements of the dessert.
What to Serve with No-Bake Coconut Dream?
Elevate your dessert experience with delightful pairings that balance the creamy sweetness of this tropical treat.
-
Fresh Fruit Salad: A vibrant medley of seasonal fruits adds a refreshing bite, contrasting the rich flavors of the coconut dessert. The natural sweetness enhances the tropical theme beautifully.
-
Grilled Pineapple: Caramelized slices bring out the juicy essence of pineapple, providing a charred contrast to the creamy layers. Pairing this with the dessert transports your taste buds to a beachside bar.
-
Mint-Infused Iced Tea: This cool, refreshing drink contrasts perfectly with the dessert’s creaminess, cleansing the palate while offering an aromatic note with every sip.
-
Coconut Milkshake: For coconut lovers, a smooth milkshake can be a fun twist, echoing the dessert’s flavor while adding a frothy, icy element that’s simply irresistible.
-
Chocolate-Covered Strawberries: Juicy berries paired with smooth chocolate provide a delightful sweetness that complements the coconut layers. The contrast in texture is sure to impress!
-
Lemon Sorbet: This bright and zesty sorbet cleanses the palate, offering a tangy contrast that balances the dessert’s sweetness. Serve it alongside for a sophisticated touch!
-
Cashew Crunch: A mix of roasted cashews adds a crunchy texture to every bite, breaking up the creaminess of the dessert. This gives a satisfying crunch that will keep mouths happy.
-
Tropical Punch: A light, fruity punch can enhance the whole theme of your gathering while keeping everything feeling festive and fun. It offers an invigorating sip to pair with each rich bite!
Make Ahead Options
These No-Bake Coconut Dream layers are a blessing for busy home cooks looking to save time! You can prepare the crust and coconut cream mixture up to 24 hours in advance—just be sure to refrigerate them separately to maintain that delicious crunch. Assembling the layers can happen the day before, allowing them to set in the fridge overnight. To ensure the toppings stay fluffy, add the final whipped topping layer and sprinkle the coconut just before serving. With these handy prep strategies, you’ll have a stunning dessert ready to impress without the last-minute rush—just as delightful and tropical as if made fresh!
How to Store and Freeze No-Bake Coconut Dream
Fridge: Cover the No-Bake Coconut Dream tightly with plastic wrap or a lid, and it will keep well in the fridge for up to 4 days.
Freezer: If you want to make it ahead, you can freeze the dessert. Wrap it well in plastic wrap and then in aluminum foil; it will last in the freezer for up to 2 months.
Thawing: To enjoy a frozen No-Bake Coconut Dream, thaw it overnight in the refrigerator before serving. This way, the creamy layers will maintain their delightful texture.
Serving: For the best experience, once thawed, add a fresh sprinkle of coconut flakes on top just before serving to revive its tropical flair!
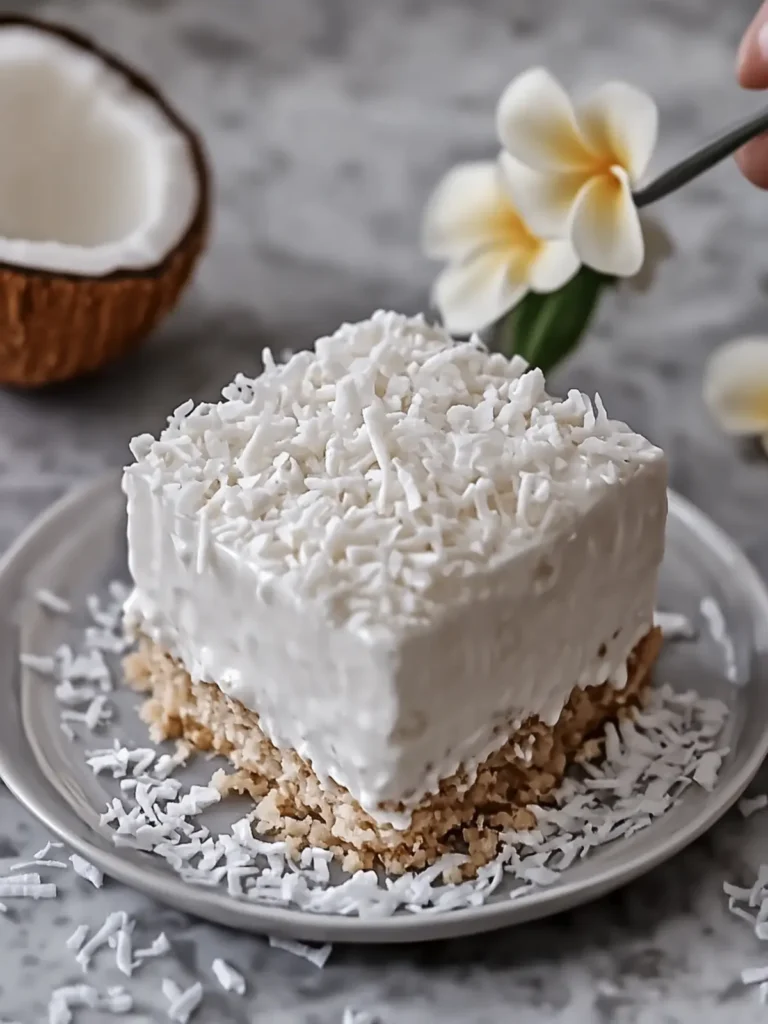
No-Bake Coconut Dream Recipe FAQs
What type of vanilla wafer crumbs should I use?
For the best flavor and texture, I recommend using classic vanilla wafers, as they provide a sweet and crunchy base. Brands like Nabisco Nilla Wafers work perfectly, but feel free to experiment with your favorite!
How long can I store leftovers in the fridge?
Absolutely! If stored correctly in an airtight container or tightly covered with plastic wrap, your No-Bake Coconut Dream will stay fresh in the fridge for up to 4 days. Just make sure to keep it chilled, and it will remain delicious.
Can I freeze the No-Bake Coconut Dream?
Very! To freeze your dessert, first wrap it well in plastic wrap, then wrap it again in aluminum foil to prevent freezer burn. This will keep it fresh for up to 2 months. When you’re ready to enjoy it, simply thaw it overnight in the refrigerator for the best texture!
What if my pudding layer doesn’t thicken properly?
If your pudding layer is underwhelming and not thickening as it should, ensure you whisk the pudding mix with cold whole milk for at least 2 minutes. If it’s still too runny, you can try adding a touch more pudding mix, whisking until it’s fully combined.
Are there any dietary considerations to keep in mind?
Indeed! For those with lactose intolerance, you can substitute the cream cheese and whipped topping with lactose-free alternatives to enjoy this tropical treat. Additionally, ensure to check the labels of the vanilla wafers and pudding mix for any allergens like gluten or artificial additives. Always best to be safe!
Can I use fresh coconut instead of shredded coconut?
Absolutely! If you have fresh coconut on hand, you can use it to add an incredible burst of flavor. Just be sure to finely shred the fresh coconut and use it in place of the sweetened shredded coconut in the layers and the topping for that added freshness!
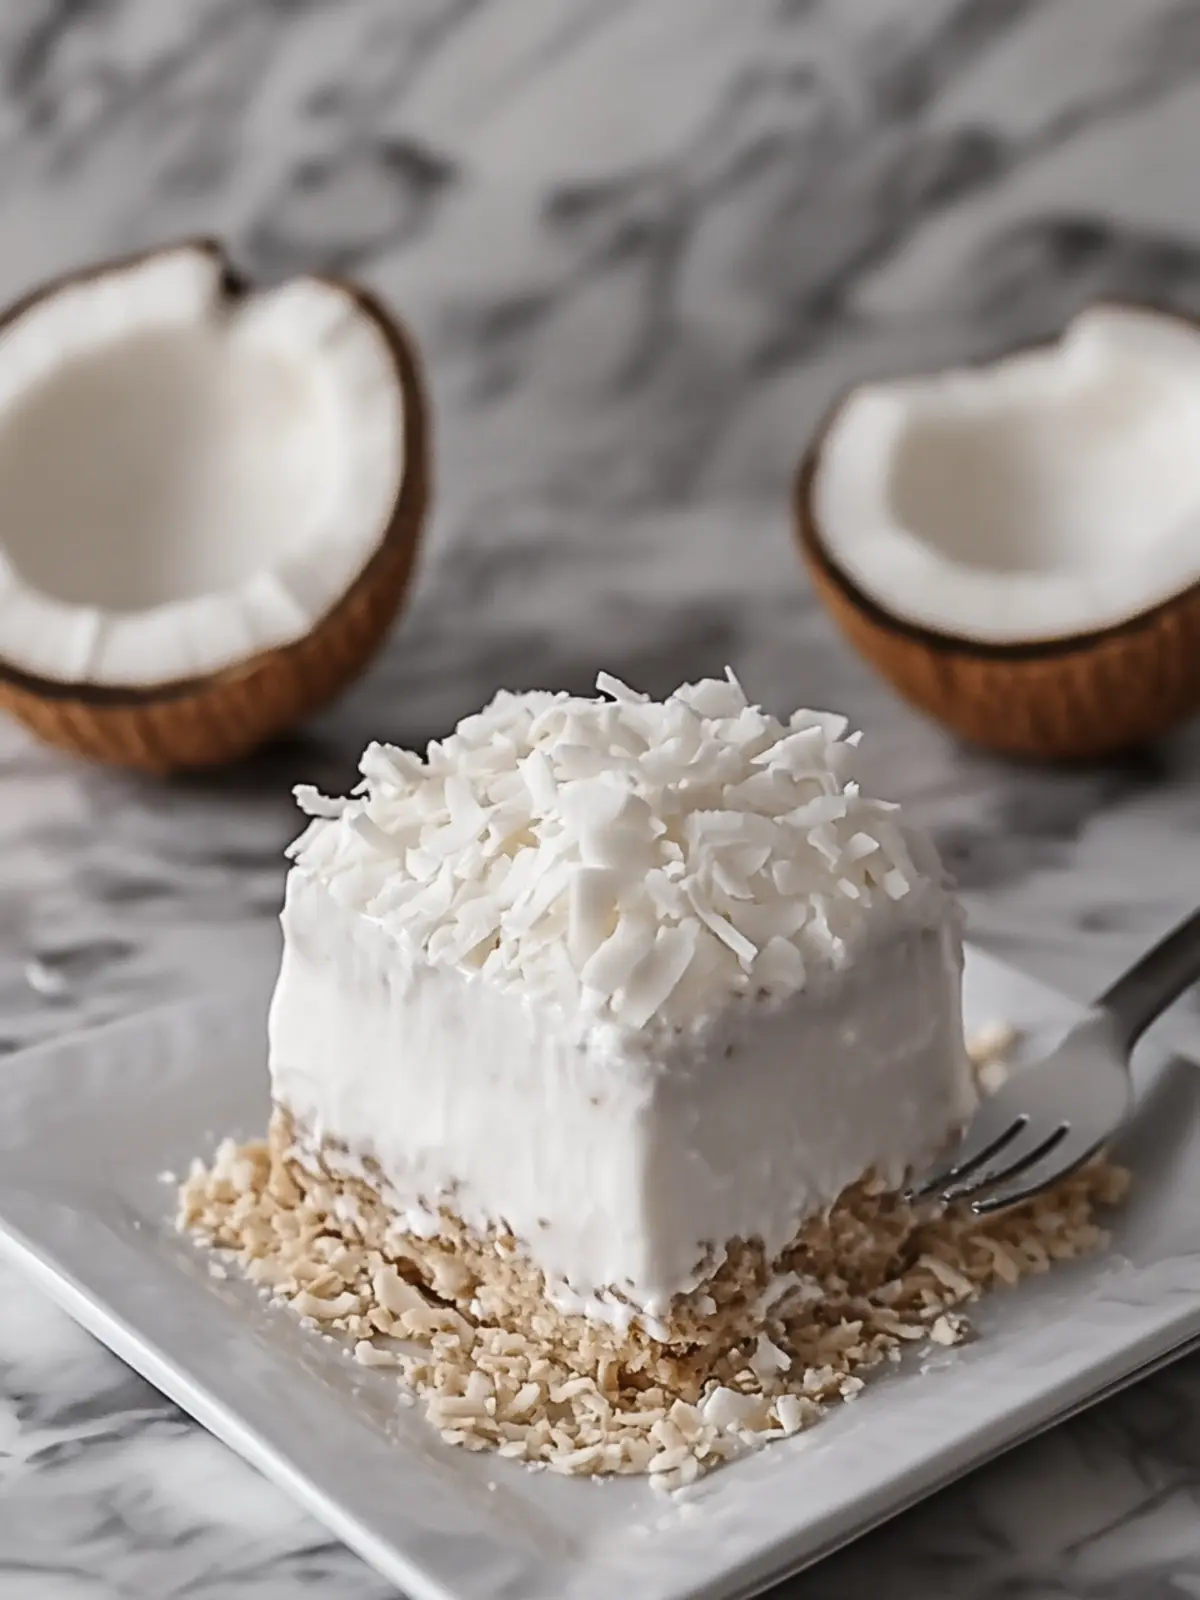
No-Bake Coconut Dream: Your Ultimate Tropical Indulgence
Ingredients
Equipment
Method
- Lightly grease a 9 × 13-inch glass baking dish to prevent sticking.
- In a bowl, combine the vanilla wafer crumbs and melted butter, mixing until coated.
- Press the mixture into the bottom of the dish and refrigerate for 15 minutes.
- Beat together the cream cheese, powdered sugar, and coconut extract until smooth.
- Fold in one container of whipped topping and sweetened shredded coconut.
- Spread the coconut cream mixture over the chilled crust.
- Whisk together the pudding mix and cold milk until thickened.
- Spread the thickened pudding over the coconut cream layer.
- Spread the second container of whipped topping over the pudding layer.
- Sprinkle the top with white shredded coconut and coconut flakes.
- Cover and refrigerate for at least 4–6 hours or overnight.