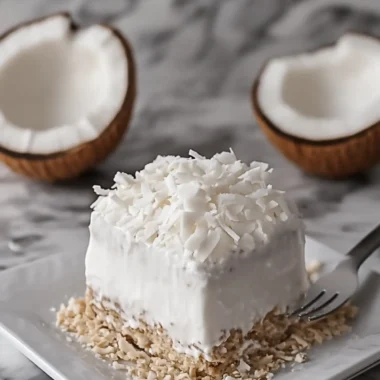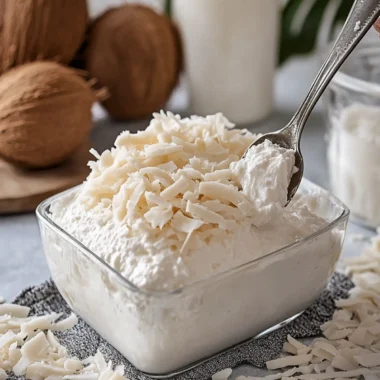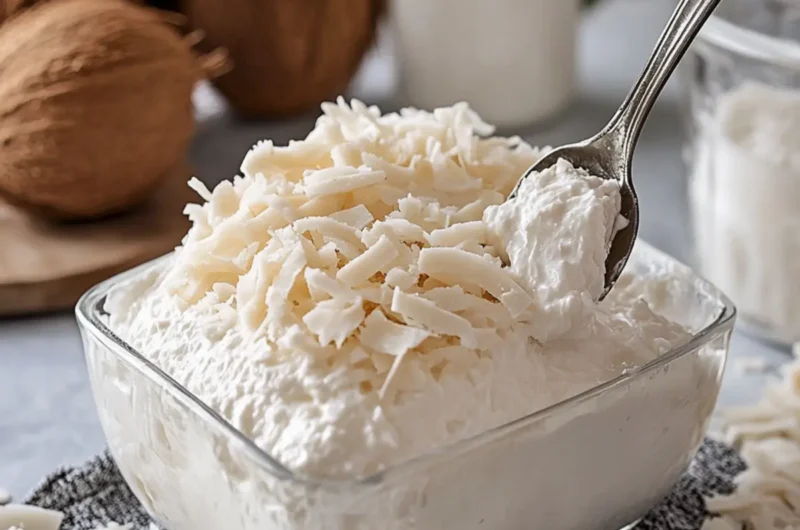
There’s something irresistibly charming about desserts that effortlessly transport us to a tropical paradise, even if we’re nestled in our own kitchens. That’s exactly the magic of this No-Bake Coconut Dream! Picture this: a luscious cream cheese filling meets the crunch of vanilla wafer crust, all draped in a dreamy coconut cream layer. The moment you take a bite, it’s as if the sun has slipped into your afternoon, bringing warmth and joy with every spoonful.
I stumbled upon this delightful treat while searching for a way to impress my friends at a last-minute gathering. With its simple, no-bake prep and layers of coconut goodness, it quickly became a staple in my dessert repertoire. Whether you’re looking to impress at a potluck or simply indulge on a cozy evening at home, this Coconut Dream offers an easy escape from the monotony of fast food. Plus, it’s a crowd-pleaser—everyone loves the sweet, tropical flavor! So, let’s gather those ingredients and create something truly special that will have everyone asking for seconds.
Why is No-Bake Coconut Dream a must-try?
Irresistible charm: This dessert is like a mini vacation for your taste buds, bringing tropical vibes right to your dining table.
Easy prep: No baking required means you can make this treat in a snap.
Crowd-pleaser: With its creamy layers and coconut goodness, it’s perfect for any gathering or just a cozy night in.
Versatile delight: Feel free to switch up toppings or mix-ins to make it your own.
Make-ahead magic: Prep it the night before and let it chill—less stress for you and more time to enjoy!
This No-Bake Coconut Dream is a delightful way to bring some sunshine into your kitchen and impress your friends.
No-Bake Coconut Dream Ingredients
• Get ready for a tropical treat!
For the Crust
• Vanilla wafer crumbs – These provide a sweet and crunchy base that perfectly complements the creamy layers.
• Unsalted butter – Helps bind the crumbs together for a sturdy crust.
For the Cream Filling
• Cream cheese – This creamy ingredient gives a rich and smooth texture, making the filling irresistible.
• Powdered sugar – Sweetens the cream filling without the gritty texture of granulated sugar.
• Coconut extract – A must for enhancing the tropical flavor profile of the No-Bake Coconut Dream.
• Whipped topping – Adds lightness and fluffiness to the filling while making it easy to mix.
• Sweetened shredded coconut – Provides that delightful coconut texture and enhances flavor.
For the Coconut Cream Layer
• Instant coconut cream pudding mix – The secret to achieving that luscious coconut cream texture with minimal effort.
• Cold whole milk – Ensures the pudding thickens properly for a velvety layer.
For the Topping
• Whipped topping – Use this again for a fluffy finish on the dessert.
• White shredded coconut – Gives an appealing look and a burst of coconut flavor on top.
• Coconut flakes – Sprinkle these for an added crunch and a beautiful presentation.
Gather these ingredients and you’re on your way to creating a dreamy, tropical indulgence that’s perfect for any occasion!
How to Make No-Bake Coconut Dream
-
Prepare the dish: Lightly grease a 9 × 13-inch glass baking dish to ensure your dessert comes out easily once set.
-
Mix the crust: In a bowl, combine the vanilla wafer crumbs with the melted butter, stirring until the crumbs are evenly coated and resemble wet sand.
-
Press down: Firmly press the mixture into the bottom of the greased dish, creating a nice, compact crust. Refrigerate for 15 minutes to help it set.
-
Beat the filling: In a mixing bowl, beat the softened cream cheese with powdered sugar and coconut extract until smooth and creamy, with no lumps visible.
-
Fold in topping: Gently fold in one container of whipped topping and the sweetened shredded coconut, being careful not to deflate the mixture to maintain its lightness.
-
Spread the cream layer: Pour the coconut cream mixture over the chilled crust, spreading it evenly for a luscious layer of creamy goodness.
-
Whisk the pudding: In a separate bowl, whisk the coconut cream pudding mix with cold whole milk for about 2 minutes, until it thickens and is silky smooth.
-
Layer the pudding: Spread the thickened coconut pudding evenly over the coconut cream layer, ensuring it reaches the edges for full flavor in every bite.
-
Top with more whipped topping: Gently spread the second container of whipped topping over the pudding layer, creating a fluffy cloud that makes your dessert attractive.
-
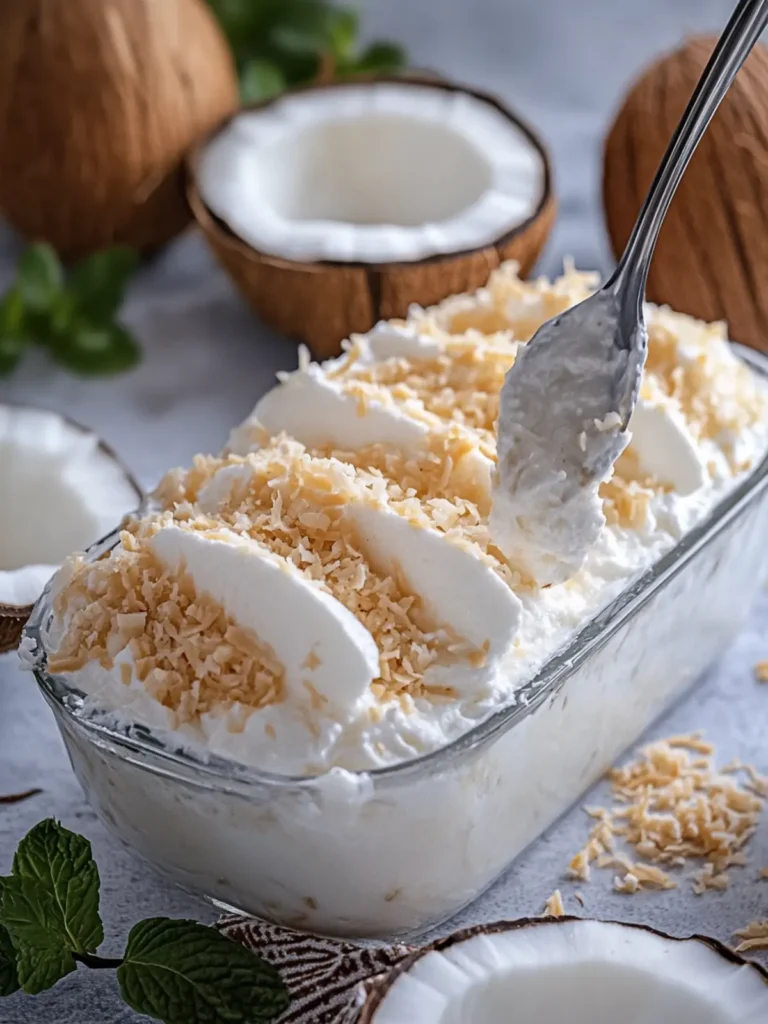
Sprinkle with coconut: Generously sprinkle the top with white shredded coconut and coconut flakes, adding a beautiful texture and presentation.
-
Chill: Cover the dessert and refrigerate for at least 4–6 hours, or overnight if you can resist—this helps meld the flavors together perfectly!
Optional: Drizzle with chocolate sauce before serving for an extra touch of indulgence.
Exact quantities are listed in the recipe card below.
No-Bake Coconut Dream Variations
Feel free to put your own spin on this delightful dessert and let your creativity shine with these exciting variations!
-
Dairy-Free: Substitute cream cheese with vegan cream cheese and replace the whipped topping with coconut whipped cream for a delightful vegan twist.
-
Mixed Fruit: Layer in fresh fruits like diced pineapple or mango between the creamy layers for a burst of tropical freshness.
-
Chocolate Coconut Dream: Fold in mini chocolate chips into the cream filling for a decadent chocolate-coconut fusion that will tantalize your taste buds.
-
Nutty Crunch: Add a layer of toasted almonds or pecans beneath the whipped topping for an unexpected crunch that complements the smooth texture beautifully.
-
Coconut Lime: Incorporate lime zest and a splash of lime juice into the cream filling, infusing a refreshing citrus flavor that brightens up the dessert.
-
Coconut Coffee Dream: Add a tablespoon of instant coffee granules to the pudding mix for a mocha twist that gives the dessert an alluring depth.
-
Spiced Delight: Sprinkle a hint of cinnamon or nutmeg into the cream cheese filling to create a warm, spiced flavor profile that’s cozy and comforting.
-
Boozy Bliss: Drizzle a bit of coconut rum over the layers for an adult version that adds a delightful kick while enhancing the tropical vibes.
Whether you stick to the classic recipe or go for one of these variations, your No-Bake Coconut Dream is bound to impress!
Helpful Tricks for No-Bake Coconut Dream
- Crust Firmness: Ensure you press the vanilla wafer crust down firmly for stability; a loose crust can crumble when serving.
- Chill Time: Patience is key! Allow the dessert to chill for at least 4–6 hours or overnight for the best flavor and texture.
- Creamy Filling: Beat the cream cheese mixture thoroughly until smooth to avoid lumps and ensure a silky filling in your No-Bake Coconut Dream.
- Folding Technique: When adding whipped topping, fold gently to maintain airiness—this increases the lightness of your filling!
- Topping Variations: Feel free to experiment with toppings like toasted coconut or a drizzle of caramel for a personalized touch.
Make Ahead Options
This No-Bake Coconut Dream is ideal for meal prep, allowing you to save valuable time during busy weeks! You can prepare the crust and filling up to 24 hours in advance. Simply follow the initial steps to create your crust and filling, then layer them as directed. To maintain quality, cover the dessert tightly with plastic wrap to prevent any drying or absorption of odors in the refrigerator. When you’re ready to serve, simply top it off with the finishing layers of whipped topping and coconut garnish. This way, you’ll have a delightful, crowd-pleasing treat that’s just as delicious, needing only a few moments of attention on the day of serving!
How to Store and Freeze No-Bake Coconut Dream
Fridge: Keep leftovers covered in the fridge for up to 3 days. It’s best enjoyed chilled, and the creamy layers will stay fresh.
Freezer: If you want to save some for later, wrap individual portions tightly in plastic wrap and store in an airtight container for up to 2 months.
Thawing: To enjoy frozen slices, transfer them to the fridge 4–6 hours before serving, allowing them to thaw gently while keeping their texture intact.
Reheating: There’s no need to reheat the No-Bake Coconut Dream; simply enjoy it cold as a refreshing treat any time!
What to Serve with No-Bake Coconut Dream?
Imagine indulging in creamy layers of coconut bliss, perfectly paired with delightful sides or drinks that enhance your tropical experience.
-
Tropical Fruit Salad: Fresh fruits like pineapple, mango, and kiwi provide a refreshing contrast that lifts the dessert’s richness.
-
Coconut Lime Shrimp: These tangy, lightly grilled shrimp offer a delicious savory balance to the sweetness of the Coconut Dream.
-
Pineapple Upside-Down Cake: This classic dessert adds a caramelized, fruity element that beautifully complements the creamy coconut flavors.
-
Tropical Iced Tea: A glass of sweetened iced tea infused with lemon and mint will cool and refresh your palate between each indulgent bite.
-
Mango Sorbet: This silky and fruity scoop can cleanse your palate, making every creamy bite even more delightful.
-
Coconut-Infused Rice: A small serving of subtly flavored coconut rice can playfully echo the coconut notes while providing a contrasting texture.
-
Key Lime Pie: If you crave more citrusy tartness, this zesty pie’s flavors harmonize beautifully with the sweetness of the No-Bake Coconut Dream.
Each of these pairings adds a unique twist to your coconut escape, creating a memorable meal that feels like a vacation on a plate.
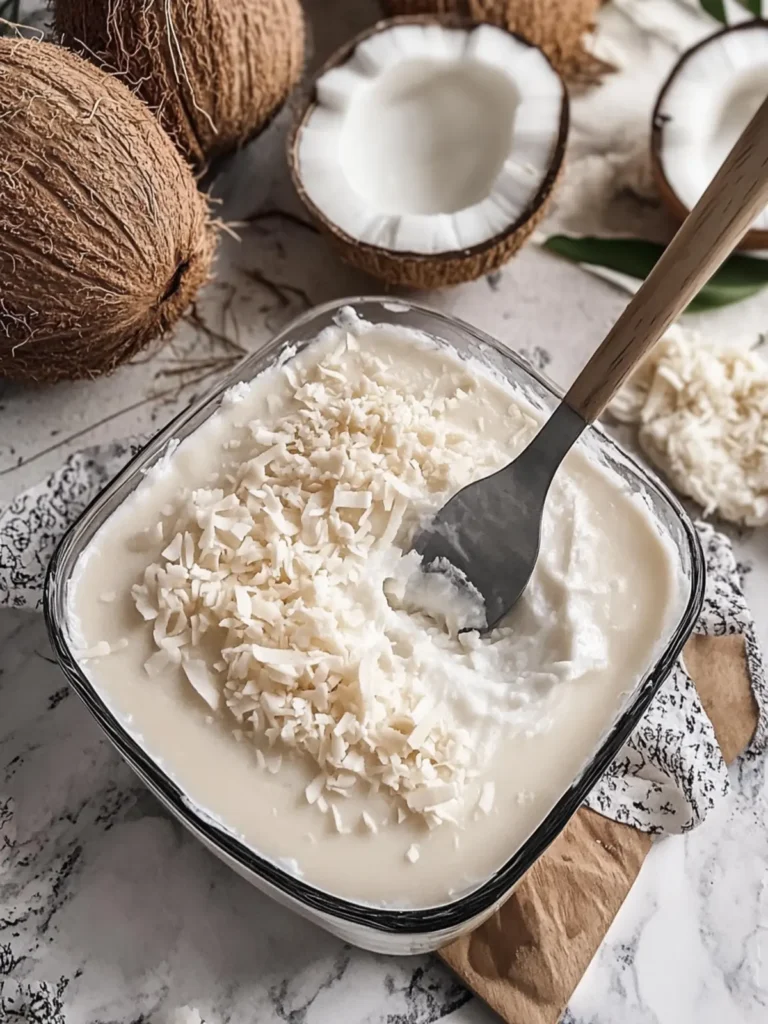
No-Bake Coconut Dream Recipe FAQs
How do I select ripe ingredients for my No-Bake Coconut Dream?
Absolutely! When it comes to coconut, look for sweetened shredded coconut that is fresh and slightly moist. Avoid any with dark spots or an off-putting smell; freshness matters! For cream cheese, ensure it’s softened at room temperature for easy blending—this helps avoid lumps in your filling.
How should I store my leftover No-Bake Coconut Dream?
Very! You can keep leftovers covered in the fridge for up to 3 days. Make sure it’s well wrapped or placed in an airtight container, to maintain its texture and flavor. It’s best served chilled, so a cool fridge is perfect for preserving that creamy delight!
Can I freeze my No-Bake Coconut Dream, and how do I do it?
Definitely! To freeze, wrap individual portions tightly in plastic wrap, ensuring there’s no air exposure, and place them in an airtight container. It will be good for up to 2 months. To thaw, simply transfer them to the fridge 4–6 hours before you want to serve, allowing them to regain their smooth texture without any mess.
What are some troubleshooting tips if my dessert doesn’t set properly?
If your No-Bake Coconut Dream isn’t setting, it might be that the pudding mix wasn’t whisked adequately with cold milk. Make sure to whisk it for the full 2 minutes until thick. If it still doesn’t seem firm enough, consider letting it chill longer or adding a bit more pudding mix next time. Patience is key here!
Are there any dietary considerations I should keep in mind?
Yes! This dessert contains cream cheese and whipped topping, which may not be suitable for those with dairy allergies. For a dairy-free version, you can substitute with coconut cream-based cream cheese and coconut whipped topping. Always check the labels to ensure they fit your dietary needs!
Can I use different toppings or mix-ins for my No-Bake Coconut Dream?
The more the merrier! Feel free to experiment with various toppings like toasted nuts, chocolate shavings, or even a layer of fresh fruit. Mixing in some crushed pineapple or a layer of caramel can also elevate the flavors, making each version unique and delightful!
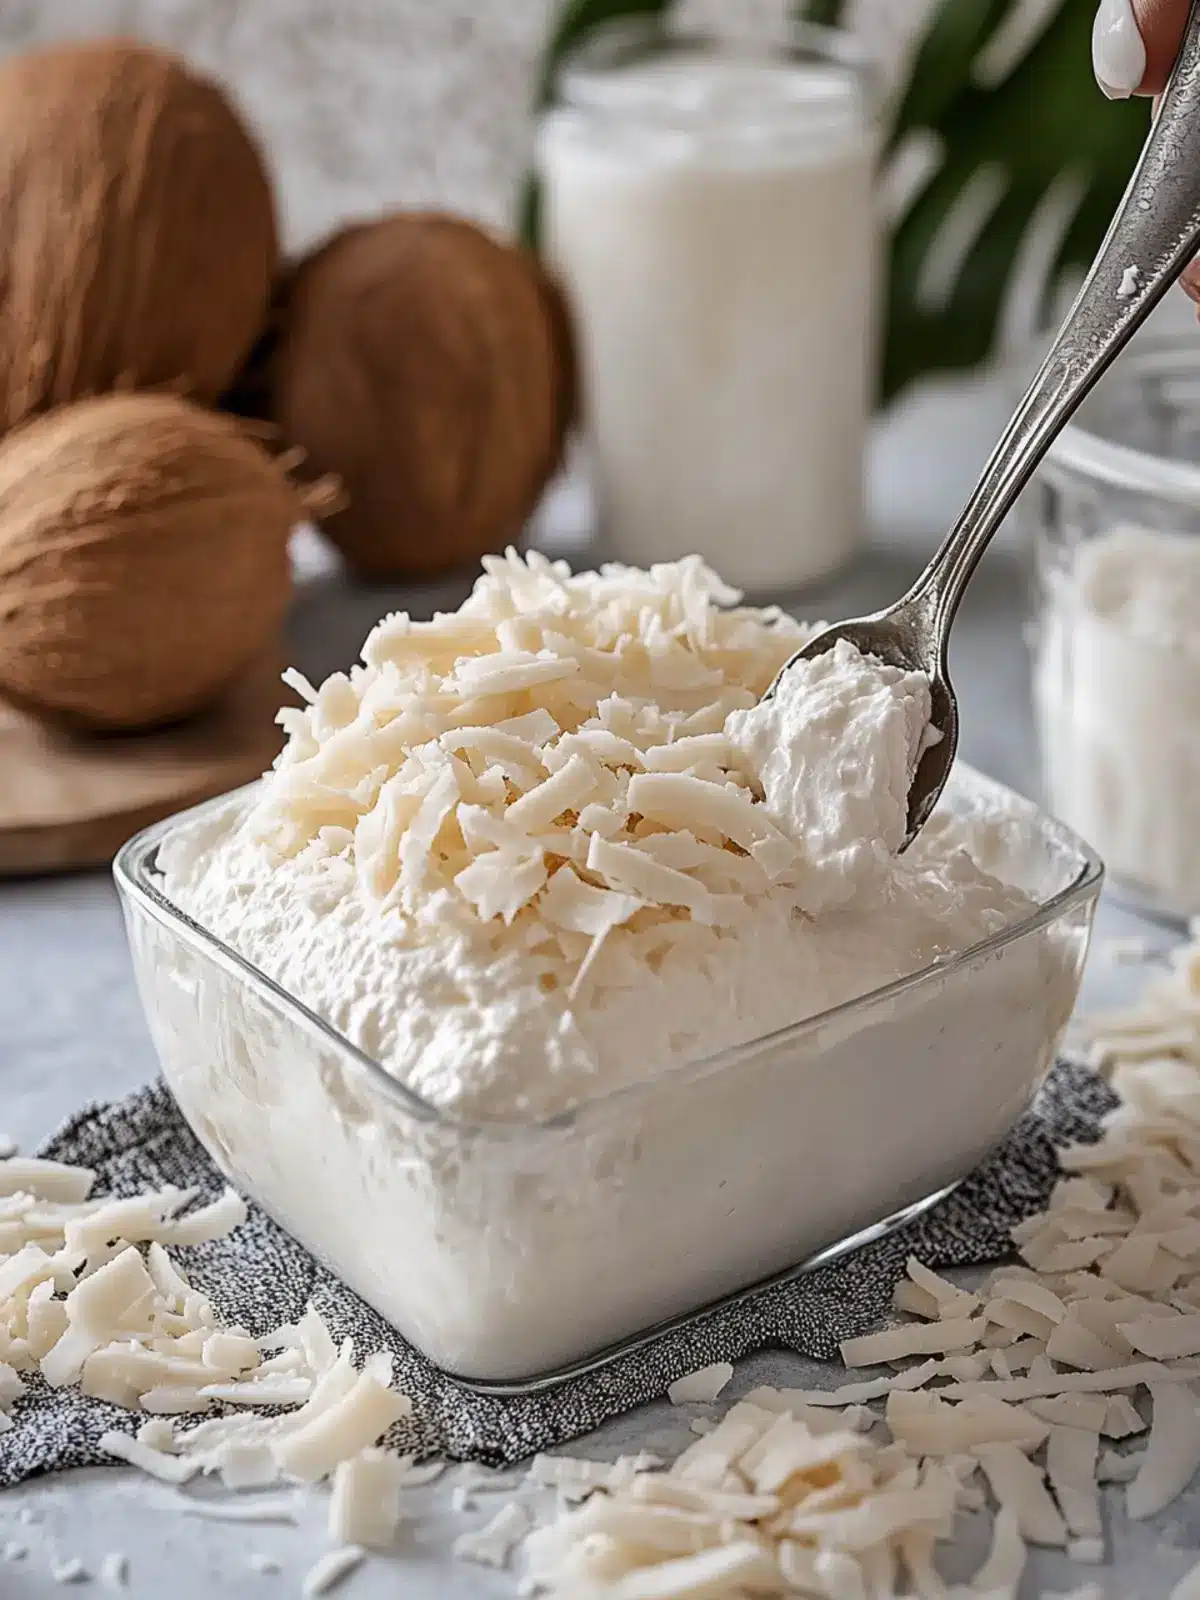
No-Bake Coconut Dream: The Creamy Treat You'll Crave
Ingredients
Equipment
Method
- Lightly grease a 9 × 13-inch glass baking dish.
- Combine the vanilla wafer crumbs with melted butter in a bowl until evenly coated.
- Press the mixture into the bottom of the dish and refrigerate for 15 minutes.
- In a mixing bowl, beat cream cheese, powdered sugar, and coconut extract until smooth.
- Fold in whipped topping and sweetened shredded coconut.
- Spread the cream mixture over the chilled crust.
- Whisk together the pudding mix and cold milk until it thickens.
- Spread the pudding mixture over the cream layer.
- Top with more whipped topping and sprinkle with shredded coconut and flakes.
- Cover and refrigerate for at least 4–6 hours, or overnight.