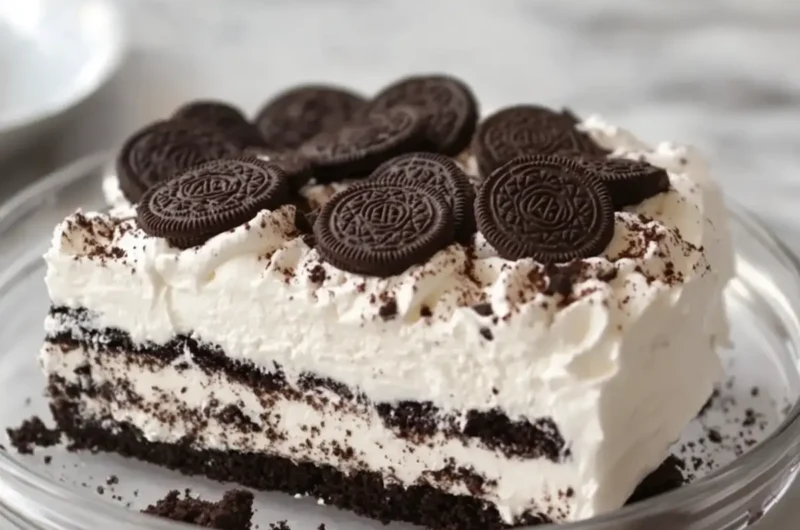
There’s nothing quite like the sensation of indulging in a creamy, decadent dessert after a long week. When the cravings hit, I often find myself dreaming of an Easy No-Bake Oreo Icebox Cake, a delightful creation that marries the nostalgic taste of Oreos with a fluffy, rich filling. It all started one evening while I was tidying my pantry, noticing a few forgotten packs of Oreos lurking in the corner. Suddenly, inspiration struck!
This cake is the perfect solution for those who want to impress without the hassle of traditional baking. With just a handful of pantry staples, you can whip up this crowd-pleaser in no time. Each layer of cookies and creamy goodness melds together, creating an irresistible treat that tastes indulgent yet is refreshingly easy to make. So if you’re ready to elevate your dessert game and bid farewell to fast food sweet alternatives, let’s dive into this delightful recipe together!
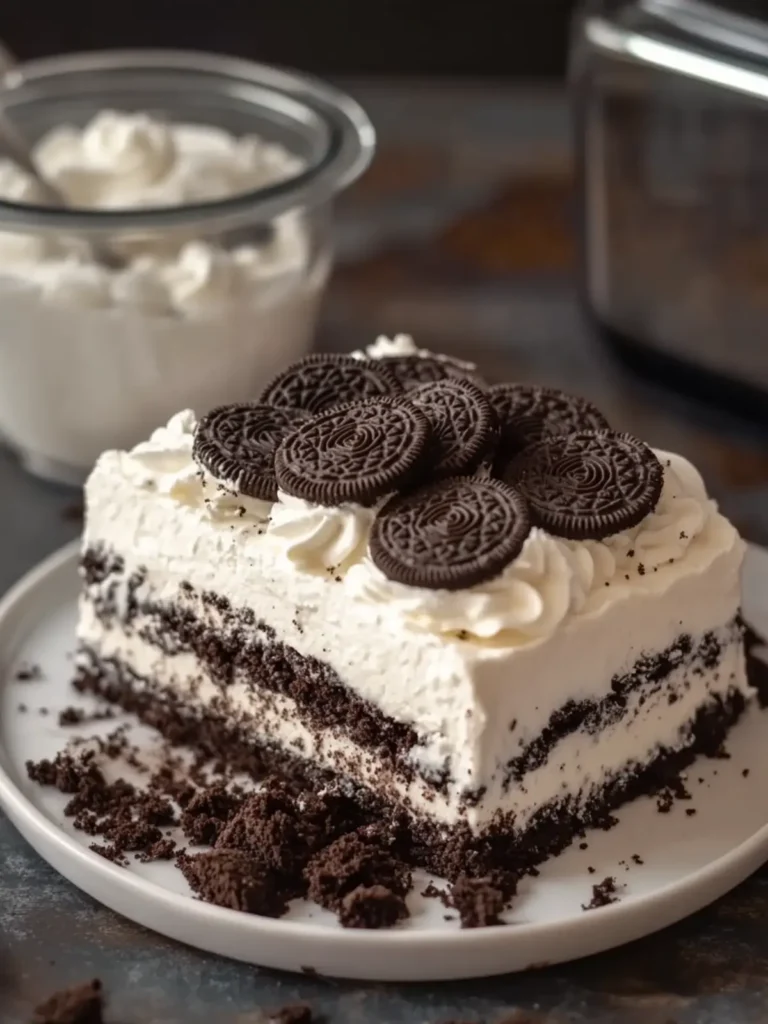
Why is Easy No-Bake Oreo Icebox Cake irresistible?
Simplicity at its Best: This no-bake dessert requires minimal effort, making it perfect for anyone short on time or skill.
Decadent Flavor: The blend of rich cream cheese and sweetened condensed milk creates a luscious filling that perfectly complements the iconic Oreo crunch.
Versatile Layers: Customize your icebox cake by adding fruits or various flavors of whipped cream, suiting every taste preference!
Crowd-Pleasing Appeal: With 12–15 generous portions, it’s ideal for gatherings, ensuring everyone leaves satisfied.
Make-Ahead Delight: Prepare it the night before to let the flavors meld beautifully, saving you time on the day of your event.
Elevate your dessert experience with this delightful treat!
Easy No-Bake Oreo Icebox Cake Ingredients
For the Cookies Layer
• Oreo chocolate sandwich cookies – Approximately 30–36 pieces will create the perfect base for layers.
• Whole milk – Just ½ cup for lightly dipping cookies ensures they stay firm yet soft.
For the Cream Filling
• Cream cheese – 8 oz (225 g), softened enhances the fluffy texture of the filling.
• Heavy whipping cream – 2 cups, cold, adds richness and a lightness to the cream mixture.
• Powdered sugar – ½ cup sweetens the filling for that irresistible taste.
• Vanilla extract – 1 teaspoon elevates the flavor profile, giving it warmth and depth.
• Sweetened condensed milk – ½ cup adds creaminess and balances the flavors beautifully.
For the Topping
• Heavy whipping cream – An additional 1 cup, cold, is whipped for a luscious topping.
• Powdered sugar – ¼ cup sweetens the topping, making it decadent.
• Oreo cookies – 6 crushed cookies provide delightful texture and contrast.
• Chocolate cookie crumbs – 2 tablespoons for a beautiful finish to the cake.
• Extra Oreo cookies – Use them for decoration to wow your guests while serving!
This Easy No-Bake Oreo Icebox Cake is designed to capture hearts and taste buds alike!
How to Make Easy No-Bake Oreo Icebox Cake
-
Beat the Cream Cheese: In a large mixing bowl, beat the softened cream cheese until it’s smooth and fluffy, creating a lovely base for your filling.
-
Combine Ingredients: Add the powdered sugar, sweetened condensed milk, and vanilla extract. Beat until the mixture is creamy and well combined, setting the stage for a delightful filling.
-
Whip the Cream: In a separate chilled bowl, whip 2 cups of heavy cream until stiff peaks form. This will add a lightness that balances the rich cream cheese.
-
Fold Together: Gently fold the whipped cream into the cream cheese mixture until it becomes light, thick, and fluffy, making sure not to deflate the whipped cream.
-
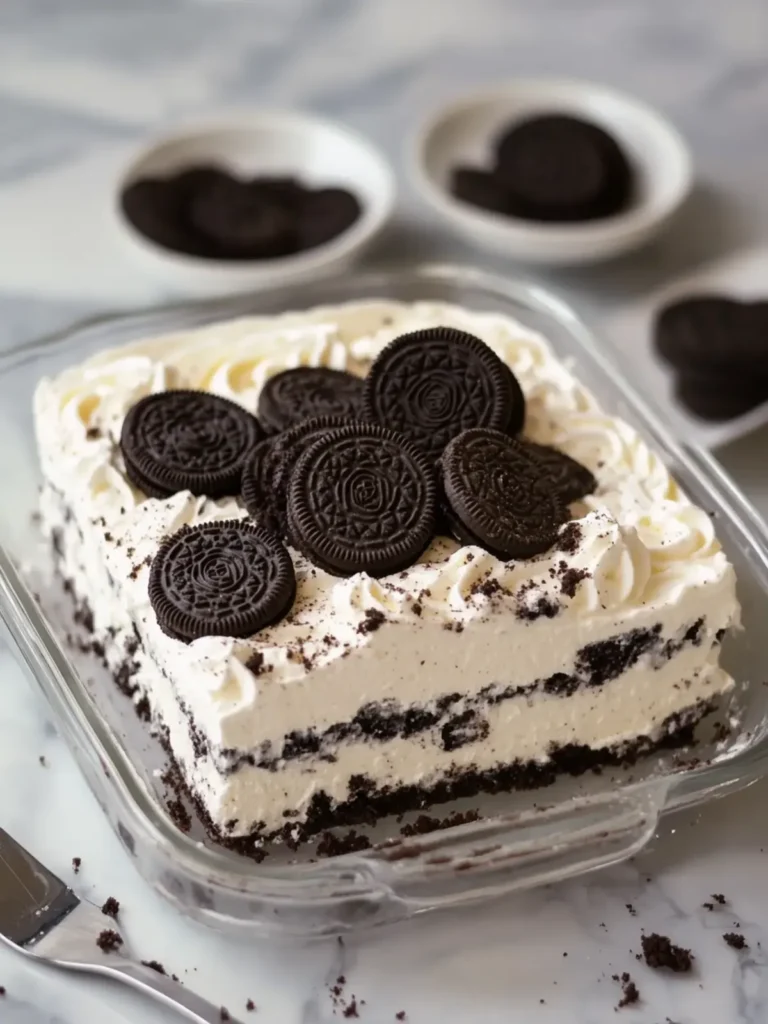
Prepare the Dish: Grab a 9 × 13-inch clear rectangular glass casserole dish. It’s perfect for showcasing the layers of deliciousness!
-
Dip the Cookies: Pour the milk into a shallow bowl. Quickly dip each Oreo cookie into the milk for just 1–2 seconds. Make sure not to soak them!
-
Layer the Cookies: Arrange the dipped cookies in a single layer across the bottom of the casserole, forming a sturdy base for the creamy layers.
-
Spread the Filling: Generously spread a layer of the vanilla cream filling over the cookies, covering them completely and readying for the next layer.
-
Add More Cookies: Place another layer of milk-dipped Oreo cookies on top of the cream filling. Repeat this process for a total of three layers.
-
Finish with Cream: On the last layer, spread a thick layer of the cream filling to finish constructing your lovely cake.
-
Whip the Topping: Beat the additional 1 cup of heavy whipping cream with ¼ cup of powdered sugar until stiff peaks form for a luscious topping.
-
Top the Cake: Spread the whipped topping generously over the top of the cake, making it look airy and inviting.
-
Garnish with Crumbs: Sprinkle the crushed Oreo cookies and chocolate cookie crumbs evenly across the surface to add texture and a beautiful finish.
-
Optional Decoration: Add decorative whipped cream swirls if desired, making it an Instagram-worthy treat.
-
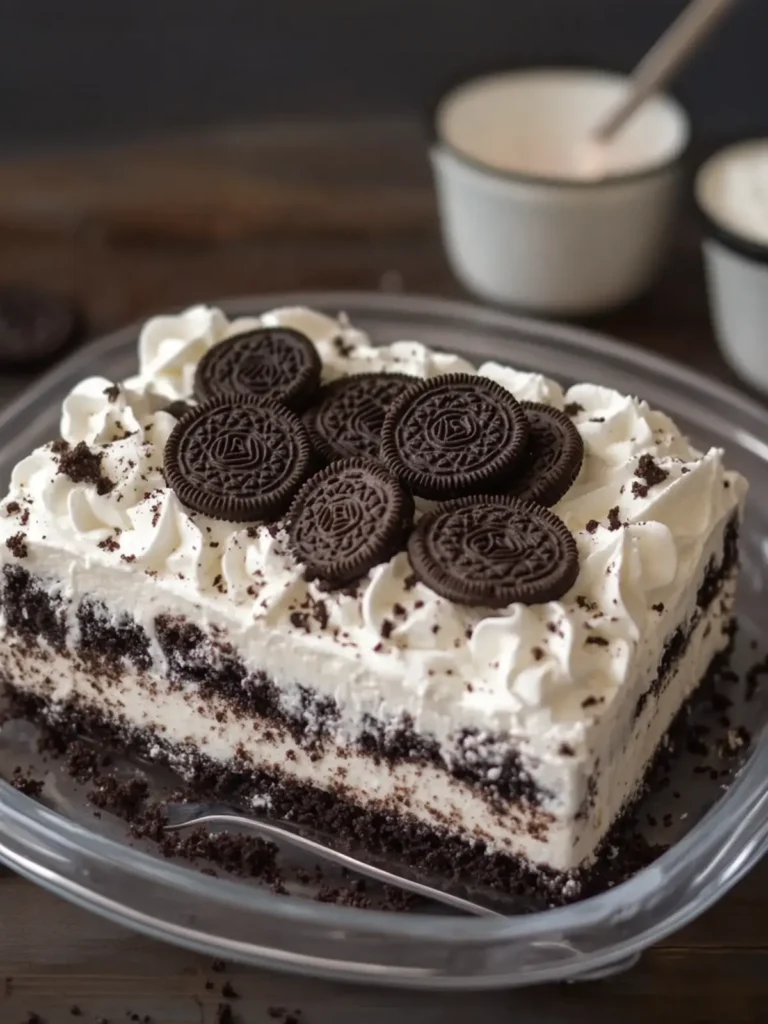
Chill: Cover the casserole and refrigerate for at least 6–8 hours, preferably overnight, allowing the flavors to meld and the cookies to soften.
-
Serve and Enjoy: Cut into square portions using a sharp knife and serve chilled, watching everyone dive into this heavenly creation!
Optional: Garnish with fresh mint leaves for a pop of color.
Exact quantities are listed in the recipe card below.
Tips for the Best Easy No-Bake Oreo Icebox Cake
- Dipping Technique: Dip cookies for just 1-2 seconds in milk to keep them firm yet soft. Avoid soaking, which can lead to a mushy texture.
- Stiff Peaks: Ensure the heavy cream is whipped until stiff peaks form. This creates a fluffy topping and a light filling that enhances the overall texture of your cake.
- Layering: Alternate layers of cookies and cream filling carefully to create a sturdy yet delicate cake. Don’t rush; let each layer marry together beautifully.
- Refrigeration Time: Always refrigerate your cake for at least 6-8 hours or, better yet, overnight. This allows the cookies to soften and the flavors to blend perfectly, making your Easy No-Bake Oreo Icebox Cake truly irresistible.
- Serving Tip: Use a sharp knife for clean cuts when serving. This keeps the layers intact and presents a gorgeous slice. Enjoy!
Storage Tips for Easy No-Bake Oreo Icebox Cake
Fridge: Store the cake in an airtight container in the fridge for up to 3 days. This keeps it fresh and helps flavors deepen.
Freezer: For longer storage, freeze slices wrapped tightly in plastic wrap and aluminum foil for up to 2 months. Thaw in the refrigerator before serving for best results.
Reheating: This dessert is best enjoyed chilled, so simply slice and serve straight from the fridge or thawed from the freezer.
Preventing Freezer Burn: When freezing, ensure each slice is well-covered to prevent freezer burn, preserving the delightful textures of your Easy No-Bake Oreo Icebox Cake!
Easy No-Bake Oreo Icebox Cake Variations
Feel free to get creative with your dessert and put a unique spin on this classic recipe!
-
Chocolate Lovers: Substitute half of the Oreos with chocolate cream-filled cookies for an extra chocolatey kick. The layers will become even more indulgent!
-
Nutty Crunch: Add ½ cup of crushed nuts between the layers for a delightful crunch and a hint of earthiness. Walnuts or pecans work beautifully.
-
Minty Fresh: Incorporate peppermint extract into the cream filling for a refreshing flavor twist. Garnish with chocolate chips and mint leaves for a stunning finish.
-
Fruit Infusion: Layer in thin slices of banana or strawberries between the cookies and cream for a fruity contrast that adds color and flavor.
-
Dairy-Free: Use coconut cream in place of heavy whipping cream and dairy-free cream cheese for a luscious, vegan-friendly alternative that everyone can enjoy.
-
Spicy Twist: Add a pinch of cinnamon or a sprinkle of cayenne pepper to the cream filling for a surprising heat that contrasts with the sweetness. It will elevate your cake to a whole new level!
-
Coffee Fix: Mix in a tablespoon of instant coffee or espresso powder to the cream filling for a delightful coffee-infused flavor. Pair it with a chocolate drizzle for an elegant touch.
-
Caramel Groove: Drizzle caramel sauce over the cream filling layers and top it off with a sprinkle of sea salt to create a sweet and salty sensation that’s hard to resist.
Let your imagination run wild and watch how these variations can take your Easy No-Bake Oreo Icebox Cake to delightful new heights!
Make Ahead Options
These Easy No-Bake Oreo Icebox Cakes are a delightful solution for busy home cooks looking to save time without compromising on flavor! You can prepare the cream filling and dip the Oreo cookies up to 24 hours in advance, allowing them to chill and meld in the refrigerator. Just layer the dipped cookies and cream filling in the casserole dish, cover, and refrigerate. When you’re ready to serve, whip the additional cup of heavy cream with powdered sugar for the topping and spread it over the cake, finishing with cookie crumbs. This way, your dessert will remain just as delicious and creamy!
What to Serve with Easy No-Bake Oreo Icebox Cake?
Enhance your dessert experience with delightful pairings that bring out the best in this luscious treat!
-
Fresh Berries: Juicy strawberries or raspberries add a bright, tangy contrast to the creamy cake, balancing sweetness with a fresh pop.
-
Chocolate Sauce: Drizzle warm chocolate sauce on top for an extra indulgent touch. It enhances the rich chocolate flavor without overpowering it.
-
Vanilla Ice Cream: Serve alongside a scoop of vanilla ice cream for a creamy, dreamy combination that guests will adore. The cold creaminess complements the texture wonderfully.
-
Espresso or Coffee: A strong cup of espresso or your favorite coffee makes for a perfect pairing, bringing a warm and robust contrast to the cake’s sweetness.
-
Whipped Cream Clouds: While the cake has whipped cream, serving additional dollops allows guests to customize their slice, adding an extra layer of creaminess.
-
Mint Leaves: Garnishing with fresh mint leaves offers a refreshing touch that brightens each bite while providing a delightful aromatic experience.
Indulge in these pairings for a memorable dessert that will keep everyone coming back for more!
Easy No-Bake Oreo Icebox Cake Recipe FAQs
How do I know if my cookies are fresh enough?
Absolutely! When selecting your Oreos, check for any dark spots all over the package that could indicate stale cookies. Fresh cookies should have a nice snap and not feel soft or crumbly. If your Oreos are past their expiration date, it’s best to get a new pack for that perfect crunch in your Easy No-Bake Oreo Icebox Cake.
What’s the best way to store the cake after making it?
For best results, store your Easy No-Bake Oreo Icebox Cake in an airtight container in the fridge for up to 3 days. This will keep your cake fresh and allow the flavors to meld beautifully. Just make sure you cover it well to prevent any absorption of other fridge odors!
Can I freeze the cake? If so, how?
Yes, you can freeze this delicious dessert! To do so, wrap individual slices tightly in plastic wrap and then in aluminum foil. It can be stored in the freezer for up to 2 months. When ready to enjoy, simply thaw in the refrigerator overnight before serving. This will help preserve the delightful texture of the cake!
What can I do if my whipped cream doesn’t reach stiff peaks?
Very! If your whipped cream isn’t forming stiff peaks, ensure your mixing bowl and beaters are completely clean and cold—this also helps! Go slow at first to incorporate air and build volume, then increase the speed. If it still won’t whip up after a few minutes, consider adding a bit of cornstarch to stabilize it!
Is there a way to make this dessert safe for those with dietary restrictions?
Definitely! If there are concerns about allergies, use gluten-free Oreo cookies and dairy-free cream cheese and whipped cream options. This way, your Easy No-Bake Oreo Icebox Cake can be enjoyed by those with gluten and dairy sensitivities! Always double-check ingredient labels just to be safe!
What if I want to add extra flavors or ingredients to the cake?
The more the merrier! You can easily add fruits like sliced bananas or strawberries between layers, or even a touch of peanut butter in the cream filling for some nutty delight. Just be sure the fillings mix well to maintain that irresistible texture and flavor harmony. Enjoy experimenting!
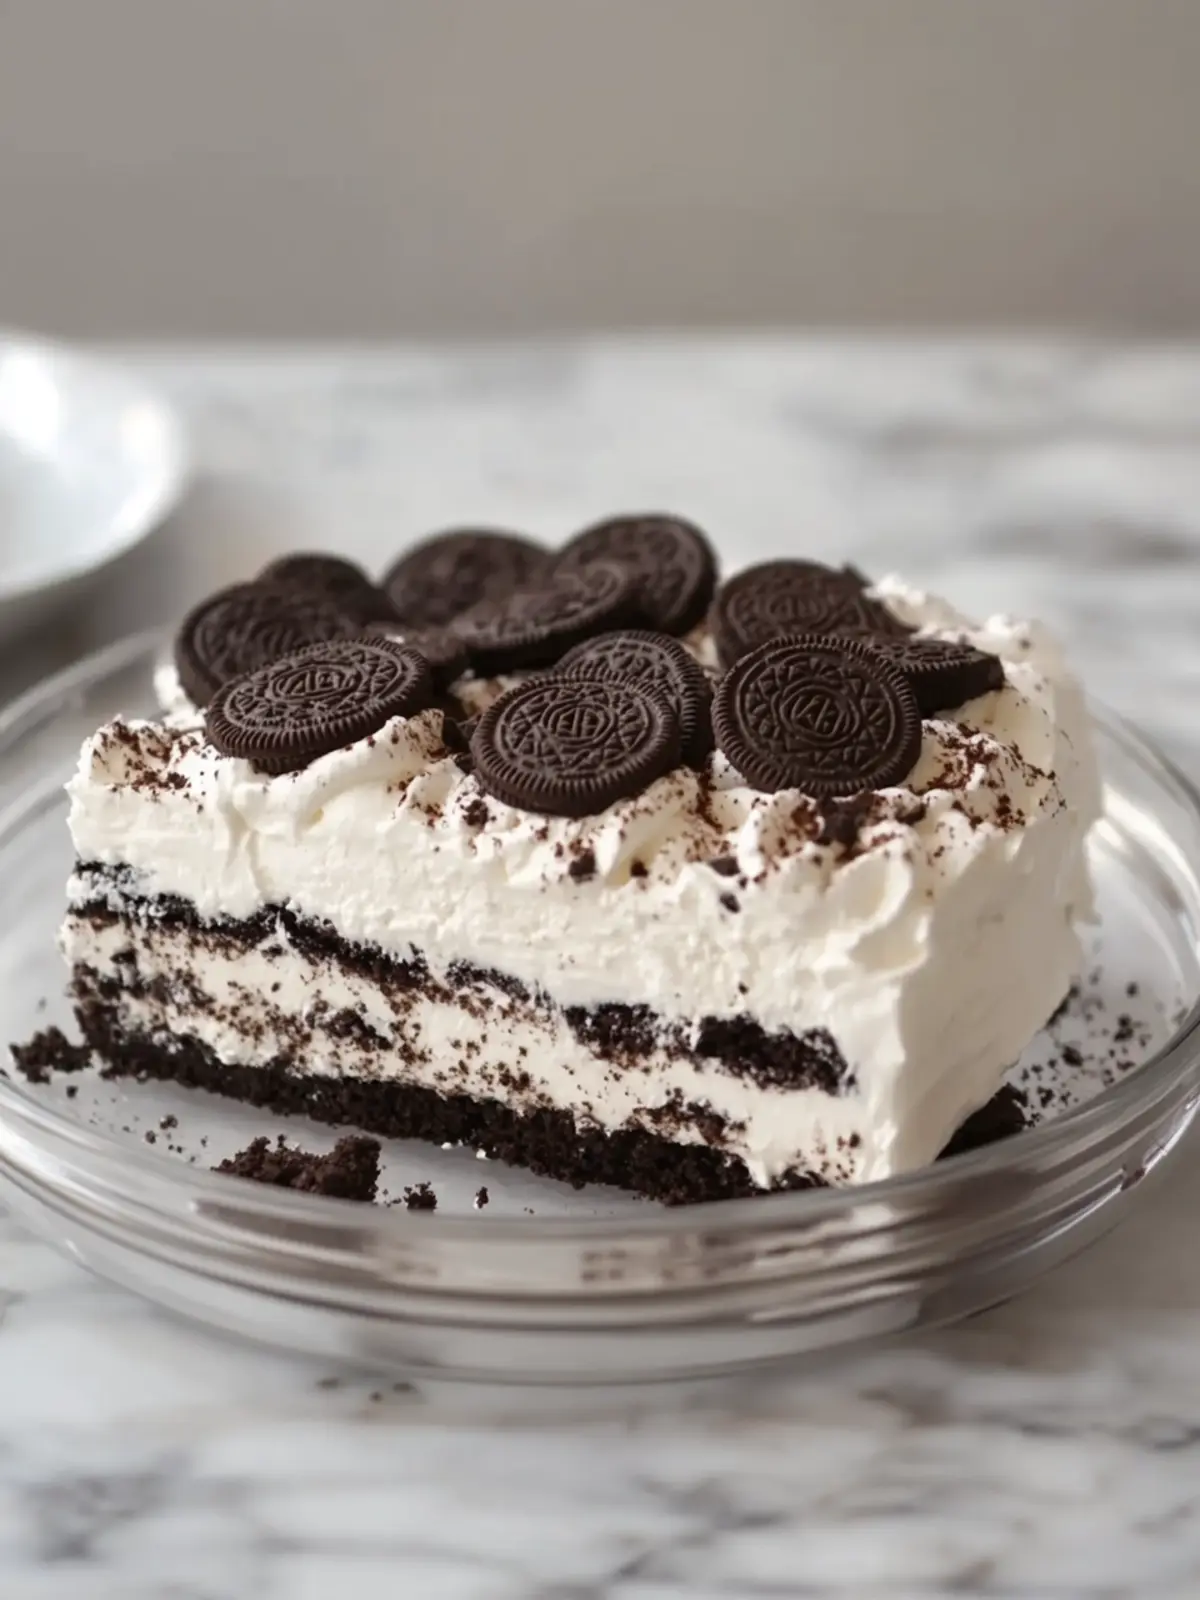
Delicious Easy No-Bake Oreo Icebox Cake You’ll Crave
Ingredients
Equipment
Method
- In a large mixing bowl, beat the softened cream cheese until it’s smooth and fluffy.
- Add the powdered sugar, sweetened condensed milk, and vanilla extract. Beat until creamy.
- In a separate chilled bowl, whip 2 cups of heavy cream until stiff peaks form.
- Gently fold the whipped cream into the cream cheese mixture until light and fluffy.
- Grab a 9 × 13-inch clear casserole dish.
- Pour the milk into a shallow bowl and quickly dip each Oreo cookie for 1-2 seconds.
- Arrange the dipped cookies in a single layer across the bottom of the casserole.
- Spread a layer of the vanilla cream filling over the cookies, covering them completely.
- Place another layer of milk-dipped Oreo cookies on top. Repeat for three layers.
- Spread a thick layer of the cream filling on the last layer.
- Beat the additional 1 cup of heavy whipping cream with ¼ cup of powdered sugar until stiff peaks form.
- Spread the whipped topping generously over the cake's surface.
- Sprinkle crushed Oreo cookies and chocolate cookie crumbs over the topping.
- Optional: Add decorative whipped cream swirls if desired.
- Cover and refrigerate for at least 6–8 hours, preferably overnight.
- Cut into square portions and serve chilled.