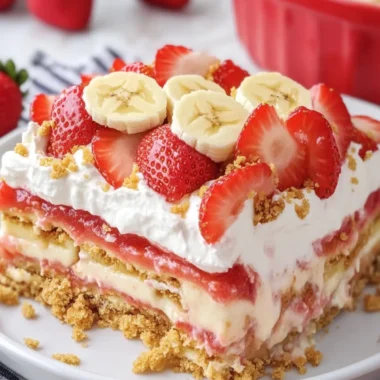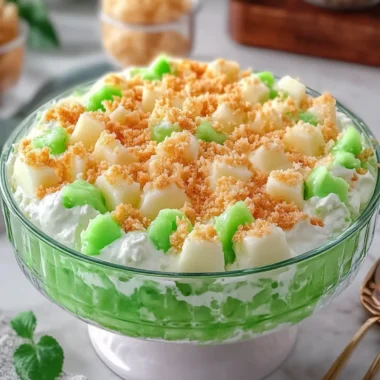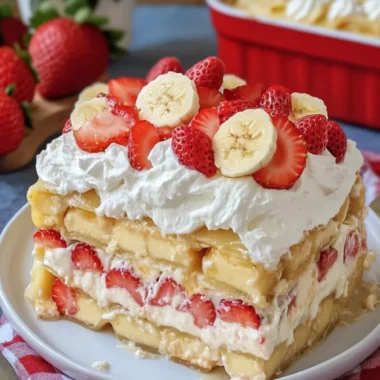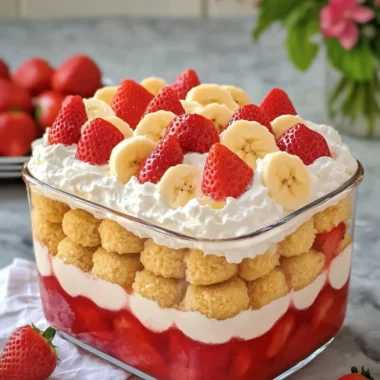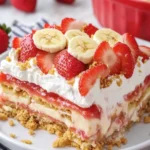
The first bite of this Dream Casserole Strawberry Banana Pudding takes me straight back to summer picnics and cherished family gatherings. The creamy layers of whipped topping and pudding intermingled with fresh strawberries and ripe bananas create a symphony of flavors that dance on your taste buds. This delightful dessert not only impresses with its vibrant presentation but also boasts an unbeatable ease of preparation—perfect for both beginner and seasoned chefs.
I discovered this recipe on a busy afternoon when the relentless call of fast food just didn’t sit right with me. I wanted something comforting and delicious that didn’t involve endless hours in the kitchen. This pudding casserole proved to be the ultimate solution, transforming simple ingredients into a showstopper that friends and family can’t resist devouring. Whether it’s for a potluck, a casual family dinner, or just treating yourself, this delightful dish promises to satisfy every sweet craving with every mouthwatering layer. So, roll up your sleeves and let’s whip up some magic in the kitchen!
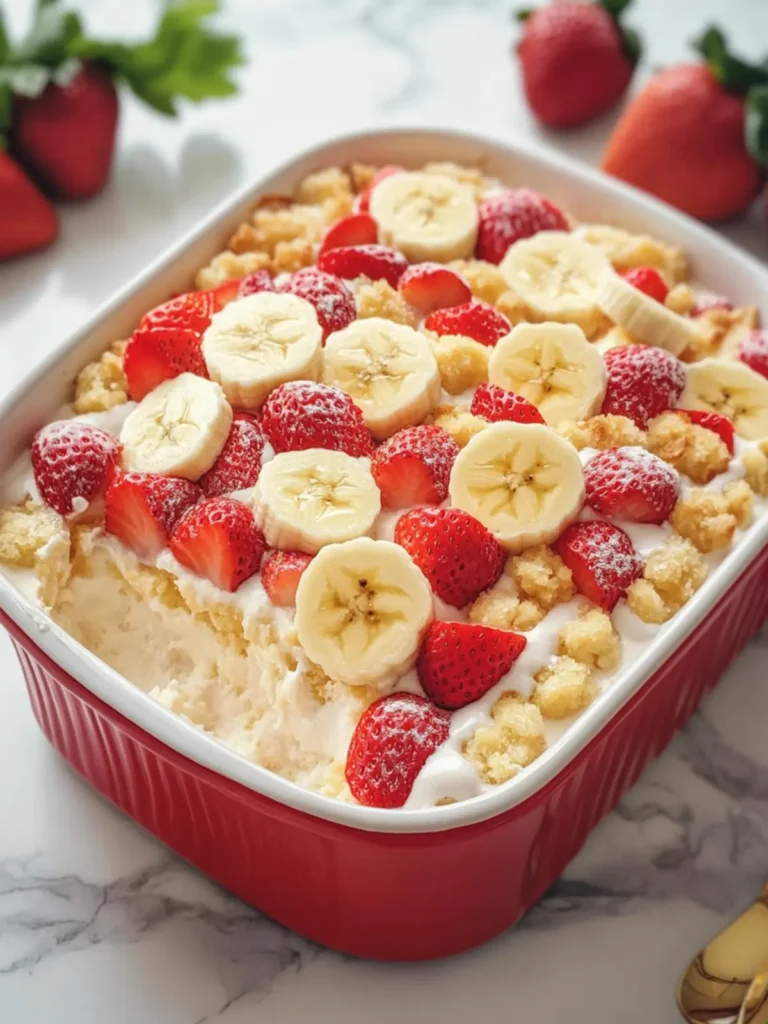
Why is Dream Casserole Strawberry Banana Pudding a Must-Try?
Irresistible layers of creamy goodness await you in this delicious dessert. Versatile and crowd-friendly, it’s perfect for any occasion, from potlucks to family gatherings. Quick preparation means you can whip this up in just 25 minutes, leaving you with more time to enjoy with loved ones. Fresh strawberries and ripe bananas add a delightful burst of flavor, while the whipped topping gives it an airy lightness. Plus, easy on the eyes, this vibrant casserole is sure to impress your guests! Don’t miss out on this delightful creation that’s all about homemade comfort.
Dream Casserole Strawberry Banana Pudding Ingredients
For the Pudding Mixture
• Instant vanilla pudding mix – you’ll need 2 boxes to form the creamy base that holds everything together.
• Cold whole milk – 3 cups is essential for making the pudding rich and smooth.
• Cream cheese – 8 oz, softened for that extra creaminess, keeping your pudding luscious and delightful.
• Sweetened condensed milk – 1 can (14 oz) adds a touch of sweetness and helps your pudding set perfectly.
• Vanilla extract – 1 teaspoon for that warm, aromatic flavor that ties all the ingredients together.
• Whipped topping – 16 oz, divided to achieve the fluffy texture we all love in this dream casserole.
For the Layers
• Vanilla wafer cookies – a whole box (11 oz) to create a satisfying crunch beneath the luscious layers.
• Ripe bananas – 4 medium, sliced into ¼-inch rounds to infuse natural sweetness and freshness throughout.
• Fresh strawberries – 2 cups, sliced to add a pop of color and a burst of fruity flavor in every spoonful.
For the Decorative Touches
• Whole strawberries – 6, halved, for a beautiful garnish that adds a fresh appeal on top of your masterpiece.
• Sliced banana – 1 medium, for decoration—because we eat with our eyes first!
• Crushed vanilla wafers – ½ cup, sprinkled on top for that perfect finishing touch and added crunch.
• Whole vanilla wafers – 10–12 additional wafers to elegantly decorate the top, making your pudding casserole as stunning as it is delicious.
How to Make Dream Casserole Strawberry Banana Pudding
-
Whisk together the instant vanilla pudding mix and cold whole milk in a large bowl for 2 minutes until well combined. Refrigerate for 5 minutes until thickened and luscious.
-
Beat the cream cheese until smooth in another bowl. Add the sweetened condensed milk and vanilla extract, then mix until creamy and delightful.
-
Fold in the prepared pudding into the cream cheese mixture gently, ensuring a smooth blend. Gently fold in 8 oz of the whipped topping until light and fluffy, creating a dreamy texture.
-
Layer vanilla wafers in a 9 × 13-inch deep casserole dish, forming a base that holds the flavors beautifully.
-
Arrange half of the sliced bananas and half of the sliced strawberries over the layer of cookies, making it colorful and inviting.
-
Spread half of the creamy pudding mixture evenly over the fresh fruit, enveloping everything in pure bliss.
-
Add another layer of vanilla wafers, followed by the remaining sliced bananas and strawberries, finishing with the last of the pudding mixture on top.
-
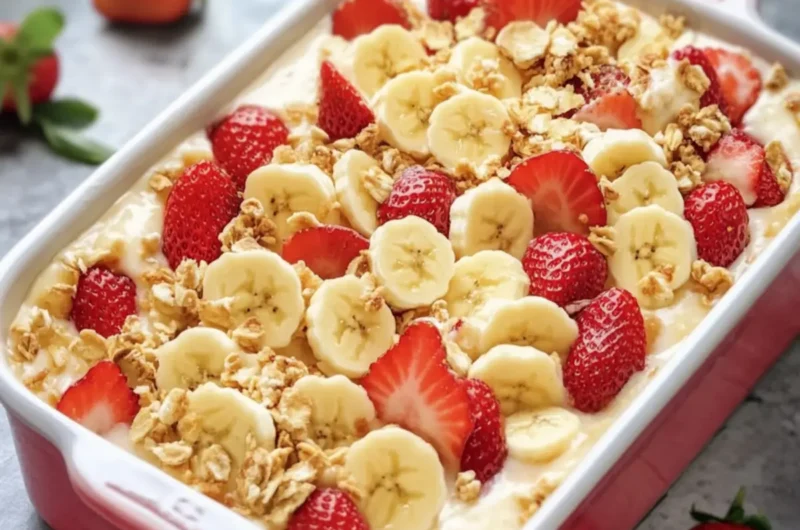
Spread or pipe the remaining 8 oz of whipped topping into beautiful swirls. Decorate with halved strawberries, banana slices, and whole vanilla wafers. Finish with a sprinkle of crushed vanilla wafers for that extra crunch.
-
Cover carefully and refrigerate for at least 4 hours, ideally overnight. This allows the wafers to soften and the pudding layers to set perfectly for that unforgettable texture.
-
Serve chilled and scoop generous portions to highlight the creamy pudding, fresh fruit, and softened vanilla wafer layers in each dish.
Optional: Garnish with a drizzle of chocolate sauce for an extra treat!
Exact quantities are listed in the recipe card below.
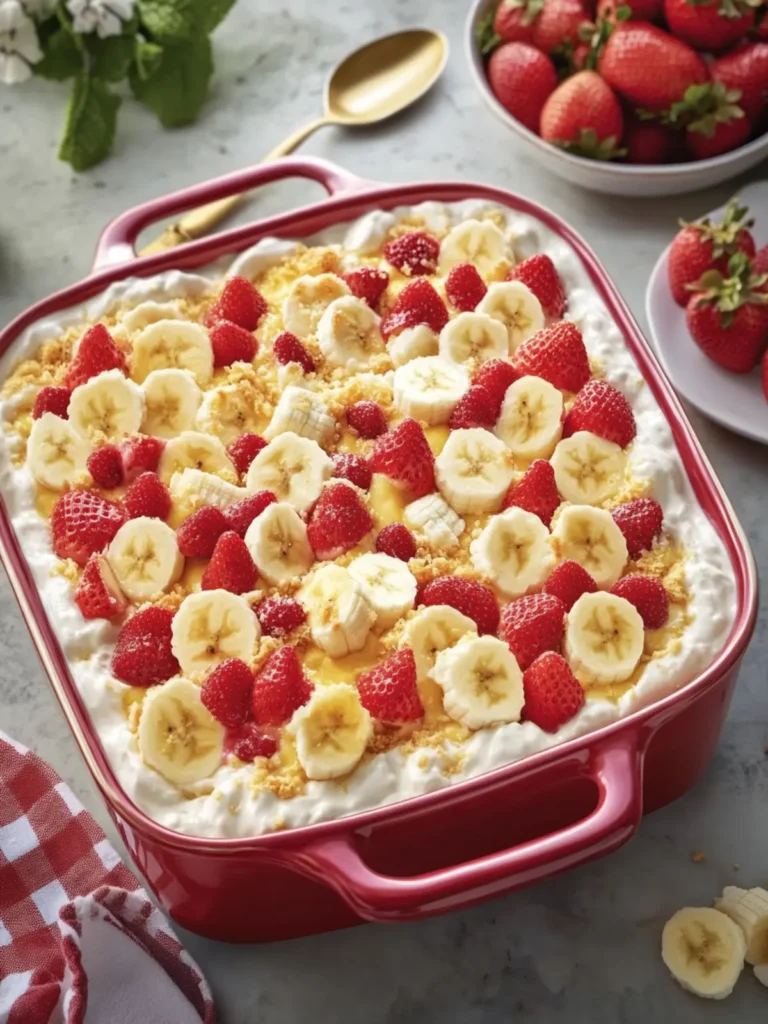
How to Store and Freeze Dream Casserole Strawberry Banana Pudding
Fridge: Keep your casserole tightly covered in the refrigerator for up to 3 days to ensure freshness. This allows the flavors to meld beautifully.
Freezer: While it’s best enjoyed fresh, you can freeze leftovers for up to 1 month in an airtight container. Thaw in the fridge before serving, but expect a change in texture.
Reheating: After thawing, avoid reheating as it may alter the creamy texture and flavor. Enjoy it cold for a refreshing treat!
Assembly Tips: If you want to make it ahead for a gathering, prepare the pudding mixture and layers separately, then assemble just before serving to maintain that delightful crunch of the vanilla wafers.
What to Serve with Dream Casserole Strawberry Banana Pudding?
Imagine a beautifully arranged table, filled with dishes that complement each other perfectly and create a delightful dining experience.
-
Fresh Fruit Salad: A medley of seasonal fruits adds a refreshing, vibrant touch to your meal, enhancing the fruity notes of the pudding.
-
Toasted Coconut Biscotti: Crunchy and slightly sweet, these cookies provide an irresistible contrast to the creamy consistency of the pudding.
-
Coffee or Iced Tea: A warm cup of coffee or a chilled glass of lemon iced tea balances the sweetness, making each bite even more enjoyable.
-
Vanilla Ice Cream: Scooping a little vanilla ice cream alongside the pudding casserole adds a luxurious creaminess that takes the dish to the next level.
-
Chocolate-Dipped Strawberries: A fun, indulgent treat that harmonizes beautifully with the banana and strawberry layers, adding a romantic flair to your dessert spread.
-
Cheesecake Bites: Creamy bites that offer a rich texture perfectly offset the lighter elements in the pudding, inviting guests to savor every moment.
-
Lemon Bars: Their bright citrus flavor brings a lovely zing that perks up the entire meal, providing a perfect counterpoint to the richness of the banana pudding.
-
Sparkling Water with Mint: For a clean and refreshing palate cleanser, serve sparkling water infused with mint—keeping the atmosphere fresh and invigorating.
Each pair lends a different texture and flavor, ensuring a satisfying experience that will linger on your guests’ minds long after the last bite.
Make Ahead Options
These Dream Casserole Strawberry Banana Pudding layers are perfect for meal prep! You can prepare the pudding mixture (step 1-3) and layer it over the vanilla wafers (step 4-6) up to 24 hours in advance. This ensures that the flavors meld beautifully while keeping everything fresh. Simply cover the casserole tightly with plastic wrap and refrigerate. When you’re ready to serve, all that’s left is to add the final touches (steps 7-10) like the whipped topping and decorative fruit. This make-ahead strategy allows you to enjoy a delightful dessert with minimal effort on the day of your gathering, ensuring every bite is just as delicious and enticing!
Dream Casserole Strawberry Banana Pudding Variations
Feel free to make this lovely dish your own with these delightful twists and substitutions that will make your taste buds sing!
-
Dairy-Free: Swap the cream cheese and whipped topping for coconut milk and dairy-free whipped cream for a tropical vibe.
-
Nutty Addition: Add toasted chopped nuts between the layers; walnuts or pecans provide a lovely crunch and depth of flavor.
-
Berry Bliss: Substitute blueberries or raspberries for half the strawberries, giving a tart twist that balances the sweetness beautifully.
-
Chocolate Lovers: Drizzle a layer of chocolate fudge sauce between the layers for an indulgent chocolaty surprise that chocolate lovers will adore.
-
Gluten-Free: Use gluten-free vanilla cookies instead of traditional wafers for a deliciously inclusive dessert that everyone can enjoy.
-
Banana Boost: For banana enthusiasts, mash an additional ripe banana into the pudding mixture for an extra fruity flavor throughout.
-
Spicy Kick: Add a pinch of cinnamon or nutmeg to the pudding mixture for a warm, aromatic subtle spice that elevates the flavors beautifully.
-
Layer with Love: For a more textured experience, throw in layers of crushed graham crackers to create delightful crunch points amidst the creamy pudding layers.
Dive into your creative side and see how these variations can spark joy and deliciousness in your Dream Casserole Strawberry Banana Pudding!
Expert Tips for Dream Casserole Strawberry Banana Pudding
-
Use Ripe Fruit: Ensure your bananas and strawberries are perfectly ripe for maximum sweetness and flavor in your Dream Casserole Strawberry Banana Pudding.
-
Avoid Soggy Layers: To prevent the vanilla wafers from becoming too soggy, make sure to chill the casserole for at least 4 hours—overnight is even better!
-
Mix Gently: When folding the whipped topping into the pudding mixture, do so gently to maintain that light, airy texture that makes this dish so delightful.
-
Decorate Beautifully: Don’t skip the garnishes! Adding decorative banana slices and strawberries on top elevates the appearance of your casserole, making it even more inviting.
-
Storage Tips: If you have leftovers, keep them tightly covered in the refrigerator to maintain freshness. Enjoy within 3 days for the best taste!
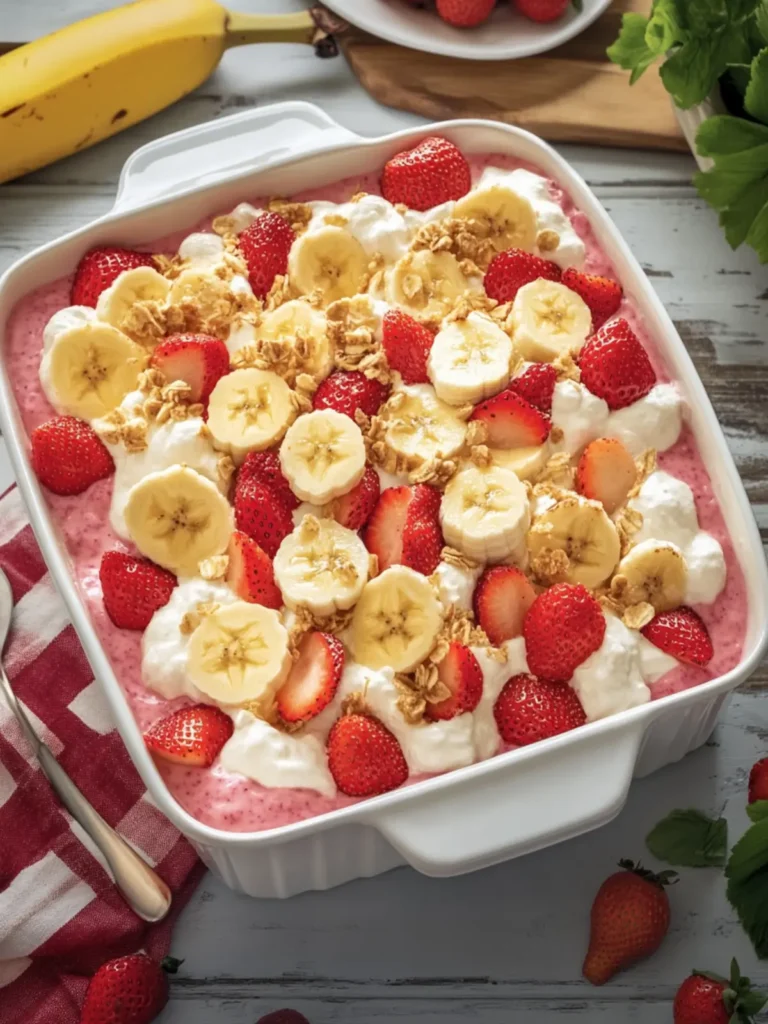
Dream Casserole Strawberry Banana Pudding Recipe FAQs
How do I choose ripe bananas and strawberries for this recipe?
Absolutely! For the best results, look for bananas that are slightly speckled with brown—this indicates they’re ripe and sweet. As for strawberries, choose berries that are bright red with a shiny exterior and firm to the touch. Avoid any with dark spots or mushiness, as they may be past their prime.
What’s the best way to store leftover Dream Casserole Strawberry Banana Pudding?
To keep your pudding fresh, cover it tightly with plastic wrap or store it in an airtight container. It can stay in the refrigerator for up to 3 days. This keeps the flavors intact and delicious for your next sweet craving!
Can I freeze Dream Casserole Strawberry Banana Pudding?
Yes, you can! To freeze, place the casserole in an airtight container and it will be good for up to 1 month. When you’re ready to enjoy it, thaw it in the refrigerator overnight. Just keep in mind that the texture might change, so it’s best enjoyed cold without reheating.
What should I do if my pudding mixture doesn’t thicken properly?
If your pudding doesn’t thicken after whisking, make sure you’ve followed the instructions accurately and used cold milk. If it still seems runny, try refrigerating it for an additional 10-15 minutes. The chilling process helps it set better. Once thickened, proceed with folding in the cream cheese mixture.
Is Dream Casserole Strawberry Banana Pudding suitable for people with dietary restrictions?
Absolutely! If you have guests with lactose intolerance, consider using lactose-free cream cheese and milk. You can also substitute the whipped topping with a dairy-free alternative, ensuring everyone can enjoy this delightful dessert. Always double-check labels for potential allergens!
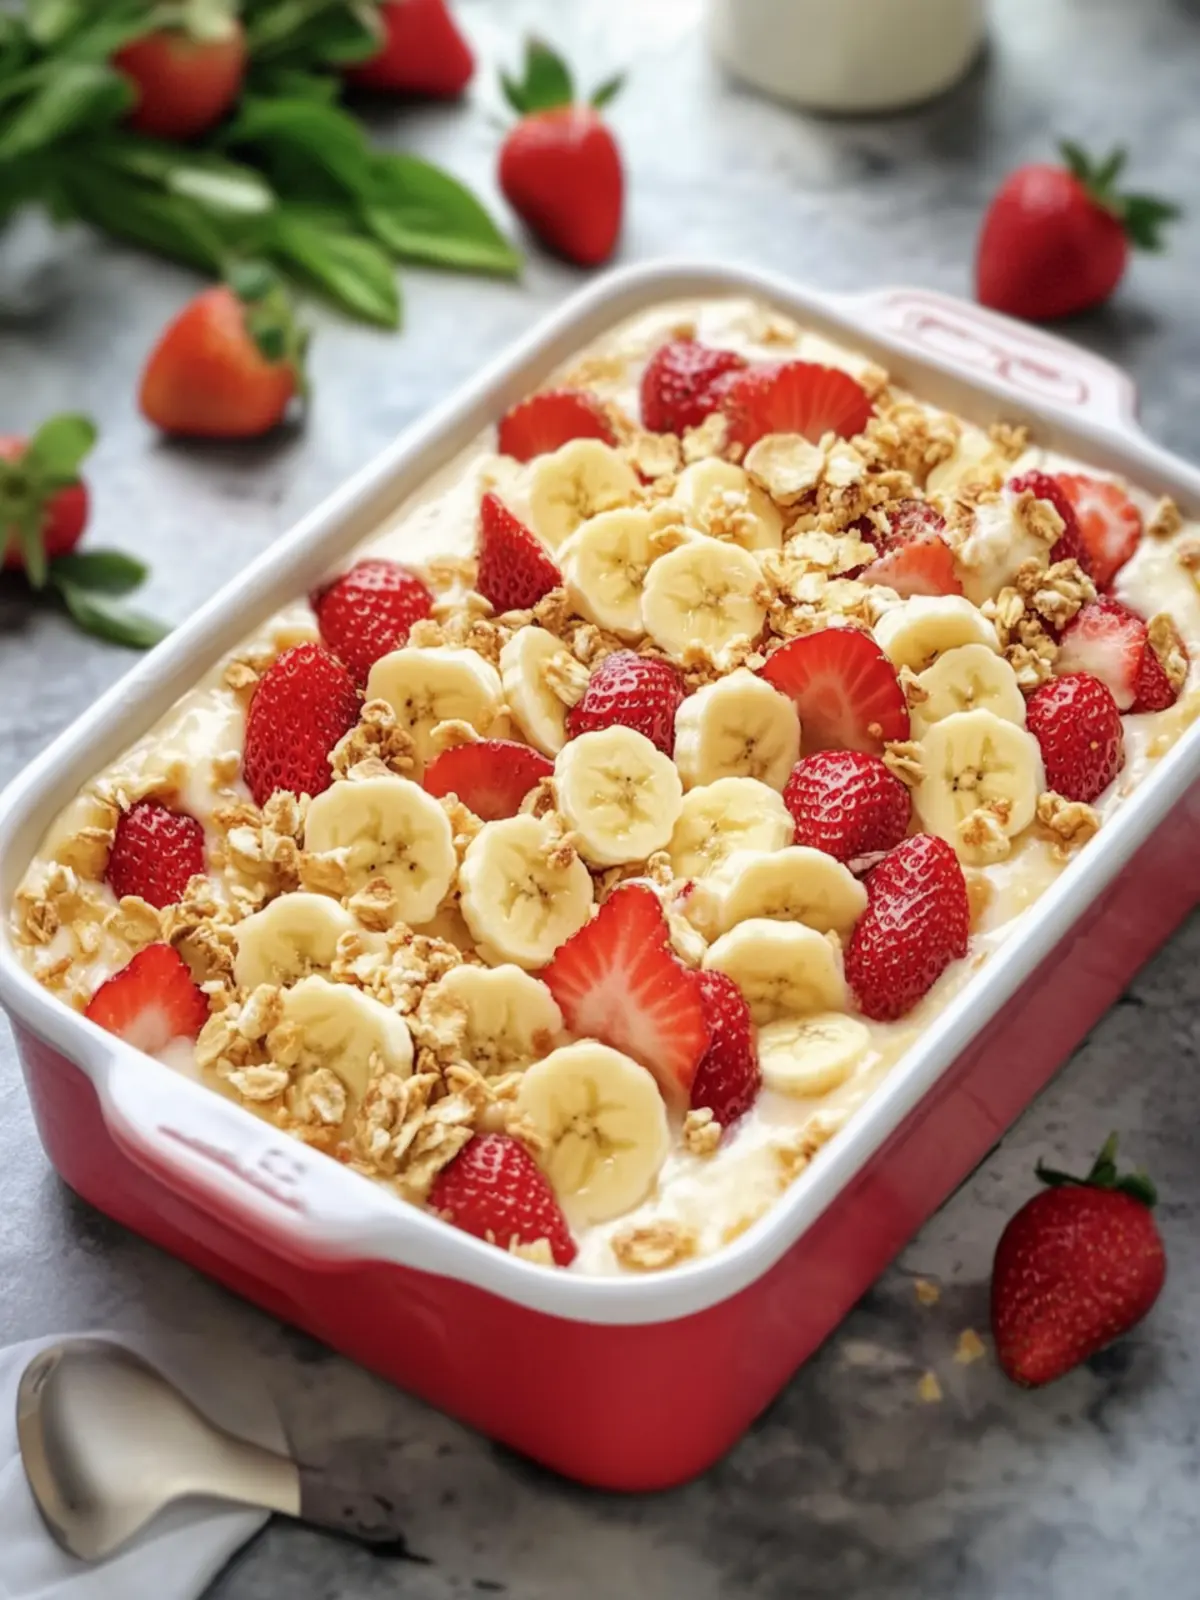
Dream Casserole Strawberry Banana Pudding to Savor Together
Ingredients
Equipment
Method
- Whisk together the instant vanilla pudding mix and cold whole milk in a large bowl for 2 minutes until well combined. Refrigerate for 5 minutes until thickened and luscious.
- Beat the cream cheese until smooth in another bowl. Add the sweetened condensed milk and vanilla extract, then mix until creamy and delightful.
- Fold in the prepared pudding into the cream cheese mixture gently, ensuring a smooth blend. Gently fold in 8 oz of the whipped topping until light and fluffy, creating a dreamy texture.
- Layer vanilla wafers in a 9 × 13-inch deep casserole dish, forming a base that holds the flavors beautifully.
- Arrange half of the sliced bananas and half of the sliced strawberries over the layer of cookies.
- Spread half of the creamy pudding mixture evenly over the fresh fruit.
- Add another layer of vanilla wafers, followed by the remaining sliced bananas and strawberries, finishing with the last of the pudding mixture on top.
- Spread or pipe the remaining 8 oz of whipped topping into beautiful swirls. Decorate with halved strawberries, banana slices, and whole vanilla wafers. Finish with a sprinkle of crushed vanilla wafers.
- Cover carefully and refrigerate for at least 4 hours, ideally overnight.
- Serve chilled and scoop generous portions to highlight the creamy pudding, fresh fruit, and softened vanilla wafer layers.