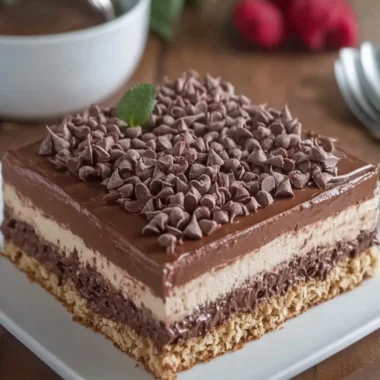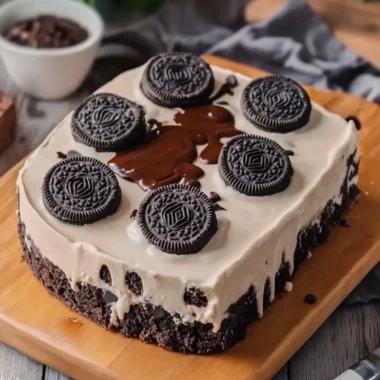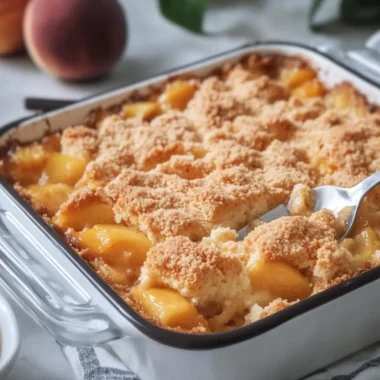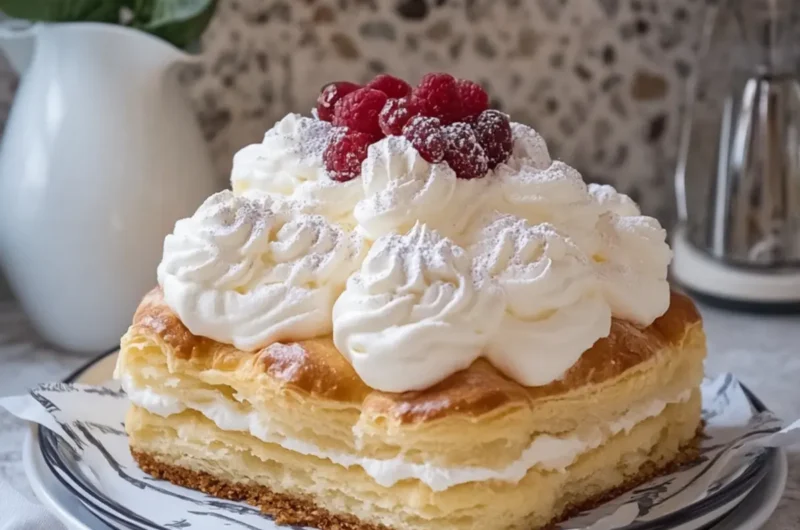
As I stood in my kitchen, the sound of soft puffs emerging from the oven filled the air, a promise of something delicious on the horizon. The journey to create this Cream Puff Cake with Vanilla Cream began with a moment of inspiration—a craving for something light, airy, and utterly decadent. There’s something undeniably appealing about a dessert that feels both indulgent yet uncomplicated, like a hug in cake form.
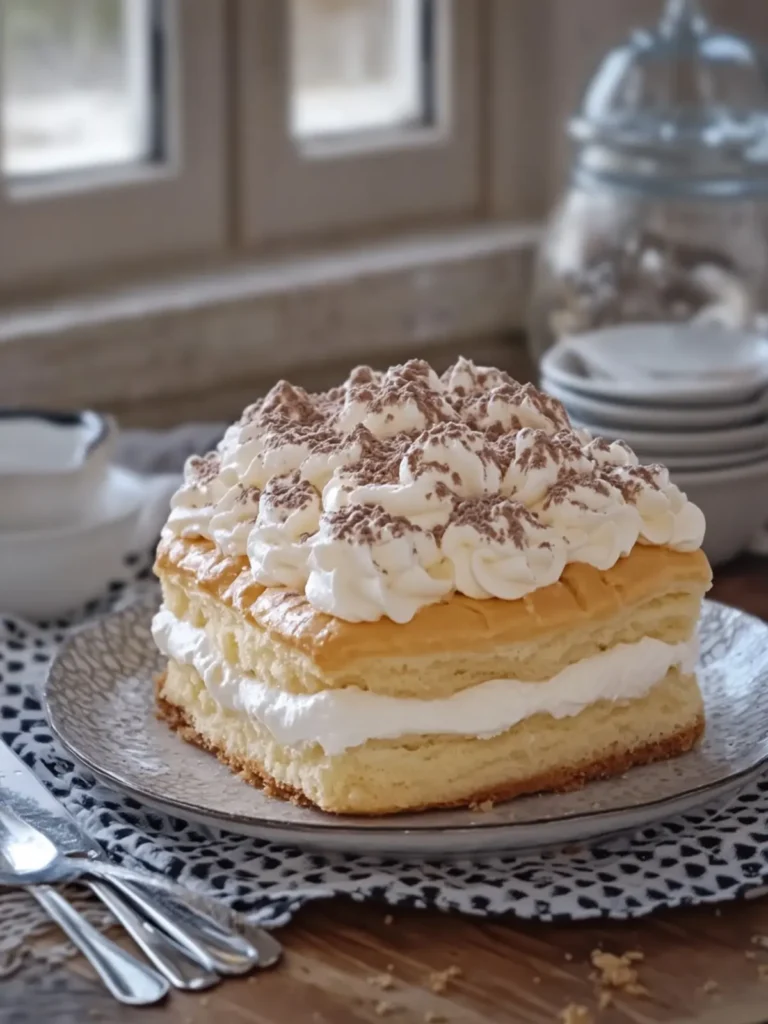
Picture this: a luscious layer of creamy vanilla filling resting atop a delicate puff pastry, all crowned with a blanket of whipped cream and a drizzle of rich chocolate syrup. It’s a treat that transforms any ordinary gathering into a celebration! Whether it’s a summer barbecue or a holiday dinner, this dessert never fails to impress.
If you’re tired of the same old fast-food desserts and ready to elevate your sweet game at home, buckle up! This recipe is not just crowd-pleasing; it’s a delightful way to bring magic back into your baking experience—all with minimal fuss and maximum flavor. Let’s whip up this Cream Puff Cake together!
Why is Cream Puff Cake with Vanilla Cream irresistible?
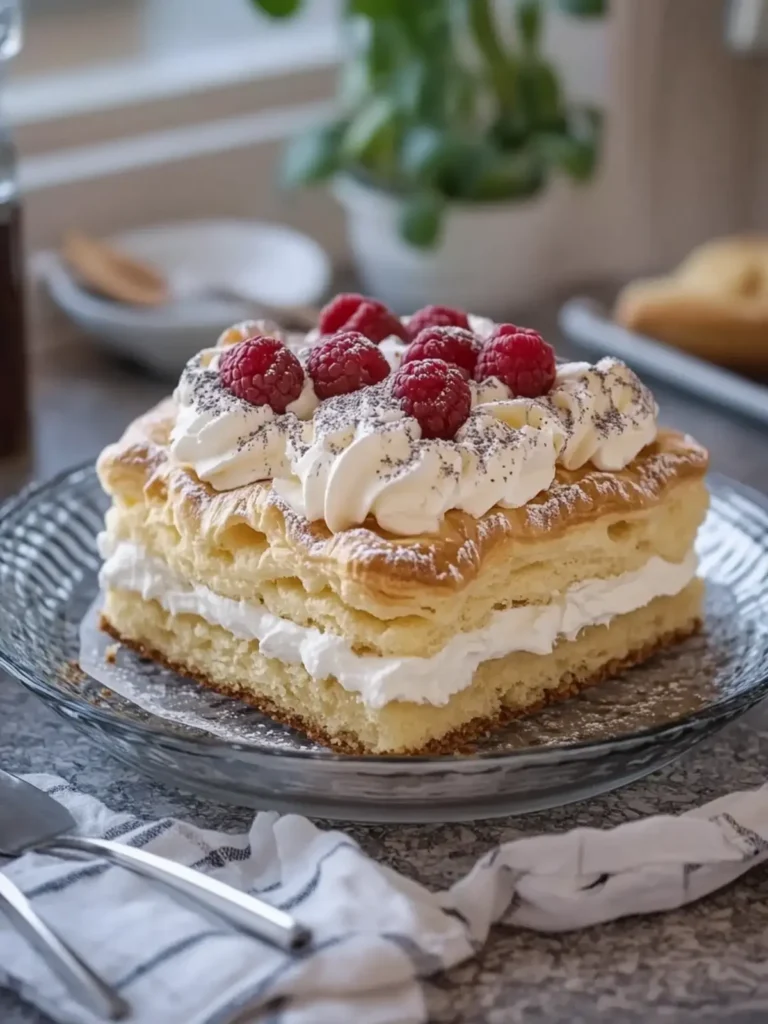
Heavenly layers of flavor: Each slice offers a tantalizing blend of airy pastry and rich vanilla cream that melts in your mouth.
Simplicity meets elegance: Despite its stunning appearance, this dessert is surprisingly easy to make—perfect for both novice and seasoned bakers.
Versatile for any occasion: Whether it’s a festive gathering or a casual dinner, this cake adapts seamlessly to any event.
Crowd-pleaser guaranteed: The combination of creamy textures and a chocolate drizzle ensures that everyone will be asking for seconds.
Make-ahead friendly: With the chilling time built into the instructions, it’s a fantastic option to prepare in advance for stress-free hosting.
Cream Puff Cake with Vanilla Cream Ingredients
For the Cream Puff Crust
• 1 cup water – essential for creating the steam that makes the pastry rise.
• ½ cup unsalted butter – adds richness; you can substitute with margarine if needed.
• 1 cup all-purpose flour – provides structure; use a gluten-free blend for a gluten-free version.
• 4 large eggs – these add moisture and help the puffs to rise nicely.
• ¼ teaspoon salt – enhances the flavor of the crust; you can adjust to taste.
For the Vanilla Cream Filling
• 2 packages (3.4 oz each) instant vanilla pudding mix – this is the secret to creamy indulgence!
• 3 cups cold whole milk – ensures the pudding thickens perfectly; almond milk can be a lighter alternative.
• 8 oz cream cheese, softened – brings a luscious tanginess; substitute with mascarpone for a different taste.
• ½ cup powdered sugar – sweetens the filling without being overly sugary; adjust to your preference.
• 1 teaspoon vanilla extract – enhances the vanilla flavor; use pure extract for best results.
For the Whipped Topping
• 2 cups heavy whipping cream, cold – crucial for making a fluffy topping; make sure it’s chilled for better whipping.
• ¼ cup powdered sugar – sweetens the whipped cream; you can also add a bit of cocoa powder for a chocolate twist.
• 1 teaspoon vanilla extract – elevates the flavor of the whipped cream; you may infuse different extracts for a unique touch.
• ¼ cup chocolate syrup – drizzled on top for a delicious finish; feel free to use dark chocolate syrup for a richer taste.
Embrace the joy of baking with this delightful Cream Puff Cake with Vanilla Cream—each ingredient plays a part in creating a truly unforgettable dessert!
How to Make Cream Puff Cake
-
Preheat the oven to 400°F (200°C) and lightly grease a 9×13-inch glass baking dish to prepare for the cream puff crust.
-
Boil water, butter, and salt in a medium saucepan. Once boiling, reduce heat to low, add flour all at once, and stir vigorously until the mixture forms a smooth ball of dough.
-
Cool the dough for 5 minutes, then beat in the eggs one at a time. Continue mixing until the dough becomes smooth and glossy for that perfect puff texture.
-
Spread the dough evenly across the bottom of the prepared baking dish. Bake for 25–30 minutes, or until the crust is puffed and golden brown. Let it cool completely, about 45 minutes, to ensure your filling sets beautifully.
-
Whisk together instant vanilla pudding mix and cold milk in a large bowl for 2 minutes. Refrigerate the mixture for 5 minutes until it thickens to a creamy consistency.
-
Cream the softened cream cheese, powdered sugar, and vanilla extract until smooth in another bowl. Gradually mix in the prepared vanilla pudding until creamy and delightful.
-
Spread the vanilla cream filling evenly over the completely cooled cream puff crust, allowing the flavors to meld together.
-
Beat cold heavy whipping cream, powdered sugar, and vanilla extract until stiff peaks form, creating a luscious whipped topping.
-
Spread or pipe the whipped cream generously over the vanilla filling. Drizzle chocolate syrup evenly on top for that decadent finishing touch.
-
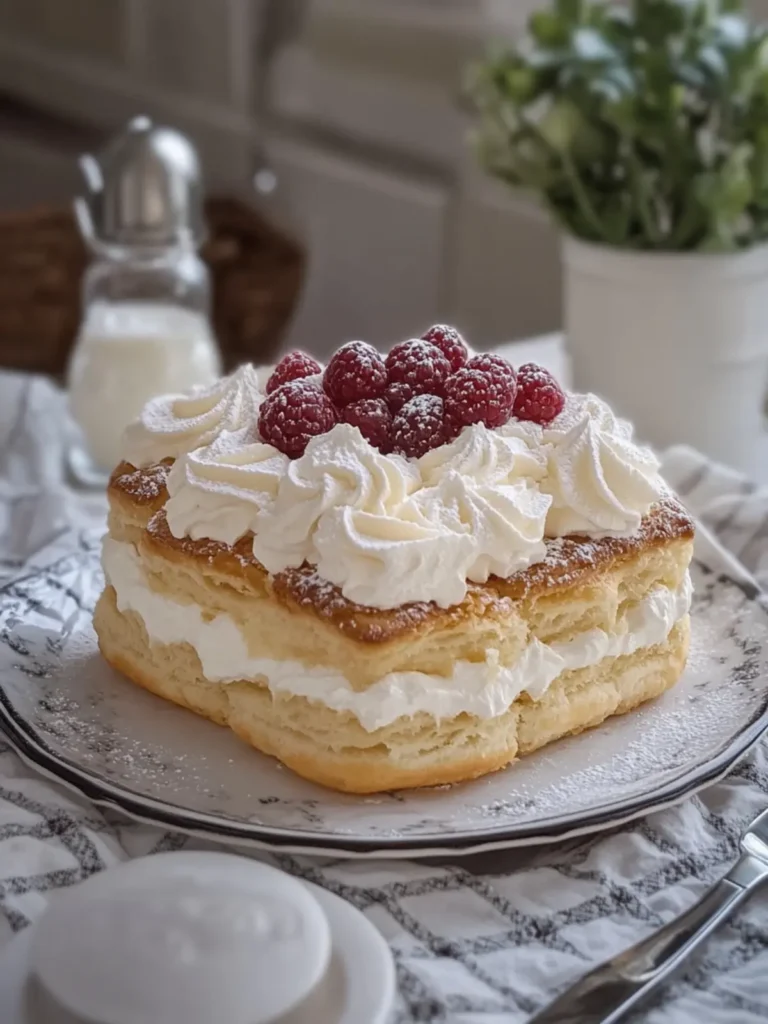
Refrigerate the assembled cake for at least 4 hours, allowing the filling to firm up and the cake to chill thoroughly. When ready, cut into squares and serve cold for a heavenly treat!
Optional: Top with fresh berries for an extra burst of flavor.
Exact quantities are listed in the recipe card below.
Tips for the Best Cream Puff Cake
-
Chill Ingredients: Ensure that your heavy whipping cream and milk are cold. This helps achieve the best texture when whipping and mixing.
-
Egg Timing: Add eggs to the dough only after it has cooled slightly; adding them too early can result in a gooey texture.
-
Don’t Rush Cooling: Allowing the cream puff crust to cool completely before adding the filling is crucial. This prevents melting and keeps layers distinct.
-
Whipped Cream Wisps: Don’t overbeat the cream; aim for stiff peaks. Overwhipped cream can turn grainy, which you want to avoid for that light topping.
-
Refrigeration: Chilling the fully assembled Cream Puff Cake for at least 4 hours ensures the filling sets beautifully and enhances the flavors.
-
Flavor Variations: Feel free to experiment by adding extracts like almond or hazelnut to the cream filling for a personalized twist on this classic dessert!
What to Serve with Cream Puff Cake with Vanilla Cream?
Creating the perfect comforting meal to accompany this heavenly dessert can elevate any occasion into a delightful experience.
-
Fresh Berries: The burst of tartness balances the sweetness of the cake. Think strawberries, raspberries, or blueberries for a vibrant touch.
-
Decadent Chocolate Mousse: A creamy and rich mousse can complement the vanilla notes gracefully. Plus, it offers a satisfying contrast in texture.
-
Vanilla Ice Cream: Serve a scoop alongside your slice for a classic pairing. The creaminess adds another layer of delight, enhancing the overall sweetness.
-
Fruit Salad: A light, refreshing fruit salad offers a bright complement to the dense cake. Use seasonal fruits to keep it colorful and appealing.
-
Coffee or Espresso: The deep, roasted flavors of coffee create a delightful contrast to the sweetness of the cake. Serve it hot for a cozy finish to your meal.
-
Lemon Sorbet: A cool and zesty sorbet can cleanse the palate and cut through the richness of the dessert. It’s especially refreshing after a hearty meal.
-
Herbal Tea: For a soothing ending, a cup of chamomile or mint tea brings warmth and balance after enjoying your Cream Puff Cake.
Each of these pairings brings out the delicate flavors and textures of the Cream Puff Cake with Vanilla Cream, making your dessert experience even more special!
Make Ahead Options
These Cream Puff Cake with Vanilla Cream are perfect for busy home cooks looking to save time! You can prepare the cream puff crust up to 24 hours in advance; simply bake it and let it cool completely before wrapping it tightly in plastic wrap to keep it fresh. Additionally, the vanilla cream filling can be made up to 3 days ahead; store it in the refrigerator in an airtight container to prevent crusting. When you’re ready to finish, just whip up the heavy cream for the topping, spread it over your chilled filling, and drizzle with chocolate syrup. This way, you’ll have a show-stopping dessert with minimal last-minute effort, ready to impress your guests!
How to Store and Freeze Cream Puff Cake
Fridge: Store leftover Cream Puff Cake in an airtight container in the fridge for up to 3 days. This keeps the layers fresh and the whipped cream fluffy.
Freezer: If you need to freeze, wrap the unassembled cream puff crust tightly in plastic wrap followed by foil. It can be frozen for up to 2 months.
Reheating: While it’s best enjoyed cold, if you’ve frozen the crust, allow it to thaw overnight in the refrigerator before assembling and adding the filling.
Assembling: For best results, always assemble the cake fresh and only freeze the crust to maintain the delightful textures of the cream and whipped topping.
Cream Puff Cake with Vanilla Cream Variations
Feel free to get creative and make this delightful dessert your own with these fun twists!
- Gluten-Free: Use a gluten-free flour blend instead of all-purpose flour for a deliciously light crust. It’s an easy switch that keeps the texture intact.
- Dairy-Free: Substitute the whole milk with almond or coconut milk and the cream cheese with a dairy-free cream cheese alternative for a vegan-friendly version.
- Chocolate Lovers: Mix in cocoa powder with the cream filling for a chocolaty flavor that pairs beautifully with the whipped topping and syrup. You’ll create a whole new dessert experience!
- Fruit-Infused: Add fresh berries or puréed fruit to the vanilla cream filling for a burst of freshness that brightens up each bite. The sweetness will be a delightful contrast to the rich cream.
- Zesty Citrus: Incorporate lemon or orange zest into the cream filling for a bright, zesty kick that adds a refreshing touch to your dessert. A little citrus can elevate flavors so beautifully.
- Nutty Crunch: Fold in finely chopped nuts, like pecans or almonds, into the cream filling for a satisfying crunch that enhances texture and flavor. Imagine that delightful surprise with each spoonful!
- Spiced Up: Sprinkle some cinnamon or nutmeg into the whipped cream for a warm, cozy twist that pairs perfectly with the vanilla base. A little spice can transform the familiar into something extraordinary.
- Layered Delight: Create a layered version by adding a layer of chocolate mousse beneath the whipped topping—it’s like a surprise twist in every square! This will impress even the most discerning dessert lovers.
Cream Puff Cake with Vanilla Cream Recipe FAQs
What type of flour should I use for the Cream Puff crust?
Absolutely, all-purpose flour is ideal for this Cream Puff Cake with Vanilla Cream as it provides the necessary structure. If you’re looking for a gluten-free option, you can substitute it with a gluten-free flour blend—but make sure it contains xanthan gum to help with the texture!
How should I store leftovers of the Cream Puff Cake?
Leftover Cream Puff Cake should be stored in an airtight container in the fridge for up to 3 days. This helps maintain the fluffiness of the whipped cream while keeping the vanilla filling fresh. Just be sure to cover the surface with plastic wrap to minimize exposure to air.
Can I freeze the Cream Puff Cake?
Yes, you can! However, to keep it in top shape, I recommend freezing the unassembled cream puff crust. Wrap it tightly in plastic wrap followed by aluminum foil, and it will last for up to 2 months in the freezer. When you’re ready to serve, just thaw it overnight in the refrigerator, prepare your filling, and assemble!
What do I do if my Cream Puff crust doesn’t rise properly?
If your cream puff crust doesn’t rise, it’s likely due to either not enough moisture in the dough or opening the oven door too early while baking. Make sure to stir the dough until it forms a smooth ball and maintain a consistent oven temperature. Also, resist the temptation to peek until at least 25 minutes into baking; a sudden temperature drop can stunt the rising process.
Are there any dietary considerations for the Cream Puff Cake?
If you have allergies, you’ll want to be cautious, as this recipe contains gluten, dairy, and eggs. For a dairy-free version, consider using plant-based cream cheese and almond milk in the pudding. There are also egg substitutes available like flaxseed meal or applesauce that can help create a similar texture if you’re avoiding eggs.
Can I make the filling in advance?
Certainly! You can prepare the vanilla cream filling the night before, which will allow the flavors to meld beautifully. Just remember to store it in the fridge, covered tightly with plastic wrap. This can save you time on the day you plan to serve your Cream Puff Cake!
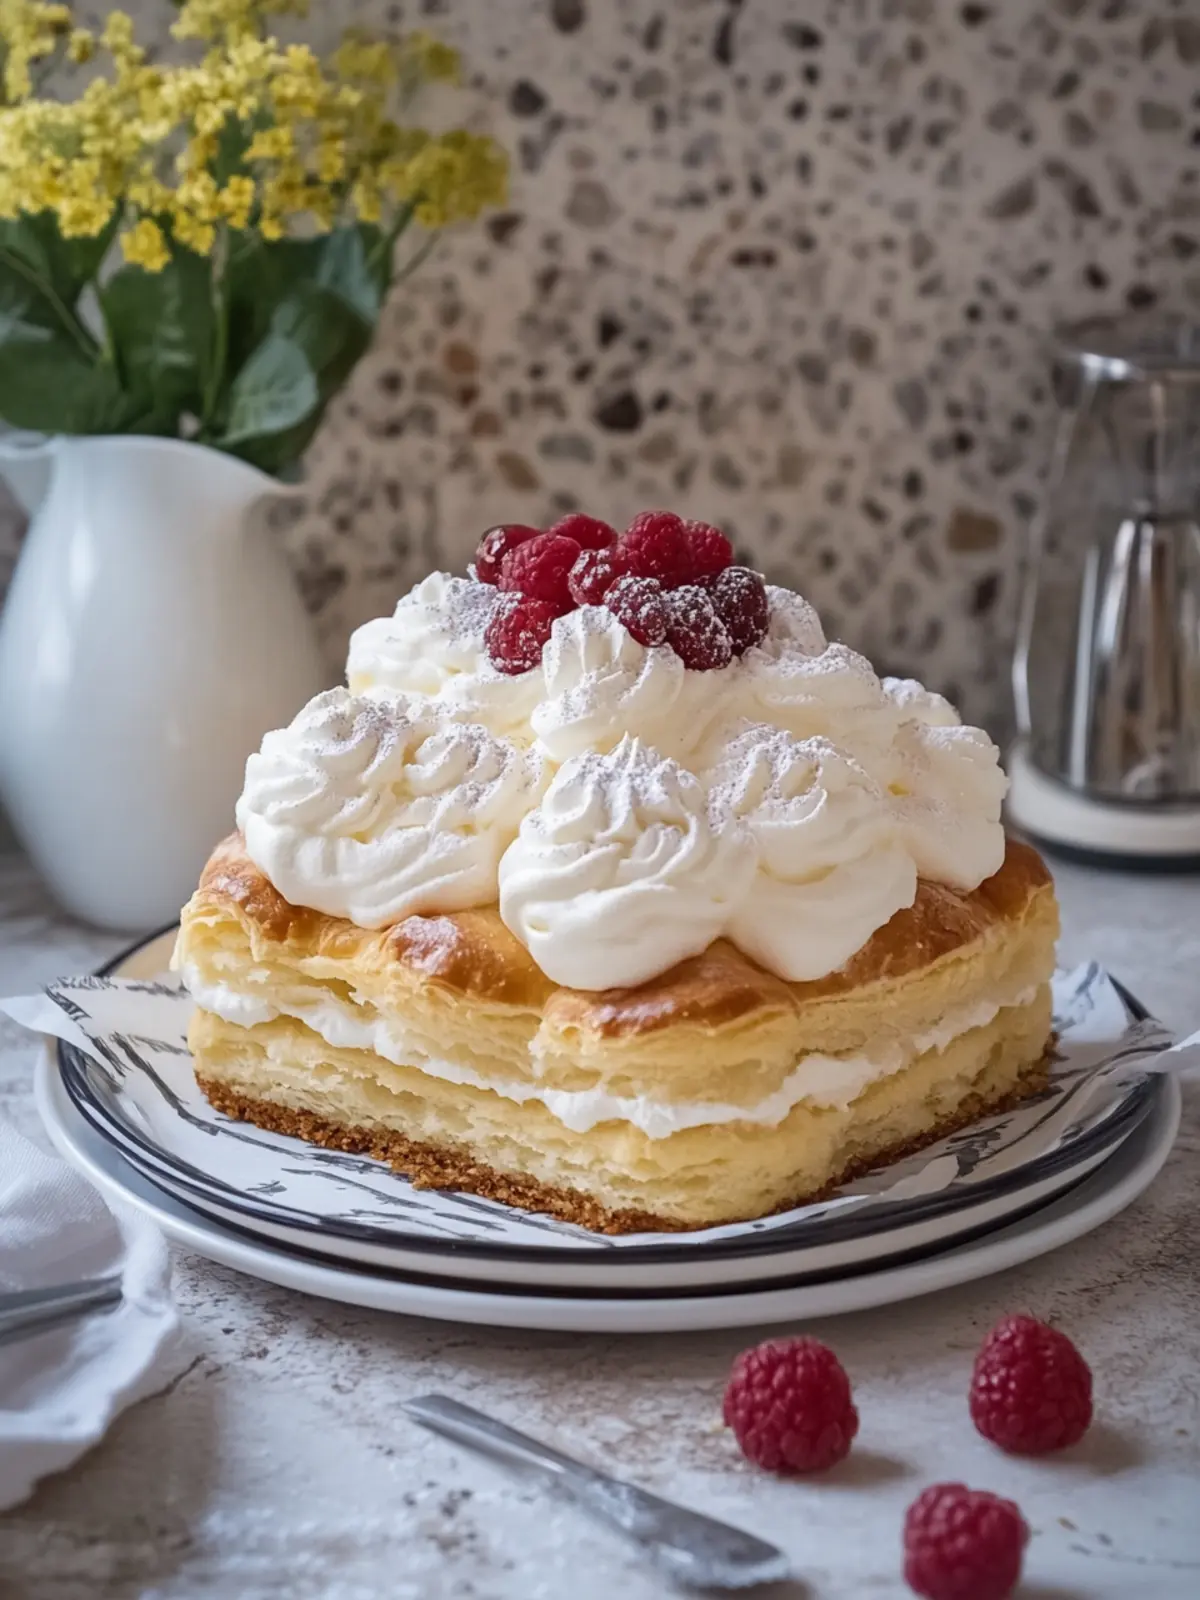
Heavenly Cream Puff Cake with Vanilla Cream Delight
Ingredients
Equipment
Method
- Preheat the oven to 400°F (200°C) and lightly grease a 9×13-inch glass baking dish.
- Boil water, butter, and salt in a medium saucepan. Once boiling, reduce heat to low, add flour all at once, and stir vigorously until a smooth ball of dough forms.
- Cool the dough for 5 minutes, then beat in the eggs one at a time until smooth and glossy.
- Spread the dough evenly in the prepared baking dish. Bake for 25-30 minutes until puffed and golden brown. Cool completely for about 45 minutes.
- Whisk together pudding mix and cold milk in a large bowl for 2 minutes, then refrigerate for 5 minutes until thickened.
- Cream softened cream cheese, powdered sugar, and vanilla until smooth. Gradually mix in vanilla pudding until creamy.
- Spread the filling evenly over the cooled crust.
- Beat heavy cream, powdered sugar, and vanilla until stiff peaks form, creating the whipped topping.
- Spread or pipe the whipped cream over the vanilla filling and drizzle chocolate syrup on top.
- Refrigerate the assembled cake for at least 4 hours before serving.