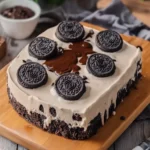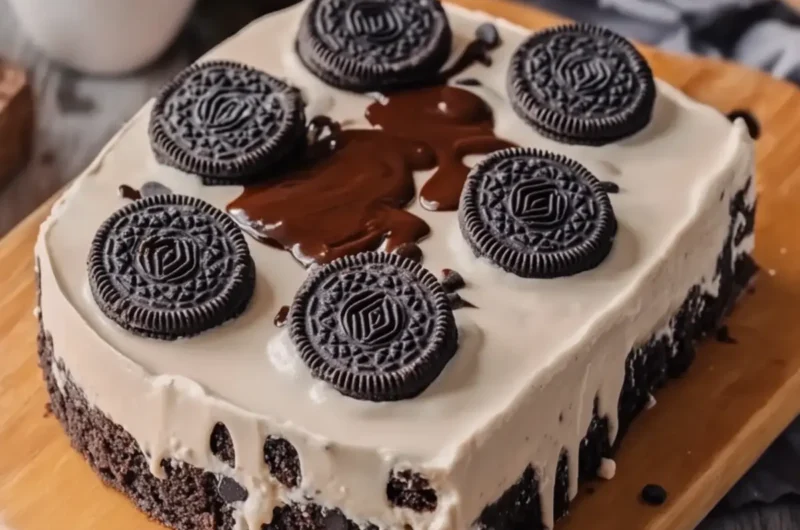
There’s a certain thrill that comes with reinventing a classic dessert, and that’s exactly what I’ve done with this Protein Oreo Cheesecake! Picture this: the smooth and creamy texture of cottage cheese, artfully blended with the richness of Greek yogurt, creates a delectably light cheesecake that doesn’t skimp on flavor. I first experimented with this recipe while trying to find a satisfying alternative to usual sugary cakes that left me feeling sluggish.
When friends came over for game night, I whipped up this cheesecake in hopes of winning them over with its unique twist on the beloved Oreo. The look of surprise when they took their first bite was priceless! The layers of crushed Oreos, combined with the velvety filling and topped with a rich chocolate glaze, make this dessert a showstopper. It’s not only delicious but also boasts a protein boost, giving me justification to indulge guilt-free. Whether you’re a seasoned chef or a busy home cook looking for a crowd-pleasing treat, this easy and delightful cheesecake is sure to elevate your dessert game! Let’s dive into this delightful recipe together.
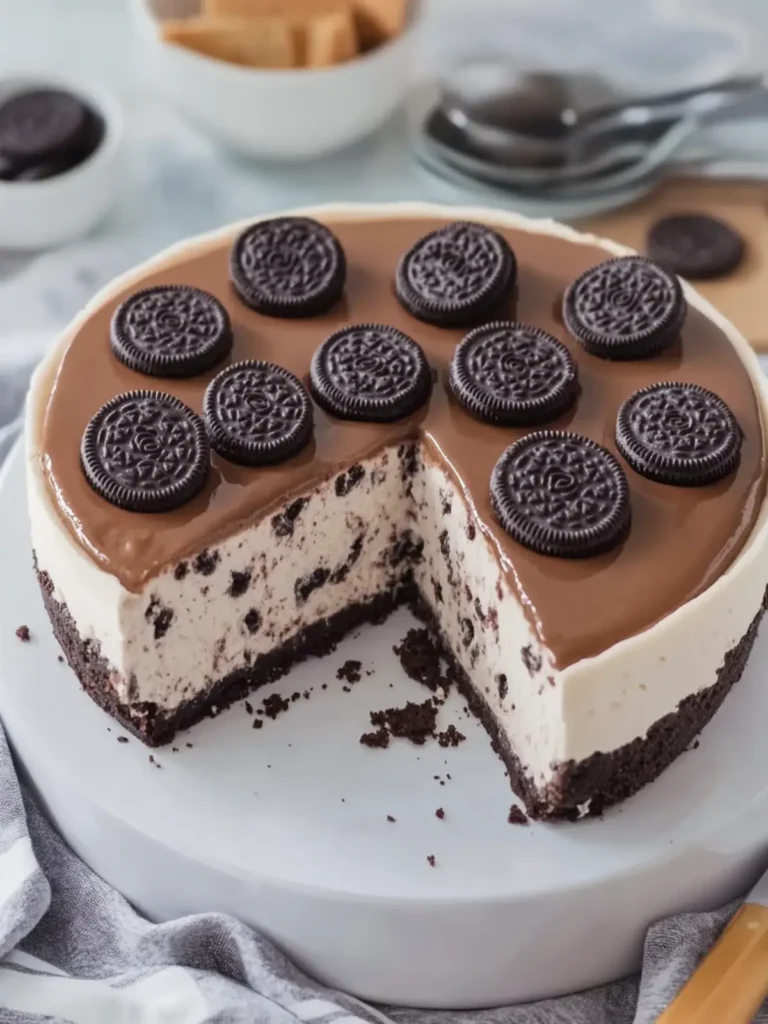
Why is this Protein Oreo Cheesecake a Must-Try?
Easy and Quick: This Protein Oreo Cheesecake can be whipped up in no time, perfect for those busy days when you want a show-stopping dessert without the hassle.
Deliciously Unique: The combination of cottage cheese and Greek yogurt creates a surprisingly creamy texture that elevates the classic Oreo flavor into something extraordinary.
Guilt-Free Indulgence: Enjoy the rich taste without the sugar rush—this cheesecake provides a protein boost, making it a satisfying treat.
Crowd-Pleasing Treat: Your friends and family will be amazed at how decadent this cheesecake tastes, making it a staple for any gathering.
Versatile: You can easily customize the toppings or incorporate seasonal flavors, so it can be adapted for any occasion!
Ready to dive into this creamy delight? You won’t regret giving this delightful recipe a try!
Protein Oreo Cheesecake Ingredients
For the Crust
• 20 Oreo cookies – crush them finely for the perfect base.
• 3 tablespoons melted butter – helps the crust hold together beautifully.
For the Filling
• 2 cups cottage cheese – gives the cheesecake its protein boost and creamy texture.
• 1 cup plain Greek yogurt – adds richness and tang, enhancing the overall flavor.
• 1/4 cup milk – keeps the filling smooth and spreadable.
• 1/4 cup honey or maple syrup – natural sweetness to complement the Oreos.
• 1 teaspoon vanilla extract – for a touch of warmth and depth.
• 2 tablespoons unflavored gelatin – helps the cheesecake set with a perfect texture.
• 1/4 cup cold water – used for blooming the gelatin before mixing.
• 8 Oreo cookies – roughly crushed to add texture and enhance the flavor.
For the Chocolate Topping
• 1 cup semi-sweet chocolate chips – a rich layer that elevates the cheesecake’s decadence.
• 1/2 cup heavy cream – creates a luscious chocolate glaze.
For Decoration
• 6–8 whole Oreo cookies – to add that finishing touch and an extra crunch on top.
How to Make Protein Oreo Cheesecake
-
Prepare the crust. Mix the crushed Oreo cookies with melted butter until well combined. Press the mixture firmly into the bottom of a 9 × 9-inch baking dish and refrigerate for 15 minutes to set.
-
Blend the filling. In a blender, blend the cottage cheese until completely smooth. Add Greek yogurt, milk, honey, and vanilla extract. Blend until the mixture is creamy and uniform.
-
Prepare the gelatin. Sprinkle gelatin over the cold water and let it bloom for 5 minutes. Gently warm the mixture until the gelatin dissolves completely—avoid boiling. Then, mix in a few spoonfuls of the cheesecake mixture to temper, before blending into the remaining filling.
-
Incorporate the Oreos. Gently fold the roughly crushed Oreo cookies into the creamy filling until evenly distributed. Spread the filling over the chilled crust, smoothing it out with a spatula.
-
Chill the cheesecake. Refrigerate the cheesecake for 3–4 hours, or until it becomes firm to the touch. This allows the flavors to meld beautifully!
-
Make the chocolate topping. Heat the heavy cream in a saucepan until it’s steaming. Remove from heat, pour it over the chocolate chips, and let it sit for 2 minutes. Stir until the mixture is smooth, then let it cool slightly.
-
Finish the cheesecake. Pour the chocolate topping over the chilled cheesecake, spreading it evenly. Decorate with whole Oreo cookies placed on top for that classic touch.
-
Set and serve. Chill the cheesecake for an additional 30–60 minutes until the chocolate topping is set. Slice into squares and serve chilled—everyone will love it!
Optional: Drizzle with melted chocolate for an extra special presentation.
Exact quantities are listed in the recipe card below.
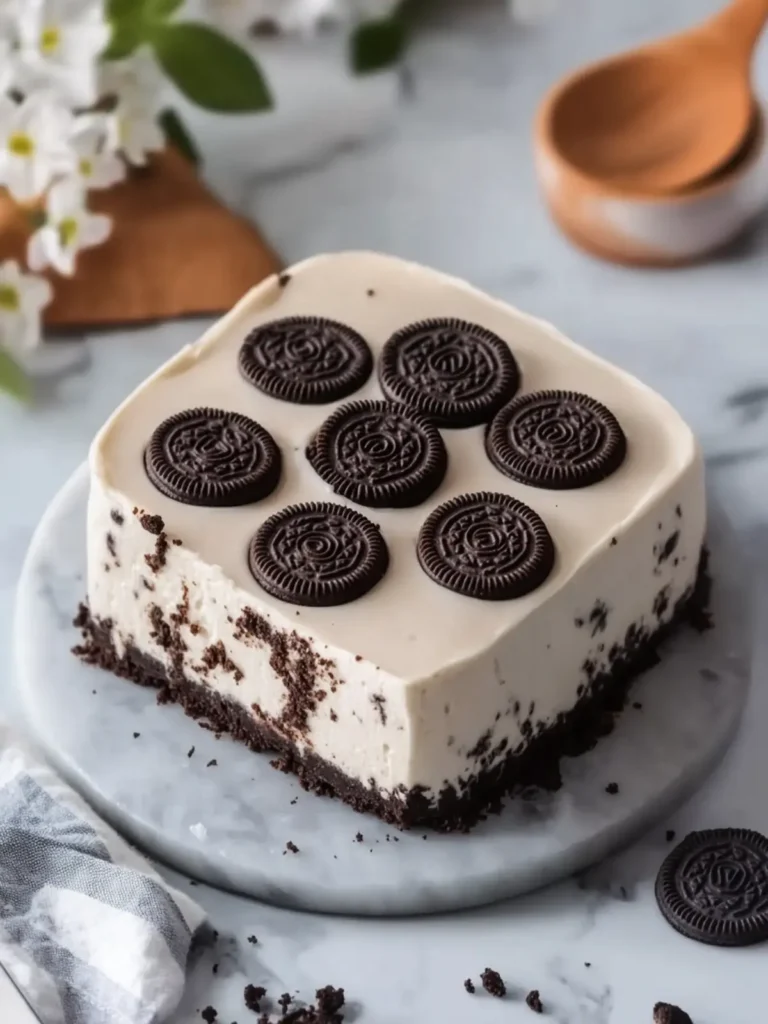
Expert Tips for Protein Oreo Cheesecake
• Use Fresh Ingredients: Ensure your cottage cheese and Greek yogurt are fresh for the creamiest filling—stale products can alter texture.
• Bloom Gelatin Properly: Allow the gelatin to fully bloom in cold water before heating, which prevents clumping and ensures your cheesecake sets perfectly.
• Chill Thoroughly: Allow sufficient chilling time—3–4 hours is crucial for the cheesecake to firm up, so don’t rush this step!
• Customize Toppings: Feel free to mix in different flavors like peanut butter or fruit purees. Just remember to balance sweetness to complement the Oreos.
• Cut with Care: For neat slices, use a sharp knife dipped in hot water. Wipe the knife after each cut to maintain clean edges and an appealing presentation.
Make sure to follow these tips for the best Protein Oreo Cheesecake experience!
Protein Oreo Cheesecake Variations
Customization is the key to making this cheesecake your own, and I’m here to inspire your creativity!
-
Gluten-Free: Swap out regular Oreos for gluten-free alternatives to ensure everyone can enjoy this dessert without missing out.
-
Dairy-Free: Use coconut yogurt and dairy-free cream cheese for the filling while keeping your crushed Oreos—indulgence without the dairy overload.
-
Nutty Twist: Incorporate crushed almonds or walnuts into the crust for an unexpected crunch that adds a delightful nutty flavor.
-
Fruit Infusion: Add fresh berries like raspberries or strawberries into the filling for a fruity burst; the sweet-tart notes pair beautifully with the creamy texture.
-
Minty Fresh: Mix in peppermint extract into the filling for a refreshing mint Oreo cheesecake that feels like a celebration of flavors.
-
PB Delight: Swirl in some creamy peanut butter before spreading the filling over the crust—peanut butter lovers will go crazy for this addition!
-
Decadent Swirls: Incorporate a layer of chocolate or caramel sauce swirled through the filling before it sets for an added layer of rich flavor.
-
Spiced Up: Sprinkle in a pinch of cinnamon or nutmeg for a warm spice note that really complements the creaminess of the cheesecake.
Enjoy experimenting with these variations and make this Protein Oreo Cheesecake uniquely yours!
What to Serve with Protein Oreo Cheesecake?
When you’re ready to impress and satisfy those sweet cravings, let’s transform your meal with delightful accompaniments!
-
Fresh Berries: Juicy strawberries and raspberries provide a tart contrast, balancing the sweetness of the cheesecake.
-
Whipped Cream: A dollop of light and fluffy cream on top adds an airy texture, elevating every bite of this delicious dessert.
-
Chocolate Sauce: Drizzling warm chocolate sauce over the cheesecake enhances its decadence and offers an indulgent twist that chocolate lovers can’t resist.
-
Coffee: A hot cup of freshly brewed coffee or espresso complements the creamy layers, enhancing the dessert’s rich, chocolatey flavors.
-
Mint Tea: A refreshing mint tea works wonders to cleanse the palate after the cheesecake, providing a soothing finish to your meal.
-
Nuts or Granola: Sprinkle chopped nuts or granola for a contrasting crunch to the cheesecake’s smooth texture; it creates a symphony of flavors.
Pairing these delicious options with your Protein Oreo Cheesecake ensures a memorable dining experience that delights every guest!
Make Ahead Options
These delightful Protein Oreo Cheesecake squares are perfect for meal prep, saving you time on busy days! You can easily prepare the crust and filling up to 24 hours in advance. To do this, make the crust and refrigerate after pressing it into the dish, then prepare the filling, pour it over, and cover it well with plastic wrap. This prevents drying out while chilling your cheesecake. When you’re ready to serve, simply complete steps 6-8 for the chocolate topping and let it set for an additional 30-60 minutes. With these tips, you’ll have a delicious, crowd-pleasing dessert ready to impress with minimal last-minute effort!
How to Store and Freeze Protein Oreo Cheesecake
Fridge: Store any leftovers in an airtight container in the fridge for up to 5 days. This keeps the cheesecake chilled and maintains its creamy texture.
Freezer: If you want to save some for later, wrap the cheesecake tightly in plastic wrap and then aluminum foil. Freeze for up to 2 months for the best quality.
Thawing: To enjoy your frozen Protein Oreo Cheesecake, transfer it to the fridge and let it thaw overnight before serving. This helps retain its delicious texture.
Reheating: There’s no need to reheat this cheesecake, as it’s best served chilled! Enjoy the cool refreshment on a warm day or as a delightful dessert.
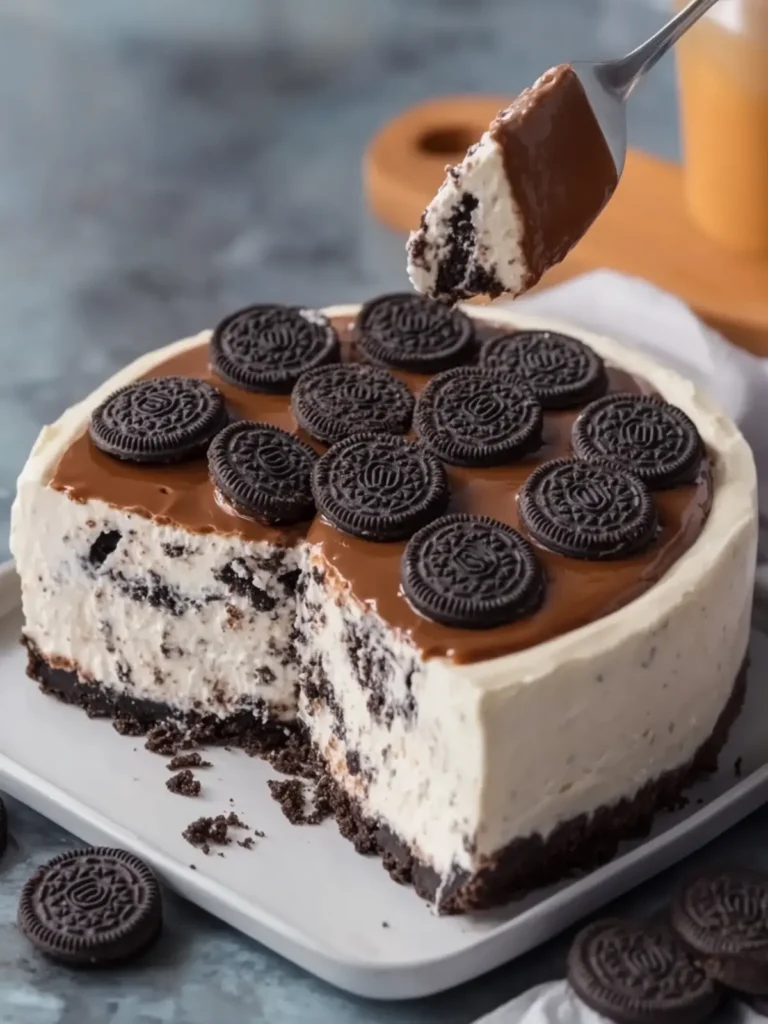
Protein Oreo Cheesecake Recipe FAQs
How do I choose the best ingredients for my Protein Oreo Cheesecake?
Absolutely! When selecting your ingredients, aim for fresh cottage cheese and Greek yogurt; look for brands that are creamy and free from any off smells. For the Oreos, choose ones that are intact and fresh without any dark spots—this ensures maximum flavor and a perfect texture for your crust.
How should I store leftover Protein Oreo Cheesecake?
After enjoying a slice (or two!), store any leftovers in an airtight container in the fridge. It will stay fresh and delicious for up to 5 days, allowing you to savor your cheesecake bit by bit without losing any of its delightful creaminess!
Can I freeze Protein Oreo Cheesecake?
Yes, you can! To freeze your cheesecake, wrap it tightly in plastic wrap, then in aluminum foil to protect it from freezer burn. It will keep well in the freezer for up to 2 months. When you’re ready to enjoy it, simply thaw it overnight in the fridge for the best texture and flavor.
What if my cheesecake isn’t setting properly?
No worries! If your cheesecake isn’t firming up, it could be due to the gelatin not blooming properly or not being fully dissolved. Ensure you allow the gelatin to bloom in cold water for 5 minutes, then gently warm it until completely dissolved without boiling. Mixing a bit of the cheesecake mixture in before combining will also help it incorporate smoothly—this should help your cheesecake set perfectly!
Are there any dietary considerations for Protein Oreo Cheesecake?
Absolutely! This cheesecake contains cottage cheese and Greek yogurt, which are great sources of protein but may not be suitable for certain allergies, such as dairy. If you’re making this for friends or family, consider using dairy-free alternatives like coconut yogurt and cashew cream to recreate that delicious texture without the dairy. Always check for allergies beforehand!
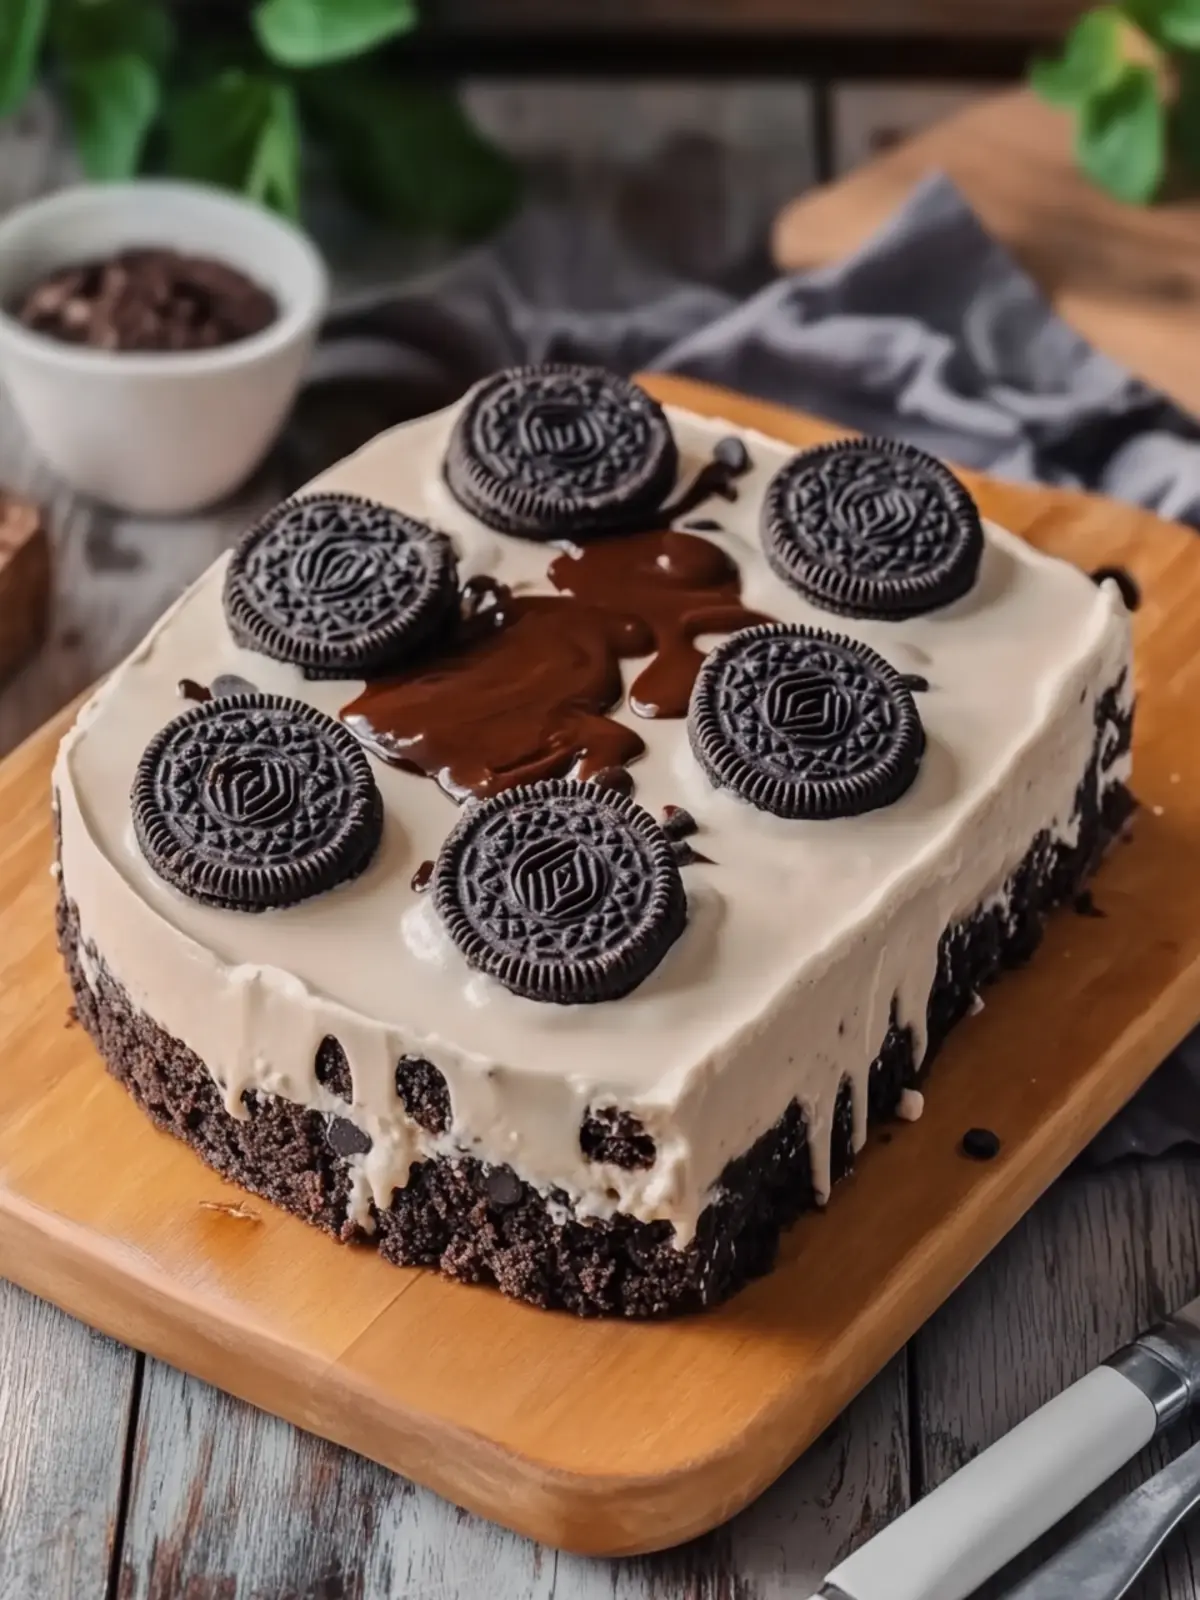
Protein Oreo Cheesecake Delight with Creamy Cottage Cheese
Ingredients
Equipment
Method
- Mix the crushed Oreo cookies with melted butter until well combined. Press into the bottom of a 9 × 9-inch baking dish and refrigerate for 15 minutes.
- In a blender, blend the cottage cheese until completely smooth. Add Greek yogurt, milk, honey, and vanilla extract. Blend until creamy.
- Sprinkle gelatin over cold water and let it bloom for 5 minutes. Warm gently until dissolved. Mix in a few spoonfuls of the cheesecake mixture, then blend into the remaining filling.
- Fold in the roughly crushed Oreo cookies. Spread the filling over the chilled crust.
- Refrigerate for 3–4 hours until the cheesecake is firm.
- Heat heavy cream until steaming. Pour over chocolate chips and let sit for 2 minutes before stirring until smooth.
- Pour the chocolate topping over the cheesecake and decorate with whole Oreo cookies.
- Chill for an additional 30–60 minutes until set. Slice into squares and serve chilled.