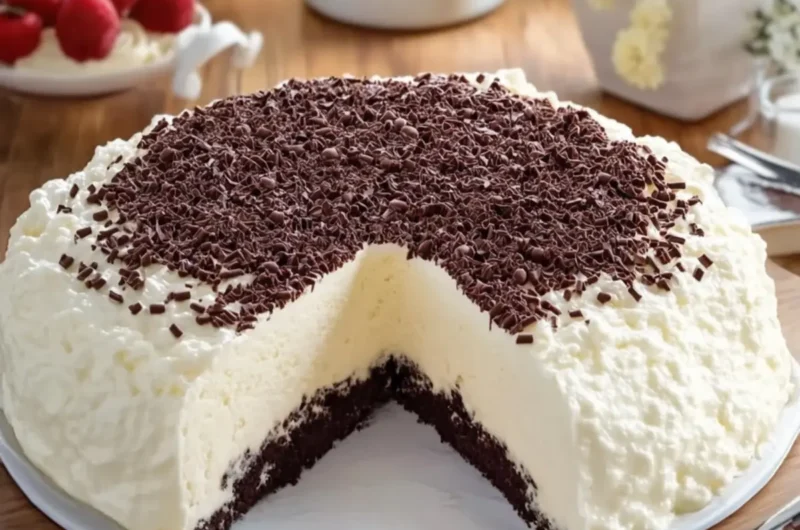
The first time my spoon sliced through this Brazilian Ninho Milk Cloud Cake with its chocolate sponge center, I was taken aback by the cloud-like cream that surrounded it—a dreamy mix of rich flavors and airy textures. Every bite is a delightful journey, as the intense chocolate base dances playfully with the fluffy white cream and sweet coconut.
What makes this cake a treasure in my kitchen is its versatility; it can effortlessly transition from a weekday indulgence to a stunning centerpiece at any gathering. I remember a warm summer evening when friends dropped by unexpectedly, and there it was, cooling in the fridge, waiting to shine. I quickly assembled this indulgent creation, and the compliments flowed freely as everyone dove into their slices, no one able to resist its charm.
So, if you’re tired of the same old desserts and looking for something that’s both visually stunning and absolutely delicious, you’re in for a treat with this cake. Let’s dive into the simple steps to create your own chocolate-clad cloud of joy!
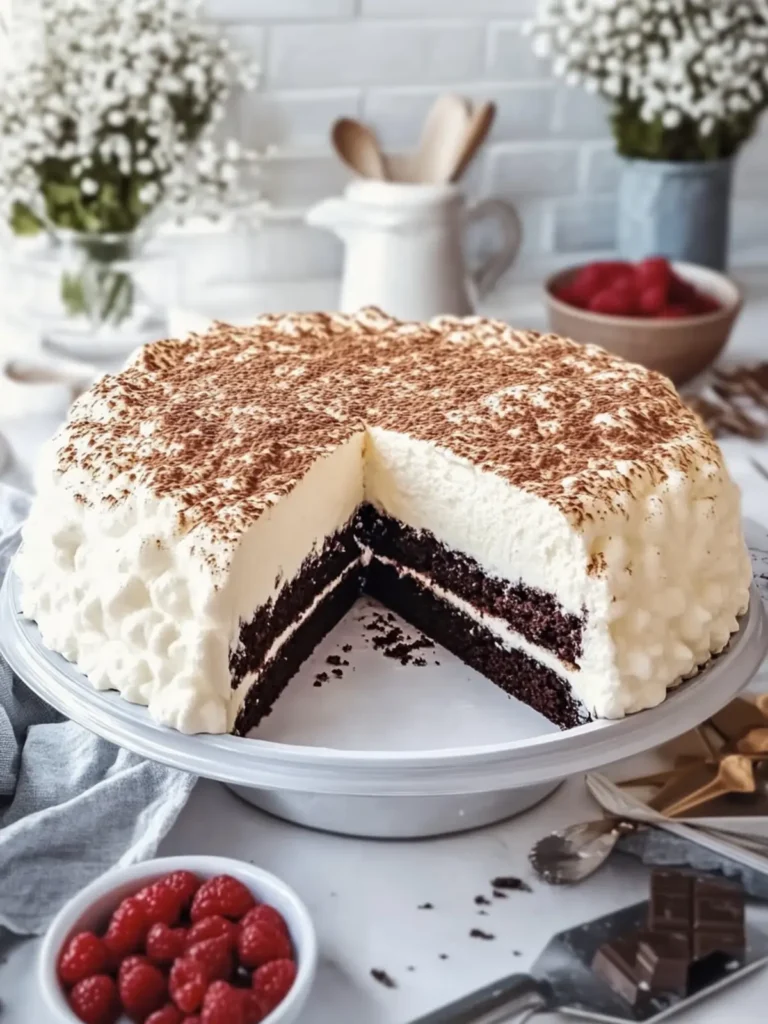
Why is Brazilian Ninho Milk Cloud Cake special?
Irresistible layers: The rich chocolate sponge is complemented perfectly by the fluffy vanilla cream, creating a symphony of flavors that will leave your taste buds singing.
Effortlessly elegant: With its stunning appearance, this cake is perfect for any occasion, whether it’s a cozy family dinner or a festive celebration.
Quick and easy: Don’t worry if you’re short on time; this cake comes together in just a few steps, making it a great option for any busy schedule.
Big crowd-pleaser: Your guests will be dazzled by its unique texture and delightful taste—it’s sure to be the highlight of any gathering!
Make-ahead magic: The cake sets beautifully in the fridge, allowing you to prepare it in advance, freeing you up to enjoy the party!
This Brazilian treat is not just a dessert; it’s an experience waiting to happen. Now, let’s jump into creating your mouthwatering dessert!
Brazilian Ninho Milk Cloud Cake Ingredients
For the Chocolate Sponge
• All-purpose flour – a key base that gives structure to the chocolate sponge.
• Unsweetened cocoa powder – for that intense chocolate flavor that shines through.
• Granulated sugar – balances the richness of the cocoa and adds sweetness.
• Large eggs – helps bind the mixture and provides moisture.
• Whole milk – keeps the sponge moist and rich.
• Vegetable oil – adds tenderness to the cake.
• Baking powder – crucial for rising, helping achieve a light texture.
• Baking soda – enhances the chocolate flavor and works with the acidity of the cocoa.
• Vanilla extract – a splash brings warmth and depth to the flavor.
• Salt – a pinch elevates all the flavors!
• Hot water – helps to bring out the cocoa’s amazing flavor, creating a thin batter.
For the Fluffy White Cream
• Cream cheese – a rich base that provides a creamy texture to the frosting.
• Cold heavy whipping cream – essential for achieving that light and fluffy cloud-like texture.
• Powdered sugar – adds sweetness and helps in stabilizing the cream.
• Vanilla extract – infuses in the cream, enhancing the overall flavor profile.
• Sweetened condensed milk – lends a touch of sweetness and a velvety finish.
• Finely shredded desiccated coconut – brings a tropical flair and makes the cake visually stunning.
This Brazilian Ninho Milk Cloud Cake is not just about the indulgent flavors; it’s a celebration of textures that tells a story with every bite!
How to Make Brazilian Ninho Milk Cloud Cake
-
Preheat the oven to 350°F (175°C). Grease and line a 9-inch round cake pan to ensure your cake releases perfectly after baking.
-
Whisk together the flour, cocoa powder, sugar, baking powder, baking soda, and salt in a large mixing bowl. This dry mixture creates the foundation for your chocolate sponge.
-
Combine the eggs, milk, vegetable oil, and vanilla. Mix until smooth. Then, slowly stir in the hot water to create a thin batter that’s evenly combined.
-
Pour the batter into the prepared pan and bake for 25–30 minutes. Check for doneness by inserting a toothpick in the center—it should come out clean. Once ready, cool completely.
-
Beat the softened cream cheese with powdered sugar until smooth. Add the condensed milk and vanilla, mixing until it’s beautifully blended.
-
Whip the cold heavy cream in a separate chilled bowl until stiff peaks form. Gently fold this whipped cream into the cream cheese mixture, creating that light fluffy texture!
-
Assemble by placing the cooled chocolate cake in a deep serving dish or cake ring. Spread a thick layer of the fluffy white cream over the cake, covering the top and sides completely.
-
Sprinkle the finely shredded coconut generously over the entire cream-covered cake, giving it that lovely snowy appearance.
-
Refrigerate the cake for at least 4–6 hours, preferably overnight, to allow the cream to set and flavors to meld beautifully.
-
Slice generously to reveal the rich chocolate center enveloped in thick white cream, and watch your loved ones light up with joy!
Optional: Serve each slice with extra coconut on the side for an additional touch of sweetness.
Exact quantities are listed in the recipe card below.
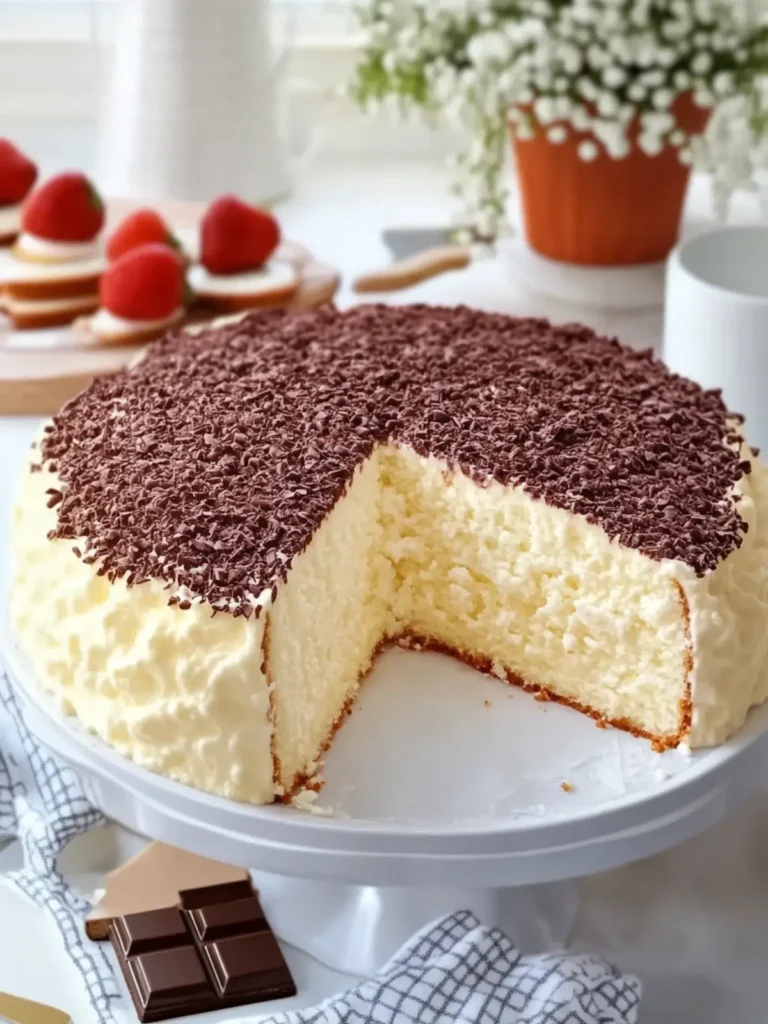
Brazilian Ninho Milk Cloud Cake Variations
Feel free to let your imagination run wild and customize your cake with these delightful twists!
-
Gluten-Free: Substitute all-purpose flour with a gluten-free flour blend to enjoy a deliciously moist cake that everyone can savor.
-
Nutty Delight: Add ½ cup of finely chopped nuts like walnuts or pecans to the batter for a delightful crunch and rich nutty flavor.
-
Coffee Infusion: Mix in 1 tablespoon of instant coffee granules to the batter for a subtle coffee kick that beautifully complements the chocolate.
-
Coconut Cream: For an extra coconut boost, replace half of the heavy cream with coconut cream to enhance the tropical essence of the cake.
-
Fruitful Addition: Layer sliced fresh fruits like strawberries or bananas between the cake and cream for a fruity surprise that brightens each slice.
-
Spice It Up: Include ½ teaspoon of cinnamon or a pinch of cayenne pepper in the batter for a warm spice that adds an unexpected kick.
-
Choco-Lover’s Twist: Fold in chocolate chips or chunks into the batter to deliver delightful pockets of gooey chocolate throughout the cake.
-
Zesty Kick: Add the zest of one orange or lemon to the cream mixture for a refreshing citrus note that will brighten the flavors beautifully.
Let these variations inspire you to create your own masterpiece, turning each bite of this Brazilian Ninho Milk Cloud Cake into a unique experience!
Expert Tips for Brazilian Ninho Milk Cloud Cake
Use Quality Cocoa: Select high-quality unsweetened cocoa powder for a richer chocolate flavor; it truly makes a difference in your chocolate sponge.
Don’t Overmix: When combining ingredients, mix just until incorporated to avoid a dense cake. This helps maintain the fluffy texture of the Brazilian Ninho Milk Cloud Cake.
Cool Completely: Allow the cake to cool fully before frosting. This prevents the cream from melting and ensures that beautiful layers stay intact.
Chill Everything: Keep both the cream cheese and heavy cream well-chilled before whipping; this aids in achieving that airy lightness and helps the cream set perfectly.
Coconut Coating: Generously cover the cream with desiccated coconut for a beautiful presentation, making the cake visually enticing and adding texture to each bite.
Make Ahead: Preparation can be done a day in advance; chilling overnight allows the flavors to deepen and the cream to set for a truly delightful dessert experience!
How to Store and Freeze Brazilian Ninho Milk Cloud Cake
Room Temperature: Store leftovers at room temperature for up to 1 day if your kitchen is cool. Cover loosely with plastic wrap for a soft exterior.
Fridge: Keep the cake in the refrigerator for up to 3 days. Use an airtight container to maintain the fluffy texture of the cream and prevent it from absorbing odors.
Freezer: If you want to enjoy the cake later, freeze it for up to 2 months. Wrap individual slices tightly in plastic wrap, then place them in a freezer bag.
Reheating: When ready to enjoy, thaw the Brazilian Ninho Milk Cloud Cake in the refrigerator overnight and serve chilled for a refreshing taste!
What to Serve with Brazilian Ninho Milk Cloud Cake?
Pairing this delightful dessert with the right accompaniments will elevate your experience to new heights. Imagine the perfect balance of flavors and textures that brings your gathering to life!
-
Fresh Berries: Juicy strawberries or raspberries add a burst of flavor and bright acidity, cutting through the sweetness of the cake beautifully. Their natural tartness complements the creamy elements splendidly.
-
Coconut Sorbet: This refreshing treat echoes the coconut in the cake, offering a cool, creamy contrast while enhancing the tropical vibes of your dessert.
-
Espresso or Coffee: The rich, dark notes of freshly brewed coffee provide a wonderful balance to the sweet flavors of the cake. Each sip sends you into a new dimension of flavor, making every bite more profound.
-
Vanilla Ice Cream: A classic addition, the creaminess of vanilla ice cream harmonizes perfectly with the cake’s fluffy texture. Plus, who doesn’t love a scoop of ice cream alongside their favorite dessert? It’s nostalgia on a plate!
-
Chocolate Sauce: Drizzling warm chocolate sauce over each slice elevates the decadence of the cake. This extra layer of chocolate is an irresistible treat for chocolate lovers!
-
Sparkling Water: For a palate-cleansing refreshment, serve sparkling water with a twist of lime. The fizz brightens the overall experience while keeping the focus on that luscious chocolate sponge center.
These delightful pairings will ensure that your Brazilian Ninho Milk Cloud Cake becomes the star of your dessert table!
Make Ahead Options
These Brazilian Ninho Milk Cloud Cakes are perfect for busy home cooks looking to save time during the week! You can bake the chocolate sponge cake up to 24 hours in advance, letting it cool completely before wrapping it tightly in plastic wrap to retain its moisture. The fluffy white cream can be prepared and stored separately in the refrigerator for up to 3 days; just remember to give it a good stir before spreading it on the cake for a fresh texture. When you’re ready to serve, simply assemble the cake by spreading the cream, topping it with shredded coconut, and refrigerating for at least 4-6 hours (or preferably overnight) to allow the flavors to meld beautifully. This make-ahead strategy ensures you have a delightful dessert ready to impress with minimal last-minute effort!
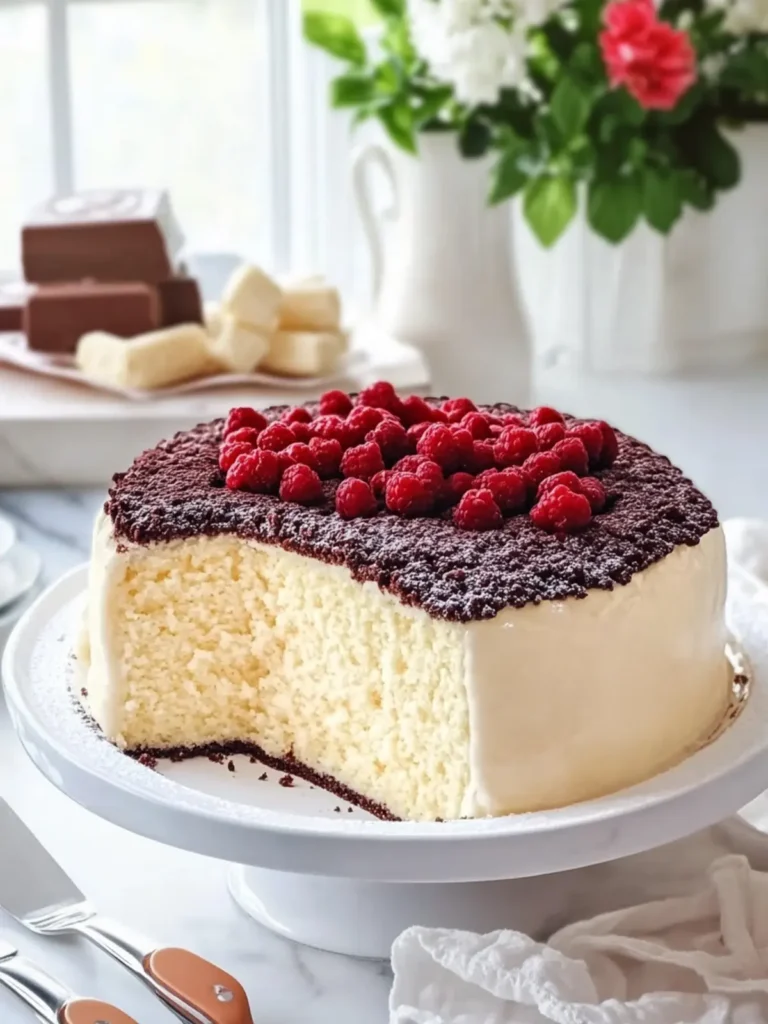
Brazilian Ninho Milk Cloud Cake with Chocolate Sponge Center Recipe FAQs
How do I choose the right cocoa powder for the chocolate sponge?
Absolutely! When selecting cocoa powder, opt for high-quality unsweetened cocoa for the best flavor. Look for Dutch-processed cocoa for a richer taste and darker color, which adds a wonderful depth to your cake.
How should I store the Brazilian Ninho Milk Cloud Cake?
For optimal freshness, refrigerate your cake in an airtight container for up to 3 days. This keeps the fluffy cream from absorbing any odors and maintains its delightful texture. If your kitchen is cool, you can leave it at room temperature for about 1 day, but cover it loosely with plastic wrap to keep it soft.
Can I freeze the Brazilian Ninho Milk Cloud Cake?
Yes, you can enjoy this dreamy dessert later! To freeze, wrap individual slices tightly in plastic wrap, then place them in a freezer bag to prevent any freezer burn. The cake can be stored like this for up to 2 months. When you’re ready to enjoy, thaw each slice in the refrigerator overnight for the best results.
What if my cake sinks in the middle?
This can happen if the batter is overmixed or if the oven temperature is too low. To prevent sinking, mix the batter lightly until just combined and ensure your oven is calibrated correctly. A toothpick inserted in the center should come out clean—avoid opening the oven door too early as sudden temperature changes can cause sinking.
Are there any dietary considerations I should keep in mind?
Absolutely! This cake contains gluten (from flour) and dairy (from cream cheese and heavy cream), so be cautious if you have allergies or sensitivities. For gluten-free alternatives, consider using almond flour or a gluten-free flour blend, and for a dairy-free version, plant-based cream cheeses and whipped coconut cream can be great substitutes.
How long should I refrigerate the cake for the best results?
Refrigerating the cake for at least 4–6 hours is key to letting the cream set perfectly and the flavors meld together beautifully. For an even tastier experience, I often recommend leaving it overnight—your patience will be rewarded with a truly delightful dessert!
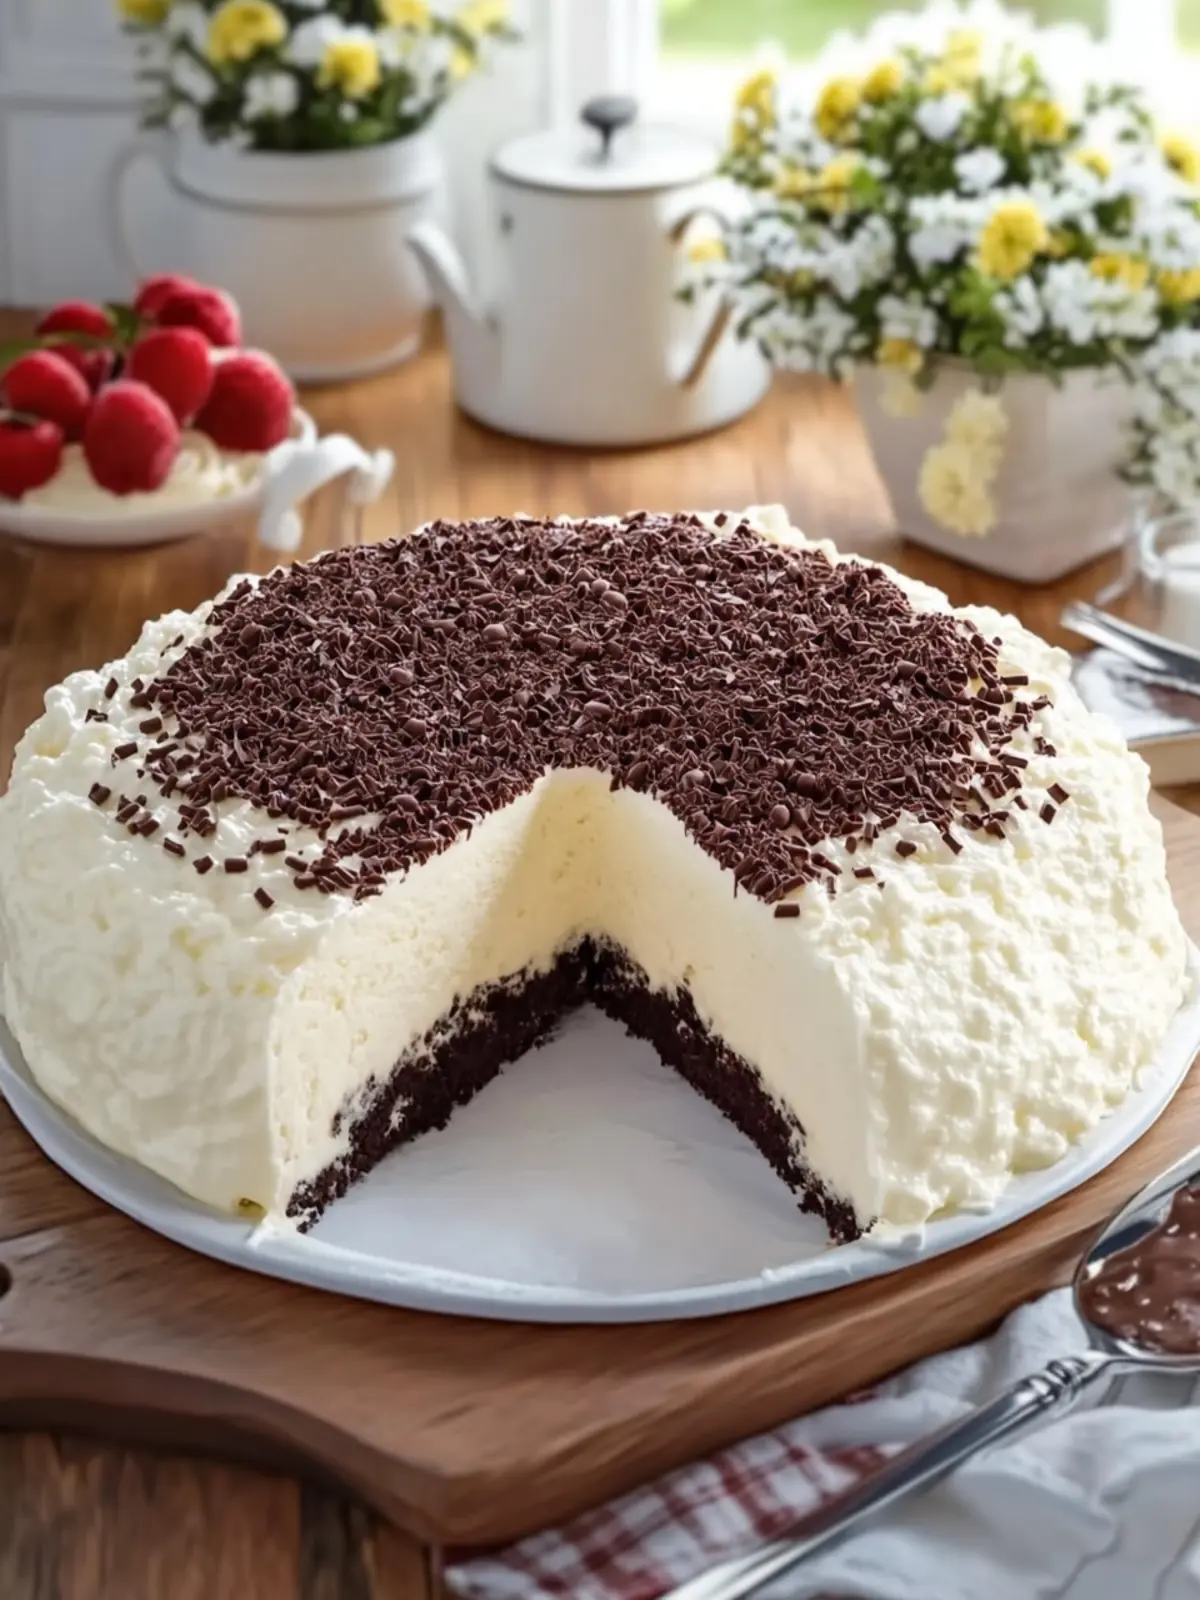
Indulge in Brazilian Ninho Milk Cloud Cake with Chocolate Center
Ingredients
Equipment
Method
- Preheat the oven to 350°F (175°C). Grease and line a 9-inch round cake pan.
- Whisk together the flour, cocoa powder, sugar, baking powder, baking soda, and salt in a large mixing bowl.
- Combine the eggs, milk, vegetable oil, and vanilla. Mix until smooth. Slowly stir in the hot water.
- Pour the batter into the prepared pan and bake for 25–30 minutes. Cool completely.
- Beat the softened cream cheese with powdered sugar until smooth. Add condensed milk and vanilla, mixing until beautifully blended.
- Whip the cold heavy cream until stiff peaks form. Gently fold into the cream cheese mixture.
- Assemble by placing the cooled chocolate cake in a serving dish. Spread a thick layer of the fluffy white cream over the cake.
- Sprinkle finely shredded coconut generously over the entire cream-covered cake.
- Refrigerate for at least 4–6 hours, preferably overnight.
- Slice generously to reveal the rich chocolate center enveloped in thick white cream.