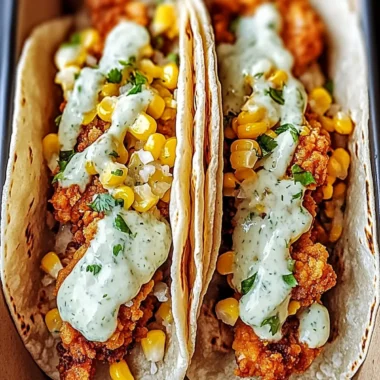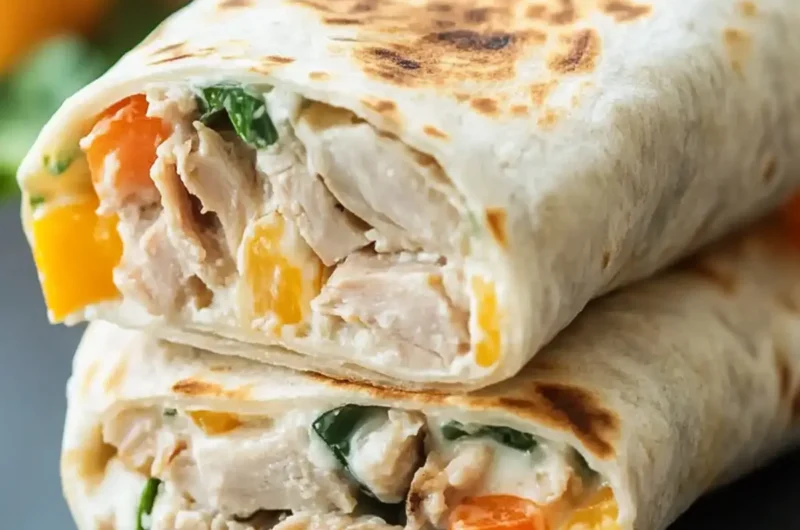
There’s nothing quite like the satisfying crunch of a warm Tuna Melt Wrap, and I can’t wait to share this easy recipe with you. Picture this: a savory tuna salad blended with creamy mayonnaise and crunchy veggies, all tucked inside a soft tortilla and draped in gooey cheddar cheese. It’s a cozy, comforting meal that’s perfect for those hectic weekdays when fast food seems like the only option.
What I love most about this dish? Its incredible versatility—quick to prepare, yet endlessly customizable. Whether you’re trying to make use of pantry staples or elevating your lunch game, this wrap hits the spot every time. Plus, with options for gluten-free tortillas and alternative fillings, it’s a delicious way to cater to any dietary preference. So, let’s dive in and create a meal that’s as delightful as it is speedy!
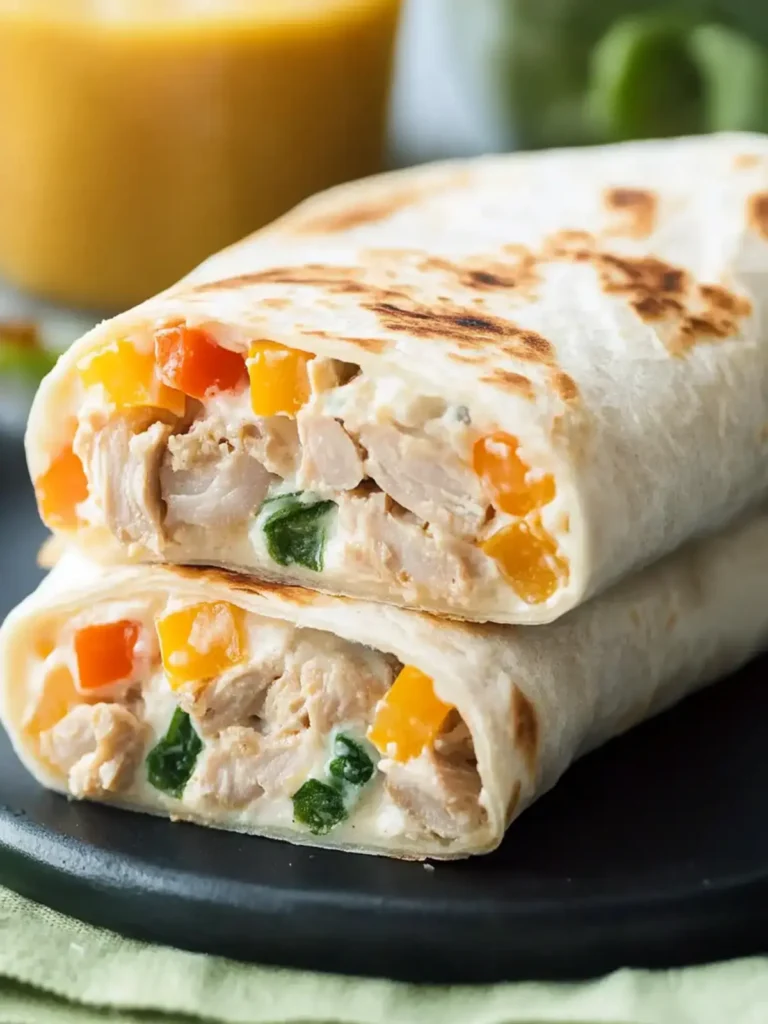
Why You’ll Love This Ultimate Tuna Melt Wrap
Simplicity at Its Best: With just a handful of ingredients, this recipe is so easy that anyone can whip it up in no time.
Crispy and Cheesy: Each bite features a perfectly crispy exterior with ooey-gooey cheddar cheese that melts in your mouth.
Endlessly Customizable: Feel free to tailor it to your taste preferences—try different proteins, veggies, or cheeses to make it your own!
Quick Cooking: Whether in a skillet or air fryer, the cooking time is short, letting you enjoy a homemade meal in under 15 minutes.
Crowd-Pleasing Appeal: Perfect for family dinners or casual get-togethers, this wrap is sure to satisfy everyone’s cravings for comfort food.
Ultimate Tuna Melt Wrap Ingredients
• Get ready to create a flavorful delight!
For the Tuna Salad
- Canned White Albacore Tuna (2 cans, 5 oz each) – A high-protein base; opt for sustainably sourced for the best flavor.
- Celery (1/4 cup, diced) – Adds a satisfying crunch; always use fresh for maximum texture.
- Sweet Onion (1/4 cup, minced) – Brings a hint of sweetness; green onions can be a great substitute for a milder taste.
- Mayonnaise (1/4 cup) – Creamy and rich; swap for Greek yogurt or avocado for a healthier option.
- Sweet Pickle Relish (2 tbsp) – Infuses a tangy sweetness; choose your favorite brand for ideal flavor balance.
- Dijon Mustard (1 tsp) – Provides a zesty kick; adjust to your preferred spice level.
- Lemon Juice (1 tsp) – Brightens up the mixture; fresh-squeezed juice gives the best results.
- Dill Weed (1/4 tsp) – Adds a touch of herbal flavor; it’s optional if you prefer different seasonings.
- Salt (1/8 tsp) and Black Pepper (1/8 tsp) – Enhances all the flavors; don’t hesitate to adjust to taste.
For the Wrap
- Flour Tortillas (4 pieces, 6-inch) – The perfect vessel for your filling; whole wheat or gluten-free tortillas work beautifully.
- Sharp Cheddar Cheese (1/2 cup, shredded) – Melts deliciously and adds rich flavor; consider using pepper jack if you like a little heat.
These ingredients come together to create the Ultimate Tuna Melt Wrap that’s not just quick and easy, but also comfort food that everyone will love!
How to Make Ultimate Tuna Melt Wrap
-
Prepare Tuna Salad: Start by draining the tuna and flaking it into a large bowl. Add diced celery, minced onion, relish, mayonnaise, mustard, lemon juice, dill, salt, and pepper. Stir until creamy and well combined.
-
Assemble Wraps: Take one tortilla and spread about a quarter of the tuna salad mixture onto the center, leaving some edge space. Sprinkle shredded cheddar cheese generously over the top of the filling.
-
Wrap: Fold the sides of the tortilla inward, then roll tightly from the bottom to secure the filling. Make sure to tuck it in as you go!
-
Cook:
- Skillet Method: Heat a small amount of butter in a skillet over medium-high heat. Grill the wraps for about 3-4 minutes per side until they’re golden brown and the cheese has melted.
- Air Fryer Method: Place the wraps seam-side down in the air fryer basket. Cook at 350°F for approximately 7 minutes, or until they’re crispy and golden.
Optional: Serve with a side of crispy mixed greens for added freshness.
Exact quantities are listed in the recipe card below.
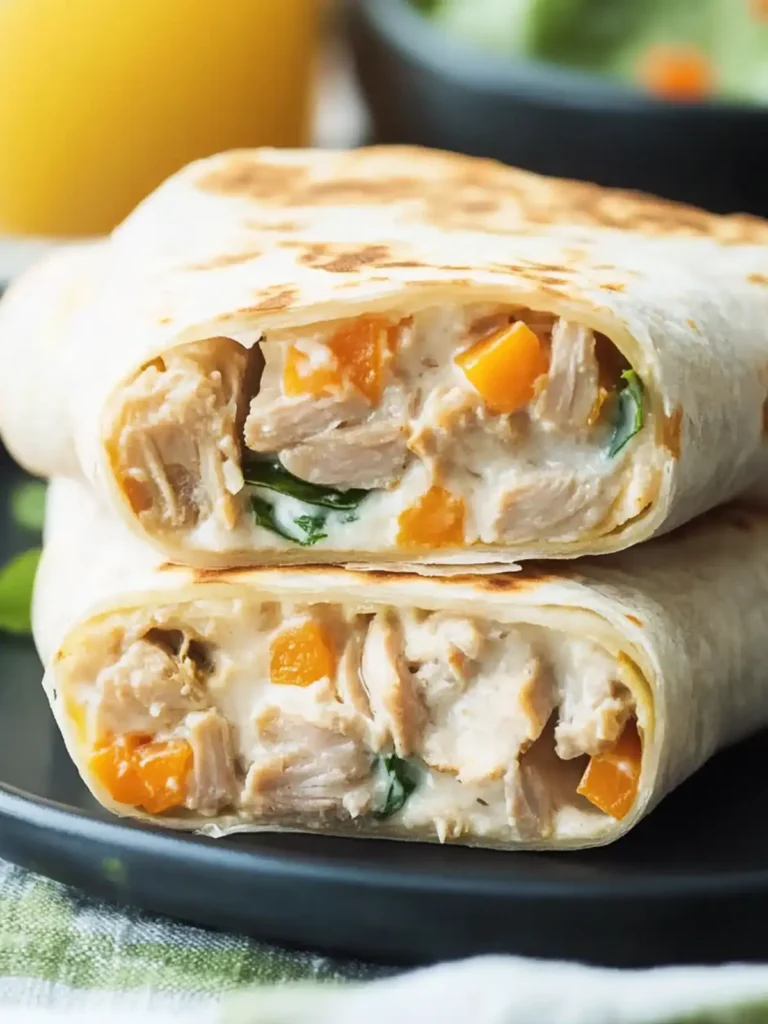
Tuna Melt Wrap Variations
Feel free to unleash your creativity and make this wrap completely your own with these exciting variations!
-
Gluten-Free: Swap regular tortillas for gluten-free ones, ensuring everyone can enjoy this tasty treat without worry.
-
Protein Swap: Use shredded rotisserie chicken or chickpeas for a vegetarian twist that doesn’t skimp on flavor. A simple swap, yet so satisfying!
-
Cheese Twist: Try mozzarella for a milder taste or pepper jack for an extra kick of spice that promises to tantalize your taste buds.
-
Fresh Herbs: Add fresh dill or parsley to the tuna salad for a burst of freshness and vibrant flavor, elevating your wrap to gourmet status.
-
Veggie Boost: Toss in some diced bell pepper or shredded carrots for added crunch and nutrition—this also brightens up the presentation!
-
Heat It Up: Incorporate a dash of hot sauce or some diced jalapeños into the tuna mixture for a spicy version that will surely tickle the senses.
-
Creamy Alternatives: Substitute mayonnaise with Greek yogurt or smashed avocado for a lighter yet just as creamy version, perfect for those watching their calories.
-
Flavor Fun: Experiment with different mustards like spicy brown or honey mustard to put a unique spin on the classic flavor profile.
With these variations, the Ultimate Tuna Melt Wrap becomes not just a recipe, but a canvas for your culinary imagination!
What to Serve with Ultimate Tuna Melt Wrap?
A delightful meal that brings comfort and satisfaction, perfect for those days when you crave something quick yet fulfilling.
-
Crispy Mixed Greens: The freshness of a salad complements the warm, cheesy wrap, balancing richness with a delightful crunch. Toss in your favorite dressing for a refreshing touch.
-
Creamy Tomato Soup: This classic pairing enhances the creamy flavor of the tuna melt, creating a comforting combination that’s perfect for dipping.
-
Sweet Potato Fries: Their slight sweetness and crispy texture offer a delicious contrast to the savory tuna wrap, making each bite a delightful experience.
-
Pickle Slices: Tangy and crunchy, pickles are the perfect palate cleanser that adds a zesty kick, enhancing the overall flavor profile.
-
Chilled Sparkling Lemonade: A bright and refreshing drink that cuts through the richness of the wrap, turning your meal into a delightful experience.
-
Chocolate Chip Cookies: For a sweet finish, these classic cookies bring a warm, gooey texture that perfectly pairs with the savory notes of your meal.
These pairing options will not only elevate your dining experience but also make your Ultimate Tuna Melt Wrap feel truly special!
Expert Tips for Tuna Melt Wrap
-
Chill for Creaminess: Let your tuna salad chill in the fridge for about 30 minutes for a creamier texture. This creates a delightful contrast with the warm wrap.
-
Avoid Sogginess: Be mindful not to overload your wrap with dressing; a well-distributed filling prevents sogginess and keeps your Tuna Melt Wrap sturdy.
-
Air Fryer Precision: When using an air fryer, don’t overcrowd the basket. This ensures each wrap cooks evenly and achieves that desired crispy texture.
-
Cheese Choices: Experiment with different cheeses! While cheddar delivers classic flavor, pepper jack adds a zesty kick, and mozzarella offers a lighter touch.
-
Leftover Storage: If you have any wraps left, cool them completely before storing in an airtight container in the fridge. This will keep your Tuna Melt Wraps tasty for up to 3 days.
-
Herb Enhancements: Don’t shy away from fresh herbs; adding chopped parsley or dill to the tuna salad elevates the flavor and freshness of your wraps.
Make Ahead Options
These Ultimate Tuna Melt Wraps are fantastic for meal prep, allowing you to enjoy a quick lunch any day of the week. You can prepare the tuna salad up to 4 days in advance by mixing the drained tuna with all the other salad ingredients, then refrigerate it in an airtight container to keep it fresh. Feel free to make the wraps ahead as well, but to maintain their quality, it’s best to assemble them just a few hours before serving. If you do prepare them in advance, wrap each tightly and store in the fridge, enjoying them within 2-3 days. When you’re ready to enjoy your wraps, simply heat them in a skillet or air fryer until crispy and the cheese is melted—this way, you’ll have a delicious, homemade meal with minimal effort!
How to Store and Freeze Ultimate Tuna Melt Wrap
Fridge: Store leftover wraps in an airtight container in the refrigerator for up to 3 days. Ensure they are completely cool to maintain their texture and prevent sogginess.
Freezer: For longer storage, wrap individual Tuna Melt Wraps tightly in plastic wrap and place them in a freezer-safe bag. They can be frozen for up to 2 months.
Reheating: To reheat, thaw overnight in the fridge if frozen. Warm them in a skillet over medium heat for about 3-4 minutes per side, or use an air fryer at 350°F for about 5-7 minutes until heated through.
Serving: For best results, enjoy your Ultimate Tuna Melt Wraps as soon as possible for that crispy texture and melty cheese experience.
Ultimate Tuna Melt Wrap Recipe FAQs
How do I select the best canned tuna for my wrap?
Absolutely! When choosing canned tuna for your Tuna Melt Wrap, look for brands that offer sustainably sourced white albacore tuna. This ensures a higher quality and better flavor. Ideally, you want to avoid tuna packed in oil, as it can add unnecessary calories and fat. Check the label for “chunk light” versus “solid white” as well; solid white tends to have a firmer texture and is great for salads and wraps.
How should I store leftover Tuna Melt Wraps?
Very good question! To store leftover wraps, let them cool completely before placing them in an airtight container. They can be kept in the refrigerator for up to 3 days. This way, they will maintain their best texture without becoming soggy. For the ultimate taste, I recommend eating them sooner rather than later!
Can I freeze Tuna Melt Wraps?
Yes, you can! To freeze your Ultimate Tuna Melt Wraps, wrap each one tightly in plastic wrap and then place them in a freezer-safe bag. They can be stored in the freezer for up to 2 months. Just remember to label the bag with the date! When you’re ready to enjoy them, thaw overnight in the fridge, and then reheat in a skillet or air fryer for that delightful crispiness.
What should I do if my Tuna Melt Wraps are soggy?
Ah, soggy wraps can be tricky, but fear not! To avoid this issue, try not to overload your wraps with dressing. A less decadent mix of mayonnaise or yogurt will help prevent moisture buildup. Additionally, ensure that you securely wrap the tortilla before cooking; this seals in the ingredients without letting moisture escape. If you find yourself with soggy wraps, a quick reheat in the air fryer can help restore some of the crispiness.
Are there any dietary considerations I should be aware of?
Absolutely! If you or someone you’re serving has allergies, be sure to check the ingredient labels thoroughly. The mayonnaise and certain brand of tuna can contain eggs, a common allergen. For gluten-free options, use certified gluten-free tortillas. You can also customize the fillings to suit vegetarian diets by replacing tuna with chickpeas or shredded chicken!
How long can I keep the tuna salad mixture before using it?
Great question! You can prepare the tuna salad up to 4 days ahead of time and keep it in an airtight container in the fridge. Just make sure it’s sealed and that you store it at a consistent refrigerator temperature of 40°F or below. I often recommend mixing up the salad in advance, allowing the flavors to meld together and create a richer, more delicious filling for your Ultimate Tuna Melt Wrap.
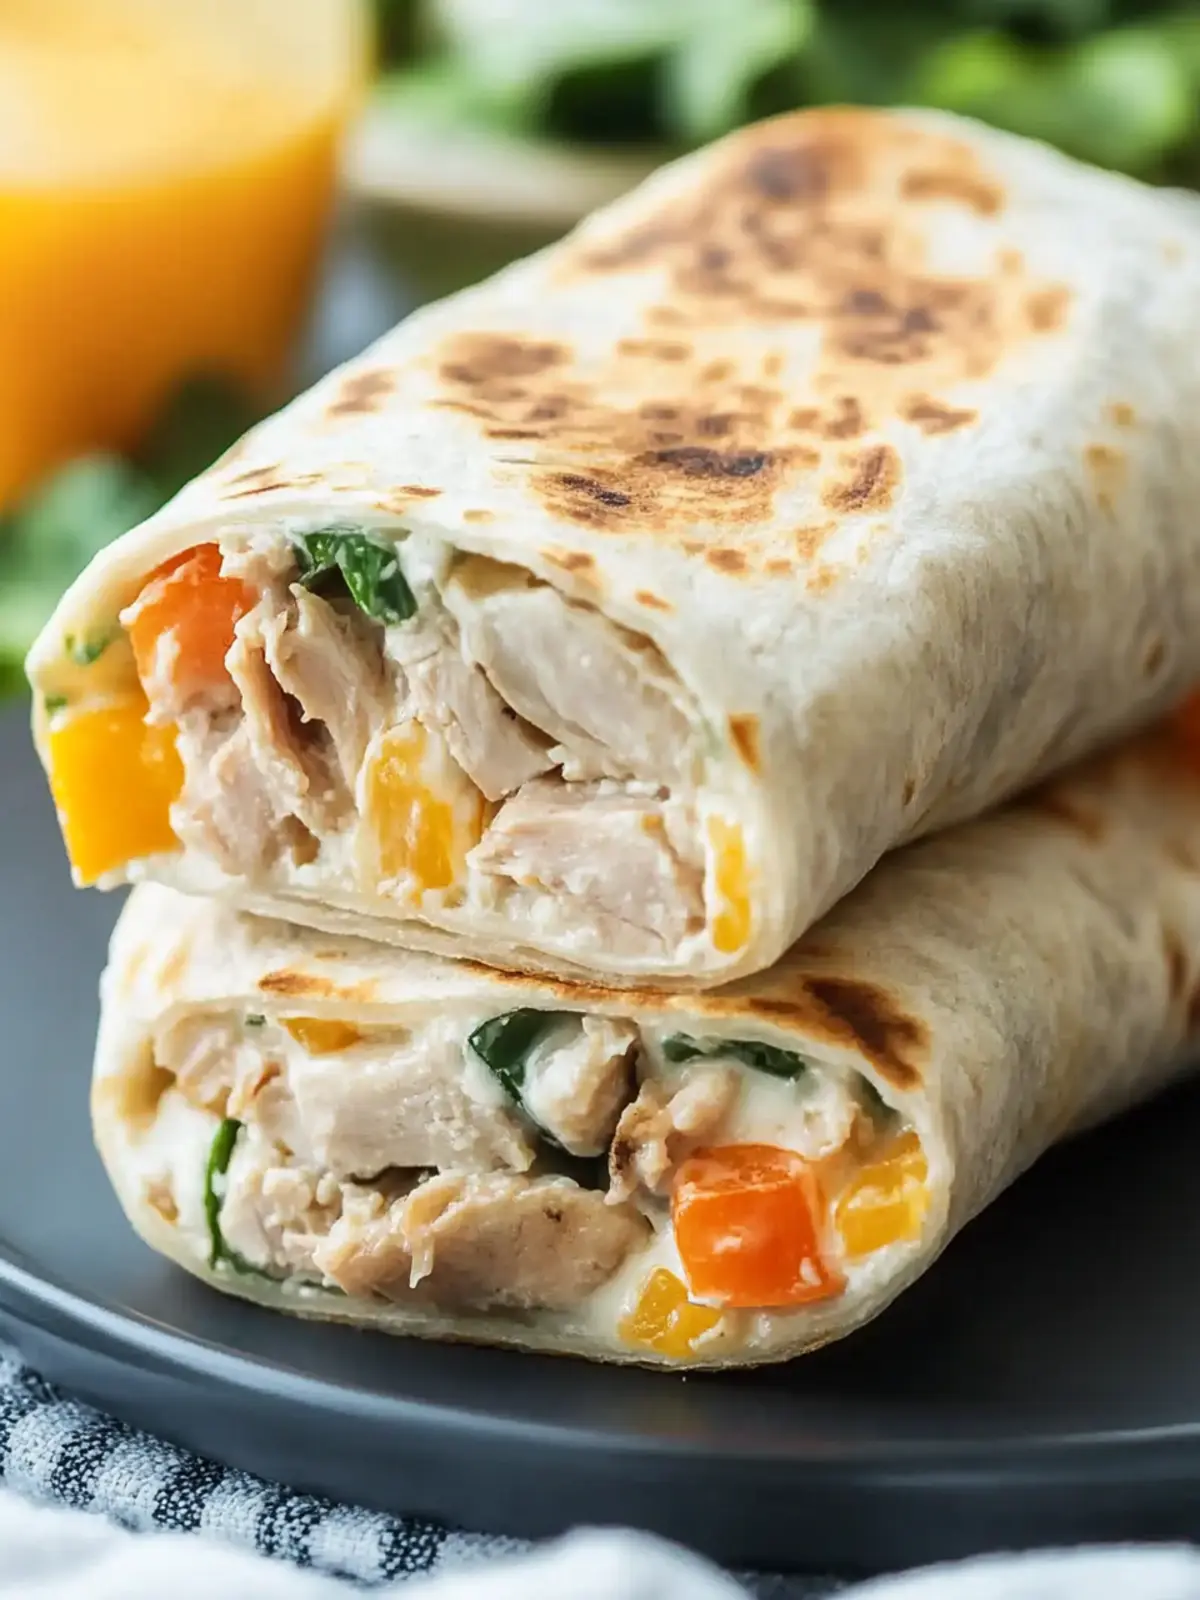
Ultimate Tuna Melt Wrap: Quick, Easy, and Seriously Cheesy
Ingredients
Equipment
Method
- Prepare Tuna Salad: Start by draining the tuna and flaking it into a large bowl. Add diced celery, minced onion, relish, mayonnaise, mustard, lemon juice, dill, salt, and pepper. Stir until creamy and well combined.
- Assemble Wraps: Take one tortilla and spread about a quarter of the tuna salad mixture onto the center, leaving some edge space. Sprinkle shredded cheddar cheese generously over the top of the filling.
- Wrap: Fold the sides of the tortilla inward, then roll tightly from the bottom to secure the filling. Make sure to tuck it in as you go!
- Cook: For Skillet Method: Heat a small amount of butter in a skillet over medium-high heat. Grill the wraps for about 3-4 minutes per side until they’re golden brown and the cheese has melted. For Air Fryer Method: Place the wraps seam-side down in the air fryer basket. Cook at 350°F for approximately 7 minutes, or until they’re crispy and golden.