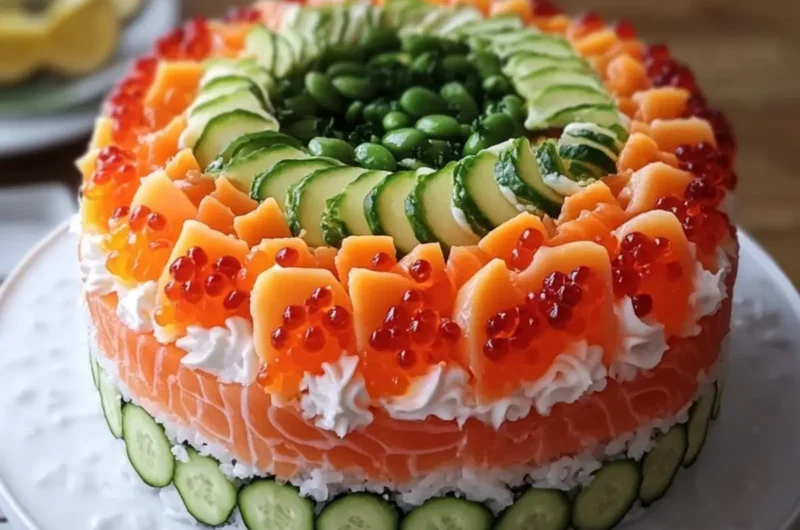
There’s something wonderfully whimsical about transforming sushi into a cake, and that’s exactly what this Sushi Cake delivers! Imagine a vibrant tower of sushi rice layered with luscious slices of salmon and creamy avocado, all topped with a sprinkle of sesame seeds and a splash of color from tobiko. This isn’t just sushi; it’s a delightful centerpiece for any gathering, turning a simple meal into an extraordinary experience.
After a long week of hurried takeout and uninspired frozen meals, I yearned for something fun that would reignite my love for cooking. This recipe not only satisfied that craving but offered a fantastic way to impress family and friends without spending all day slaving in the kitchen. Whether you’re hosting a casual brunch or a chic dinner party, this eye-catching dish is sure to become a conversation starter. So, roll up your sleeves and get ready to dive into the art of sushi-making with a twist.
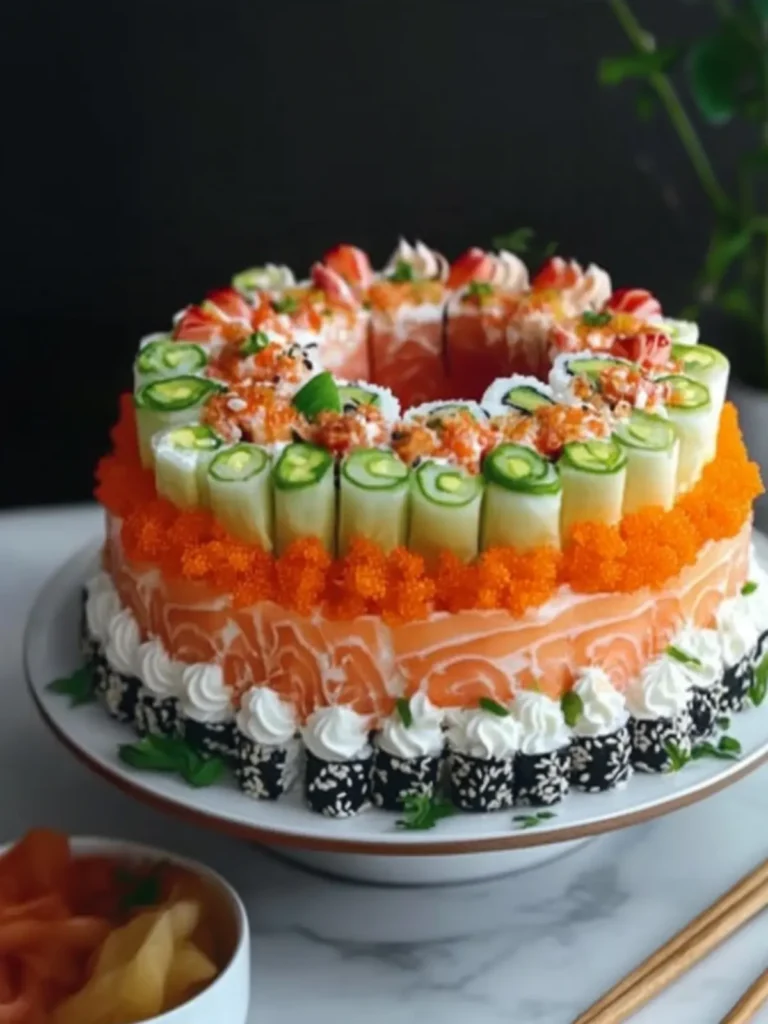
Why is Sushi Cake a must-try?
Creative, this recipe transforms traditional sushi into a stunning cake that’s as delicious as it is beautiful. Easy to make, even novice cooks can assemble this dish with just a few simple steps. Flavorful layers of salmon, creamy avocado, and seasoned rice create a taste sensation that your guests won’t forget. Versatile, feel free to customize your fillings based on your favorite sushi ingredients. Plus, it’s a fantastic way to elevate any gathering and impress everyone at the table. Dive into this unique take on sushi—your taste buds will thank you!
Sushi Cake Ingredients
• Get ready for a flavor-packed delight!
For the Rice
- 3 cups uncooked sushi rice – This is the base of your Sushi Cake, providing that classic sushi flavor.
- 3 tablespoons rice vinegar – Essential for giving the rice its tangy flavor balance.
- 1 tablespoon sugar – This helps enhance the rice’s sweetness, making each bite scrumptious.
- 1 teaspoon salt – A vital seasoning to complement the rice and fillings.
For the Filling
- 12 oz sushi-grade salmon, thinly sliced – Fresh and high-quality salmon is key for an unforgettable taste.
- 2 ripe avocados, sliced – These add a creamy texture and help to balance the flavors.
- 4 oz cream cheese, softened – It creates a rich, smooth layer and enhances the overall creaminess.
- 3 tablespoons mayonnaise – This adds a silky touch; consider using Japanese mayo for added flavor.
- 1 tablespoon sriracha sauce (optional) – A little kick adds depth but feel free to skip it for a milder taste.
For Garnishing
- 2 tablespoons soy sauce, for serving – Perfect for dipping and elevating the umami experience.
- 2 tablespoons tobiko (fish roe), optional – These colorful pearls enhance both texture and visual appeal.
- 2 green onions, thinly sliced – They bring freshness and a crunch to each slice.
- 1 tablespoon toasted sesame seeds – Adds a nutty flavor while providing a lovely visual touch.
- 1 sheet nori, cut into thin strips – For that authentic sushi feel and an extra layer of flavor.
How to Make Sushi Cake
-
Rinse the sushi rice under cold water until the water runs mostly clear. This step is essential for a cleaner texture. Cook according to package instructions, then let it rest for 10 minutes to achieve the right consistency.
-
Mix rice vinegar, sugar, and salt in a small bowl until dissolved. Gently fold this mixture into the warm rice, ensuring each grain is coated, then allow it to cool to room temperature.
-
Combine cream cheese, mayonnaise, and sriracha (if using) in a bowl until smooth. This will create a creamy layer that complements the rice beautifully.
-
Prepare an 8-inch round cake pan by lining it with plastic wrap. Leave some extra wrap over the edges for easy removal of the cake later.
-
Press half of the seasoned rice evenly into the base of the pan using a lightly dampened spoon, making sure to create a firm base for your cake.
-
Spread the creamy mixture over the rice layer, then add half of the thinly sliced salmon and avocado to create a delicious filling.
-
Layer the remaining rice on top of the filling, pressing it down evenly. Cover the pan with plastic wrap and refrigerate for 20–30 minutes to help the cake hold its shape.
-
Invert the pan by placing a serving plate over it, carefully flipping it upside down. Gently remove the pan and plastic wrap to reveal your beautifully formed Sushi Cake.
-
Top the cake with the remaining salmon and avocado. Garnish with tobiko, sliced green onions, sesame seeds, and nori strips for an eye-catching finish.
-
Slice the cake with a sharp, damp knife to keep the layers intact. Serve with soy sauce on the side for dipping.
Optional: Drizzle some extra sriracha on top for a zesty kick!
Exact quantities are listed in the recipe card below.
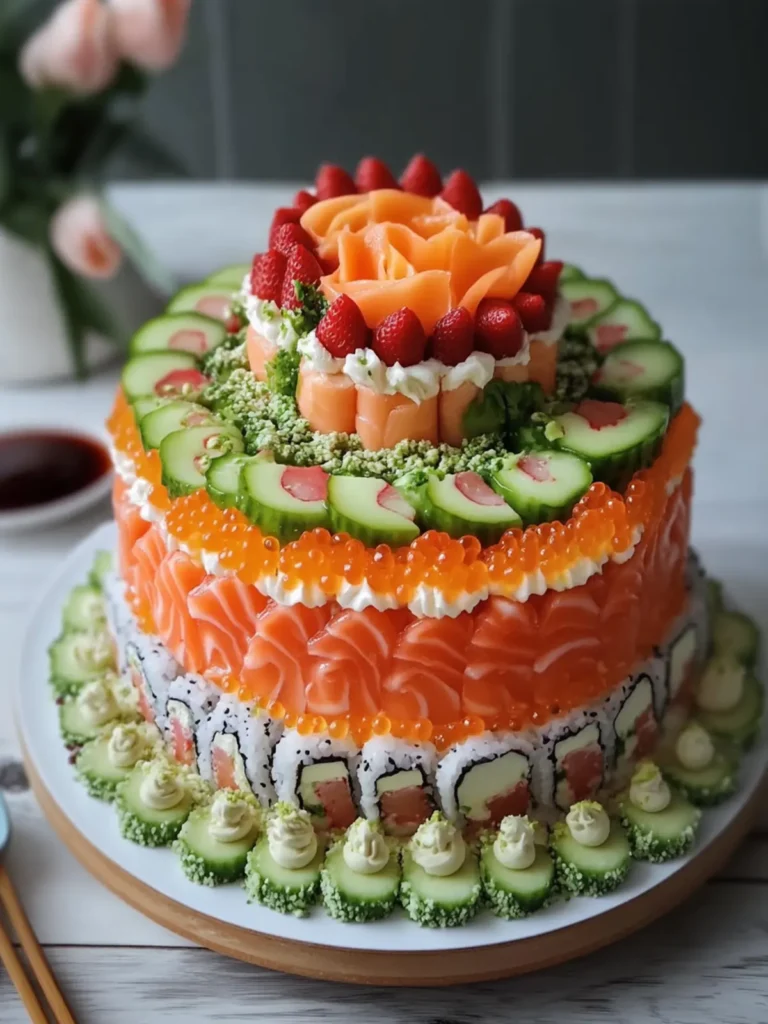
Expert Tips for the Best Sushi Cake
-
Rinse Rice Thoroughly: Always rinse the sushi rice until the water runs mostly clear to avoid a soggy texture in your Sushi Cake.
-
Right Rice Ratio: Follow the package instructions closely for cooking sushi rice. A correct water-to-rice ratio ensures fluffy and sticky rice, perfect for layers.
-
Cool Gradually: After mixing the vinegar and rice, let it cool to room temperature naturally. Avoid refrigerating the rice as it can affect the texture.
-
Layer Carefully: When layering the rice and fillings, press firmly, but gently. This keeps your cake stable without smearing the layers.
-
Sharp Knife Needed: Use a sharp, damp knife for slicing the cake to achieve clean cuts and keep the visuals intact.
-
Customize Wisely: Feel free to swap out fillings based on your favorites, but avoid overly watery ingredients to maintain proper structure in your Sushi Cake.
How to Store and Freeze Sushi Cake
Fridge: Keep the Sushi Cake covered in plastic wrap or in an airtight container. It will stay fresh for up to 2 days in the refrigerator.
Freezer: Sushi Cake can be frozen for up to 1 month. Wrap it tightly in plastic wrap and then in aluminum foil to prevent freezer burn.
Reheating: Thaw the cake in the fridge overnight before serving. Enjoy it cold for a refreshing taste, or let it sit at room temperature for a bit before slicing.
Leftovers: If you have leftover sushi cake, store any separate ingredients (like avocado) in the fridge to prevent browning, and consume the cake within a day for the best flavor.
What to Serve with Sushi Cake?
Elevate your meal with these delightful pairings that complement the vibrant flavors of sushi cake.
- Zesty Edamame: These lightly salted pods are packed with protein and provide a delightful crunch to balance the creamy layers.
- Crispy Seaweed Salad: Its savory, tangy taste adds a refreshing contrast, enhancing the overall sushi experience.
- Chilled Sake: A glass of this traditional Japanese rice wine elevates flavors and creates an authentic dining experience.
- Ginger Sesame Dressing: Drizzle this over a simple mixed greens salad for a light, zesty complement to the fullness of sushi cake.
- Miso Soup: Warm and comforting, its umami richness pairs beautifully with the fresh ingredients, rounding out your meal.
- Cucumber Rolls: Light and refreshing, these can act as a palate cleanser between bites of sushi cake.
- Matcha Green Tea: Its earthy notes provide a tranquil balance to your meal while promoting a soothing finish.
- Mochi Ice Cream: For dessert, this sweet treat adds a fun texture and delicious sweetness—perfect after the savory layers of cake.
Make Ahead Options
Preparing your Sushi Cake in advance is a fantastic way to save time on busy weeknights or during special gatherings! You can cook the sushi rice and prepare the creamy filling (cream cheese, mayonnaise, and sriracha) up to 24 hours ahead, refrigerating them separately to maintain freshness. You can also slice the salmon and avocado and store them in airtight containers to prevent browning, keeping them fresh for up to 3 days. When you’re ready to serve, layer everything into the cake pan and refrigerate for just 20-30 minutes to firm it up. This way, you’ll have a stunning, restaurant-quality dish with minimal last-minute effort!
Sushi Cake Variations & Substitutions
Get ready to make this delightful dish your own!
-
Vegetarian: Substitute sushi-grade salmon with marinated tofu or grilled vegetables for a plant-based version that’s still full of flavor.
Embrace seasonal veggies like bell peppers and zucchini for a vibrant touch that will impress everyone at the table. -
Vegan: Use vegan cream cheese and mayonnaise, and swap avocado and nori for marinated slices of cucumber and mango.
The combination provides a creamy, sweet twist that will make your vegan guests feel special and satisfied. -
Gluten-Free: Ensure that your soy sauce is gluten-free or swap it with tamari to keep this dish accommodating for your gluten-sensitive friends.
Your Sushi Cake will still maintain that umami kick while everyone enjoys every delicious bite. -
Spicy: Add more heat by mixing diced jalapeños into the creamy layer or topping the cake with pickled ginger for a punch of flavor.
If you love heat, don’t shy away from experimenting; it could become your new favorite version! -
Fruity: Incorporate sliced fresh mango or pineapple between the layers for a tropical twist that enhances the overall sweetness.
The fruity addition will surprise your taste buds and bring a burst of sunshine into your meal! -
Increased Crunch: Add panko breadcrumbs on top before garnishing to create an irresistibly crispy texture.
This extra crunch elevates the dish and offers a satisfying contrast to the creamy layers beneath. -
Herbaceous Twist: Mix finely chopped fresh herbs like cilantro or basil into the creamy mixture to enhance the flavors with a refreshing twist.
This small addition can transform the dish into an aromatic experience that’s bound to impress. -
Non-Seafood: If seafood isn’t your thing, try substituting with thinly sliced deli meats, such as turkey or chicken.
This variation keeps the spirit of the dish while offering an alternative that’s sure to please all palates.
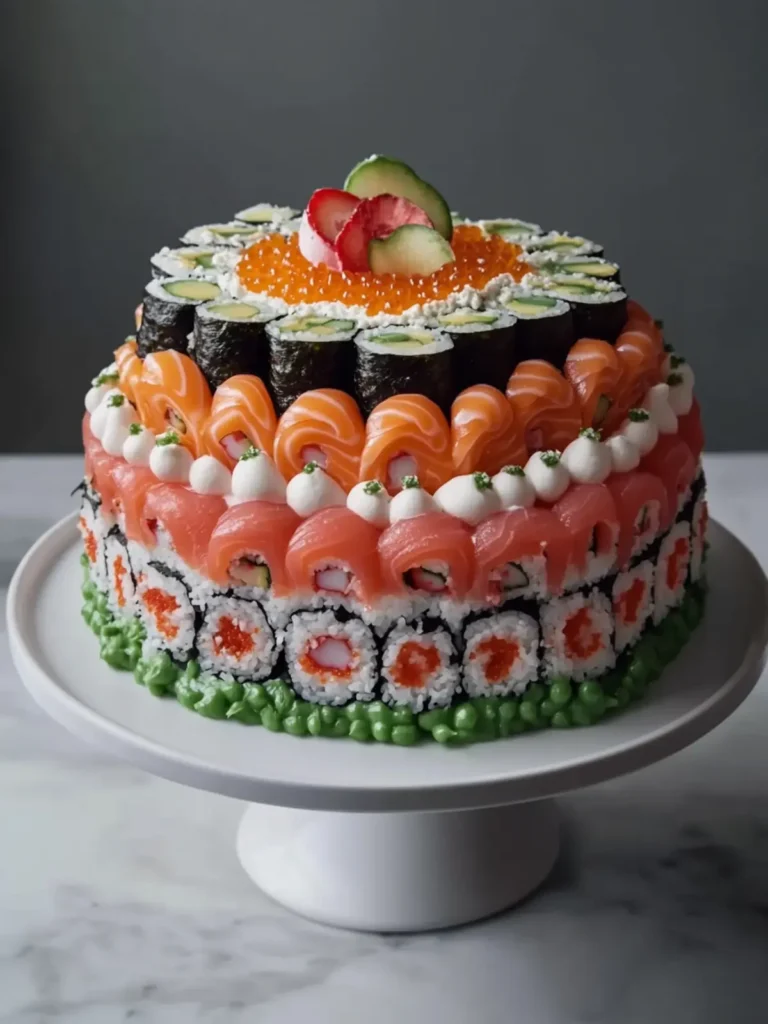
Sushi Cake Recipe FAQs
What kind of rice is best for making Sushi Cake?
Absolutely, it’s best to use sushi rice, specifically a short-grain variety. This type of rice has a higher starch content that helps it become sticky when cooked, making it ideal for forming the perfect layers in your Sushi Cake. Rinse it thoroughly until the water runs mostly clear to ensure a clean texture.
How should I store Sushi Cake, and how long does it last?
For the best freshness, store your Sushi Cake covered in plastic wrap or in an airtight container in the fridge. It will keep well for up to 2 days. If you want to prepare it in advance, you can freeze it for up to 1 month, but remember to wrap it tightly in plastic wrap followed by aluminum foil to prevent freezer burn.
Can I freeze leftover Sushi Cake?
Yes! To freeze your Sushi Cake, make sure it’s tightly wrapped in plastic wrap and then in aluminum foil to avoid freezer burn. When you’re ready to enjoy it again, thaw it overnight in the refrigerator. Enjoy it cold or let it sit at room temperature for a short while before slicing.
What if my Sushi Cake layers are falling apart?
The more the merrier when it comes to pressing your rice firmly during the layering process. Ensure you’re using a damp spoon when pressing the rice into the cake pan and allow it to chill in the refrigerator for 20–30 minutes so it can set properly. If the layers still don’t hold, try adjusting your rice cooking method for a stickier consistency next time.
Is Sushi Cake safe for pets and those with food allergies?
It’s safest to avoid sharing Sushi Cake with pets, as ingredients like salmon and cream cheese can be unsuitable for most animals. Additionally, ensure to check for allergies to ingredients like seafood, avocado, or dairy before serving, especially to guests. For a gluten-free alternative, swap out soy sauce for a gluten-free version and ensure mayonnaise is also gluten-free.
What should I do if my avocado browns too quickly?
To prevent your avocado from browning, you can sprinkle it with a little lemon or lime juice before adding it to your Sushi Cake. This helps slow down the oxidation process. Additionally, if you have any leftovers, store them separately from the cake for the freshest flavors!
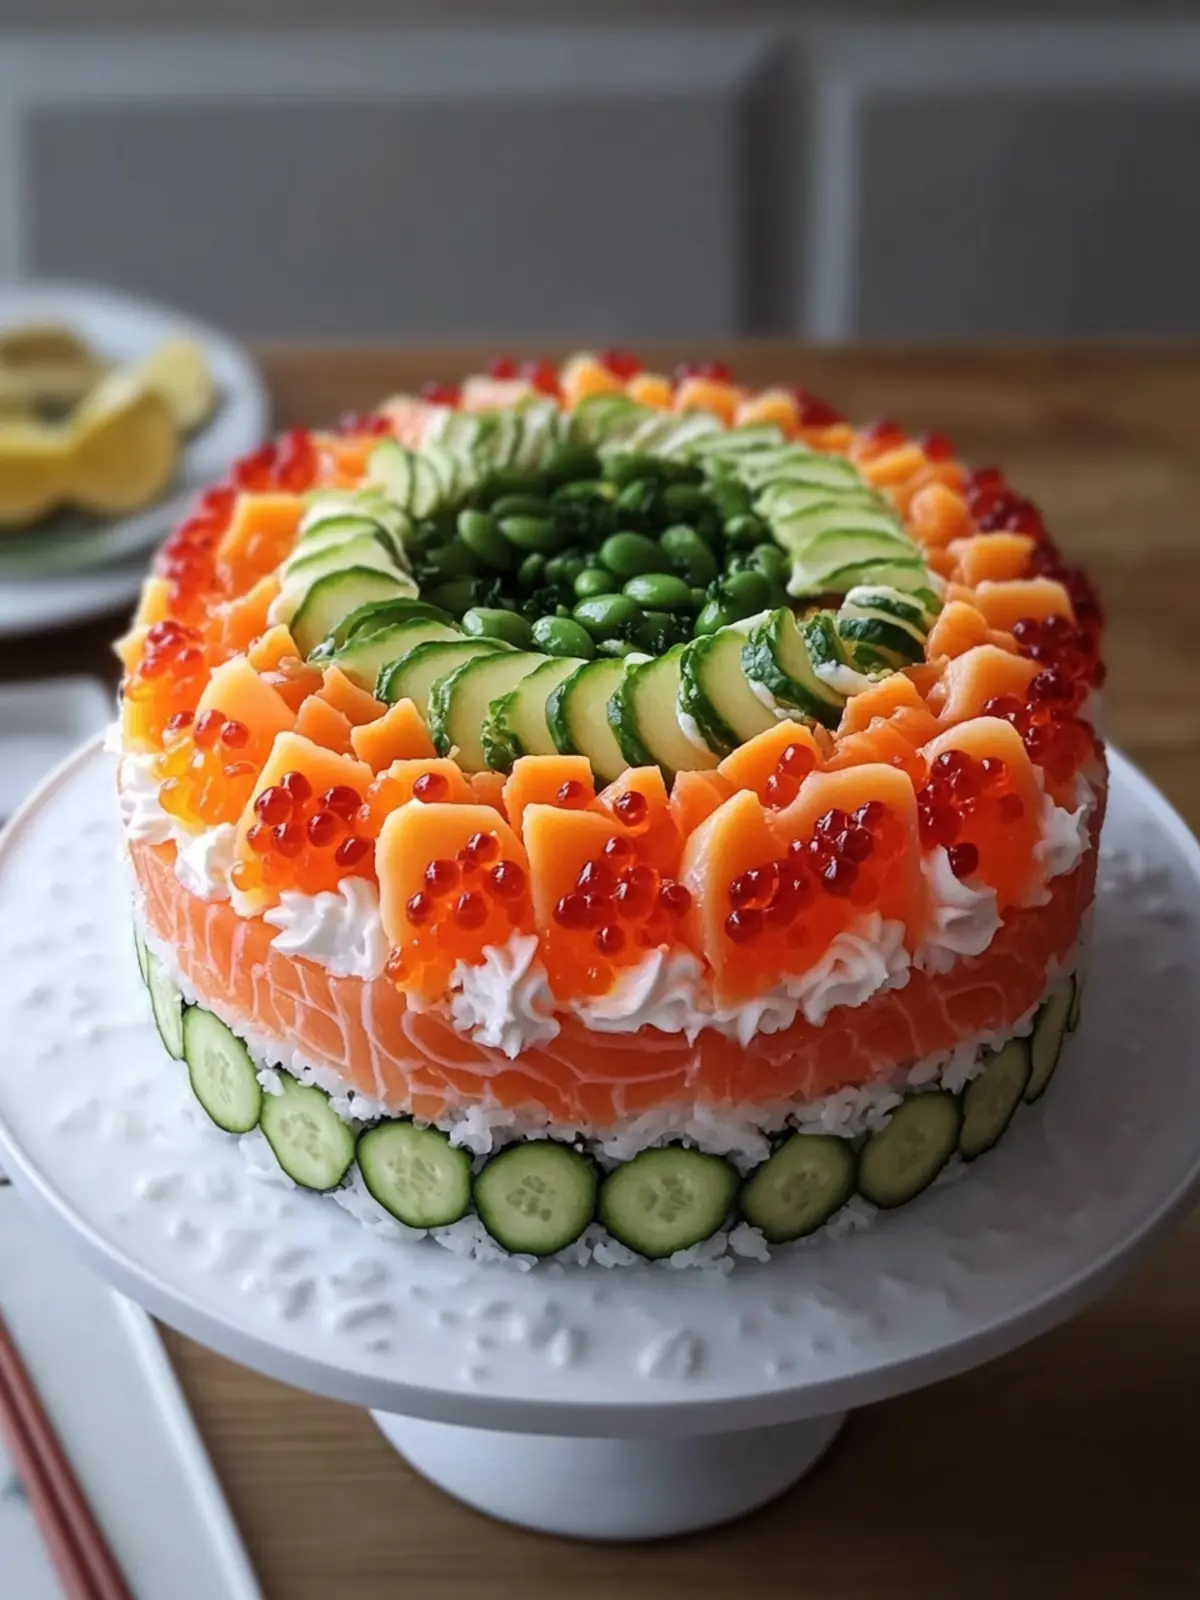
Sushi Cake: A Fun Twist for Your Next Homemade Feast
Ingredients
Equipment
Method
- Rinse the sushi rice under cold water until the water runs mostly clear. This step is essential for a cleaner texture. Cook according to package instructions, then let it rest for 10 minutes to achieve the right consistency.
- Mix rice vinegar, sugar, and salt in a small bowl until dissolved. Gently fold this mixture into the warm rice, ensuring each grain is coated, then allow it to cool to room temperature.
- Combine cream cheese, mayonnaise, and sriracha (if using) in a bowl until smooth. This will create a creamy layer that complements the rice beautifully.
- Prepare an 8-inch round cake pan by lining it with plastic wrap. Leave some extra wrap over the edges for easy removal of the cake later.
- Press half of the seasoned rice evenly into the base of the pan using a lightly dampened spoon, making sure to create a firm base for your cake.
- Spread the creamy mixture over the rice layer, then add half of the thinly sliced salmon and avocado to create a delicious filling.
- Layer the remaining rice on top of the filling, pressing it down evenly. Cover the pan with plastic wrap and refrigerate for 20–30 minutes to help the cake hold its shape.
- Invert the pan by placing a serving plate over it, carefully flipping it upside down. Gently remove the pan and plastic wrap to reveal your beautifully formed Sushi Cake.
- Top the cake with the remaining salmon and avocado. Garnish with tobiko, sliced green onions, sesame seeds, and nori strips for an eye-catching finish.
- Slice the cake with a sharp, damp knife to keep the layers intact. Serve with soy sauce on the side for dipping.