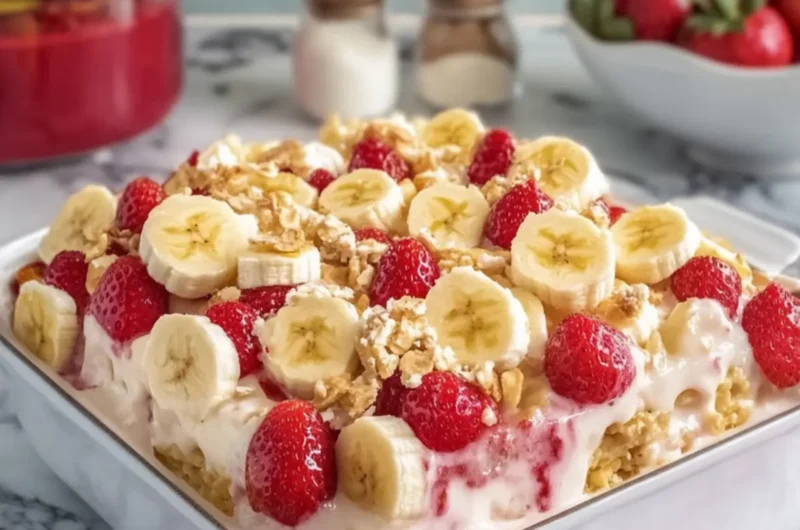
There’s a certain brightness that fills the kitchen when summer arrives, and with it comes the promise of fresh strawberries and ripe bananas just waiting to be transformed. One lazy afternoon, I found myself inspired to create something truly delightful—an indulgent Strawberry Banana Pudding Dream Casserole that combines creamy layers with bursts of fruit flavor.
Imagine digging your spoon into a cool, velvety dessert, where the sweetness of strawberries harmonizes with the rich banana essence, all wrapped in a delightful pudding embrace. This casserole is a celebration of simplicity and comfort, perfect for family gatherings or a delightful weekday treat. Plus, it’s incredibly easy to whip up—20 minutes of prep, and then all you have to do is let the fridge work its magic for a few hours.
Whether you’re looking to impress guests or satisfy craving for something homemade, this dreamy casserole is sure to steal the spotlight. Get ready to fall in love with a dessert that’s as fun to make as it is to share!
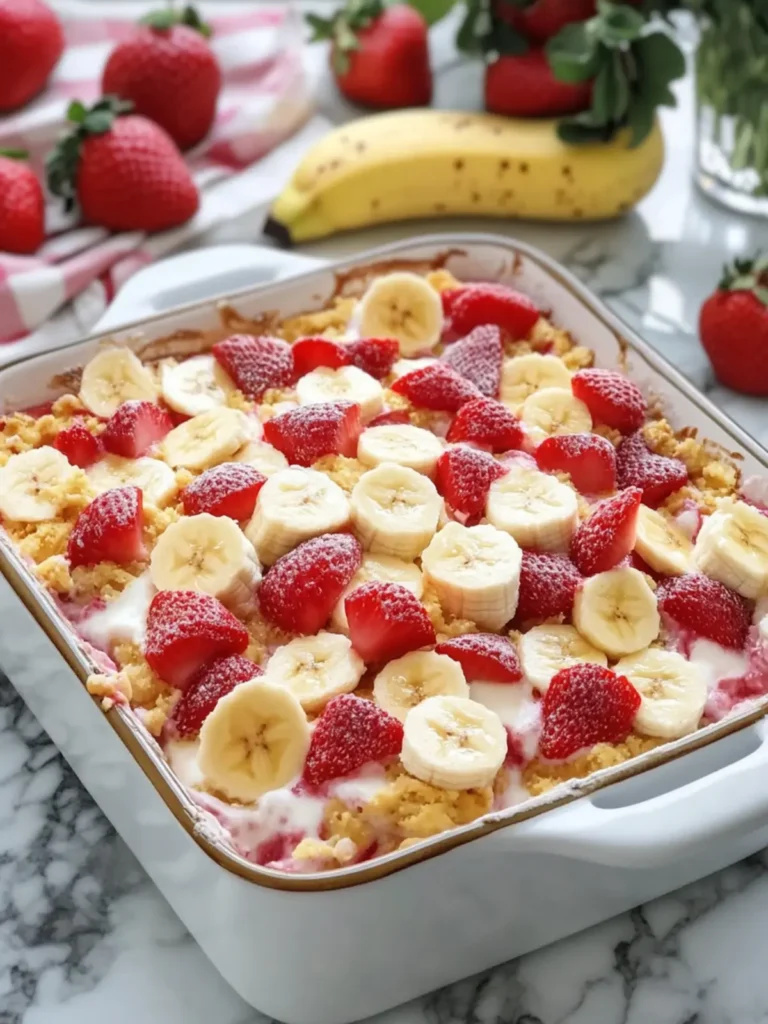
Why is Strawberry Banana Pudding Dream Casserole irresistible?
Decadent Layers: Each spoonful unveils luscious layers of pudding, fruit, and creamy goodness.
Quick Prep: With only 20 minutes of hands-on time, it fits perfectly into your busy schedule.
Crowd-Pleaser: Serving 10-12, it’s great for gatherings, guaranteed to delight family and friends.
Seasonal Freshness: Bursting with real strawberries and bananas, it captures summer’s best flavors.
No-Bake Convenience: Simply chill and serve—no oven required! Enjoy this delicious treat with your loved ones or check out our other delightful desserts for more inspiration!
Strawberry Banana Pudding Dream Casserole Ingredients
For the Pudding Mixture
• Instant vanilla pudding mix – This will provide a delightful base for the creamy layers.
• Cold whole milk – Use whole milk for a richer, creamier texture in your pudding.
• Cream cheese – Soften before mixing to ensure a smooth, velvety consistency.
• Powdered sugar – It adds sweetness without the grittiness of granulated sugar.
• Vanilla extract – A touch of vanilla enhances the overall flavor profile.
• Whipped topping – Lightens the mixture for that fluffy, dreamy texture.
For the Fruit Layers
• Vanilla wafers – These add a crunchy layer while soaking up the pudding’s moisture.
• Ripe bananas – Choose medium-sized bananas for the perfect balance of sweetness and firmness.
• Fresh strawberries – Opt for juicy, ripe strawberries to make the flavors pop!
• Fresh strawberries (halved for topping) – They provide a beautiful finish and additional fresh flavor.
• Banana (sliced for topping) – More banana slices add a lovely touch on top.
• Crushed vanilla wafers (for topping) – Sprinkle on top for extra crunch and sweetness.
Each bite of this Strawberry Banana Pudding Dream Casserole is a delightful ode to fresh ingredients and simple enjoyment!
How to Make Strawberry Banana Pudding Dream Casserole
-
Whisk together the instant vanilla pudding mix with 2 cups of cold milk in a medium bowl for about 2 minutes. Let it chill in the refrigerator for 5 minutes until thickened, allowing the flavors to meld beautifully.
-
Beat the cream cheese in another bowl until silky smooth, then add the powdered sugar and vanilla extract. Mix until combined before gradually folding in the prepared pudding for a creamy blend.
-
Fold in the whipped topping gently into the pudding mixture. Take your time to create a light and fluffy texture that balances the richness of the cream cheese with airy softness.
-
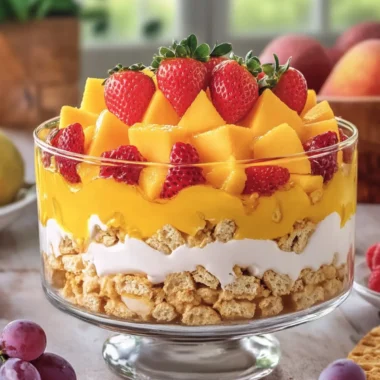
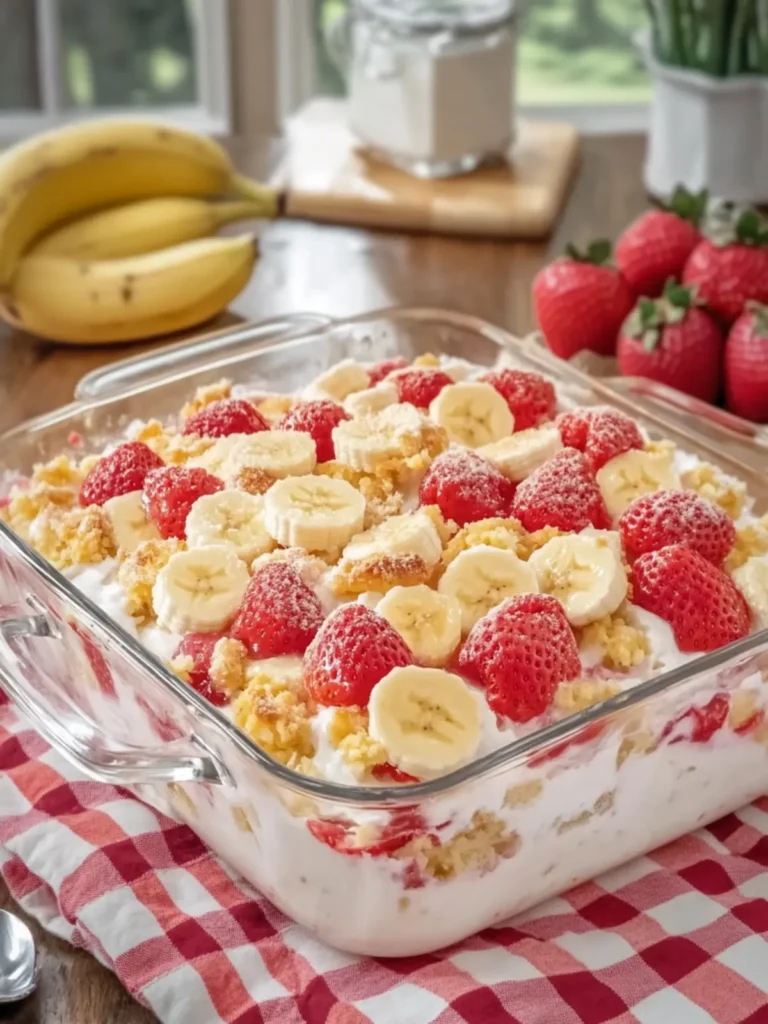
Prepare the dish by using a 9 × 13-inch clear glass baking dish. Arrange half of the vanilla wafers in a single layer across the bottom, setting the stage for a delightful crunch with every bite.
-
Layer the fruit by placing half of the sliced bananas and half of the sliced strawberries over the wafers, adding bright colors and fresh flavors that will complement the creamy layers perfectly.
-
Spread the pudding mixture evenly over the fruit layer, ensuring each piece is embraced by that luscious creaminess. It should be a delightful sight to behold!
-
Add the remaining layers by placing the rest of the vanilla wafers, sliced bananas, and strawberries on top, followed by the remaining pudding mixture. Building up these layers creates a beautiful and inviting casserole.
-
Cover and refrigerate the entire dish for at least 4 hours. This step is crucial as it lets the wafers absorb moisture and the layers firm up, making each serving a tender delight.
-
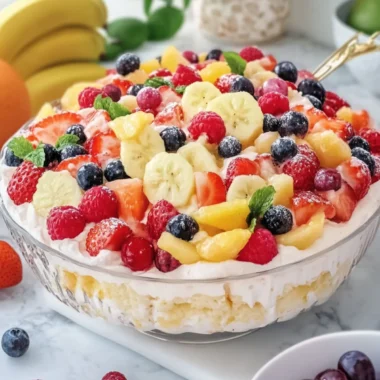
Garnish before serving by arranging the reserved banana slices and halved strawberries generously over the casserole. Finish with a sprinkle of crushed vanilla wafers for a lovely texture and extra sweetness.
-
Scoop into bowls and enjoy your cool, dreamy dessert chilled. Each bite is a celebration of summer flavors that everyone will love!
Optional: Serve with a dollop of extra whipped topping for an added treat!
Exact quantities are listed in the recipe card below.
Strawberry Banana Pudding Dream Casserole Variations
Feel free to tweak this delightful dish to fit your tastes and dietary needs!
-
Dairy-Free: Substitute cream cheese with coconut cream and use plant-based whipped topping for a creamy alternative.
-
Nutty Crunch: Add a layer of crushed almonds or walnuts between the fruit layers for an exciting crunch that complements the sweetness.
-
Chocolate Swirl: Fold in a few tablespoons of chocolate hazelnut spread into the pudding mixture for a chocolaty twist that kids will adore. Chocolate and bananas go hand in hand!
-
Berry Medley: Incorporate blueberries or raspberries along with the strawberries for added color and a burst of tangy flavor.
-
Honey Sweetened: Swap out powdered sugar for honey or maple syrup in the pudding for a naturally sweetened twist that adds depth to the flavor.
-
Spicy Kick: Mix in a pinch of cinnamon or a dash of nutmeg with the pudding to elevate the flavors, giving it a warm, spiced complexity.
-
Caramel Drizzle: Drizzle caramel sauce over the top before serving for an indulgent finishing touch that will make each spoonful irresistible.
-
Savory Layer: For a unique take, consider adding a thin layer of Greek yogurt between the fruit and pudding layers for a slight tang that contrasts beautifully with the sweetness.
With these variations, you can create your own signature version of the Strawberry Banana Pudding Dream Casserole that delights everyone at the table!
Expert Tips for Strawberry Banana Pudding Dream Casserole
- Choose Ripe Fruits: Make sure your bananas and strawberries are perfectly ripe for maximum sweetness and flavor, enhancing your Strawberry Banana Pudding Dream Casserole.
- Cream Cheese Temperature: Always soften cream cheese to room temperature for a smoother, lump-free pudding mixture. It makes a world of difference!
- Layering Technique: Take your time arranging the fruit and wafers. Neatly layered components create an appealing visual and ensure balanced bites.
- Refrigeration is Key: Allowing the dish to chill for at least 4 hours is crucial. This step allows the wafers to soften and the flavors to meld beautifully.
- Garnish for Presentation: Just before serving, don’t skip the garnishes! Fresh fruit and crushed wafers add a pretty finishing touch and tempt everyone to dig in.
How to Store and Freeze Strawberry Banana Pudding Dream Casserole
Fridge: Store leftovers in an airtight container for up to 3 days. This will keep the layers fresh and prevent the wafers from getting too soggy.
Freezer: If you want to freeze, consider storing the casserole without the fresh fruit topping. It can be frozen for up to 2 months. Thaw in the fridge overnight before serving.
Reheating: Serve chilled straight from the fridge. If you’ve frozen it, let it fully defrost before enjoying so that the flavors come back to life.
Wrap: For best results, cover the casserole tightly with plastic wrap or aluminum foil to avoid freezer burn when freezing. Enjoy every delicious bite of your Strawberry Banana Pudding Dream Casserole!
Make Ahead Options
These Strawberry Banana Pudding Dream Casserole layers lend themselves beautifully to meal prep, making your busy evenings a breeze! You can prepare the pudding mixture and layer the vanilla wafers, sliced bananas, and strawberries up to 24 hours in advance. Simply assemble everything in your dish, then cover and refrigerate it. To maintain the freshness and prevent browning, store the fruit layered within until you’re ready to serve—this ensures optimal flavor and texture. When you’re ready for dessert, finish by adding the reserved banana slices and halved strawberries, then sprinkle with crushed vanilla wafers right before serving. This way, your casserole stays just as delightful and delicious!
What to Serve with Strawberry Banana Pudding Dream Casserole?
As you prepare to indulge in this creamy delight, consider pairing it with a few delightful bites or sips to create a full dining experience.
- Grilled Chicken Skewers: Juicy chicken, lightly seasoned, brings a savory contrast to the sweet pudding, adding a satisfying balance.
- Tropical Fruit Salad: A medley of mango, pineapple, and kiwi contributes freshness and vibrancy, perfectly complementing the rich casserole.
- Chocolate Chip Cookies: The nostalgic chewy cookies harmonize beautifully with the bun of flavors, offering a fun texture change with every spoonful.
- Vanilla Ice Cream: A scoop drizzled with warm caramel enhances the sweet experience, turning dessert into a delightful celebration.
- Mint Iced Tea: Refreshing and slightly sweet, this chilled beverage adds a hint of brightness, cleansing the palate between bites.
- Almond Biscotti: Crunchy and subtly sweet, biscotti pairs beautifully with the creamy casserole while giving a delightful crunch to every taste.
Feel free to mix and match! Each option brings its own unique flair, rounding out an enchanting dining experience that celebrates the delightful allure of the Strawberry Banana Pudding Dream Casserole.
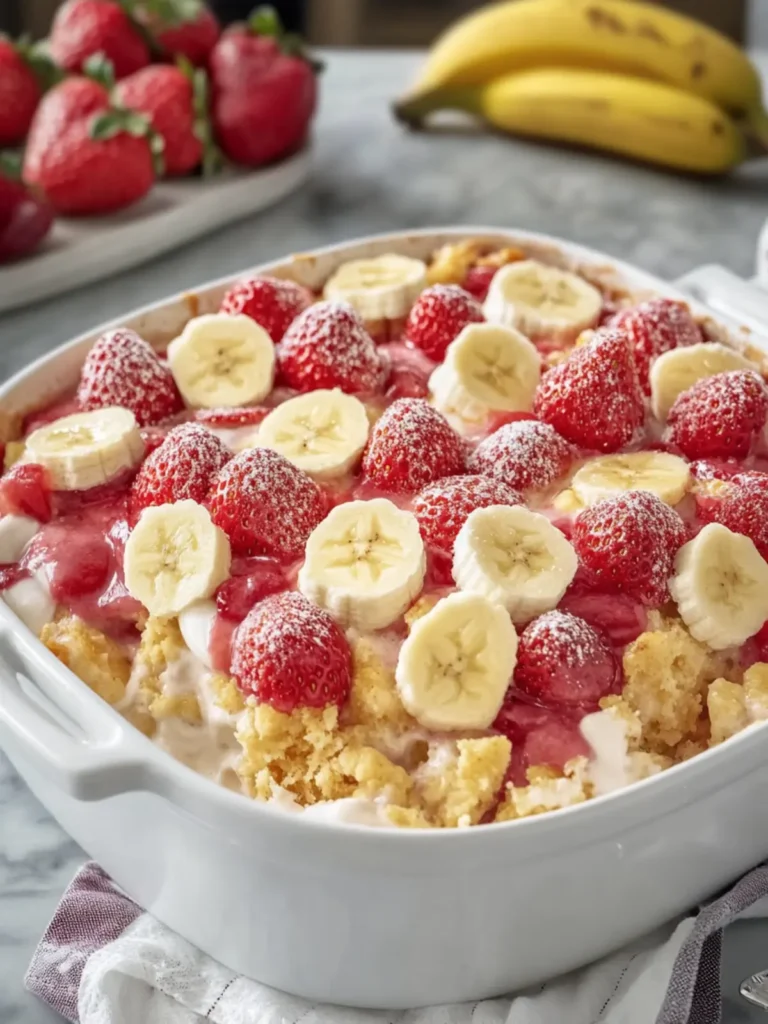
Strawberry Banana Pudding Dream Casserole Recipe FAQs
How do I select ripe bananas and strawberries for this recipe?
Absolutely! When choosing bananas, look for those that are slightly speckled and firm, as they provide just the right amount of sweetness without being overly mushy. For strawberries, opt for bright red berries with a fresh green leafy top. Avoid those with dark spots or bruises, which can indicate overripeness.
How do I store leftovers of the casserole?
Very simply! Store your Strawberry Banana Pudding Dream Casserole in an airtight container in the fridge for up to 3 days. This will help maintain its fresh flavors and prevent the vanilla wafers from getting too soggy. Just make sure the container is tightly sealed!
Can I freeze the casserole?
Yes, you can, but with a little precaution! To freeze, it’s best to do so without the fresh fruit topping. Wrap the casserole tightly in plastic wrap or aluminum foil, and freeze for up to 2 months. When you’re ready to serve, thaw it in the refrigerator overnight. This method ensures the flavors remain vibrant and enjoyable when you’re ready for a sweet treat.
What should I do if my pudding mix doesn’t thicken?
Oh dear! If your pudding doesn’t thicken, make sure you’ve whisked it with the cold milk for the full 2 minutes as mentioned. If it’s still too thin, refrigerate it for an additional 5 to 10 minutes. The chilling time is key to thickening! If all else fails, try adding a little more pudding mix to boost its consistency.
Are there any dietary considerations I need to keep in mind?
Very much so! If you have allergies, take care that the vanilla pudding mix and whipped topping do not contain your allergens—like gluten or specific dairy products. For a dairy-free version, look for alternatives like cashew cream for the pudding mixture, coconut milk for the creaminess, and dairy-free whipped topping. Always check labels, as these products vary between brands.
How can I enhance the presentation of my casserole?
Great question! Just before serving, sprinkle some additional crushed vanilla wafers on top for extra crunch and a lovely golden touch. Fresh fruit arrangements—like fanning out the reserved banana slices and halved strawberries—will make your Strawberry Banana Pudding Dream Casserole not just delicious but a feast for the eyes. Enjoy the compliments that come your way!
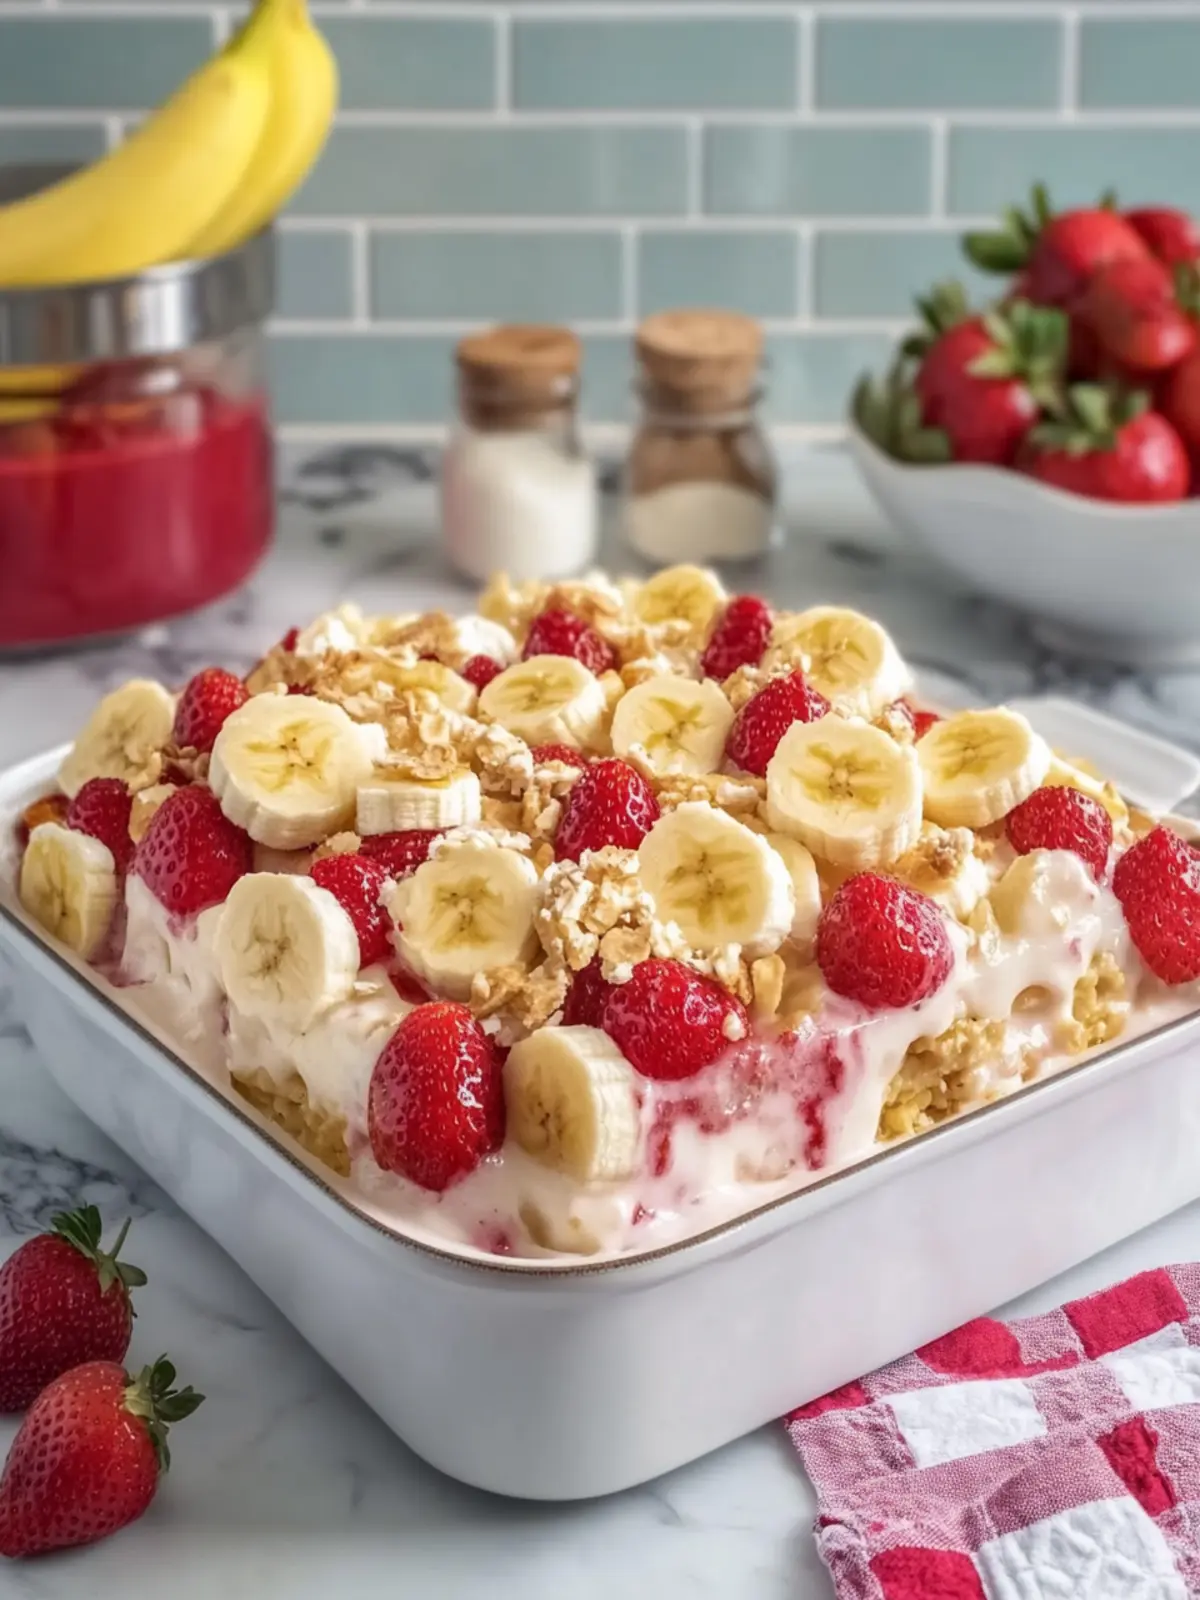
Strawberry Banana Pudding Dream Casserole: A Sweet Escape
Ingredients
Equipment
Method
- Whisk together the instant vanilla pudding mix with 2 cups of cold milk in a medium bowl for about 2 minutes. Let it chill in the refrigerator for 5 minutes until thickened.
- Beat the cream cheese until silky smooth, then add the powdered sugar and vanilla extract, mixing until combined before gradually folding in the prepared pudding.
- Fold in the whipped topping gently into the pudding mixture until you achieve a light and fluffy texture.
- Prepare the dish by arranging half of the vanilla wafers in a single layer in the bottom of a 9 × 13-inch clear glass baking dish.
- Layer half of the sliced bananas and half of the sliced strawberries over the wafers.
- Spread the pudding mixture evenly over the fruit layer.
- Add the remaining vanilla wafers, sliced bananas, and strawberries on top, followed by the remaining pudding mixture.
- Cover and refrigerate the entire dish for at least 4 hours.
- Garnish before serving by arranging the reserved banana slices and halved strawberries generously over the casserole.
- Scoop into bowls and enjoy your cool, dreamy dessert chilled.