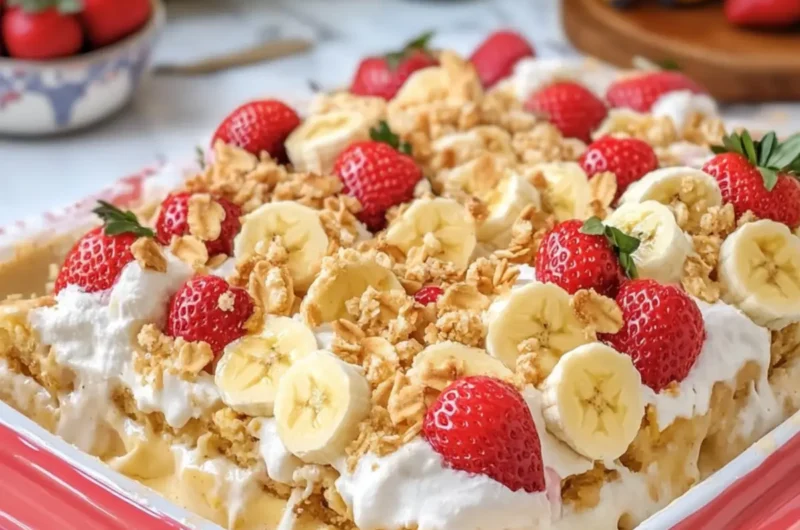
As the sun dips below the horizon, casting a warm golden glow over the kitchen, I find myself dreaming of a dessert that captures the essence of summer. Enter my Strawberry Banana Pudding Dream Casserole—a delightful, no-bake treat that transforms simple ingredients into a festival of flavor. The first time I created this luscious, layered masterpiece was during a family gathering, and I watched everyone dig in with wide smiles.
Picture this: velvety vanilla pudding mingling with slices of ripe strawberries and bananas, all resting atop a buttery bed of vanilla wafer cookies. It’s a sweet escape from the usual desserts, bridging nostalgia and joy with every spoonful. Not only is it easier to whip up than you might think, but it also makes a stunning centerpiece for any occasion, whether you’re hosting a barbecue or simply looking to indulge after a long week.
Get ready to dive into a recipe that’s bound to impress and bring everyone back for seconds!
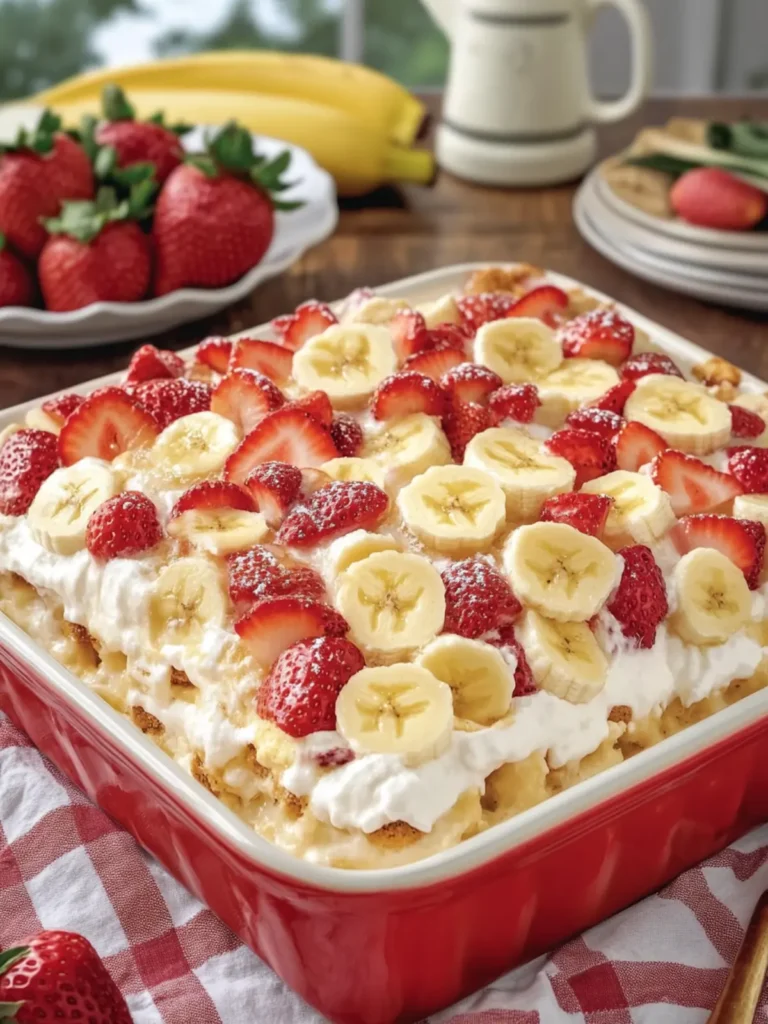
Why is Strawberry Banana Pudding Dream Casserole irresistible?
Delightful Layers: Each bite of this casserole brings a perfect blend of textures and flavors, with creamy pudding layered over fresh fruit.
Effortless Preparation: No baking required! You can have this stunning dessert ready with minimal effort, making it perfect for busy days.
Crowd-Pleasing Appeal: This dish is a guaranteed hit at any gathering, enticing friends and family with its vibrant colors and delectable taste.
Versatile Treat: Enjoy it after dinner, at potlucks, or as a midday snack—this casserole suits any occasion!
Nostalgic Comfort: Reminiscent of summer picnics and family gatherings, it evokes warm memories with every spoonful.
Let this Strawberry Banana Pudding Dream Casserole be the sweet highlight of your meal; it’s bound to become a new favorite!
Strawberry Banana Pudding Ingredients
• Get ready to create creamy layers of bliss with these simple ingredients!
For the Pudding Mixture
• Instant vanilla pudding mix – This quick mix sets the stage for our delicious creamy base.
• Cold whole milk – Essential for achieving that perfect creaminess in your pudding.
• Sweetened condensed milk – Adds a rich sweetness that elevates the flavor profile.
• Vanilla extract – A splash of this brings beautiful aroma and depth to the pudding.
• Cream cheese – Softened, it adds a luscious texture and tangy richness to the mix.
• Whipped topping – Light and airy, this will help increase that dreamy consistency.
For the Layering
• Vanilla wafer cookies – These buttery delights provide the perfect crunch and flavor contrast.
• Fresh strawberries – Sliced, they offer a juicy burst of flavor in every layer.
• Sliced bananas – Add natural sweetness and a creamy texture to enhance the fruitiness.
For the Topping
• More whipped topping – Smooth out the final layer to ensure a delightful finish.
• Crushed vanilla wafers – Sprinkle on top for an appealing crunch and charming decor.
• Fresh strawberries & banana slices – Use these for a beautiful and inviting presentation.
Now you’re all set to create your Strawberry Banana Pudding Dream Casserole! Enjoy crafting this layered loveliness that will awaken nostalgic summer vibes and keep everyone coming back for more.
How to Make Strawberry Banana Pudding Dream Casserole
-
Whisk the Pudding: In a large bowl, whisk together the instant vanilla pudding mix and cold whole milk for about 2 minutes until thickened. Add the sweetened condensed milk and vanilla extract, mixing until completely smooth.
-
Beat the Cream Cheese: In another bowl, beat the softened cream cheese until creamy and fluffy. Gradually add the pudding mixture, stirring until fully combined and smooth.
-
Fold in Topping: Gently fold 1½ cups of whipped topping into the pudding mixture. Go slow to keep it light and airy, creating that dreamy texture we’re after.
-
Layer the Cookies: Place a layer of vanilla wafer cookies across the bottom of a large rectangular casserole dish, ensuring they’re arranged neatly to support the fruit.
-
Add the Fruit: Lay down the sliced bananas and strawberries over the cookies, creating a vibrant and juicy layer that complements the pudding beautifully.
-
Spread the Pudding Mixture: Take half of the vanilla pudding mixture and spread it evenly over the fruit layer, ensuring every piece is well-covered and included.
-
Continue Layering: Add another layer of vanilla wafers followed by more strawberries, bananas, and the remaining pudding mixture. This will build that scrumptious depth.
-
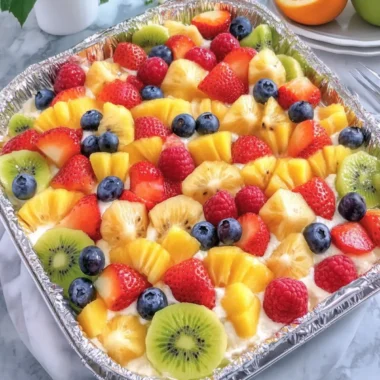
Finish with Topping: Spread the remaining 2 cups of whipped topping over the top layers. Finish with a sprinkle of crushed vanilla wafers and decorate with fresh strawberry halves and banana slices for a pop of color.
-
Chill and Set: Cover the casserole with plastic wrap and refrigerate for at least 4–6 hours, or preferably overnight. This allows the cookies to soften and the flavors to meld together perfectly.
Optional: Add a sprinkle of cinnamon on top for an extra flavor kick.
Exact quantities are listed in the recipe card below.
Make Ahead Options
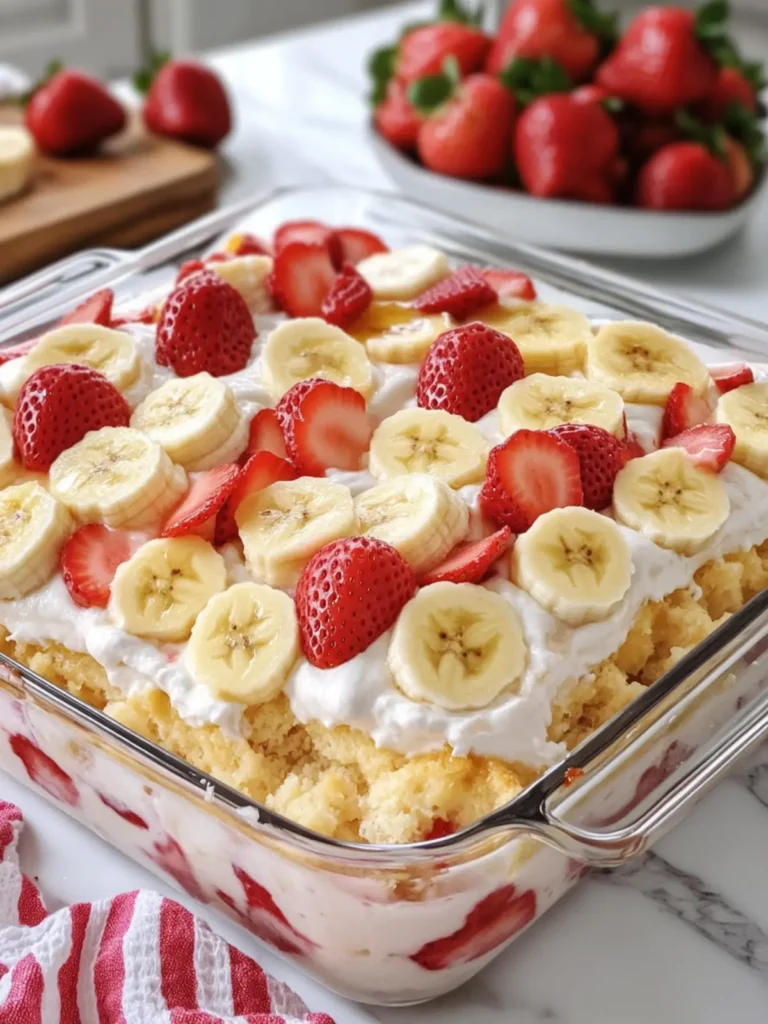
These Strawberry Banana Pudding Dream Casserole layers are perfect for meal prep enthusiasts! You can prepare the pudding mixture (steps 1-3) up to 24 hours in advance, storing it in an airtight container in the refrigerator to maintain its freshness. You can also slice the bananas and strawberries ahead of time—just toss the bananas with a little lemon juice to prevent browning. The layered casserole can be assembled up to 3 days before serving, allowing flavors to meld beautifully. When ready to enjoy, simply chill for at least 4–6 hours (or overnight) to let the cookies soften and everything set. This way, your dessert will be just as delicious while saving you time during busy weeknights!
Storage Tips for Strawberry Banana Pudding Dream Casserole
Fridge: Keep the casserole covered in the refrigerator for up to 3 days. This maintains its freshness while preserving the delightful layers.
Freezer: For longer storage, freeze individual portions in airtight containers for up to 2 months. Thaw overnight in the fridge before enjoying.
Reheating: The Strawberry Banana Pudding Dream Casserole is best served cold. However, if you prefer it slightly warm, gently microwave it for 10–15 seconds.
Leftover Layers: If you’re left with extra bananas or strawberries, store them separately in the fridge to keep them fresh for garnishing later.
Expert Tips for Strawberry Banana Pudding
-
Use Cold Ingredients: Start with cold milk and chilled whipped topping to help achieve a creamy, velvety texture in your Strawberry Banana Pudding Dream Casserole.
-
Layer Wisely: Avoid overlapping fruits too much in the layers; a well-distributed placement ensures every serving has an equal amount of deliciousness.
-
Pudding Consistency: Be sure to let the pudding mixture thicken properly before folding in whipped topping. This prevents it from becoming too runny after layering.
-
Let It Chill: Patience is key! Chilling for at least 4–6 hours allows the flavors to meld and cookies to soften. Overnight chilling is even better for the ultimate texture.
-
Freshness Matters: Use ripe but firm bananas and strawberries for the best flavor and presentation. This ensures they hold their shape and don’t become mushy.
-
Decorate with Care: When topping with fruit and crushed wafers, do it just before serving to maintain freshness and visual appeal.
Strawberry Banana Pudding Dream Casserole Variations
Feel free to sprinkle your own magic on this delightful casserole and customize it to your heart’s content!
-
Dairy-Free: Swap whole milk with almond or coconut milk and use dairy-free cream cheese for a lactose-free twist. The flavors will still shine bright!
-
Chocolate Lovers: Mix in a layer of chocolate pudding between the fruit and vanilla pudding for a decadent, double-layered experience. This twist takes it to a whole new level of indulgence.
-
Nutty Crunch: Incorporate crushed nuts, like almonds or pecans, between the layers for an irresistible crunch. This adds a new texture that beautifully complements the creamy pudding.
-
Add Some Heat: Sprinkle a pinch of cayenne pepper or cinnamon into the pudding mixture for a touch of warmth. The spiciness contrasts nicely with the sweetness of the fruits.
-
Tropical Vibes: Switch the strawberries and bananas for mango slices and kiwi for a refreshing tropical twist. It’s like vacation on a plate!
-
Sugar-Free Option: Use sugar-free pudding mix and light whipped topping for a healthier alternative that still tastes amazing. Your friends won’t even know the difference!
-
Layer Variations: Experiment by layering different fruits like blueberries, raspberries, or peaches. Each fruit adds its own unique flavor and color, making the dish even more visually stunning.
-
Decorative Flair: Use edible flowers to enhance the presentation. These flowers will not only add visual appeal but also provide a hint of floralness to the overall dish.
With these variations, let your creativity lead you to a version of this Strawberry Banana Pudding Dream Casserole that’s uniquely yours!
What to Serve with Strawberry Banana Pudding Dream Casserole?
Indulge in a delightful meal that perfectly pairs with this creamy, fruity dessert to elevate your dining experience.
-
Fresh Fruit Salad: A medley of seasonal fruits balances the sweetness of the pudding while adding a refreshing crunch. The colors and flavors will brighten your table!
-
Grilled Chicken Skewers: Juicy, marinated chicken brings a savory touch, creating a delightful contrast against this sweet treat. Perfect for a summer barbecue or casual gathering.
-
Classic Vanilla Ice Cream: A scoop of vanilla ice cream pairs beautifully, enhancing the creamy goodness of the pudding while providing a delightful melting effect.
-
Lemonade or Iced Tea: Refreshing beverages like lemonade or iced tea cleanse the palate and complement the dessert without overpowering it. A zesty twist is always a hit!
-
Chocolate Covered Pretzels: An unexpected pairing that offers a satisfying crunch with a touch of sweetness. The salty-sweet combo invites guests to keep snacking!
-
Cheese Platter: A selection of soft cheeses with crackers adds a savory note that perfectly balances the sweetness of the dessert, making each bite an adventure.
-
Mini Cupcakes: Sweet, delicate cupcakes can serve as another fun dessert option and are easy to tailor to match flavors with the pudding!
-
Mason Jar Berry Parfaits: Layered berry parfaits create a lovely visual feast and continue the fresh fruit theme, making your meal feel light and delightful.
Craft a meal that envelops your loved ones in warmth, joy, and plenty of flavors that create sweet memories around the table!
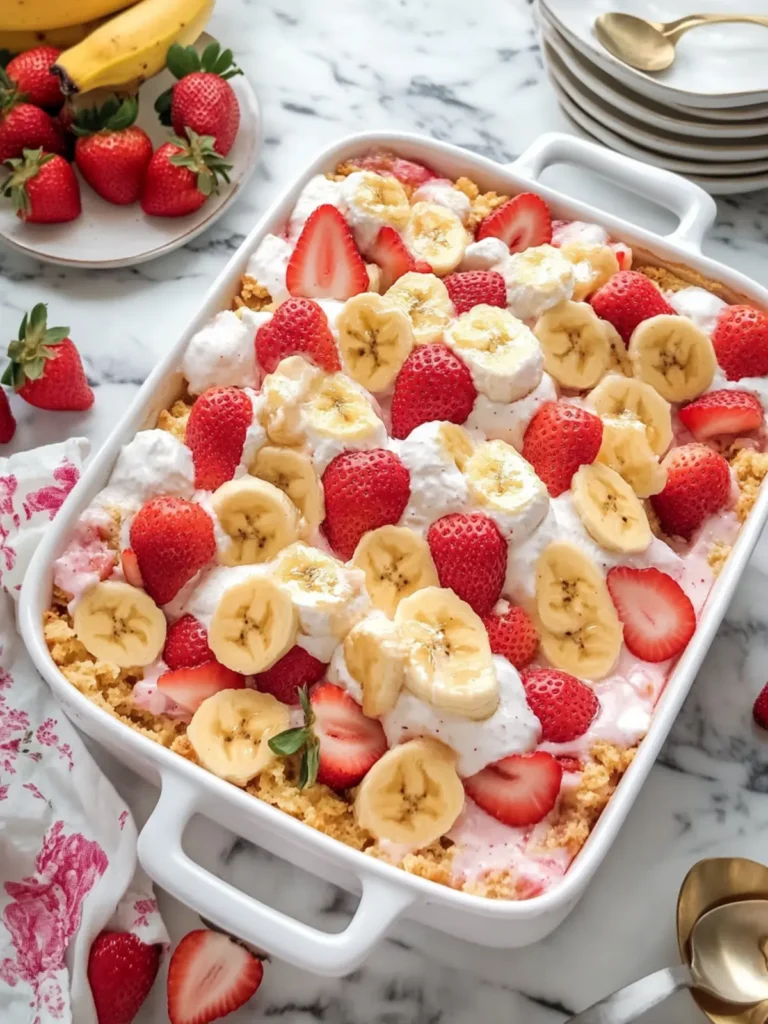
Strawberry Banana Pudding Dream Casserole Recipe FAQs
What should I look for when selecting strawberries and bananas?
Absolutely! When picking strawberries, look for vibrant red berries with a fresh green stem. They should be firm and free from dark spots, which indicate overripeness. For bananas, choose ones that are ripe but not overripe; they should be freckled and slightly soft to the touch, ensuring they’ll contribute a lovely sweetness without becoming mushy.
How long can I store the Strawberry Banana Pudding Dream Casserole in the refrigerator?
Very! You can keep the casserole covered in the refrigerator for up to 3 days. Make sure to cover it tightly with plastic wrap to preserve its freshness and prevent any absorption of odors from the fridge.
Can I freeze my Strawberry Banana Pudding Dream Casserole for later?
Absolutely! You can freeze individual portions in airtight containers for up to 2 months. To freeze, scoop the desired portions into the containers, seal them well, and label them. When you’re ready to enjoy, simply thaw them overnight in the refrigerator. This keeps the texture delightful when you finally dig in!
What should I do if my pudding mixture isn’t thickening properly?
No worries! If your pudding mixture isn’t thickening, it might be due to not whisking it long enough, so give it a good 2 minutes of vigorous whisking with the cold milk. If you’re still having issues, try chilling it in the refrigerator for 15-30 minutes; this often helps to set it further. Remember, it’s all about those dreamy layers!
Are there any dietary considerations I should keep in mind for my family or friends?
The more the merrier! If you have guests with dietary restrictions, consider using lactose-free milk and whipped topping or a dairy-free cream cheese substitute. For allergies, ensure your vanilla wafer cookies are nut-free, as many brands contain traces of nuts. Always confirm with your friends to make sure everyone can enjoy this delicious treat together!
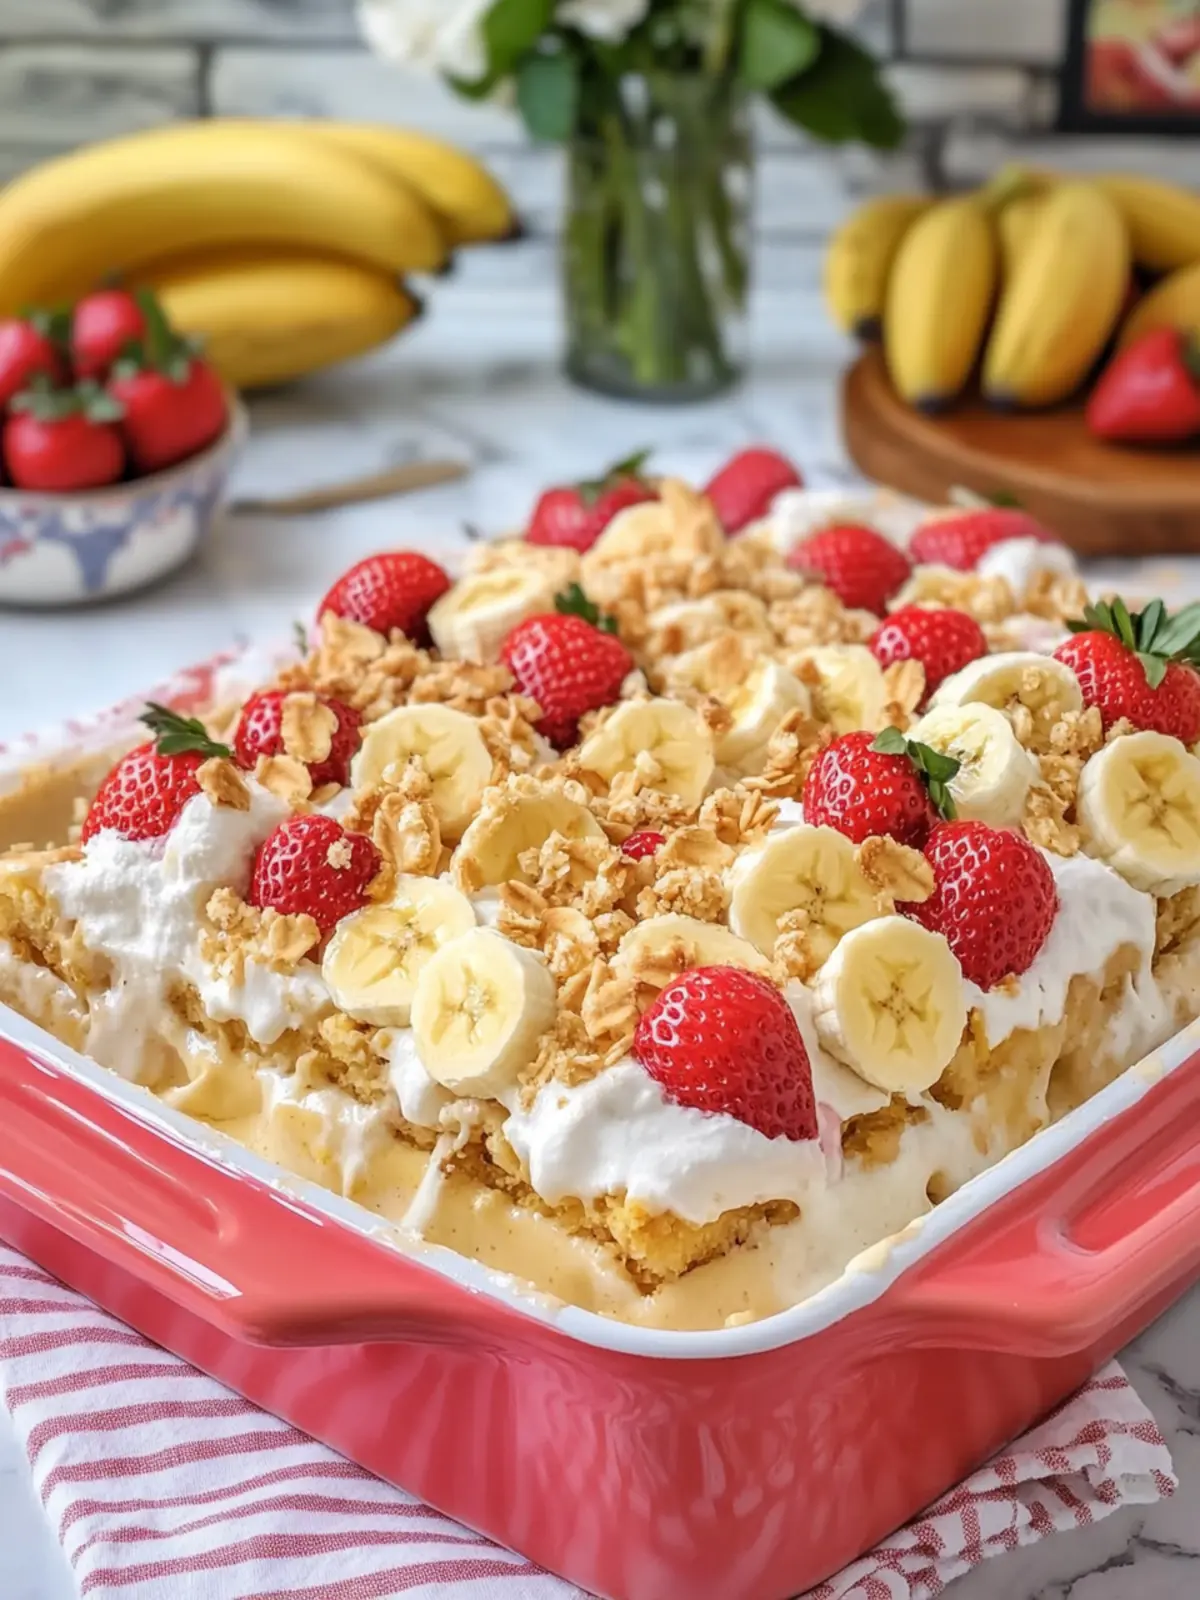
Strawberry Banana Pudding Dream Casserole for Sweet Indulgence
Ingredients
Equipment
Method
- In a large bowl, whisk together the instant vanilla pudding mix and cold whole milk for about 2 minutes until thickened. Add the sweetened condensed milk and vanilla extract, mixing until completely smooth.
- In another bowl, beat the softened cream cheese until creamy and fluffy. Gradually add the pudding mixture, stirring until fully combined and smooth.
- Gently fold 1½ cups of whipped topping into the pudding mixture. Go slow to keep it light and airy.
- Place a layer of vanilla wafer cookies across the bottom of a large rectangular casserole dish.
- Lay down the sliced bananas and strawberries over the cookies.
- Take half of the vanilla pudding mixture and spread it evenly over the fruit layer.
- Add another layer of vanilla wafers followed by more strawberries, bananas, and the remaining pudding mixture.
- Spread the remaining 2 cups of whipped topping over the top layers. Finish with a sprinkle of crushed vanilla wafers and decorate with fresh strawberry halves and banana slices.
- Cover the casserole with plastic wrap and refrigerate for at least 4–6 hours, or preferably overnight.