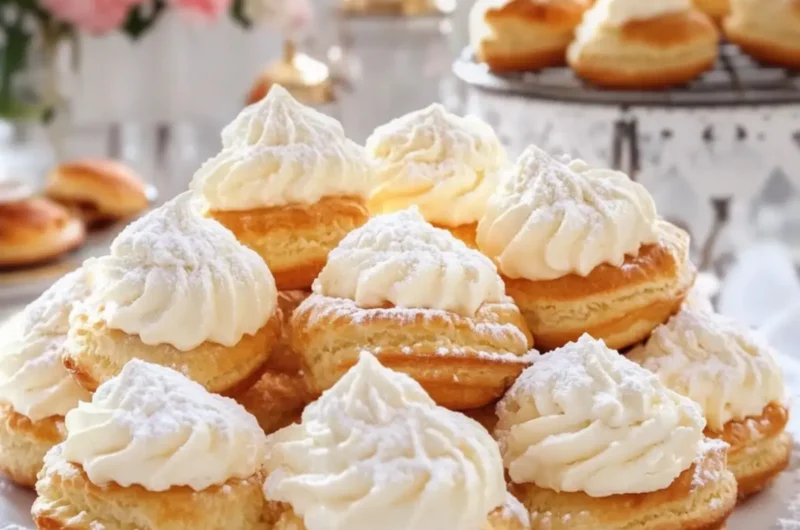
When the aroma of freshly baked pastries fills the air, it creates an undeniable sense of warmth and nostalgia. The first time I tasted a cream puff, I was instantly enchanted by its airy texture and luscious filling. Fast-forward to my own kitchen, where I decided to take on the challenge of making Simple Homemade Vanilla Cream Puffs from scratch. These delightful treats not only elevate any dessert table but are surprisingly easy to whip up, making them perfect for both seasoned bakers and kitchen novices alike.
Imagine impressing your friends and family with a batch of these golden, light pastries filled with a velvety vanilla cream that dances on your taste buds. Each bite is a little piece of heaven, and surprisingly, they can be prepared in just a couple of hours. Whether you’re hosting a gathering or simply indulging in a sweet treat at home, this recipe guarantees a crowd-pleaser that will leave everyone asking for more. So roll up your sleeves, and let’s dive into the delightful world of homemade vanilla cream puffs!
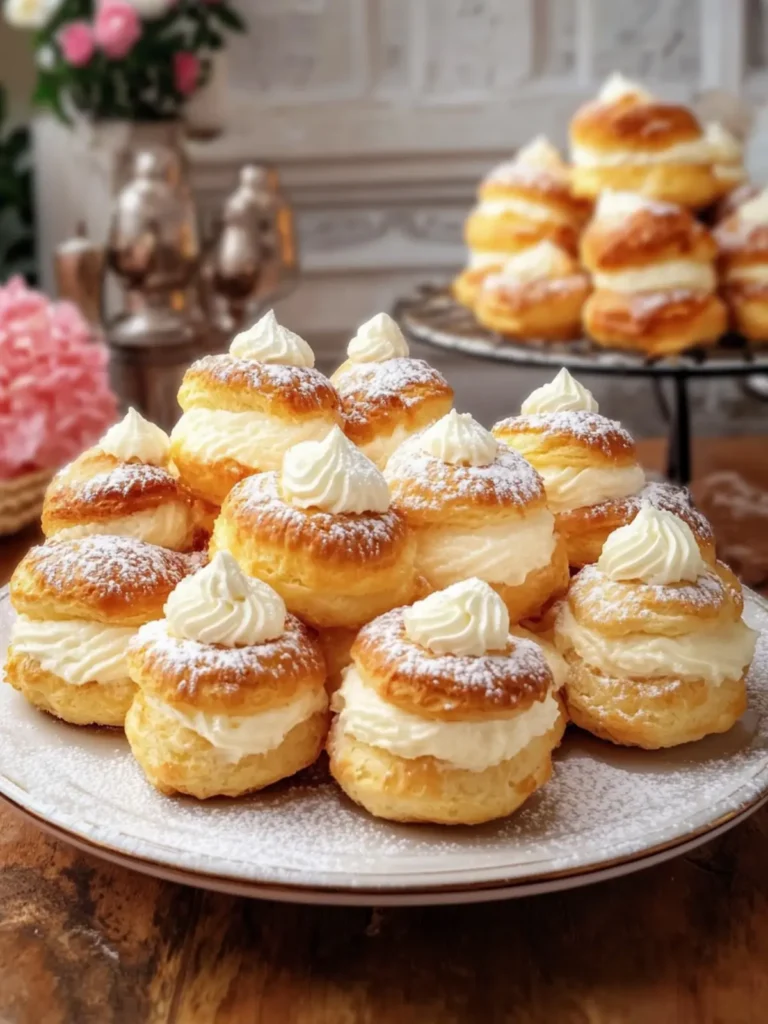
Why are Simple Homemade Vanilla Cream Puffs irresistible?
Light and Airy Texture: Each cream puff is crafted with precision, resulting in a delicate shell that has a satisfying crunch.
Decadent Vanilla Cream Filling: The rich, velvety custard inside brings a burst of flavor that will elicit smiles from everyone at your table.
Effortless Recipe: You don’t need to be a professional baker; this approachable recipe allows anyone to achieve bakery-quality results at home.
Perfect for Any Occasion: Whether it’s a holiday celebration or a casual weekend treat, these vanilla cream puffs fit the bill and steal the show.
Customizable Delight: Feel free to experiment with flavors or toppings, making every batch a unique creation that reflects your style!
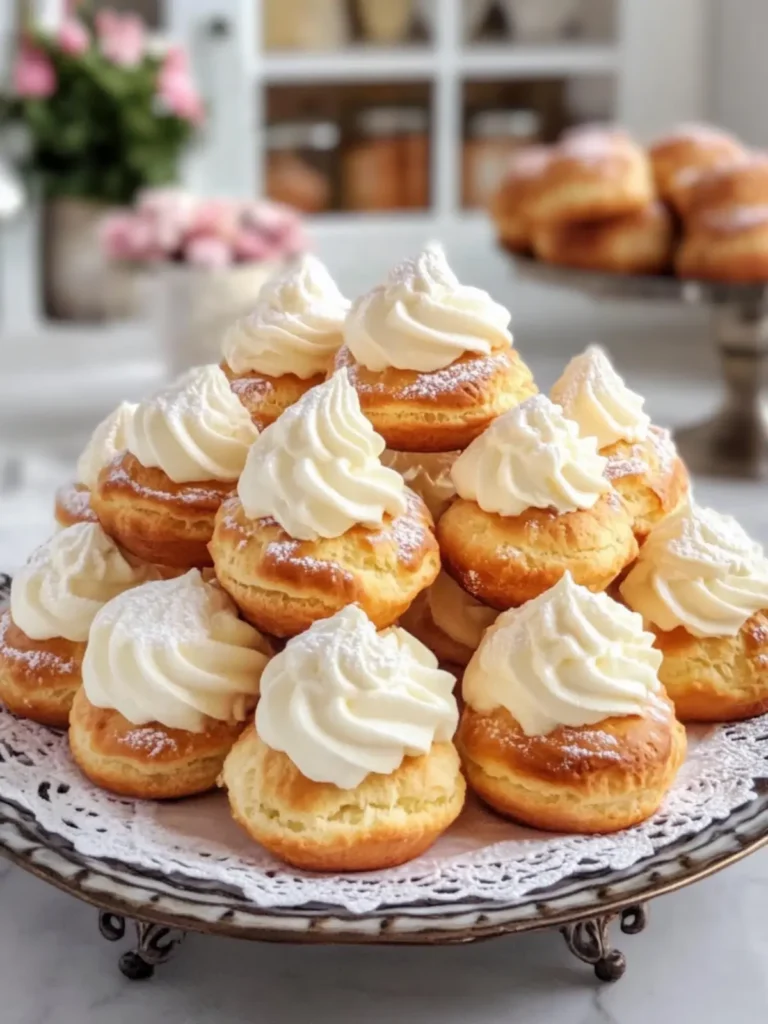
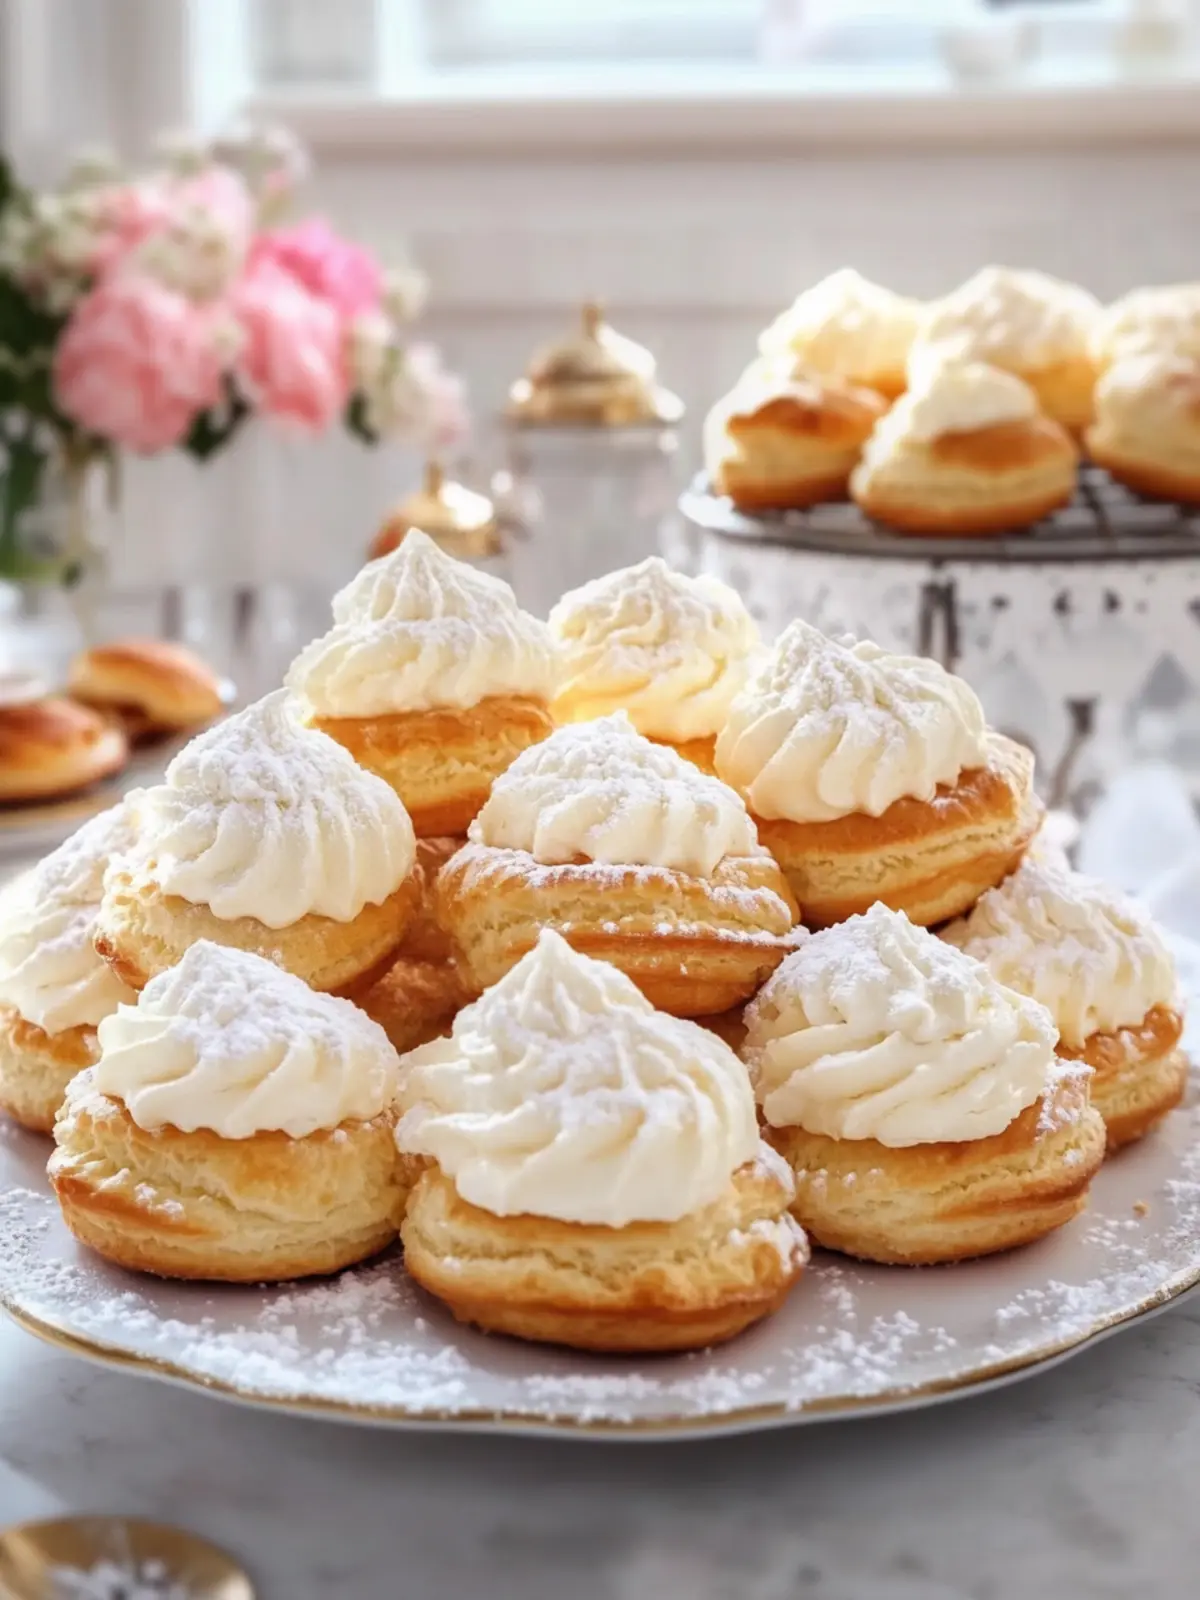
Impressive Presentation: Dusting them with powdered sugar makes for an elegant finish, ensuring they look as good as they taste.
Simple Homemade Vanilla Cream Puff Ingredients
Get ready to create delightful pastries with this simple ingredient list!
For the Choux Pastry
• 1 cup (240 ml) water – This moisture is essential for creating the steam that gives the pastries their puff.
• ½ cup (115 g) unsalted butter – Adds richness and flavor to the dough; make sure it’s fresh for best results.
• 1 tablespoon granulated sugar – Just a hint of sweetness balances the richness of the butter.
• ¼ teaspoon salt – Enhances all the flavors in your pastry.
• 1 cup (125 g) all-purpose flour – The backbone of the pastry; ensure it’s sifted for an airy texture.
• 4 large eggs, room temperature – Helps create a silky dough that will hold its shape beautifully.
For the Vanilla Cream Filling
• 2 cups (480 ml) whole milk – Provides a creamy base for your luxurious vanilla custard.
• ½ cup (100 g) granulated sugar – Sweetens the filling perfectly; consider adjusting to taste.
• 4 large egg yolks – These enrich the custard, lending it that lovely golden color and smoothness.
• 3 tablespoons (24 g) cornstarch – Thickens the custard for the ideal creamy consistency.
• 2 tablespoons (28 g) unsalted butter – Adds a luscious finish to your custard.
• 2 teaspoons vanilla extract – The star flavor that transforms your filling into vanilla cream magic.
For the Whipped Cream Topping
• ½ cup (120 ml) heavy whipping cream – Whips up beautifully for that light topping on your puffs.
• 2 tablespoons powdered sugar – Sweetens the cream and helps stabilize it for piping perfection.
How to Make Simple Homemade Vanilla Cream Puffs
-
Preheat the oven: Start by heating your oven to 400°F (200°C). This initial blast of heat is crucial for puffing those pastries perfectly. Line a large baking sheet with parchment paper to prevent sticking.
-
Prepare the pastry: In a saucepan, combine water, butter, sugar, and salt. Bring this mixture to a boil, allowing all the ingredients to meld beautifully.
-
Add flour: Once boiling, remove the saucepan from the heat and add all the flour at once. Stir vigorously until a smooth dough forms and pulls away from the sides of the pan—this should take about 1-2 minutes.
-
Dry the dough: Return the pan to low heat and continue stirring for another 1-2 minutes. This step is essential to remove excess moisture. After, transfer the dough to a mixing bowl and let it cool for 5 minutes.
-
Add eggs: Beat in the eggs one at a time, mixing well after each addition. Your dough should become smooth, glossy, and thick enough to hold its shape—this usually takes about 3-4 minutes.
-
Shape the puffs: Transfer the dough into a piping bag, and pipe 2-inch rounds onto the prepared baking sheet, ensuring there’s enough space between each puff for growth.
-
Bake: Pop them in your preheated oven and bake at 400°F (200°C) for 15 minutes. Then, reduce the temperature to 350°F (175°C) and bake for another 15-20 minutes until they’re puffed up and golden. Avoid opening the oven door during this time!
-
Cool: After baking, turn off the oven and pierce each puff with a small skewer to release steam. Leave them inside with the door slightly ajar for about 5 minutes before transferring to a wire rack to cool completely.
-
Make the vanilla custard: In a mixing bowl, whisk together egg yolks, sugar, cornstarch, and a splash of milk until completely smooth.
-
Cook the custard: Heat the remaining milk in a saucepan until it’s steaming. Slowly whisk this hot milk into the egg mixture, then return everything to the saucepan.
-
Cook over medium heat: Stir constantly for 3-5 minutes until the custard thickens and becomes creamy. Remove from heat and mix in the butter and vanilla.
-
Chill: Transfer the custard to a bowl, covering the surface with plastic wrap to prevent a skin from forming, and refrigerate until completely cold.
-
Whip the cream: In a separate bowl, beat the heavy cream until stiff peaks form. Gently fold this whipped cream into the chilled custard for that heavenly texture.
-
Fill the puffs: Slice each cooled pastry horizontally and pipe generous amounts of the vanilla cream filling inside. Replace the tops to complete the puffs.
-
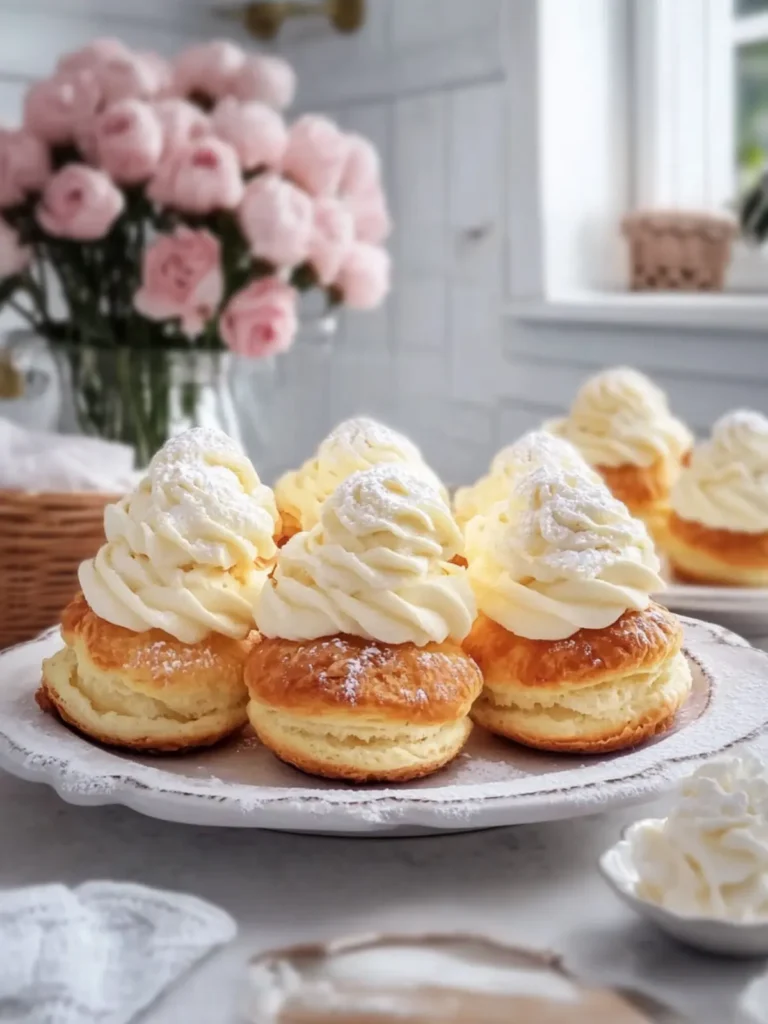
Finish: Dust your delightful cream puffs generously with powdered sugar and present them beautifully on a decorative serving platter.
Optional: Drizzle with chocolate for an extra indulgent surprise.
Exact quantities are listed in the recipe card below.
Simple Homemade Vanilla Cream Puff Variations
Feel free to add your unique touch to these delightful puffs and elevate their flavors!
-
Chocolate Drizzle: Melt dark or milk chocolate and drizzle over the filled puffs for a rich twist. The combination of chocolate and vanilla is simply divine!
-
Fruit Filling: Swap some or all of the vanilla cream with fresh fruit puree or pastry cream flavored with berries. This adds a refreshing burst of flavor that’s perfect for summer.
-
Nutty Flavor: Incorporate almond extract instead of vanilla for a nutty flavor. Your cream puffs will transport you to a quaint French patisserie!
-
Gluten-Free Option: Use a gluten-free all-purpose flour blend for those with gluten sensitivities. Just ensure that your blend includes some xanthan gum for the best texture.
-
Coconut Cream: Replace the heavy cream with coconut cream and add shredded coconut to the filling for a tropical twist. Each bite offers a delightful chewiness and flavor reminiscent of paradise!
-
Spiced Cream: Add a pinch of cinnamon or nutmeg to the vanilla cream for a warm, inviting flavor. It’s like enjoying a hug in puff form!
-
Caramel Surprise: Drizzle caramel sauce on top before serving for a decadent finish. The sweet, buttery flavor pairs perfectly with the light vanilla filling.
-
Cheesecake Filling: Mix in softened cream cheese with the vanilla custard for a tangy, creamy filling that takes these puffs to a new level of indulgence. It’s a cheesecake lover’s dream!
Expert Tips for Simple Homemade Vanilla Cream Puffs
• Room Temperature Eggs: Using eggs at room temperature ensures they integrate smoothly into the dough, helping achieve that perfect puff.
• Don’t Open the Oven: It’s crucial to avoid opening the oven while the puffs are baking. This can cause them to deflate, leaving you with flat pastries instead of airy cream puffs.
• Cool Gradually: After baking, let the puffs cool gradually in the oven. This helps maintain their structure and prevents sogginess.
• Taste Your Custard: Before filling the puffs, taste your vanilla cream filling. Adjust sweetness or vanilla according to your preference for the best flavor.
• Pipe with Care: When filling the cream puffs, pipe the custard gently to avoid bursting the delicate pastry. It’s all about balance!
• Storage Tips: Store leftover cream puffs in the fridge to maintain freshness. Enjoy them within a day or two for the best texture!
These tips will ensure your Simple Homemade Vanilla Cream Puffs turn out perfectly every time!
Make Ahead Options
These Simple Homemade Vanilla Cream Puffs are perfect for meal prep enthusiasts! You can prepare the choux pastry dough up to 24 hours in advance and store it tightly wrapped in the refrigerator, ensuring it’s ready to be piped fresh when you’re ready to bake. The vanilla custard filling can be made up to 3 days ahead—just cool it completely, cover it with plastic wrap touching the surface, and refrigerate. When you’re ready to serve, whip the cream and fold it into the chilled custard for the best texture. Simply fill your puffs right before serving to keep them delightfully crispy and fresh for an impressive treat that will wow everyone!
What to Serve with Simple Homemade Vanilla Cream Puffs?
The lightness of these cream puffs is beautifully complemented by a few well-chosen pairings that elevate both flavor and experience.
-
Fresh Berries: The tartness of strawberries or raspberries adds a burst of flavor that balances the sweetness of the cream puffs.
-
Chocolate Sauce: A warm drizzle of rich chocolate sauce provides a delightful contrast, enhancing the experience with each indulgent bite.
-
Coffee or Espresso: A cup of coffee’s bitterness makes a perfect pairing, cutting through the creaminess for a delightful finish.
-
Whipped Cream: Simply serve extra whipped cream on the side for those who crave an additional layer of decadence.
-
Pistachio Crumble: A sprinkle of crushed pistachios offers a delightful crunch and a nutty flavor that pairs beautifully with the soft puffs.
-
Ice Cream: Serve alongside a scoop of vanilla or almond ice cream for a truly indulgent treat that’s sure to impress.
-
Citrus Sorbet: The refreshing zing of lemon or orange sorbet acts as a perfect palate cleanser between rich bites, adding a vibrant touch.
These delightful combinations ensure your dessert table is just as enchanting as the Simple Homemade Vanilla Cream Puffs themselves!
How to Store and Freeze Simple Homemade Vanilla Cream Puffs
Fridge: Store leftover cream puffs in an airtight container in the fridge for up to 2 days to keep them fresh and delicious.
Freezer: If you want to save some for later, you can freeze the unfilled choux pastry puffs for up to 1 month. Just ensure they’re completely cooled, then wrap them tightly in plastic wrap and place them in a freezer bag.
Reheating: To refresh frozen cream puffs, thaw them in the fridge overnight, then warm them in a preheated oven at 350°F (175°C) for about 5-10 minutes to regain their crispness.
Filling: It’s best to fill the cream puffs just before serving to enjoy their ideal texture. The vanilla cream can be stored separately in the fridge for up to 3 days before filling your delightful pastries.
Simple Homemade Vanilla Cream Puffs Recipe FAQs
What type of flour should I use for the choux pastry?
I recommend using all-purpose flour for the choux pastry, as it strikes the perfect balance for creating a light and airy texture. Make sure to sift it before measuring to avoid clumps and help ensure that your dough rises beautifully!
How do I know when the cream puffs are properly baked?
The cream puffs should be golden brown and puffed up when they’re done baking. Avoid opening the oven door during the baking process, as this might cause them to deflate. You can also gently press the tops; they should feel firm but light.
How should I store my leftover cream puffs?
Store any leftover cream puffs in an airtight container in the refrigerator for up to 2 days. However, for the best taste and texture, I recommend filling them just before serving, as the filling can make the pastry soggy over time.
Can I freeze the cream puffs, and how?
Absolutely! You can freeze unfilled choux pastry puffs for up to 1 month. Make sure they are completely cooled, then wrap each puff tightly in plastic wrap and place them in a freezer bag. To enjoy them later, simply thaw in the fridge overnight and reheat in a preheated oven at 350°F (175°C) for about 5-10 minutes.
What should I do if my choux pastry doesn’t puff?
If your choux doesn’t puff up, it could be due to several reasons—most commonly, there wasn’t enough moisture in the dough. To troubleshoot, ensure you combine the ingredients properly and stir to remove excess moisture before baking. Additionally, the temperature of the oven should be high enough to create steam, so check your oven’s accuracy with an oven thermometer!
Is this recipe suitable for people with allergies?
This recipe contains common allergens such as eggs and dairy. If you or your guests have dietary restrictions, consider using egg substitutes and non-dairy milk options. However, these adjustments may change the texture and flavor slightly, so it may require some experimentation to achieve the desired results.
Simple Homemade Vanilla Cream Puffs That Will Wow Everyone
Ingredients
Equipment
Method
- Preheat the oven by heating it to 400°F (200°C). Line a large baking sheet with parchment paper to prevent sticking.
- In a saucepan, combine water, butter, sugar, and salt. Bring this mixture to a boil, allowing all the ingredients to meld beautifully.
- Once boiling, remove the saucepan from the heat and add all the flour at once. Stir vigorously until a smooth dough forms and pulls away from the sides of the pan, about 1-2 minutes.
- Return the pan to low heat and continue stirring for another 1-2 minutes to remove excess moisture. Transfer the dough to a mixing bowl and let it cool for 5 minutes.
- Beat in the eggs one at a time, mixing well after each addition until the dough is smooth and holds its shape, about 3-4 minutes.
- Transfer the dough to a piping bag and pipe 2-inch rounds onto the prepared baking sheet, leaving space between each puff.
- Bake in the preheated oven for 15 minutes at 400°F (200°C), then reduce the temperature to 350°F (175°C) and bake for another 15-20 minutes until golden.
- After baking, turn off the oven and pierce each puff with a small skewer to release steam. Leave them inside with the door slightly ajar for about 5 minutes before transferring to a wire rack.
- In a mixing bowl, whisk together egg yolks, sugar, cornstarch, and a splash of milk until completely smooth.
- Heat the remaining milk in a saucepan until steaming. Slowly whisk this hot milk into the egg mixture, then return everything to the saucepan.
- Cook over medium heat, stirring constantly for 3-5 minutes until the custard thickens and becomes creamy. Remove from heat, then mix in butter and vanilla.
- Transfer the custard to a bowl, covering with plastic wrap to prevent a skin from forming. Refrigerate until completely cold.
- In a separate bowl, beat the heavy cream until stiff peaks form. Gently fold the whipped cream into the chilled custard.
- Slice each cooled pastry horizontally and pipe generous amounts of the vanilla cream filling inside. Replace the tops to complete the puffs.
- Dust the completed cream puffs generously with powdered sugar and serve them beautifully on a decorative platter.