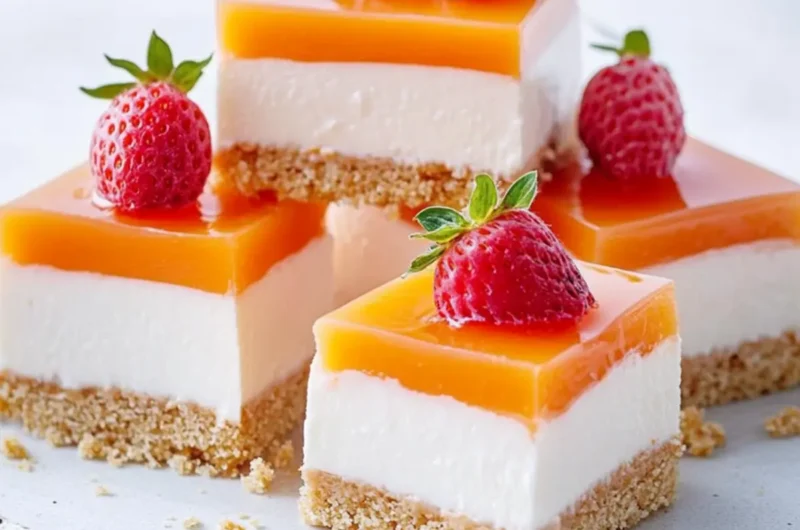
The vibrant colors of a summer picnic, the laughter of friends, and the sweet nostalgia of childhood treats all come rushing back to me when I think of my beloved Sherbies no-bake slice. Picture this: layers of creamy goodness, a crunchy biscuit base, and that unmistakable burst of fruity Sherbies lollies throughout, creating a harmonious medley of flavor that is simply irresistible. This recipe not only satisfies your sweet tooth but also gives you a delightful escape from the mundane takeout routine.
After a long day of juggling work and responsibilities, whipping up this slice feels like a refreshing breeze. It’s the perfect pick-me-up—easy to make with ingredients you probably have on hand, yet oh-so-impressive when it comes to taste and presentation. Whether you’re hosting a gathering or simply indulging in a cozy night in, this no-bake slice is bound to wow your guests or turn a quiet evening into a sweet celebration. Join me as we embark on this delightful journey to create this sweet treat that combines convenience with sheer deliciousness!
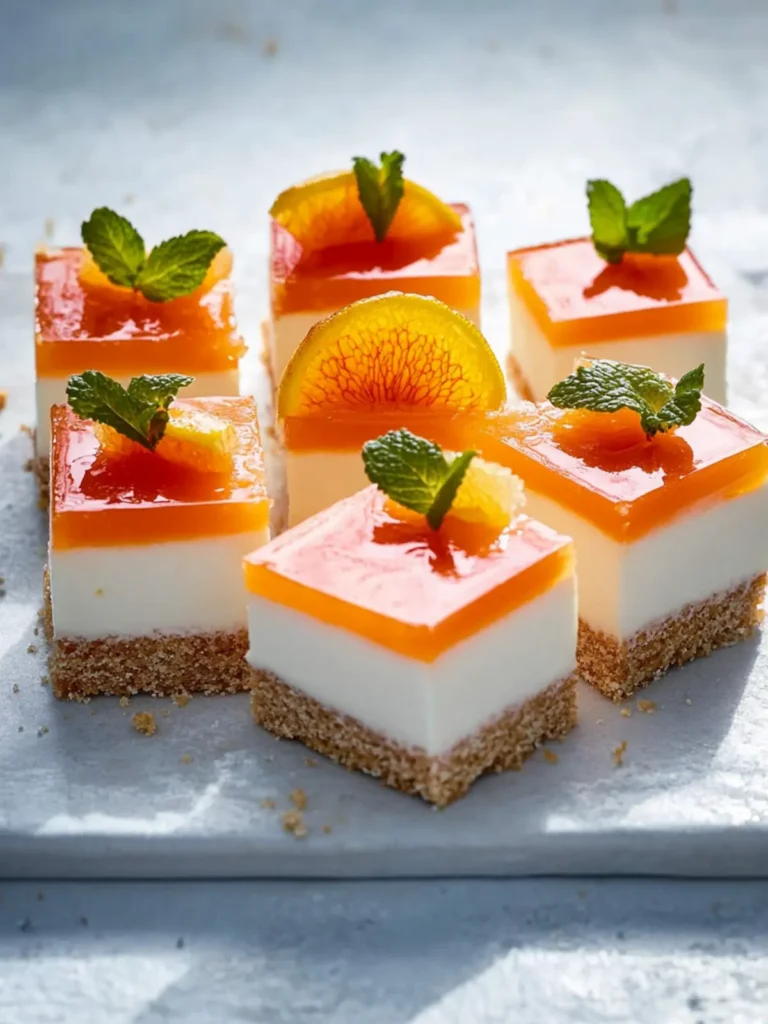
Why is this Sherbies no-bake slice a must-try?
Irresistible flavor: Bursting with fruity Sherbies lollies, this slice promises a nostalgic treat that everyone will love.
No-bake convenience: Perfect for busy cooks, it requires minimal effort and no oven time—ideal for hot summer days!
Crowd-pleaser: Cut it into squares, and watch your guests rave about this indulgent dessert at any gathering.
Versatile delight: This sweet slice is perfect for birthdays, picnics, or simply as a weekday treat.
Homemade charm: Skip the takeout and indulge in a delicious, homemade dessert that’s sure to elevate your sweet cravings.
Don’t forget, if you’re looking for more easy recipes, check out my collection of delightful no-bake treats!
Sherbies No-Bake Slice Ingredients
For the Base
• Granita biscuits – This crunchy base provides a delightful contrast to the creamy filling.
• Butter – Melted butter binds the biscuit crumbs together for a sturdy foundation.
For the Cream Filling
• Thickened cream – Adds a luscious, smooth texture that makes every bite divine.
• Sherbies lollies – The heart of this treat, their fruity flavor is simply irresistible.
• Gelatine powder – Helps to set the filling so it holds its shape when sliced.
• Cream cheese – At room temperature, it creates a rich and creamy consistency.
• Caster sugar – Sweetens the filling perfectly, enhancing the overall flavor.
For the Jelly Topping
• Aeroplane Original Orange jelly crystals – This adds a zesty finish and beautiful color, making it a real showstopper.
• Boiling water – Necessary to dissolve the jelly crystals completely for a smooth topping.
• Chilled water – Brings the jelly mixture to a perfect pouring consistency.
Prepare to indulge in this delightful Sherbies no-bake slice, each layer crafted to bring joy and flavor without the fuss of baking!
How to Make Sherbies No-Bake Slice
-
Prepare the Pan: Grease a 20 x 30cm slice pan lightly and line it with baking paper, allowing the two long sides to overhang. This makes lifting out the slice a breeze!
-
Crush and Combine: Break the granita biscuits into pieces, then process them in a food processor until finely crushed. Add the cooled melted butter and blend until well combined. Press the mixture firmly into the base of the prepared pan and chill in the fridge for about 30 minutes, or until set.
-
Melt the Sherbies: In a heatproof bowl over simmering water (making sure the bowl doesn’t touch the water), combine the thickened cream and Sherbies lollies. Stir frequently for about 10 minutes, or until everything is melted and well mixed. Allow this mixture to cool in the fridge for around 20 minutes until it reaches room temperature.
-
Dissolve the Gelatin: In a small microwave-safe bowl, combine 2 tablespoons of water with the gelatine powder. Let it sit for 2-3 minutes to soften, then microwave on HIGH for 20 seconds until hot. Whisk with a fork until dissolved.
-
Mix the Filling: In a large bowl, use electric beaters to blend the cream cheese and caster sugar until smooth. Add the cooled cream mixture and the dissolved gelatine. Beat until fully combined. Pour this lush filling over the chilled biscuit base, then return it to the fridge for about 3 hours, or until just set.
-
Prepare the Jelly Topping: In a heatproof bowl, combine the jelly crystals with boiling water, stirring until dissolved. Mix in the chilled water and let the mixture cool for about 30 minutes, ensuring it does not set. Carefully pour the jelly over the slice and refrigerate for an additional 2 hours until fully set. When ready, cut into squares and enjoy!
Optional: Serve chilled with a dollop of whipped cream for extra indulgence!
Exact quantities are listed in the recipe card below.
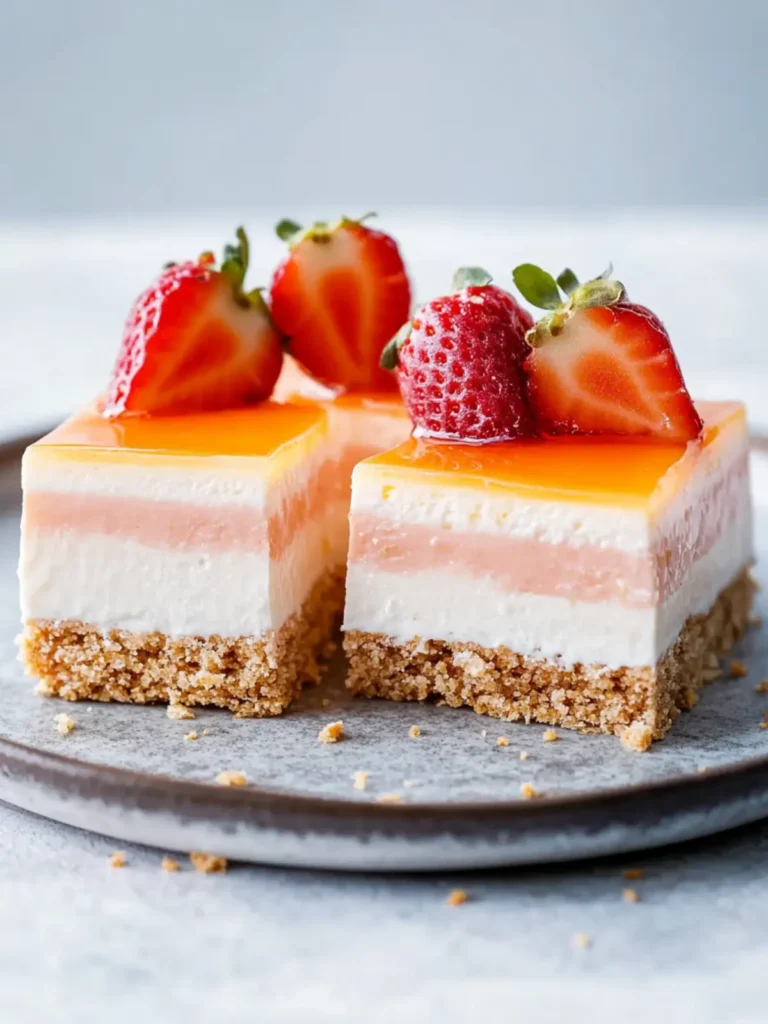
Tips for the Best Sherbies No-Bake Slice
-
Crush Well: Make sure to finely crush the granita biscuits to achieve a smooth base. Large chunks can lead to a crumbly texture that won’t hold together well.
-
Cool Ingredients: Always allow the melted cream and Sherbies mixture to cool to room temperature before mixing with the cream cheese. This prevents the cream cheese from curdling.
-
Gelatin Magic: Don’t skip the gelatin step! Properly dissolving it ensures the filling sets beautifully. Avoid using granulated gelatin directly without softening it first.
-
Chilling Time: Patience is key! Allow the slice to chill for the full recommended time to ensure it slices perfectly and holds its shape. Rushing can lead to a messy outcome.
-
Layering Neatly: When pouring the jelly topping, do so gently to avoid disturbing the creamy layer beneath. A careful hand ensures a beautiful presentation when cut.
Try these helpful tips to make your Sherbies no-bake slice a stunning success!
Make Ahead Options
These Sherbies no-bake slice treats are absolutely perfect for making ahead, saving you precious time during your busy week! You can prepare the biscuit base and refrigerate it for up to 3 days in advance. Once the base is set, you can also make the creamy filling ahead of time and store it separately. Simply cover it tightly with plastic wrap and refrigerate for up to 24 hours to maintain its luscious texture. When you’re ready to assemble, pour the filling over the base, then prepare the jelly topping. Allow it to set in the fridge for at least 2 hours before serving. This way, your treat stays just as delicious, with the right balance of creaminess and crunch, all while freeing up your time for more important things!
How to Store and Freeze Sherbies No-Bake Slice
Fridge: Store your slice in an airtight container in the fridge for up to 5 days. This keeps it fresh and ensures that the flavors remain vibrant.
Freezer: Freeze the slice by wrapping it tightly in plastic wrap, then placing it in a freezer-safe container for up to 3 months. To serve, thaw in the fridge overnight.
Cutting: If you plan to freeze, cut the slice into squares before wrapping. This allows you to grab a piece whenever the sweet craving hits!
Reheating: This dessert is best enjoyed chilled, so no reheating is required. Simply slice and serve directly from the fridge or after thawing!
What to Serve with Sherbies No-Bake Slice?
When the vibrant colors of the Sherbies no-bake slice light up your table, you’ll want the perfect companions to complete the experience!
-
Fresh Fruit Salad: A refreshing medley of seasonal fruits adds a burst of flavor and balances the sweetness of the slice beautifully.
-
Whipped Cream: A dollop of airy whipped cream on the side amplifies the creamy texture and brings an irresistible indulgence to each bite.
-
Chocolate Sauce: Drizzling rich chocolate sauce over the slice creates a delightful contrast and elevates the dessert to heavenly heights. The sweetness pairs wonderfully with the fruity notes of the Sherbies!
-
Mint Chocolate Chip Ice Cream: The coolness of mint chocolate chip ice cream complements the flavors and adds a delightful chill to the dessert table.
-
Sparkling Lemonade: Sipping on bubbly sparkling lemonade brings a zesty brightness that cuts through the richness of the slice—perfect for warm gatherings.
-
Fruit-infused Iced Tea: A cool beverage like iced tea infused with fresh citrus or berries offers a refreshing sip that pairs nicely with the flavors of the slice.
Each of these pairings enhances the delightful experience of enjoying the Sherbies no-bake slice, turning any occasion into a memorable feast!
Sherbies no-bake slice Variations
Feel free to explore new flavors and textures with this delightful slice!
- Gluten-Free: Use gluten-free biscuits instead of granita biscuits for a delicious option that everyone can enjoy.
- Sugar-Free: Substitute caster sugar with a sugar alternative, like erythritol, for a healthier, low-calorie version.
- Fruity Twist: Add chopped fresh strawberries or blueberries to the cream mixture for a vibrant, fruity surprise in every bite.
- Chocolate Lovers: Sprinkle mini chocolate chips into the filling before pouring it over the base to add a rich chocolatey element that complements the sweetness.
- Nutty Crunch: Fold in some crushed nuts, like almonds or walnuts, to the biscuit base for an added crunch that enhances the texture.
- Creamy Coconut: Replace half the cream with coconut cream for a tropical twist that beautifully melds with the fruity flavors.
- Zesty Surprise: Add a teaspoon of lemon zest to the cream mixture for a refreshing citrus kick that brightens the whole dish.
- Spicy Kick: Stir in a pinch of cayenne pepper into the jelly mixture for a surprising heat that balances the sweetness perfectly.
Let your creativity flow and make this Sherbies no-bake slice truly your own!
Sherbies No-Bake Slice Recipe FAQs
What type of granita biscuits should I use?
Absolutely! You can use any brand of granita biscuits or even digestive biscuits for a similar texture. Just make sure they’re crunchy enough to form a sturdy base.
How should I store the Sherbies no-bake slice?
For optimal freshness, store your slice in an airtight container in the fridge for up to 5 days. Keeping it wrapped not only preserves flavor but also maintains that delightful creamy texture.
Can I freeze the slice for later?
Yes, indeed! To freeze, first cut the slice into squares. Wrap each piece tightly in plastic wrap and place them in a freezer-safe container for up to 3 months. When you’re ready to indulge, simply thaw in the fridge overnight for the best results.
What if my filling doesn’t set properly?
If your filling doesn’t set, it could be due to the gelatin not being properly dissolved. Make sure to soften it in water beforehand and microwave it until it’s fully liquefied. Also, ensure that your slice has chilled for the full recommended time, as rushing this step can lead to a softer consistency.
Are there any dietary considerations I should be aware of?
Yes, indeed! This recipe contains dairy and gluten, so it may not be suitable for individuals with lactose intolerance or gluten allergies. For a gluten-free option, consider using gluten-free biscuits and ensure the other ingredients meet your dietary needs. Always consult with your guests regarding their allergies or dietary restrictions before serving.
What happens if I can’t find Sherbies lollies?
The more the merrier! If you’re unable to find Sherbies, feel free to substitute them with other fruity lollies or candies. gummies or even chopped fruit can work well to maintain that sweet burst of flavor!
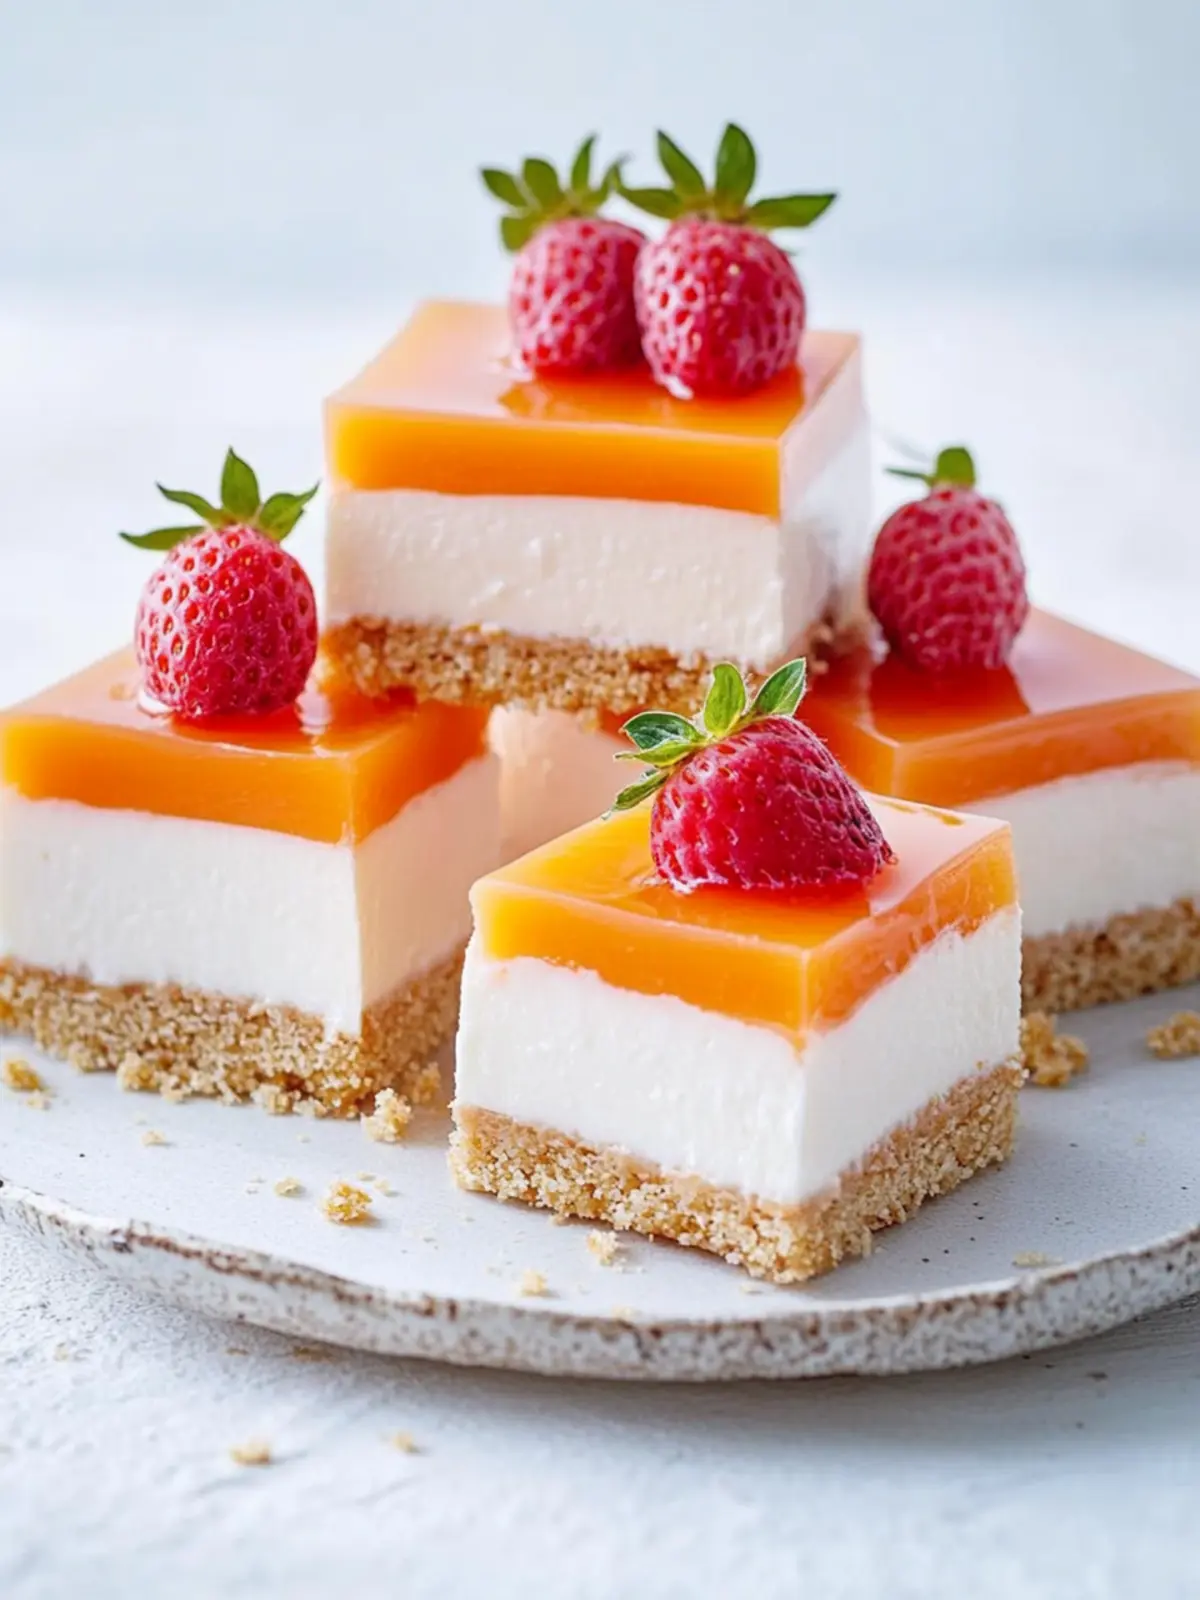
Sherbies No-Bake Slice: A Sweet Treat for Any Occasion
Ingredients
Equipment
Method
- Grease a 20 x 30cm slice pan lightly and line it with baking paper, allowing the two long sides to overhang.
- Break the granita biscuits into pieces, then process them until finely crushed. Add the cooled melted butter and blend until well combined. Press the mixture firmly into the base of the prepared pan and chill in the fridge for about 30 minutes, or until set.
- In a heatproof bowl over simmering water, combine the thickened cream and Sherbies lollies. Stir frequently for about 10 minutes, or until everything is melted and well mixed. Allow to cool in the fridge for around 20 minutes until it reaches room temperature.
- In a small microwave-safe bowl, combine 2 tablespoons of water with the gelatine powder. Let it sit for 2-3 minutes, then microwave on HIGH for 20 seconds until hot. Whisk until dissolved.
- In a large bowl, blend the cream cheese and caster sugar until smooth. Add the cooled cream mixture and the dissolved gelatine. Beat until fully combined. Pour this filling over the chilled biscuit base and return to the fridge for about 3 hours, or until just set.
- In another heatproof bowl, combine the jelly crystals with boiling water, stirring until dissolved. Mix in the chilled water and let cool for about 30 minutes. Carefully pour the jelly over the slice and refrigerate for an additional 2 hours until fully set. When ready, cut into squares and enjoy!