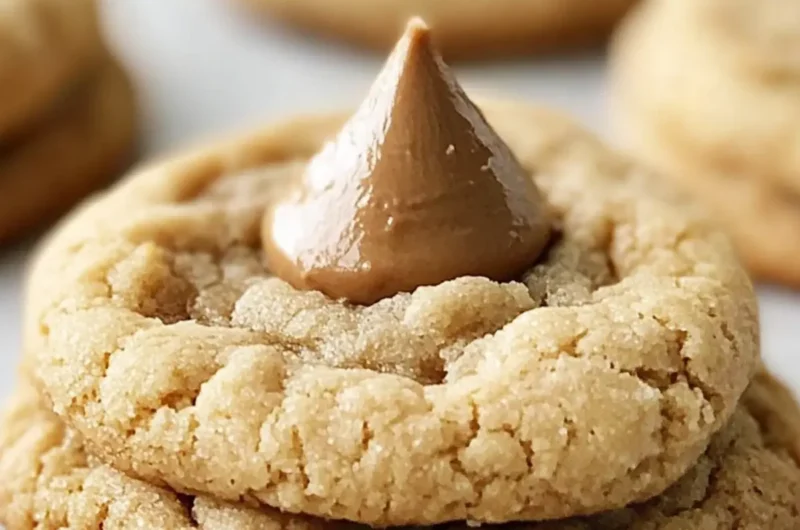
There’s a certain magic that fills the kitchen when you bake a batch of Peanut Butter Blossom Cookies. The sweet aroma of freshly baked cookies mingling with the rich essence of peanut butter is enough to transport me back to childhood, where these delightful treats graced every holiday gathering. I remember the joyous anticipation of pressing that chocolate kiss into the warm cookie, eagerly waiting for the perfect moment when it would melt just enough to create a delectable combination of flavors.
Whether you need a quick dessert for an upcoming potluck or you’re simply looking to elevate your cookie game, these soft and chewy delights are not just quick to whip up, but also deliciously nostalgic. Each bite encapsulates the comforting union of peanut butter and chocolate, making them a favorite among kids and adults alike. So, dust off your apron and join me in creating these irresistible treats that promise to bring smiles and warmth to any occasion!
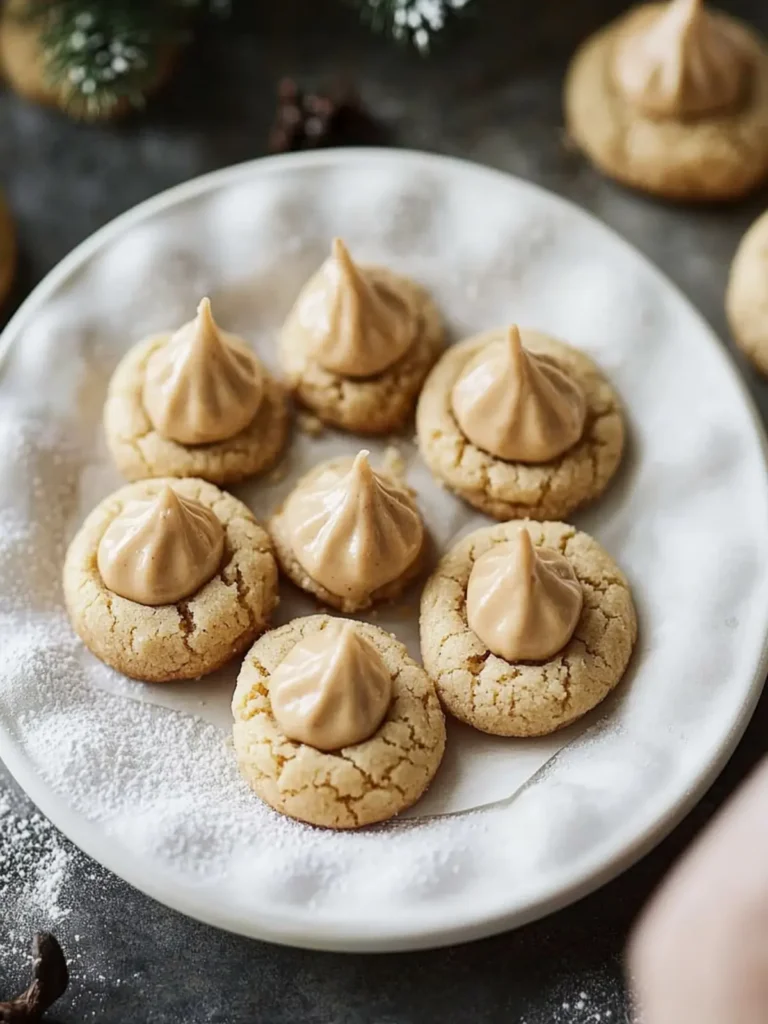
Why are Peanut Butter Blossom Cookies so beloved?
Nostalgia: These cookies evoke fond childhood memories, making them a timeless treat.
Easy to Make: With just a few simple ingredients, anyone can whip up a batch quickly.
Irresistible Flavor: The pairing of creamy peanut butter with melting chocolate creates a mouthwatering experience.
Versatile Options: Customize them easily by swapping chocolate kisses for caramel or adding nuts for crunch.
Crowd-Pleaser: Perfect for parties, these cookies always disappear fast, delighting guests of all ages!
Peanut Butter Blossom Cookies Ingredients
For the Cookie Dough
• Butter (1/2 cup) – Provides richness and moisture; use unsalted for better control over salt levels.
• Creamy Peanut Butter (1/2 cup) – Adds flavor and a soft texture; crunchy peanut butter can be substituted for added texture.
• Granulated Sugar (1/2 cup) – Sweetens the cookies; raw or coconut sugar can be used for a more earthy sweetness.
• Brown Sugar (1/2 cup, packed) – Contributes moisture and a deeper flavor; light or dark brown sugar can be used interchangeably.
• Egg (1 large, room temperature) – Binds ingredients and adds structure; for a vegan option, use flaxseed meal or a commercial egg replacer.
• All-Purpose Flour (1-1/4 cups) – The main structure of the cookie; gluten-free flour blends can be used for a gluten-free version.
• Baking Soda (3/4 tsp) – Provides leavening for a softer texture; ensure it’s fresh for optimal results.
• Baking Powder (1/2 tsp) – Additional leavening for lightness; can be omitted if using only baking soda.
• Salt (1/4 tsp) – Enhances flavor; adjust to taste if using salted butter.
For the Topping
• Milk Chocolate Kisses (36) – The signature topping, adds an irresistible chocolate element; dark chocolate or caramel-filled kisses are great alternatives.
These Peanut Butter Blossom Cookies are just waiting to come to life in your kitchen—let’s gather your ingredients and bring this nostalgic treat to the table!
How to Make Peanut Butter Blossom Cookies
-
Preheat your oven to 350°F (175°C). This ensures an even bake for all your cookies, making them perfectly soft and chewy.
-
Cream together the softened butter, creamy peanut butter, granulated sugar, and brown sugar in a large bowl. Beat for about 5-7 minutes until the mixture is light and fluffy. This is key for that airy texture!
-
Add the large egg at room temperature, mixing until well combined. This binds everything and adds structure to your cookies.
-
Sift together the all-purpose flour, baking soda, baking powder, and salt in a separate bowl. Gradually beat this flour mixture into the creamed mix until combined. This will give your cookies the perfect consistency.
-
Scoop level portions of dough using a cookie scoop or tablespoon onto ungreased baking sheets, spacing them about 2 inches apart to allow for spreading.
-
Bake in the preheated oven for 10-12 minutes, or until the edges are light brown. Keep an eye on them; you want to take them out just before they are fully set for maximum chewiness.
-
Press a milk chocolate kiss into the center of each warm cookie right after removing them from the oven. This is where the magic happens, creating that delightful melt!
-
Cool on the baking sheets for 2 minutes, then transfer the cookies to wire racks to cool completely. Letting them cool ensures they won’t crumble and will hold their beautiful shape.
Optional: For an extra touch, sprinkle a bit of flaky sea salt on top before serving.
Exact quantities are listed in the recipe card below.
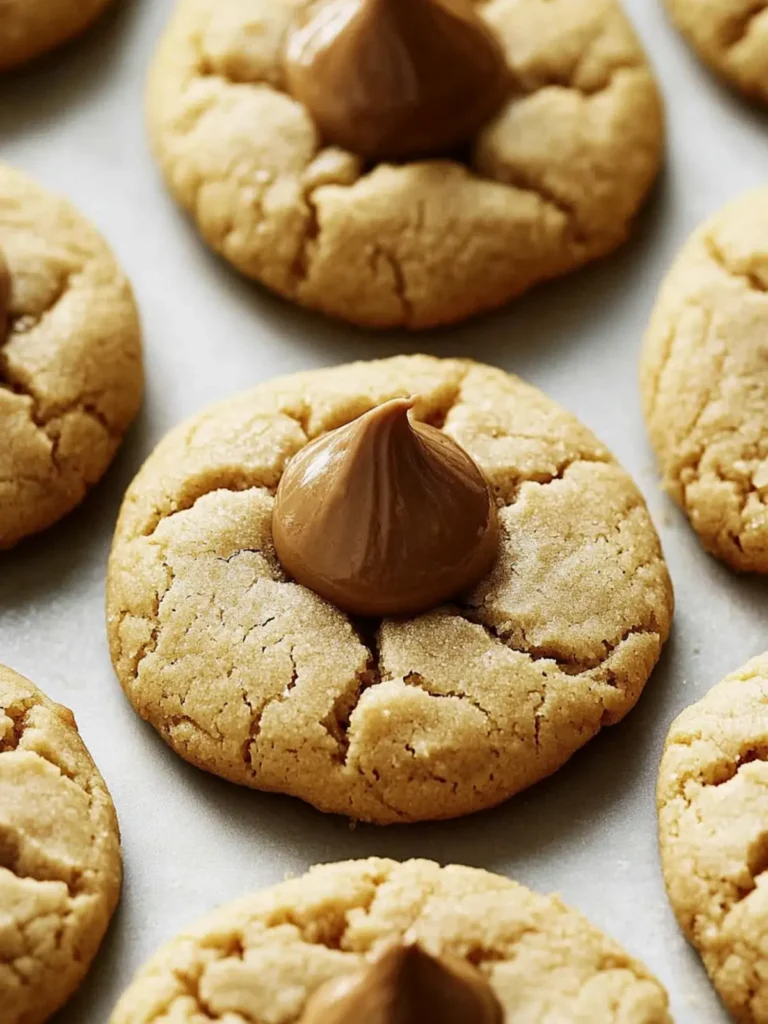
What to Serve with Peanut Butter Blossom Cookies?
Baking up a batch of these soft and chewy cookies opens the door to delightful serving options that complete your sweet spread.
- Vanilla Ice Cream: A scoop of creamy vanilla ice cream alongside warm cookies creates a delicious contrast of temperature and texture.
- Chocolate Milk: This classic beverage complements the rich flavors, turning your cookie time into a nostalgic treat reminiscent of childhood.
- Coffee: The robust flavors of a freshly brewed pot enhance the sweet and nutty tones of the cookies, perfect for an afternoon pick-me-up.
- Fruit Salad: Bright, fresh fruits add a refreshing balance, providing a burst of color and flavor to your dessert arrangement. A mix of strawberries, oranges, and apples would complement the richness beautifully.
- Hot Cocoa: Pair these cookies with a steaming cup of hot cocoa, and you’ve got a cozy treat perfect for those chilly evenings.
- Nut Mix: A bowl of assorted nuts can provide a crunchy texture that contrasts nicely with the soft cookies, while enhancing the peanut flavor.
- Caramel Sauce: Drizzling some warm caramel over the cookies elevates the indulgence and adds a luxurious touch to your dessert platter.
- Cheese Platter: Consider including a selection of cheeses, particularly a nutty or creamy cheese to match the peanut butter notes, creating a well-rounded sweets and savories experience.
How to Store and Freeze Peanut Butter Blossom Cookies
Room Temperature: Store your cookies in an airtight container at room temperature for up to 2-3 weeks to maintain their soft, chewy texture.
Fridge: If you prefer, refrigerate in an airtight container for up to 1 week; however, this may slightly change the texture.
Freezer: For long-term storage, freeze the cookies in an airtight container or freezer bag for up to 8-12 months. Make sure to layer parchment paper between cookies for easy access.
Reheating: To enjoy your peanut butter blossom cookies later, simply microwave for 10-15 seconds or warm in an oven at 350°F (175°C) for a few minutes until soft.
Expert Tips for Peanut Butter Blossom Cookies
-
Room Temperature Ingredients: Ensure your egg and butter are at room temperature for better mixing and a smoother dough.
-
Uniform Sizes: Use a cookie scoop for even-sized dough balls. This ensures all cookies bake at the same rate, preventing any from being overbaked.
-
Cooling Timing: Watch the cookies closely; they’re ready to come out of the oven when the edges are just set. This keeps your peanut butter blossom cookies soft and chewy.
-
Flavor Enhancements: Consider adding mini chocolate chips to the dough or sprinkling a bit of flaky sea salt on top for an extra burst of flavor!
-
Storage Tips: Store your cookies in an airtight container at room temperature for 2-3 weeks. For longer freshness, freeze them in an airtight container for up to 8-12 months.
-
Creative Swaps: Don’t hesitate to experiment with different chocolate varieties, like dark chocolate kisses or even caramel-filled options, to elevate your peanut butter blossom cookies!
Make Ahead Options
These Peanut Butter Blossom Cookies are perfect for meal prep enthusiasts! You can prepare the cookie dough up to 24 hours in advance; simply store it in an airtight container in the refrigerator to maintain freshness and prevent drying out. You can also form the dough into balls and refrigerate them for convenient baking later. When you’re ready to indulge, just bake the cookies straight from the fridge, adding an extra minute to the baking time if necessary. This way, you’ll have warm, homemade cookies ready to impress without the last-minute rush. The delightful taste will be just as amazing as if you baked them fresh!
Peanut Butter Blossom Cookies Variations
Make your Peanut Butter Blossom Cookies uniquely yours with these delightful twists that add creativity and flavor to every batch!
-
Crunchy Peanut Butter: Swap creamy peanut butter for crunchy for an extra texture and nutty bite that enriches the cookie experience.
-
Different Chocolate: Replace chocolate kisses with caramel-filled or dark chocolate options for a rich variation that elevates each bite.
-
Spiced Bliss: Add a sprinkle of cinnamon or nutmeg to the dough for a warm, spicy aroma that complements the peanut butter beautifully.
-
Nutty Delight: Fold in chopped nuts like walnuts or pecans for added crunch that contrasts wonderfully with the softness of the cookie.
-
Oatmeal Boost: Mix in a half cup of rolled oats into your dough for a heartier bite which gives these cookies a great chewy texture.
-
Coconut Twist: Incorporate unsweetened shredded coconut for a tropical flair that plays wonderfully with the peanut butter and chocolate flavors.
-
Mini Chocolate Chips: Add mini chocolate chips to the dough for more chocolate, creating bursts of richness throughout every cookie.
-
Maple Flavor: Substitute granulated sugar with maple sugar or add a splash of maple extract to instill a sweet, warm flavor that whispers cozy holidays.
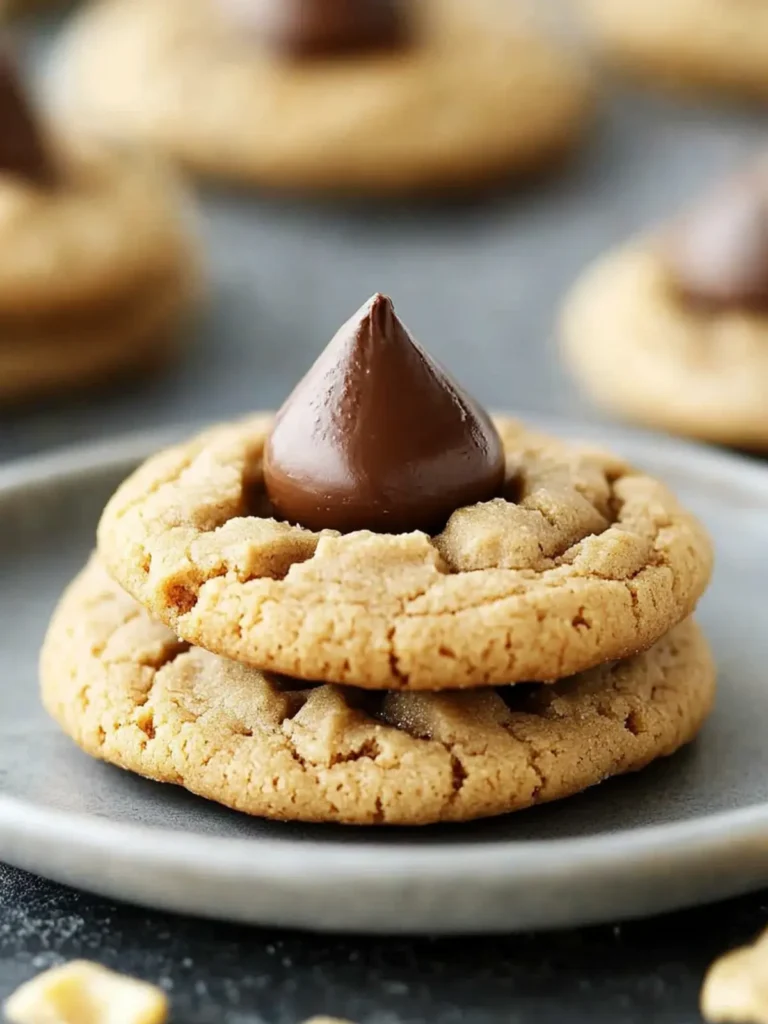
Peanut Butter Blossom Cookies Recipe FAQs
What type of peanut butter is best for Peanut Butter Blossom Cookies?
Absolutely, I recommend using creamy peanut butter for a smooth texture, but if you prefer a bit of crunch, crunchy peanut butter works just as well! Just keep in mind that the texture of the cookies may vary slightly with the latter.
How should I store Peanut Butter Blossom Cookies?
To keep your cookies fresh, store them in an airtight container at room temperature for 2-3 weeks. If you want to prolong their shelf life, you can place them in the fridge for up to a week, though it may alter their texture slightly.
Can I freeze Peanut Butter Blossom Cookies?
Yes! For freezing, wait until your cookies have completely cooled, then place them in an airtight container or freezer bag. Layer parchment paper between cookies to prevent them from sticking together. They can be stored for up to 8-12 months. When you’re ready to enjoy them, just thaw at room temperature or warm them up in the oven!
What should I do if my cookies flatten while baking?
Very good question! Cookies can flatten for a few reasons. Ensure your butter is softened but not melted; that can sometimes lead to spreading. Also, check that your leavening agents (baking soda and baking powder) are fresh for optimal lift. If the dough seems too soft, chilling it in the refrigerator for about 30 minutes before baking can help them hold their shape better.
Are Peanut Butter Blossom Cookies safe for pets or those with nut allergies?
No, it’s important to be cautious! Although very lovable, our furry friends should not indulge in peanut butter cookies as they can cause upset stomachs or allergies in pets. For those with nut allergies, you could try a seed butter alternative, but always consult with a healthcare provider first.
How can I customize my Peanut Butter Blossom Cookies?
Oh, the more the merrier! You can swap the chocolate kisses for chocolate stars or even caramel-filled chocolates for a delightful twist. Adding a sprinkle of flaky sea salt on each cookie before baking elevates the flavor beautifully. Also, consider mixing in mini chocolate chips or chopped nuts for a fun crunch!
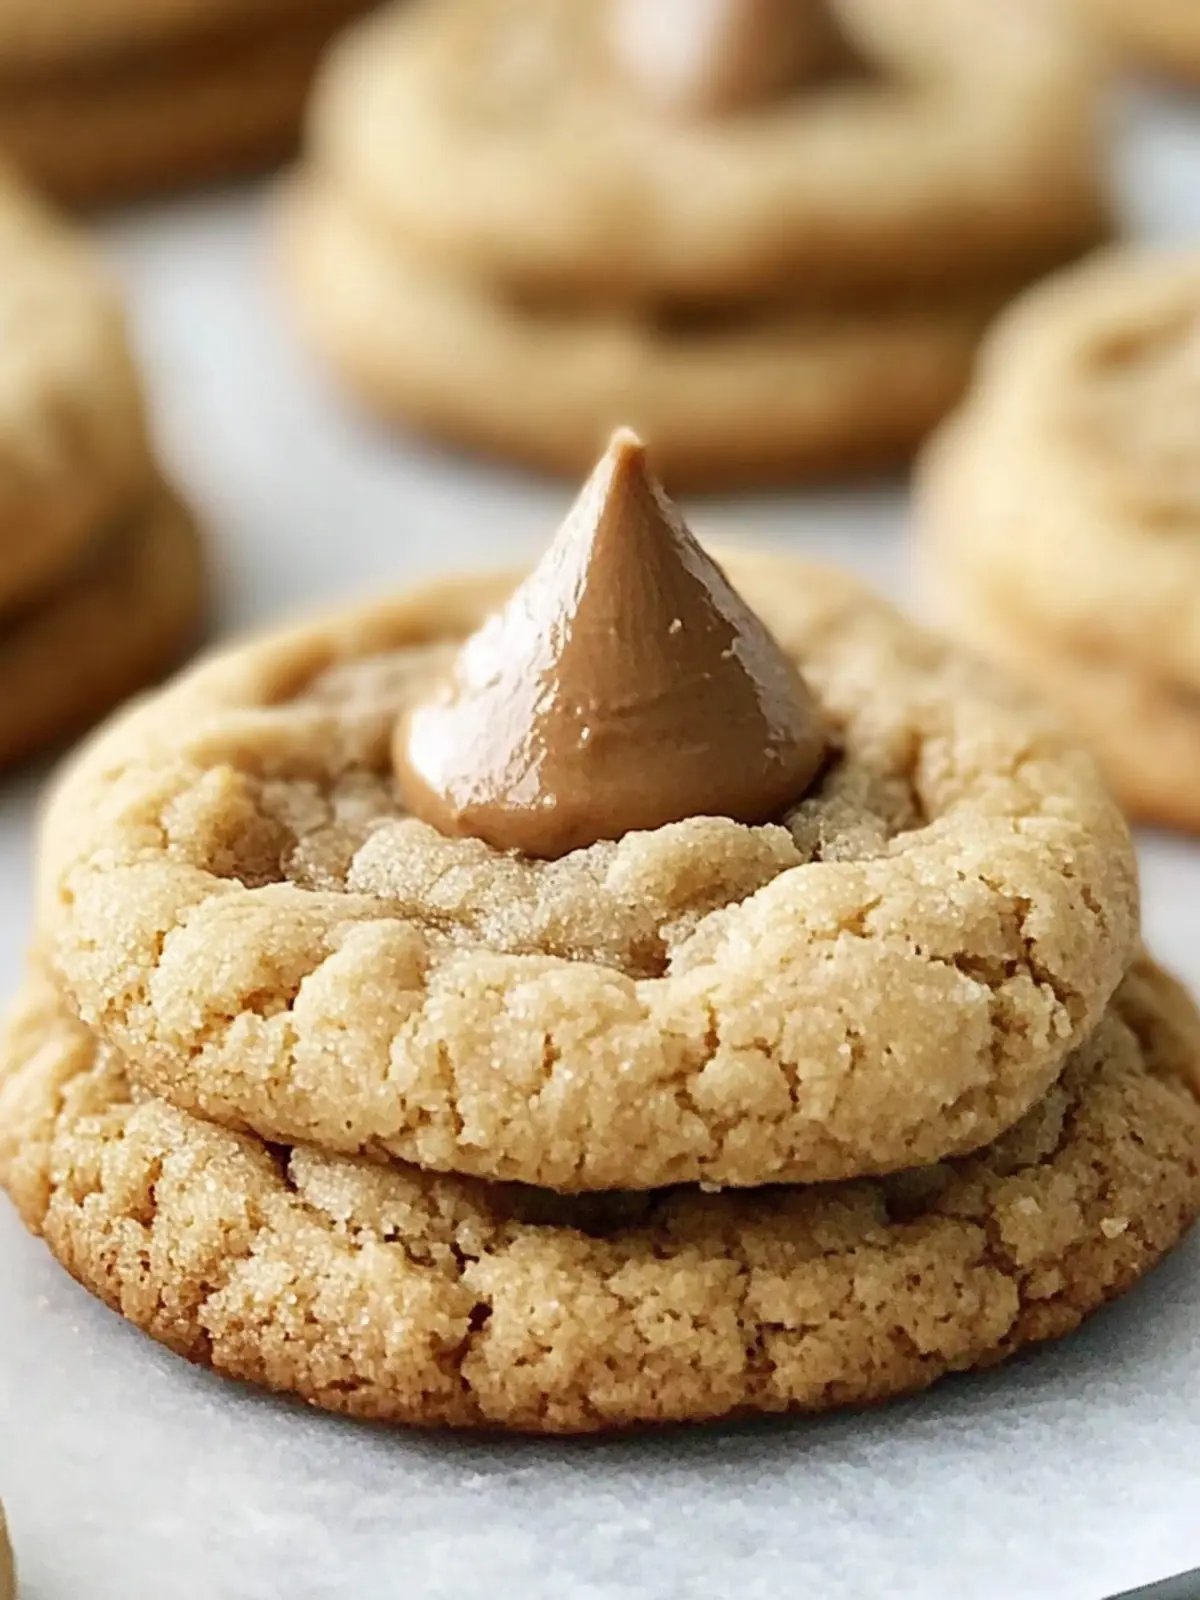
Peanut Butter Blossom Cookies: A Nostalgic Holiday Treat
Ingredients
Equipment
Method
- Preheat your oven to 350°F (175°C).
- Cream together the softened butter, creamy peanut butter, granulated sugar, and brown sugar in a large bowl for 5-7 minutes until light and fluffy.
- Add the egg at room temperature and mix until well combined.
- Sift together the all-purpose flour, baking soda, baking powder, and salt in a separate bowl, then gradually beat this into the creamed mix.
- Scoop level portions of dough onto ungreased baking sheets, spacing them about 2 inches apart.
- Bake for 10-12 minutes, or until the edges are light brown.
- Press a milk chocolate kiss into the center of each warm cookie right after removing from the oven.
- Cool on the baking sheets for 2 minutes before transferring to wire racks.