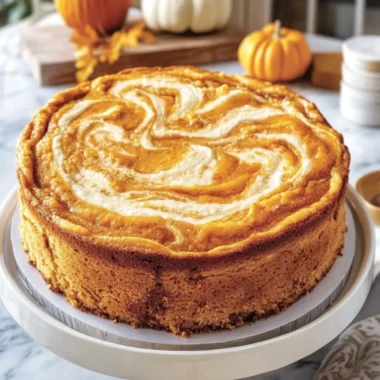
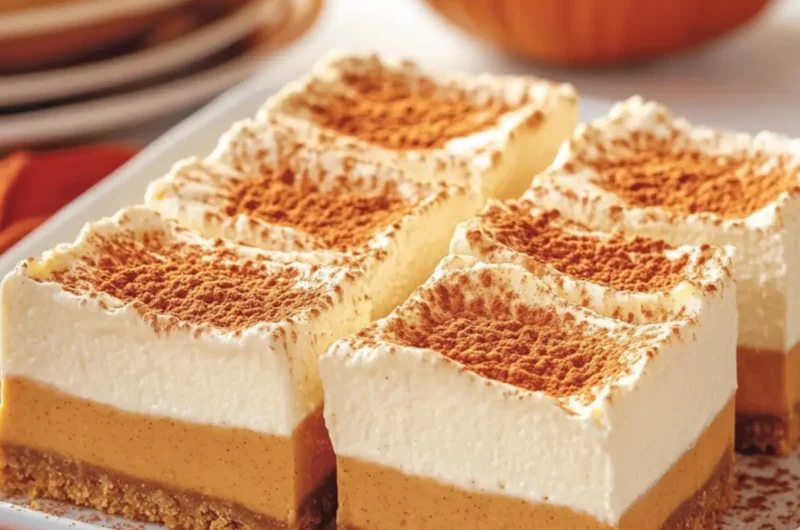
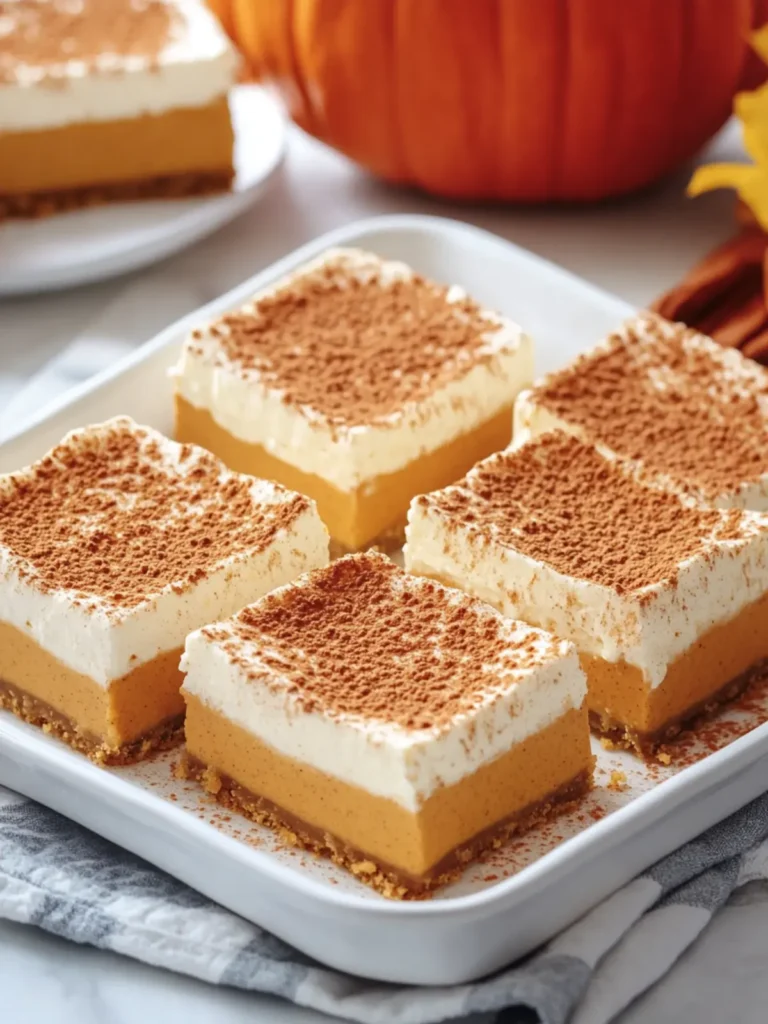
There’s nothing quite like the rich, comforting flavor of pumpkin to usher in the cozy season. This past weekend, as the leaves began to turn, I found myself craving a dessert that was light yet full of fall’s warm spices. What better way to satisfy that craving than with a No-Bake Pumpkin Cheesecake Bar? This delightful treat combines a creamy pumpkin filling with a buttery graham cracker crust, all topped off with a sprinkle of cinnamon for that extra comforting touch.
These cheesecake bars have become my go-to recipe not only for holiday gatherings but also for those laid-back afternoons when a little indulgence is just what I need. Best of all, you can prepare them ahead of time, saving you stress on the big day! Trust me, your friends and family will be coming back for seconds (and thirds). So, if you’re on the hunt for an easy, crowd-pleasing dessert that captures all the essence of autumn, let’s dive into making this irresistible No-Bake Pumpkin Cheesecake Bars with Graham Cracker Crust and Cinnamon Topping!
Why are No-Bake Pumpkin Cheesecake Bars a must-try?
Irresistible flavor: This recipe perfectly blends creamy pumpkin with warm spices, capturing the essence of fall.
No-bake convenience: Skip the oven and enjoy an easy preparation, allowing you to focus on family and friends.
Crowd-pleaser: With a buttery graham cracker crust, these bars are sure to impress your guests, leaving them asking for the recipe.
Versatile treats: Whether for a festive gathering or a cozy afternoon, these bars are a delightful addition to any occasion.
Make-ahead magic: Prepare them in advance and chill—less stress on serving day! For more delightful no-bake ideas, check out my tips for making no-bake desserts.
No-Bake Pumpkin Cheesecake Bars Ingredients
For the Crust
• Graham cracker crumbs – provides a sweet and buttery base for the dessert.
• Granulated sugar – enhances the sweetness of the crust.
• Unsalted butter – binds the crumbs together and adds richness.
For the Cheesecake Filling
• Cream cheese – use softened for easy blending into a creamy filling.
• Pumpkin purée – gives the bars their rich pumpkin flavor and vibrant color.
• Powdered sugar – adds sweetness while creating a smooth texture.
• Heavy whipping cream – whipped to stiff peaks for a light and fluffy filling.
• Vanilla extract – enhances the flavor profile with a warm aroma.
• Pumpkin pie spice – a must-have for that quintessential fall taste.
For the Topping
• Heavy whipping cream – whipped with sugar for a decadent topping.
• Powdered sugar – sweetens the whipped cream layer for added flavor.
• Ground cinnamon – dust on top for a beautiful presentation and flavor depth.
With these ingredients, you’ll be well on your way to creating the most delightful No-Bake Pumpkin Cheesecake Bars with Graham Cracker Crust and Cinnamon Topping!
How to Make No-Bake Pumpkin Cheesecake Bars
-
Prepare the crust: In a mixing bowl, combine graham cracker crumbs, granulated sugar, and melted butter. Stir until the mixture resembles wet sand, then press it evenly into the bottom of a 9×13-inch baking dish.
-
Make the filling: In a large bowl, beat the softened cream cheese until smooth. Add the pumpkin purée, powdered sugar, vanilla extract, and pumpkin pie spice. Mix until well combined and creamy.
-
Whip the cream: In a separate bowl, beat the heavy whipping cream until stiff peaks form. Gently fold the whipped cream into the pumpkin mixture until just combined, creating a light and airy filling.
-
Layer the filling: Spread the pumpkin cheesecake filling over the prepared graham cracker crust evenly.
-
Chill the bars: Cover the dish with plastic wrap and refrigerate for at least 4 hours, allowing the cheesecake to set perfectly.
-
Prepare the topping: Before serving, beat the remaining heavy whipping cream with powdered sugar until stiff peaks form. Spread this whipped cream layer on top of the chilled pumpkin filling.
-
Dust with cinnamon: Lightly sprinkle ground cinnamon over the whipped cream topping for an extra dash of flavor and finesse.
-
Cut and serve: Once chilled and set, cut the cheesecake into squares and serve cold to enjoy a delightful autumn treat!
Optional: Garnish with chopped pecans for a delightful crunch.
Exact quantities are listed in the recipe card below.
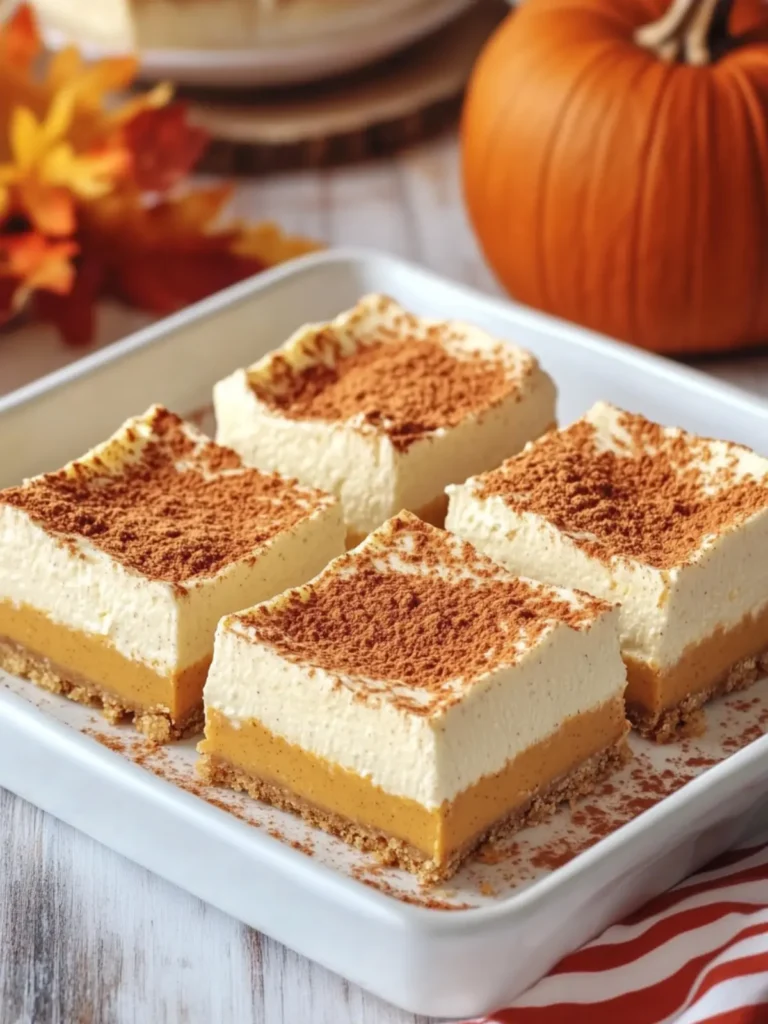
No-Bake Pumpkin Cheesecake Bars Variations
Feel free to make this delightful dessert your own by experimenting with these fun variations!
- Gluten-Free: Substitute graham cracker crumbs with gluten-free cookies or oats for a tasty alternative.
- Nutty Twist: Add ½ cup chopped pecans or walnuts to the crust for extra crunch and flavor.
- Spicy Kick: Mix in a pinch of cayenne pepper or a dash of nutmeg for a surprising hint of heat.
- Dairy-Free: Swap cream cheese with a vegan alternative and use coconut cream in place of heavy whipping cream.
- Maple Sweetness: Replace powdered sugar in the filling with maple syrup for a deeper, richer sweetness.
- Flavor Infusion: Stir in 1-2 tablespoons of orange zest for a refreshing citrus note that pairs wonderfully with pumpkin.
- Chocolate Lovers: Drizzle melted dark chocolate over the top just before serving for an indulgent chocolate-pumpkin combination.
- Miniature Treats: Serve in individual cups or jars for easy portioning and a fun presentation at gatherings.
With these variations, let your creativity shine and make your No-Bake Pumpkin Cheesecake Bars uniquely yours!
What to Serve with No-Bake Pumpkin Cheesecake Bars?
Creating the perfect autumn meal is a delightful way to gather family and friends around the table and share warm moments.
- Crispy Apple Salad: Fresh apples tossed with greens and a light vinaigrette bring a refreshing crunch that pairs beautifully with the creamy bars.
- Warm Spiced Cider: A mug of cozy spiced cider, infused with cinnamon and cloves, complements the seasonal flavors from the cheesecake beautifully.
- Sage Butter Pasta: Silky pasta drizzled with sage-infused butter adds a savory element, creating a wonderful contrast to the dessert’s sweetness.
- Chocolate Chip Cookies: These warm, homemade treats add a delightful texture and flavor dimension, inviting guests to indulge in comfort.
- Toasted Walnut Bites: Nuts serve as a crunchy contrast to the creamy filling, enhancing the richness of each bite while providing a seasonal touch.
Whether you choose a sweet or savory side, these options promise a delightful experience that will enhance your festive dining.
How to Store and Freeze No-Bake Pumpkin Cheesecake Bars
Fridge: Store your No-Bake Pumpkin Cheesecake Bars in an airtight container in the fridge for up to 5 days. This helps to preserve their creamy texture and delicious flavor.
Freezer: For longer storage, freeze the bars for up to 2 months. Ensure they are wrapped tightly in plastic wrap before placing them in an airtight container to prevent freezer burn.
Thawing: When ready to enjoy, thaw the cheesecake bars in the fridge overnight. This will keep them nice and creamy while defrosting.
Reheating: There’s no need to heat these bars, as they’re best served chilled. Just slice and enjoy straight from the fridge!
Make Ahead Options
These No-Bake Pumpkin Cheesecake Bars with Graham Cracker Crust and Cinnamon Topping are perfect for meal prep enthusiasts! You can prepare the crust and filling up to 24 hours in advance; simply store both in the refrigerator separately until you’re ready to assemble. After chilling the filling, spread it over the crust and refrigerate the assembled bars for at least 4 hours to firm up. To ensure quality, keep the whipped topping separate until just before serving, as this will maintain its light texture. Simply whip the cream, layer it on, dust with cinnamon, and serve—giving you more time to enjoy with loved ones while still delivering a dessert that feels special!
Expert Tips for No-Bake Pumpkin Cheesecake Bars
-
Cream Cheese Prep: Always use softened cream cheese for a smoother filling—cold cream cheese will leave lumps in your no-bake pumpkin cheesecake bars.
-
Whip It Right: When whipping cream, ensure your bowl is cold and free of grease to achieve stiff peaks without any effort.
-
Chill Time: Don’t rush the chilling process; letting the bars set for at least 4 hours ensures they hold their shape beautifully and create a creamy texture.
-
Cinnamon Dusting: For an even presentation, sprinkle ground cinnamon through a fine mesh sieve—this avoids clumps and enhances the visual appeal of your dessert.
-
Serving Suggestions: Consider topping with whipped cream and a sprinkle of chopped pecans for a satisfying crunch and extra flavor in every bite!
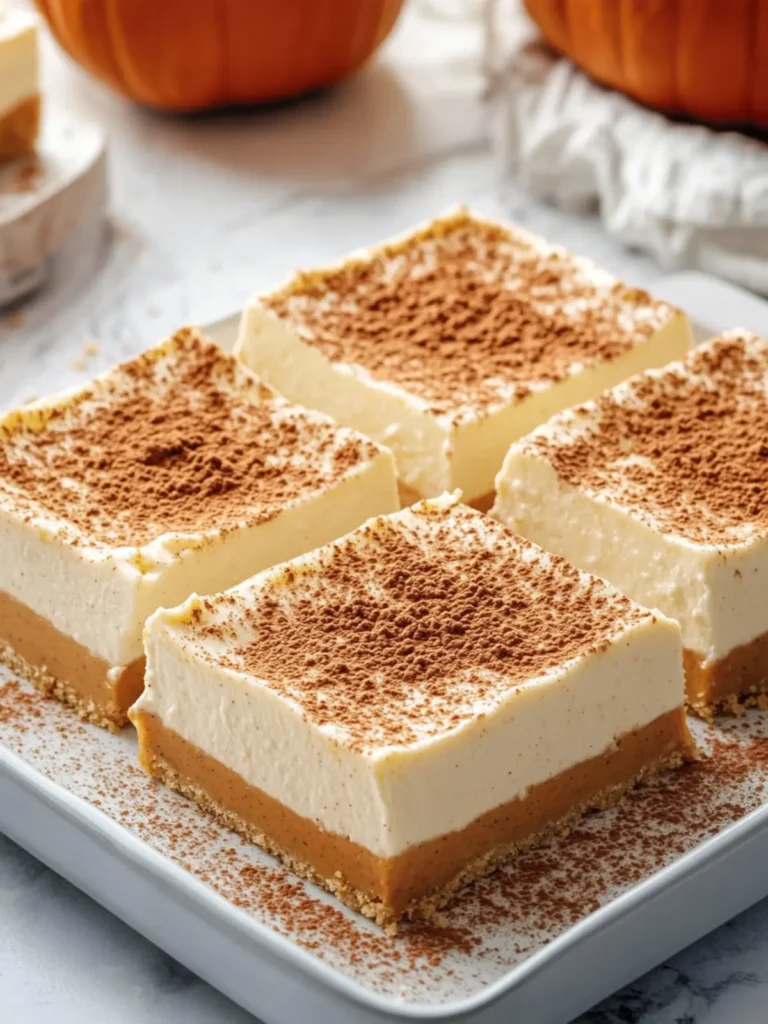
No-Bake Pumpkin Cheesecake Bars with Graham Cracker Crust and Cinnamon Topping Recipe FAQs
What should I look for when selecting pumpkin purée?
Absolutely! When choosing pumpkin purée, look for a can that lists 100% pumpkin, not pumpkin pie filling, which contains added sugar and spices. If using fresh pumpkin, aim for those that are smaller and sugar type, ideally with a smooth and deep orange flesh. A good sign of ripeness is a firm texture with no blemishes or soft spots.
How do I store leftover No-Bake Pumpkin Cheesecake Bars?
Very simple! Store any leftover No-Bake Pumpkin Cheesecake Bars in an airtight container in the fridge for up to 5 days. This keeps the bars fresh and maintains their creamy texture. You can also cover the bars with plastic wrap directly to prevent them from absorbing any strong odors in the fridge.
Can I freeze No-Bake Pumpkin Cheesecake Bars?
Absolutely! To freeze your cheesecake bars, first ensure they are completely chilled. Wrap them tightly in plastic wrap and then place them in an airtight container. You can freeze them for up to 2 months. When you’re ready to enjoy them, let them thaw overnight in the fridge, keeping their creaminess intact.
What if my whipped cream doesn’t form stiff peaks?
No worries! If your whipped cream isn’t forming stiff peaks, make sure you’re starting with cold heavy whipping cream and use a clean, grease-free bowl. Whip the cream on medium-high speed until you see soft peaks, then continue beating. Be cautious not to overwhip, or the cream could turn grainy. If you find that it’s still not thickening, add a bit of powdered sugar—as it helps stabilize the cream.
Are there any dietary considerations for No-Bake Pumpkin Cheesecake Bars?
Certainly! For those with dietary restrictions, you can modify the recipe easily. Substitute dairy with plant-based cream cheese and coconut whipping cream for a vegan option. Always check that your graham cracker crumbs are suitable if avoiding certain allergens. They are generally safe for those with nut allergies, but be sure to read labels. It’s always best to confirm with family or friends if they have specific dietary needs when serving.
Can I add other flavors to the mixture?
The more the merrier! You can customize the No-Bake Pumpkin Cheesecake Bars by adding in flavors like maple syrup for extra sweetness or even a touch of nutmeg or ginger for a spicier layer. Just ensure you balance the sweetness and spices accordingly, tasting as you go!
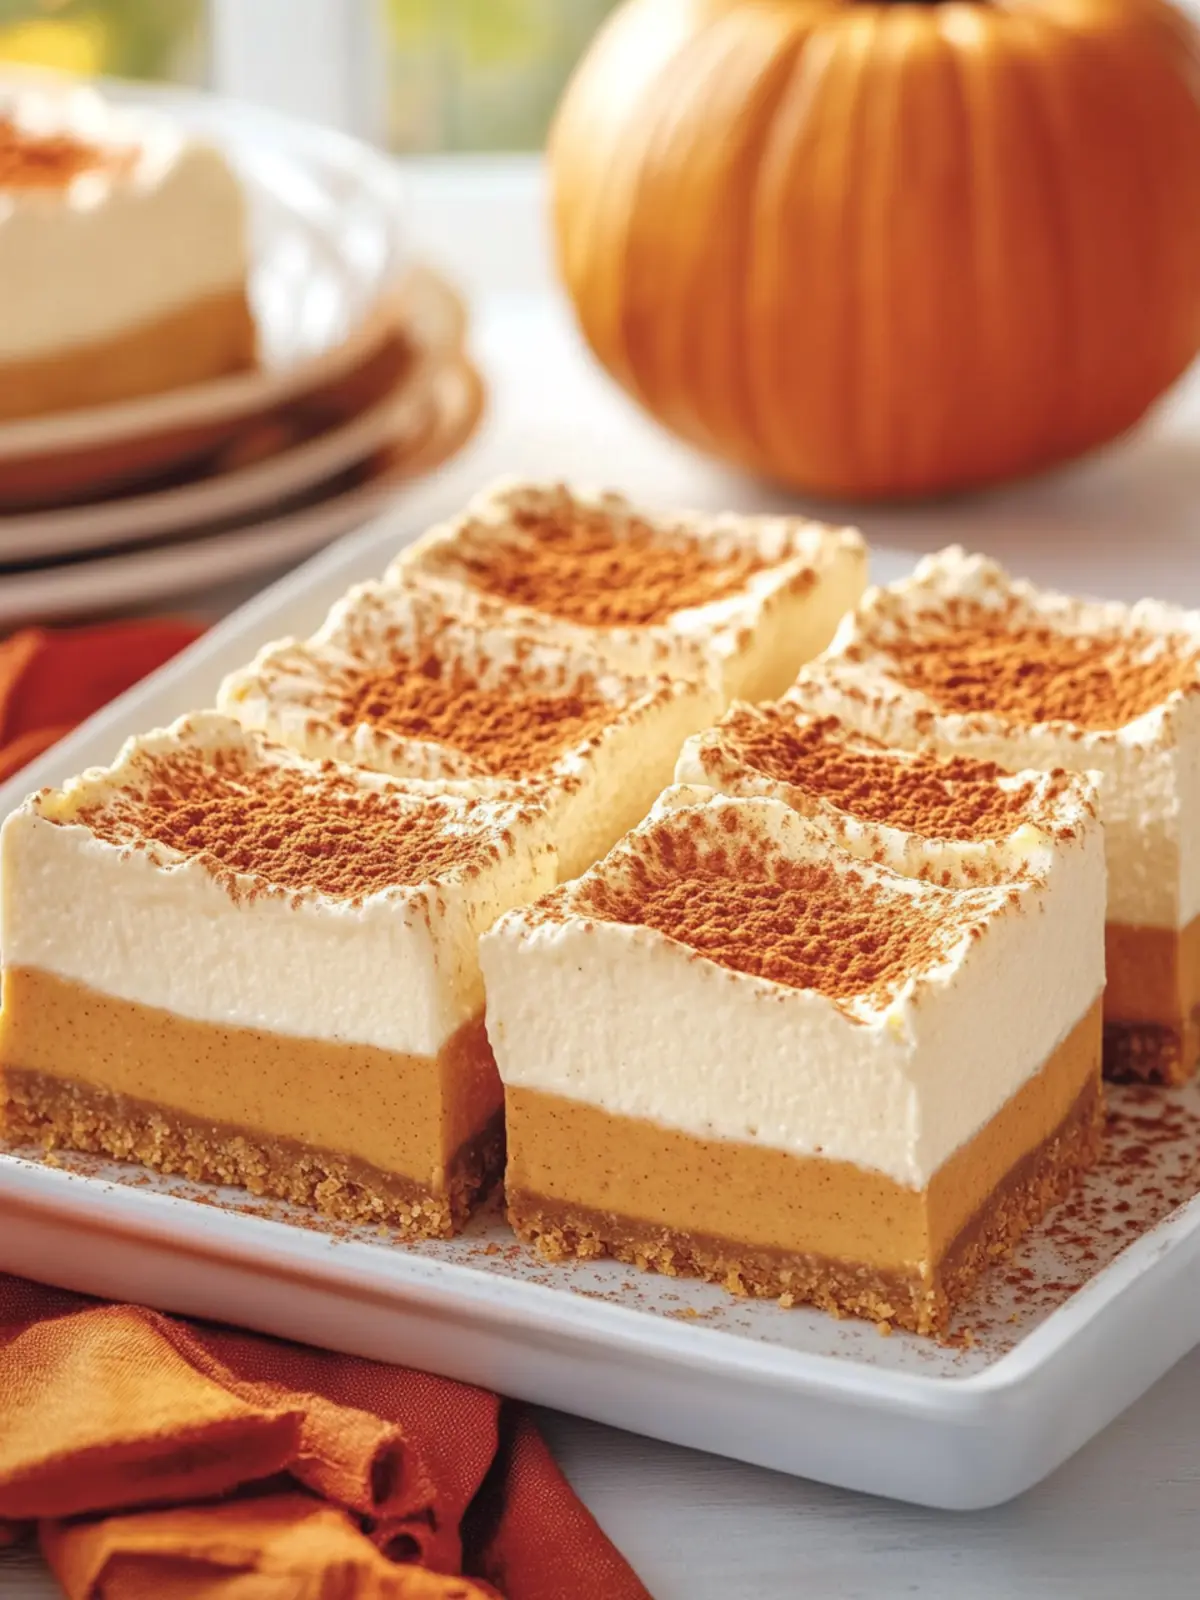
Decadent No-Bake Pumpkin Cheesecake Bars with Cinnamon Crust
Ingredients
Equipment
Method
- Prepare the crust: In a mixing bowl, combine graham cracker crumbs, granulated sugar, and melted butter. Stir until the mixture resembles wet sand, then press it evenly into the bottom of a 9x13-inch baking dish.
- Make the filling: In a large bowl, beat the softened cream cheese until smooth. Add the pumpkin purée, powdered sugar, vanilla extract, and pumpkin pie spice. Mix until well combined and creamy.
- Whip the cream: In a separate bowl, beat the heavy whipping cream until stiff peaks form. Gently fold the whipped cream into the pumpkin mixture until just combined.
- Layer the filling: Spread the pumpkin cheesecake filling over the prepared graham cracker crust evenly.
- Chill the bars: Cover the dish with plastic wrap and refrigerate for at least 4 hours.
- Prepare the topping: Before serving, beat the remaining heavy whipping cream with powdered sugar until stiff peaks form. Spread this whipped cream layer on top of the chilled pumpkin filling.
- Dust with cinnamon: Lightly sprinkle ground cinnamon over the whipped cream topping.
- Cut and serve: Once chilled and set, cut the cheesecake into squares and serve cold.