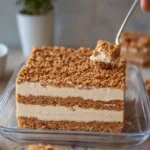
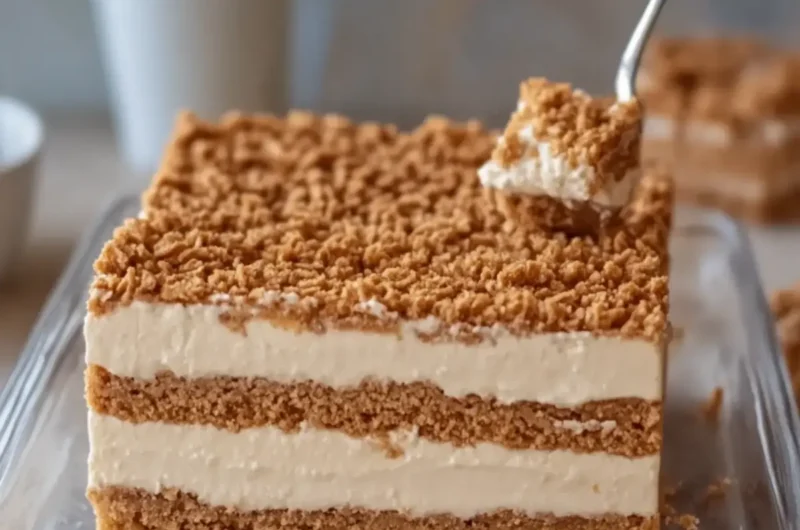
Every now and then, I come across a recipe that feels like a delightful hug in dessert form. This No-Bake Lotus Biscoff Cheesecake Bars recipe is one of those gems. Picture this: a rich, velvety cheesecake filling made indulgent with smooth Biscoff spread, all nestled atop a crunchy, buttery cookie crust from Lotus Biscoff cookies. It’s the kind of dessert that makes any day feel special without requiring hours in the kitchen—a true lifesaver after a long week.
I first whipped these bars up when I wanted to impress some friends with a crowd-pleasing treat, and let me tell you, they did not disappoint! There’s something wonderfully satisfying about a dessert that’s both creamy and crunchy, and the subtle spice of Biscoff elevates the entire experience. Whether you’re hosting a gathering or simply treating yourself, these cheesecake bars are an irresistible way to reconnect with the joy of homemade food. Join me on this easy culinary adventure—I promise, you won’t be sorry!
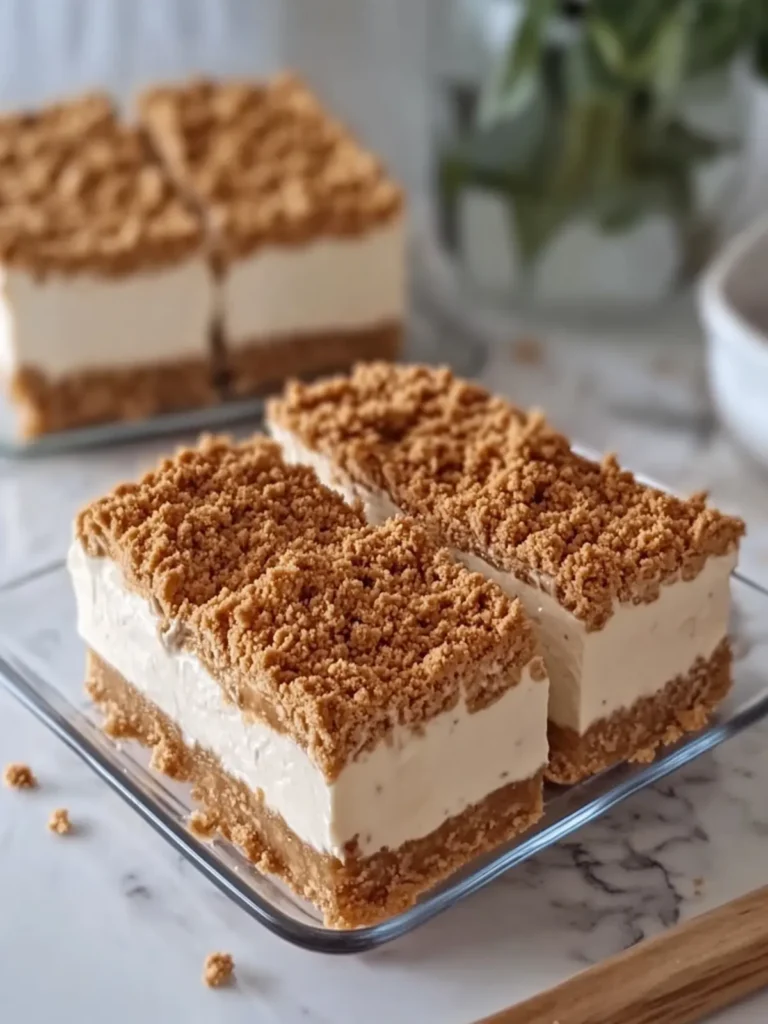
Why are No-Bake Lotus Biscoff Cheesecake Bars irresistible?
Simplicity made easy: No baking is required, allowing you to whip up these delicious bars in no time.
Indulgent flavor: The creamy cheesecake paired with the sweet, spiced notes of Biscoff spread creates a heavenly blend.
Crowd-pleaser: Perfect for gatherings, they’re sure to impress guests of all ages and palates.
Time-saving: With minimal chilling time compared to traditional cakes, you can enjoy your dessert sooner.
Customizable: Feel free to add your favorite toppings or mix-ins for a unique twist! Treat yourself to this delightful experience—these bars are the perfect way to savor homemade goodness.
No-Bake Lotus Biscoff Cheesecake Bars Ingredients
• Indulge in the sweetness of homemade fun with these No-Bake Lotus Biscoff Cheesecake Bars!
For the Crust
- Lotus Biscoff cookies – finely crushed for a crunchy, flavorful base that pairs beautifully with the cheesecake filling.
- Unsalted butter – melted to bind the cookie crumbs together, ensuring a rich and buttery flavor.
For the Cheesecake Filling
- Cream cheese – softened to create a velvety texture that forms the luscious base of the cheesecake.
- Biscoff spread – adds an irresistible sweetness and smoothness to the cream cheese filling.
- Powdered sugar – a touch of sweetness to balance the richness of the cream cheese.
- Vanilla extract – enhances the overall flavor profile with a hint of warmth.
For the Topping
- Biscoff spread – a second layer for that extra dose of creamy sweetness, making every bite delightful!
- Lotus Biscoff cookies – crushed, to sprinkle over the top for that perfect crunch and beautiful presentation.
With just these simple ingredients, you’ll create a dessert that not only looks stunning but tastes even better!
How to Make No-Bake Lotus Biscoff Cheesecake Bars
-
Prepare the dish: Line a 9 × 9-inch (23 × 23 cm) baking dish with parchment paper, leaving some overhang on the sides for easy lifting later. This step ensures your bars come out beautifully!
-
Make the crust: Combine 32 finely crushed Lotus Biscoff cookies with 6 tablespoons of melted unsalted butter. Press this mixture firmly into the bottom of the prepared dish and refrigerate for 20 minutes to set.
-
Mix the filling: In a bowl, beat together 24 oz of softened cream cheese, 1 cup of smooth Biscoff spread, ½ cup of powdered sugar, and 1 teaspoon of vanilla extract until smooth and creamy. This luscious filling is the heart of the cheesecake bars!
-
Whip the cream: In a separate bowl, whip 1 cup of cold heavy whipping cream until stiff peaks form. Gently fold this whipped cream into the cream cheese mixture until well combined, creating a light and airy texture.
-
Spread the filling: Evenly spread the cream cheese filling over the chilled crust. Return to the refrigerator and chill for 2 hours to firm up this divine layer.
-
Prepare the topping: Microwave ½ cup of Biscoff spread in 10-second bursts, stirring in between, until just pourable. Allow it to cool slightly so it’s warm but not hot.
-
Finish the bars: Gently spread the warmed Biscoff topping over the chilled cheesecake. Cover and refrigerate for at least 6 hours, preferably overnight, until firm and set.
-
Serve: Once ready, sprinkle with 2 crushed Lotus Biscoff cookies for a beautiful touch. Lift the bars out using the parchment paper and cut into 16 squares for perfect portions!
Optional: Drizzle with melted chocolate for an extra indulgent touch!
Exact quantities are listed in the recipe card below.
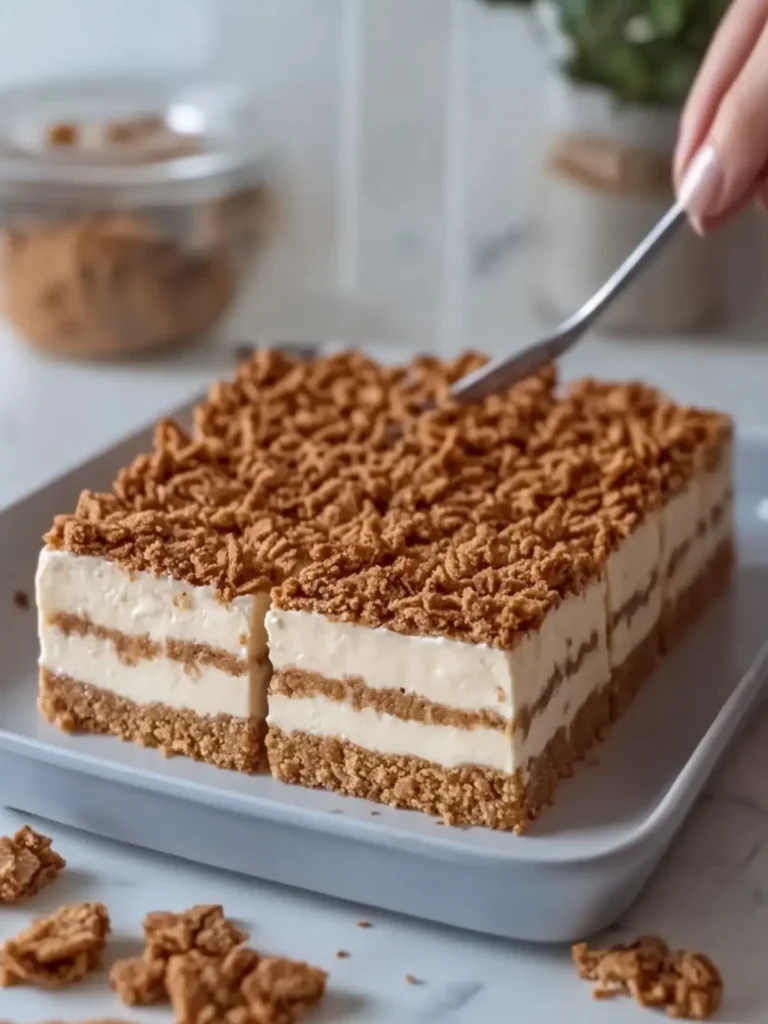
No-Bake Lotus Biscoff Cheesecake Bars Variations
Feel free to get creative with these delectable bars and put your personal twist on this beloved recipe!
-
Gluten-Free: Use gluten-free cookies to make the crust, ensuring everyone can enjoy this treat.
-
Nutty Twist: Add ½ cup of finely chopped nuts, like pecans or walnuts, to the crust for a delightful crunch. The nuttiness adds a lovely depth of flavor that complements the cookies perfectly.
-
Caramel Drizzle: Drizzle some warm caramel sauce over the top for an added layer of indulgence. This sweet touch will elevate your cheesecake bars to new heights of deliciousness!
-
Chocolate Lovers: Fold in some mini chocolate chips into the cheesecake filling for a rich chocolate surprise. You could also top the bars with a layer of melted chocolate for an extra fancy presentation.
-
Dairy-Free: Swap cream cheese and heavy cream with coconut cream and a dairy-free cream cheese alternative for a delightful dairy-free version. The coconut adds a tropical flair that pairs beautifully with Biscoff.
-
Fruit Infusion: Mix in 1 cup of fresh raspberries or sliced strawberries into the cheesecake filling for a fruity twist. The burst of fresh fruit balances the sweetness beautifully.
-
Spicy Kick: Add a teaspoon of ground cinnamon or nutmeg to the filling for a warm, spiced flavor that complements the Biscoff perfectly. This little touch brings comfort and warmth to every bite.
-
Minty Fresh: Incorporate 1 teaspoon of peppermint extract for a refreshing minty version. This unexpected twist will surprise and delight anyone who tries them!
Don’t hesitate to mix and match these variations to suit your taste. Enjoy the journey of flavors!
What to Serve with No-Bake Lotus Biscoff Cheesecake Bars?
Bring your dessert experience to the next level by pairing these delightful bars with flavors that complement and enhance their rich, creamy sweetness.
-
Fresh Berries: A medley of strawberries, blueberries, and raspberries provides a refreshing contrast that cuts through the richness while adding a burst of color.
-
Vanilla Ice Cream: Creamy vanilla ice cream amplifies the velvety texture of the cheesecake bars, creating an indulgent combination that’s hard to resist.
-
Chocolate Drizzle: A warm drizzle of melted chocolate adds an extra layer of decadence and beautifully complements the spiced notes of Biscoff.
-
Coffee or Espresso: The dark, rich flavors of a robust coffee or espresso pair wonderfully with these bars, making your dessert feel extra sophisticated after dinner.
-
Whipped Cream: Light, airy whipped cream takes these cheesecake bars to new heights, offering a soft texture that melds perfectly with their creamy base.
-
Nutty Biscotti: A side of crunchy biscotti packed with nuts provides delightful crunch and a nutty flavor that pairs nicely with the sweet, spiced Biscoff.
Indulging in these pairings not only enhances your dessert but also creates a memorable tasting experience for you and your loved ones!
Make Ahead Options
These No-Bake Lotus Biscoff Cheesecake Bars are a dream for busy home cooks looking to save time without sacrificing flavor! You can prepare the crust and filling up to 24 hours in advance by chilling them separately in airtight containers. Make sure to wrap the cheesecake filling tightly in plastic wrap to maintain its creamy texture and prevent any absorption of fridge odors. When ready to serve, simply spread the topping layer over the filling and allow the bars to chill for an additional 6 hours or preferably overnight. This means you can enjoy a delicious dessert with minimal last-minute effort, giving you more time to focus on what truly matters—creating joyful memories with family and friends!
Expert Tips for No-Bake Lotus Biscoff Cheesecake Bars
- Chill Time is Key: Make sure to refrigerate the bars long enough for the filling to set. Ideally, let them chill overnight for the best texture.
- Avoid Watery Filling: Ensure your cream cheese is softened to room temperature before mixing; this will help avoid lumps and create a smoother cream.
- Perfectly Crush Cookies: Use a food processor for finely crushing the Lotus Biscoff cookies; this will ensure an even crust. Larger chunks can lead to a crumbly base.
- Gentle Folding: When combining the whipped cream with the cheesecake mixture, fold gently to retain the airy texture. This creates that light and creamy filling we all love!
- Decorative Touch: Don’t skip the crushed cookies on top—they not only enhance the presentation but also add that lovely crunch to each bite of your No-Bake Lotus Biscoff Cheesecake Bars!
How to Store and Freeze No-Bake Lotus Biscoff Cheesecake Bars
Fridge: Store your cheesecake bars in an airtight container in the refrigerator for up to 5 days. This keeps them fresh and ready to satisfy your sweet tooth!
Freezer: For longer storage, freeze the bars in an airtight container, separated by parchment paper. They can be frozen for up to 3 months.
Thawing: When ready to enjoy, simply move the cheesecake bars from the freezer to the fridge for several hours to thaw. This helps maintain their delicious texture.
Reheating: There’s no need to reheat these bars! Serve them chilled for the best experience of your No-Bake Lotus Biscoff Cheesecake Bars.
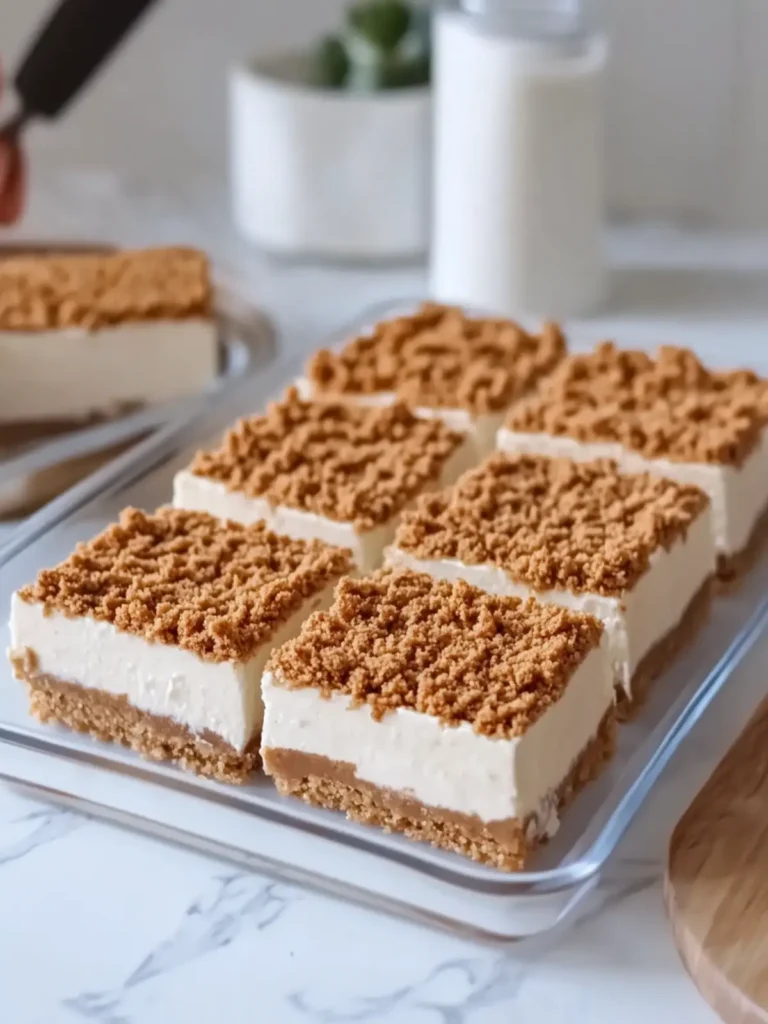
No-Bake Lotus Biscoff Cheesecake Bars Recipe FAQs
What kind of cookies should I use for the crust?
Absolutely, for the crust, it’s best to use Lotus Biscoff cookies as their unique spiced flavor and crunch provide the perfect base. Make sure to crush them finely for a consistent texture, which will ensure a buttery, firm crust that holds its shape.
How can I store my No-Bake Lotus Biscoff Cheesecake Bars?
The best way to store your cheesecake bars is in an airtight container in the refrigerator for up to 5 days. This will keep them fresh and ready for indulgence whenever you crave a sweet treat!
Can I freeze the cheesecake bars?
Yes, you can! For longer storage, freeze the cheesecake bars in an airtight container, with layers separated by parchment paper to prevent sticking. They can last for up to 3 months. When ready to enjoy, transfer them to the fridge for several hours to thaw gently.
What should I do if my cheesecake filling turns out too runny?
If your filling is too runny, it may be due to insufficiently whipped cream or unsoftened cream cheese. Ensure you whip the heavy cream until stiff peaks form and that your cream cheese is soft (room temperature) before mixing. After combining, let it chill longer so that it can firm up properly. If needed, you can also add a little bit of powdered sugar while mixing to help thicken the texture.
Are these cheesecake bars suitable for people with allergies?
While these No-Bake Lotus Biscoff Cheesecake Bars are delicious, they contain dairy (cream cheese and heavy cream) and gluten (Lotus Biscoff cookies). If you or your guests have allergies to these ingredients, consider using gluten-free cookies and plant-based cream cheese alternatives. Always double-check labels for allergens.
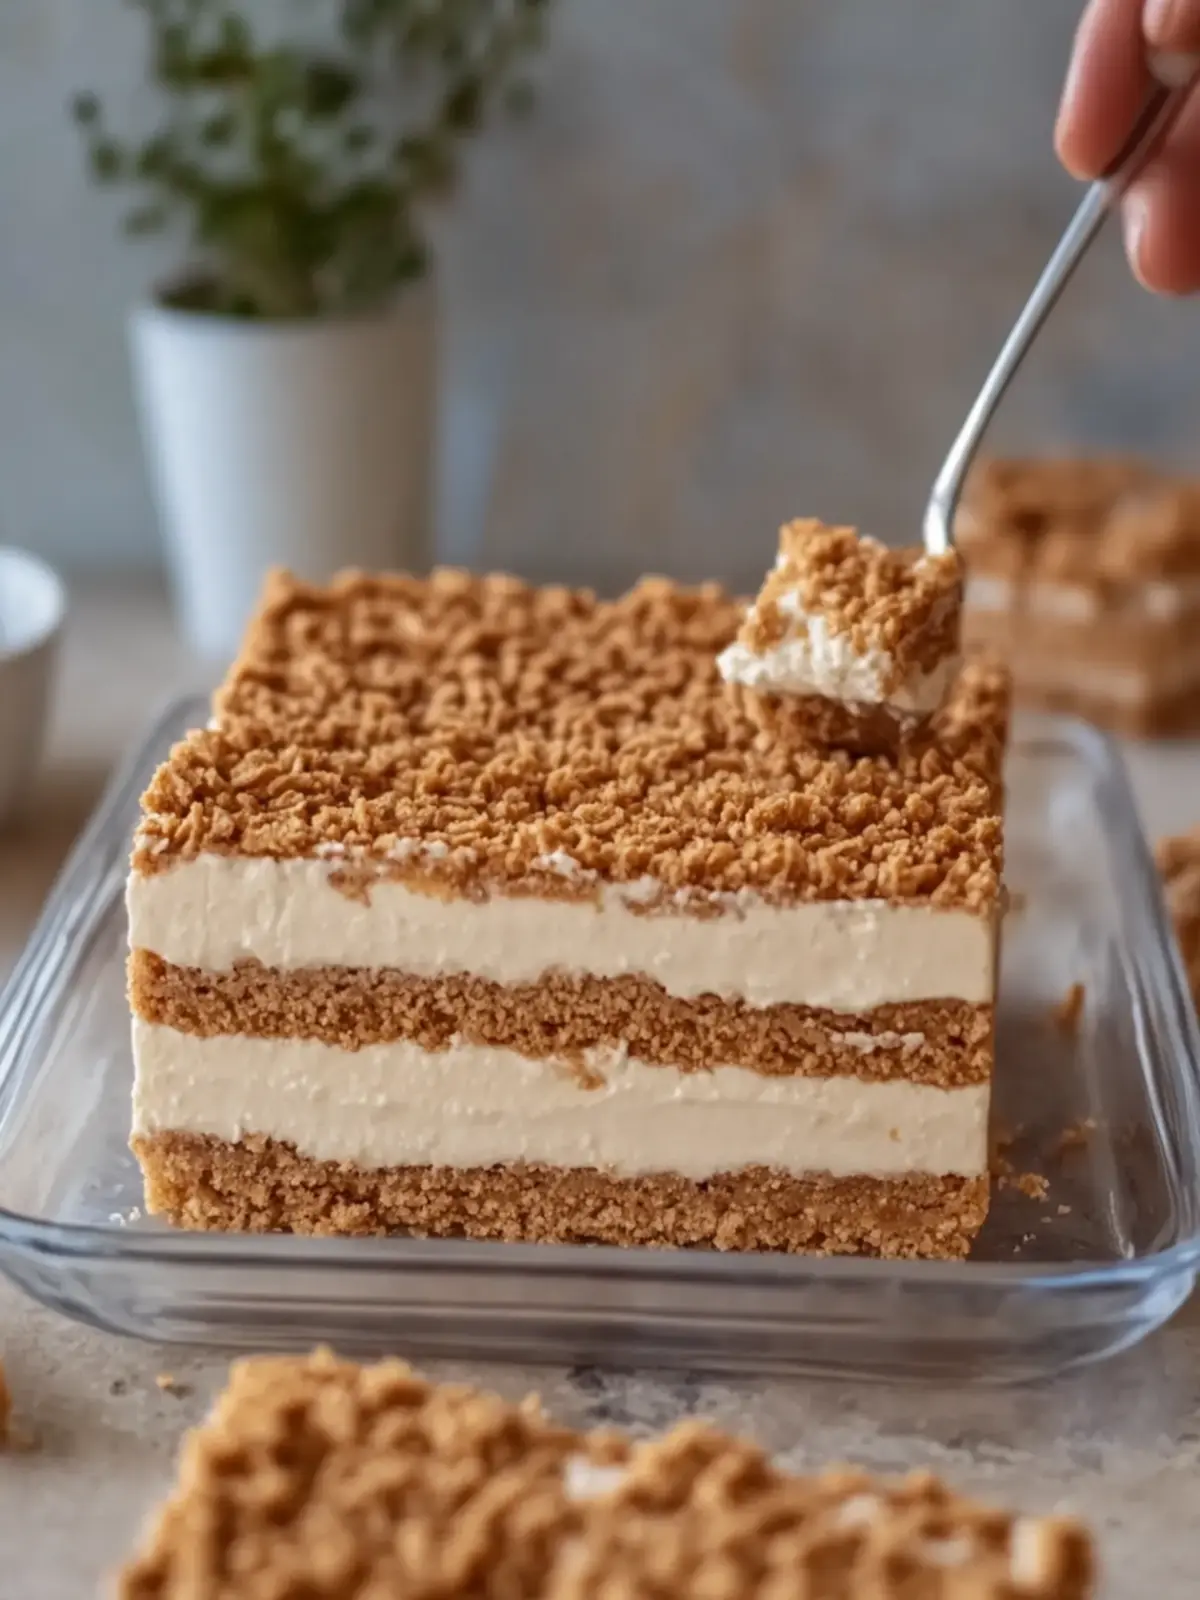
Indulge in No-Bake Lotus Biscoff Cheesecake Bars Bliss
Ingredients
Equipment
Method
- Line a 9 × 9-inch baking dish with parchment paper.
- Combine crushed cookies and melted butter, pressing into the dish.
- Refrigerate for 20 minutes to set the crust.
- Beat together cream cheese, Biscoff spread, powdered sugar, and vanilla until smooth.
- Whip the heavy cream until stiff peaks form and fold into the cream cheese mixture.
- Spread the filling over the crust and chill for 2 hours.
- Microwave Biscoff spread until pourable and spread over the filling.
- Cover and refrigerate for at least 6 hours until firm.
- Sprinkle with crushed cookies before serving and cut into squares.