As the sun dips below the horizon, there’s a delightful anticipation in the air—the kind that whispers of sweet indulgences to come. Enter my No-Bake Coconut Dream, a dessert that’s as light and airy as a tropical breeze. I first stumbled upon this recipe during a summer barbecue, when my friend brought a slice that sparked pure joy with its creamy layers and a hint of coconut.
This dessert isn’t just a treat for the taste buds; it’s a solution for those evenings when the oven feels like a distant nightmare. With minimal prep time and no baking required, you can create a show-stopping centerpiece that impresses guests and satisfies cravings alike. The combination of vanilla wafer crust, fluffy whipped toppings, and rich coconut pudding makes each bite a mini-vacation.
So grab your mixing bowl—let’s dive into an effortlessly delicious journey that will make you the star of any gathering!
Why is No-Bake Coconut Dream a Must-Try?
Effortless Preparation: With no baking involved, you can whip this dessert up in just 30 minutes, leaving more time for relaxation.
Heavenly Layers: The luscious combination of creamy coconut pudding and fluffy whipped topping provides a delightful contrast that will have everyone coming back for more.
Tropical Escape: Every bite transports you to a sun-kissed beach, making it perfect for summer gatherings or anytime you crave a taste of paradise.
Crowd-Pleasing Treat: Ideal for both family dinners and potlucks, this dessert is guaranteed to impress guests without the stress!
Versatile Option: Feel free to customize with different toppings or add chocolate drizzle for an indulgent twist. If you’re short on time, consider quick and easy no-bake dessert options to serve in a pinch!
No-Bake Coconut Dream Ingredients
Delve into these delightful essentials!
For the Crust
• Vanilla wafer crumbs – a sweet and crunchy base that perfectly contrasts the creamy layers.
• Unsalted butter – provides richness and binds the crumbs together for a sturdy crust.
For the Cream Layer
• Cream cheese – creates a rich, creamy texture; ensure it’s softened for easy blending.
• Powdered sugar – adds a touch of sweetness and smoothness to the cream mix.
• Coconut extract – enhances the coconut flavor to make your No-Bake Coconut Dream truly unforgettable.
• Whipped topping – lightens the cream cheese mixture for airy, fluffy layers.
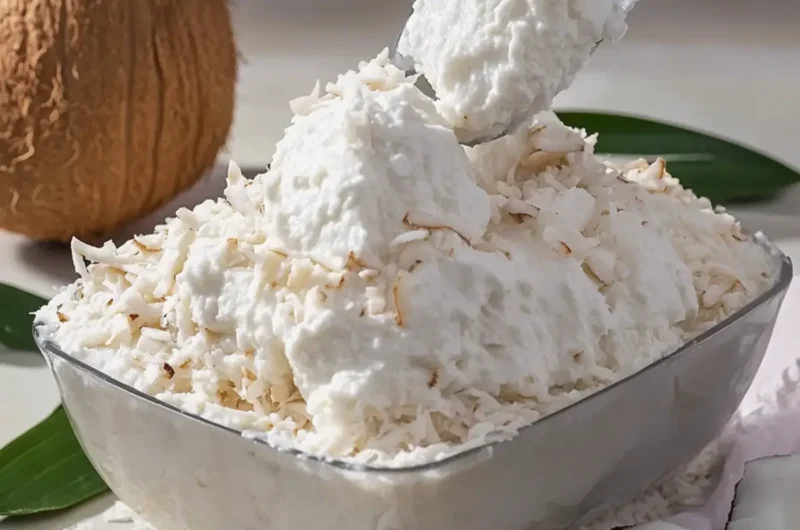
• Sweetened shredded coconut – adds texture and bursts of coconut flavor in every bite.
For the Pudding Layer
• Instant coconut cream pudding mix – a quick way to achieve coconut decadence with minimal effort.
• Cold whole milk – essential for creating that rich, creamy pudding consistency.
For Toppings
• Second container of whipped topping – makes the dessert feel extra indulgent while adding volume.
• Shredded coconut – provides a decorative sprinkle of flavor on top.
• Coconut flakes – adds a finishing touch that makes it look as good as it tastes!
These ingredients come together to create your dreamy dessert that dazzles at any occasion!
How to Make No-Bake Coconut Dream
-
Prepare the Dish: Lightly grease a 9 × 13-inch rectangular glass baking dish with butter or cooking spray to ensure easy serving later on.
-
Mix the Crust: In a mixing bowl, combine the vanilla wafer crumbs and melted butter. Stir until the crumbs are evenly moistened, resembling wet sand.
-
Form the Crust: Transfer the mixture into the prepared dish, pressing firmly into an even layer using the back of a spoon or the bottom of a measuring cup. Refrigerate for 15 minutes to set.
-
Cream the Cheese: In a large bowl, beat the softened cream cheese, powdered sugar, and coconut extract until smooth and creamy. Make sure there are no lumps for a silky texture!
-
Fold in the Toppings: Gently fold in the first container of whipped topping and the sweetened shredded coconut until evenly combined, creating a light and fluffy mixture.
-
Layer the Cream: Carefully spread the cream mixture over the chilled crust, smoothing it into an even layer. This will act as your delicious base for the pudding!
-
Whisk the Pudding: In a separate bowl, whisk the instant coconut cream pudding mix with the cold whole milk for about 2 minutes, until thickened to a pudding-like consistency.
-
Spread the Pudding: Spread the pudding mixture evenly over the cream layer, taking care not to disturb the layers underneath. Each layer should remain distinct for beautiful presentation.
-
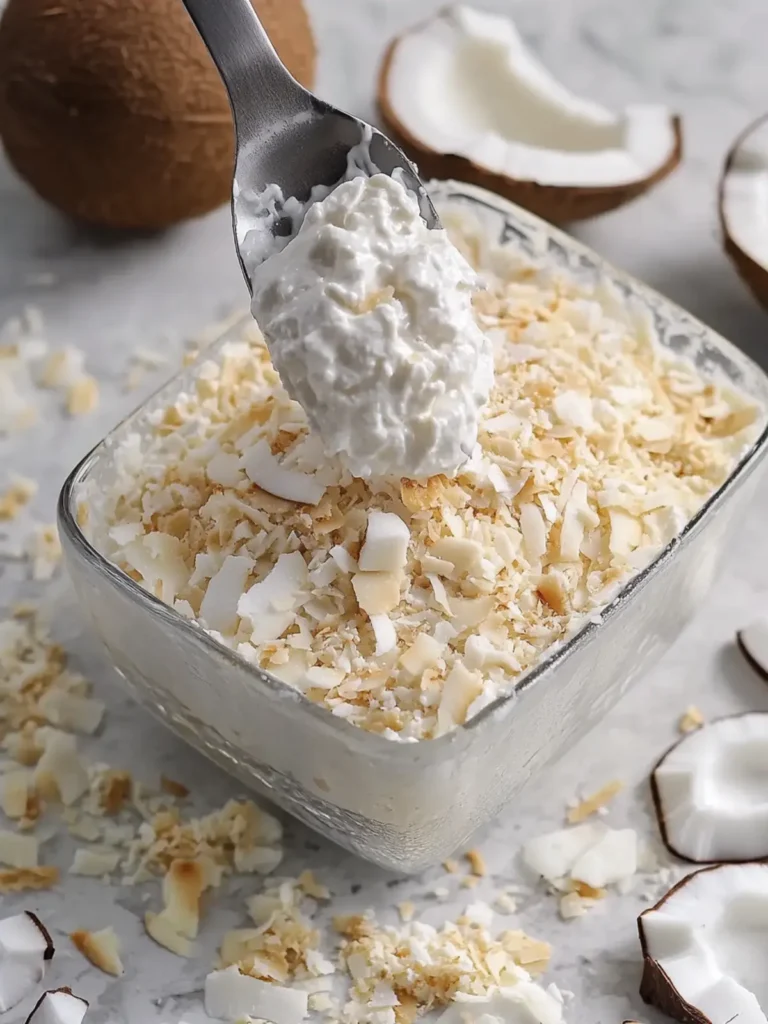
Top with Whipped Cream: Gently spread the second container of whipped topping over the pudding layer until the surface is smooth and decadent.
-
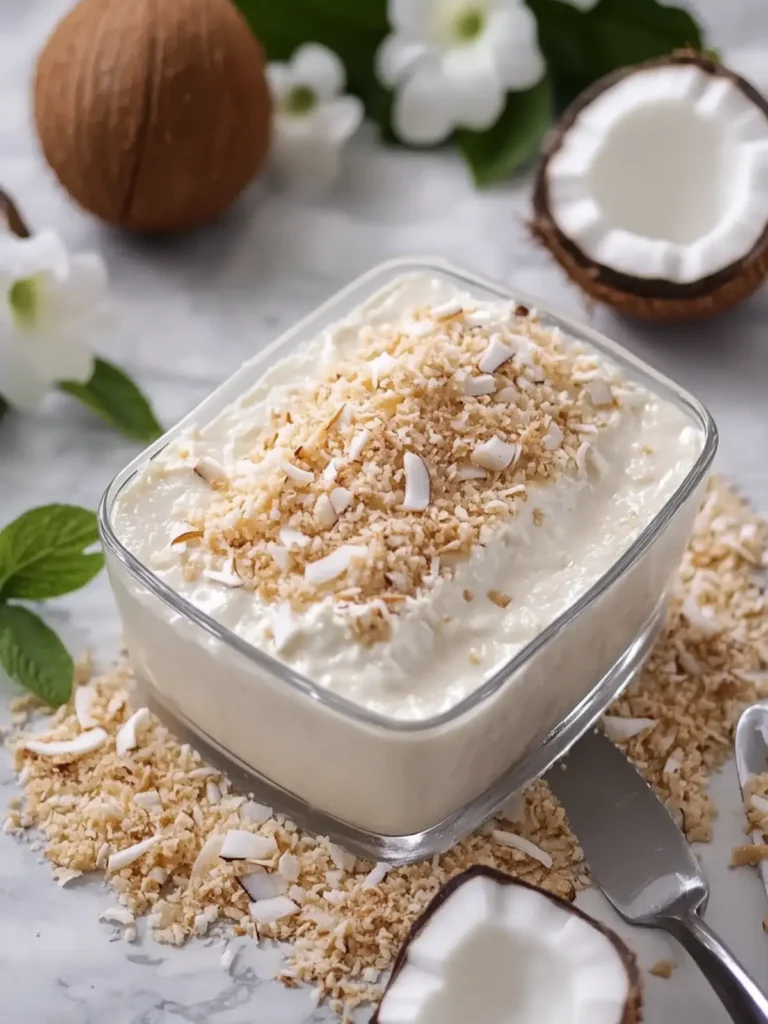
Garnish Delightfully: Sprinkle the shredded coconut and coconut flakes evenly over the top for an enticingly tropical finish.
-
Chill: Cover the dish and refrigerate for at least 4–6 hours, preferably overnight, until all layers are firm and flavors meld wonderfully.
-
Serve and Enjoy: Cut into squares and serve chilled directly from the rectangular casserole dish. Each bite will evoke sunny memories!
Optional: Garnish with fresh pineapple or a cherry on top for an extra tropical touch!
Exact quantities are listed in the recipe card below.
What to Serve with No-Bake Coconut Dream?
As you prepare to inspire your guests with a delightful tropical treat, consider these perfect pairings that will elevate your meal.
-
Fresh Fruit Salad: A vibrant mix of seasonal fruits adds a refreshing contrast to the creamy layers, providing a bright burst of flavor with every bite. Consider adding pineapple and mango to enhance that tropical vibe!
-
Grilled Chicken Skewers: Lightly seasoned grilled chicken offers a savory balance against the sweet dessert, making for a well-rounded meal that sings of summer evenings.
-
Coconut Rice: Fluffy coconut-infused rice brings an extra touch of coconut goodness, harmonizing beautifully with the No-Bake Coconut Dream while also adding a unique texture.
-
Lemonade or Iced Tea: A refreshing glass of lemonade or a chilled herbal iced tea complements the dessert’s sweetness and keeps the overall meal light and satisfying.
-
Chocolate-Dipped Pretzels: The salty crunch of pretzels dipped in chocolate provides a delightful salty-sweet contrast, making them a fun snack alongside your indulgent dessert.
-
Key Lime Pie: For those who love a bit of tartness, a slice of key lime pie adds an exciting twist that beautifully contrasts the creamy coconut dessert.
-
Whipped Cream and Berries: Serve a dollop of whipped cream topped with fresh berries for a simple yet delightful touch, enhancing both the look and taste of your dessert.
Each of these pairings brings a unique element to the table, turning a simple dessert into a wholesome gathering that celebrates good food and great company!
No-Bake Coconut Dream Variations
Feel free to sprinkle your own creative flair into this delightful treat, elevating every bite into a new experience!
- Dairy-Free: Substitute cream cheese with a vegan cream cheese alternative and the whipped topping with coconut whipped cream.
- Chocolate Twist: Drizzle melted dark chocolate over the top for a rich contrast to the coconut flavor. This simple addition transforms the dessert into a chocolate lover’s paradise.
- Nutty Crunch: Add chopped roasted almonds or pecans between the cream and pudding layers for a delicious crunch that complements the creaminess beautifully.
- Tropical Fruit: Layer in fresh diced pineapple or mango before adding the pudding for a vibrant burst of fruitiness and added juiciness.
- Spiced Up: Sprinkle cinnamon or a dash of nutmeg into the cream mixture for a warm spice that plays off the coconut’s sweetness. Feel free to adjust the spice to your taste!
- Gluten-Free: Use gluten-free cookie crumbs in place of vanilla wafers to make the dessert accessible for guests with dietary restrictions. Enjoy the same great taste without the worry!
- Coconut Lovers: Increase the shredded coconut for an extra tropical flavor, or swap some out for toasted coconut flakes for a depth of flavor that brings a delightful toastiness.
- Cold Brew Coffee: Add a tablespoon of instant coffee or espresso powder to the whipped cream layer for a mocha surprise that complements the coconut beautifully.
Expert Tips for No-Bake Coconut Dream
Chill Time Matters: Allow the dessert to chill for at least 4–6 hours, preferably overnight, to let the layers set properly and the flavors develop.
Layer Carefully: Spread each layer gently to preserve the distinct textures. Be cautious when adding the pudding layer to keep the cream layer intact.
Use Fresh Ingredients: Ensure your cream cheese is softened for easy blending—this avoids lumps and results in a smoother cream layer for your No-Bake Coconut Dream.
Customize Flavors: Feel free to add chocolate chips or a drizzle of chocolate over the top for a delightful contrast to the coconut flavors—perfect for chocolate lovers!
Work Efficiently: Prepare the crust and cream layer while the crust chills. This flow keeps you organized and speeds up the process as you create this marvelous dessert.
How to Store and Freeze No-Bake Coconut Dream
Fridge: Store covered in the refrigerator for up to 3 days. This keeps the layers fresh and flavors intact, allowing you to enjoy them over multiple days.
Freezer: For longer storage, freeze individual portions for up to 2 months. Wrap each piece tightly in plastic wrap, followed by aluminum foil to prevent freezer burn.
Thawing: When ready to enjoy, transfer the frozen pieces to the fridge and let them thaw overnight. This ensures a delightful, creamy texture upon serving.
Serving Cold: Always serve this delicious No-Bake Coconut Dream chilled for the best taste and experience—it’s a refreshing dessert perfect for any occasion!
Make Ahead Options
These No-Bake Coconut Dream layers are perfect for meal prep, making your life easier, especially on busy days! You can prepare the crust and cream layer up to 24 hours in advance; simply refrigerate the baked crust after pressing it firmly into the dish, and store the cream mixture in an airtight container to maintain its fluffy texture. When you’re ready to serve, whisk together the pudding mix and cold milk, layer it on top, and add the finishing touches with whipped topping and toppings. By doing this, you ensure the dessert is just as delicious and refreshing when you finally cut into it!
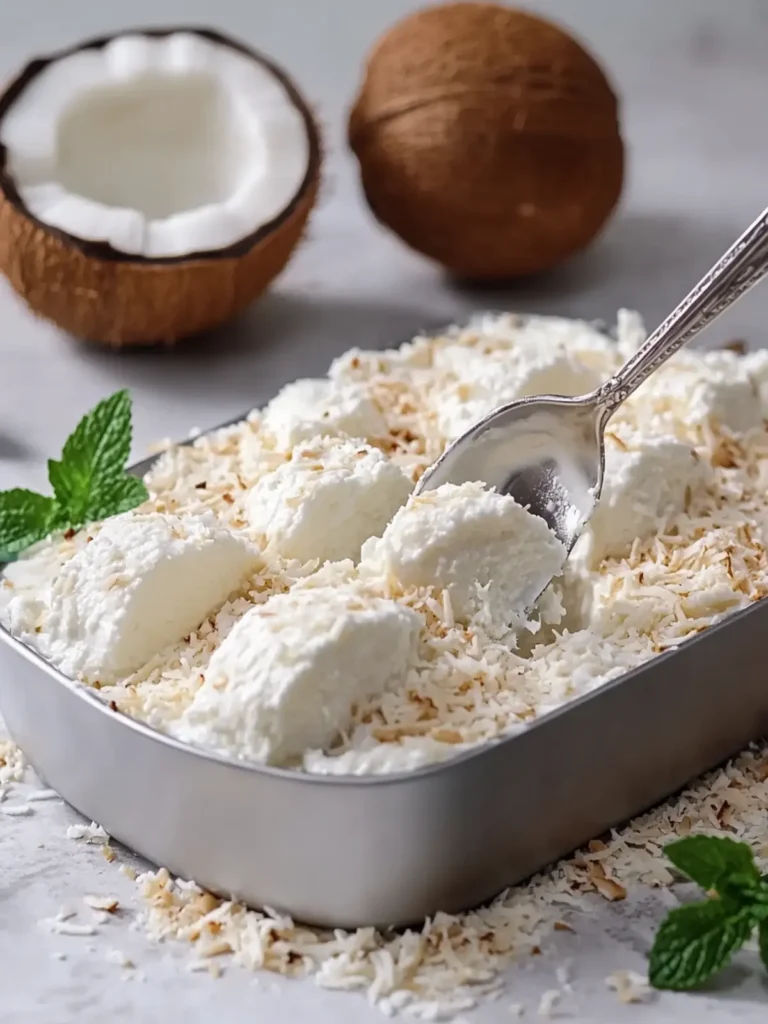
No-Bake Coconut Dream Recipe FAQs
How do I select ripe coconut ingredients?
Absolutely! For fresh coconut flavor, choose high-quality sweetened shredded coconut that looks moist and fluffy, avoiding any with dark spots or an expired date. When using cream cheese, ensure it’s at room temperature for easy blending—this results in a smooth texture.
How should I store my No-Bake Coconut Dream?
You can store the No-Bake Coconut Dream in the refrigerator covered for up to 3 days. Just ensure it’s tightly wrapped to maintain freshness. This cooling improves the texture and flavors as they meld together!
Can I freeze the No-Bake Coconut Dream?
Very! For freezing, slice the dessert into individual portions and wrap each slice tightly in plastic wrap, followed by aluminum foil to guard against freezer burn. It will keep well for up to 2 months. When you’re ready to serve, simply place the frozen pieces in the fridge overnight to thaw.
What if my layers don’t set properly?
If you find that the layers of your No-Bake Coconut Dream haven’t set properly, don’t worry! Ensure you allowed enough chilling time—at least 4 to 6 hours, or preferably overnight. If your pudding layer appears too runny, use a tad less milk next time, or try whisking it a bit longer for a thicker consistency.
Is this dessert safe for those with allergies?
Always check labels, as the No-Bake Coconut Dream contains dairy from cream cheese and whipped topping, so it’s not suitable for those with dairy allergies. For a gluten-free version, just substitute the vanilla wafers with gluten-free cookies.
Can I add toppings or substitute ingredients?
Absolutely! The more the merrier! Feel free to customize your No-Bake Coconut Dream with different toppings like chocolate drizzles or fresh fruit. You can also experiment with different extracts, such as vanilla or almond, to elevate the flavor experience!
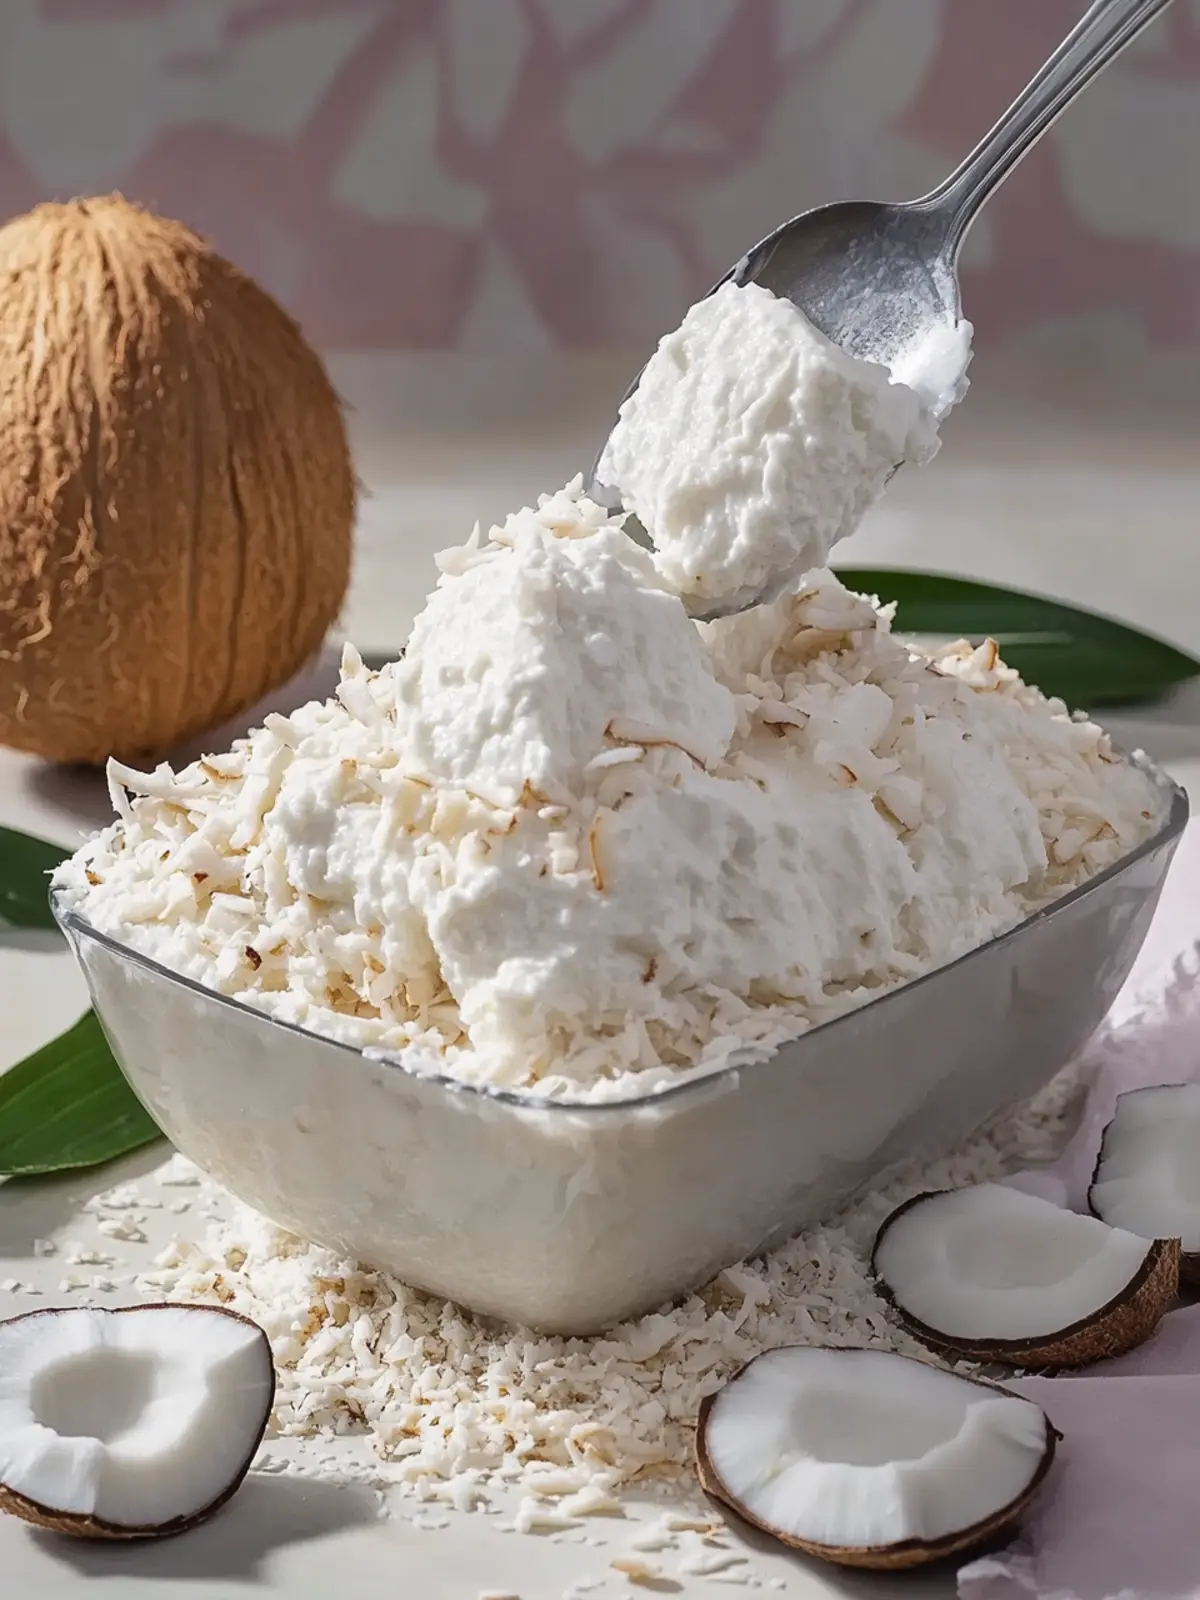
No-Bake Coconut Dream: Indulge in Tropical Bliss Today
Ingredients
Equipment
Method
- Lightly grease a 9 × 13-inch rectangular glass baking dish with butter or cooking spray.
- In a mixing bowl, combine the vanilla wafer crumbs and melted butter. Stir until the crumbs are evenly moistened.
- Transfer the mixture into the prepared dish, pressing firmly into an even layer. Refrigerate for 15 minutes to set.
- In a large bowl, beat the softened cream cheese, powdered sugar, and coconut extract until smooth and creamy.
- Gently fold in the first container of whipped topping and the sweetened shredded coconut until evenly combined.
- Carefully spread the cream mixture over the chilled crust, smoothing it into an even layer.
- In a separate bowl, whisk the instant coconut cream pudding mix with the cold whole milk for about 2 minutes until thickened.
- Spread the pudding mixture evenly over the cream layer.
- Gently spread the second container of whipped topping over the pudding layer.
- Sprinkle the shredded coconut and coconut flakes evenly over the top.
- Cover the dish and refrigerate for at least 4–6 hours, preferably overnight.
- Cut into squares and serve chilled directly from the dish.