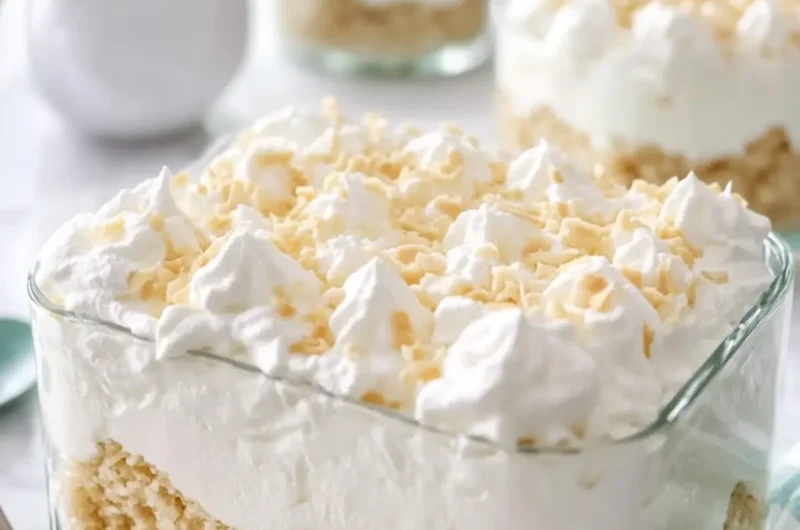
There’s an irresistible enchantment in whipping together layers of sweetness, and nothing quite captures that magic like my No-Bake Coconut Cream Dream with Layers of Fluffy Whipped Topping. Picture this: a luscious blend of cream cheese and rich coconut flavors, all resting on a buttery vanilla wafer crust that’s both quick to make and incredibly satisfying.
When a tropical craving hits and the last thing you want to do is fire up the oven, this dessert is your go-to solution. I stumbled upon this heavenly concoction during a hot summer afternoon, looking for a delightful treat that would impress both friends and family. The blend of smooth cream cheese, light whipped cream, and cool coconut pudding creates an experience that transports your taste buds straight to the beach.
What’s truly wonderful about this dessert is its versatility; it fits perfectly for July barbecues, holiday gatherings, or just an indulgent weeknight treat. Plus, you won’t believe how easy it is to prepare! Get ready to create a show-stopping dessert that helps you escape the world of fast food and dive headfirst into homemade bliss. Let’s get started!
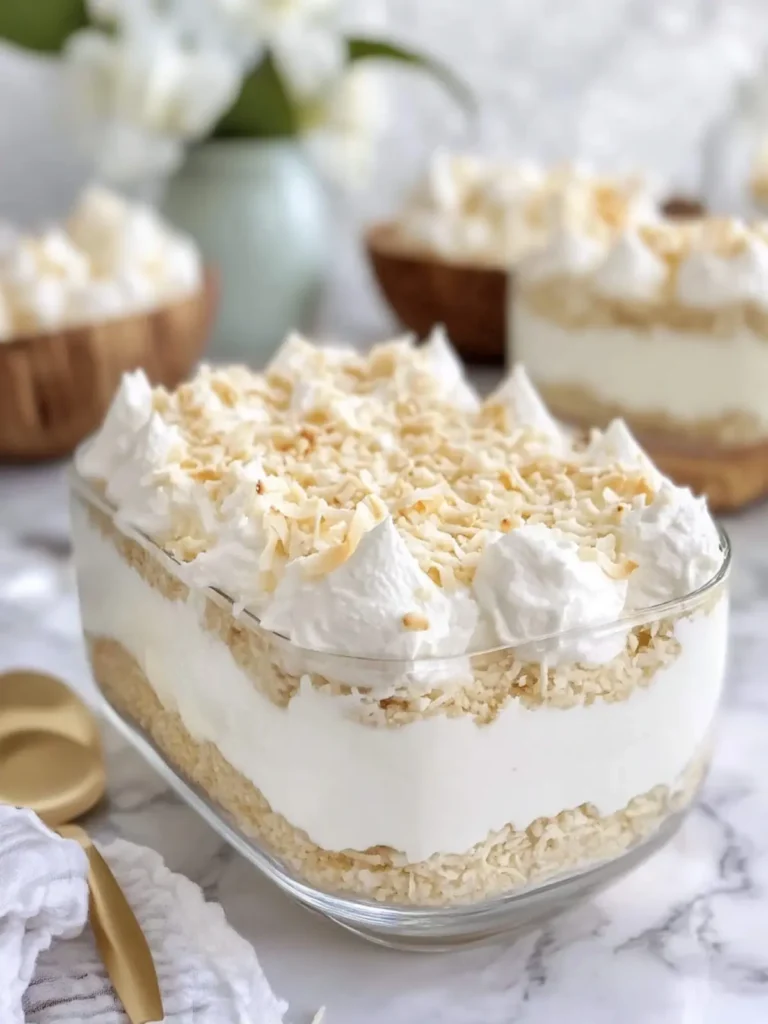
Why is No-Bake Coconut Cream Dream a must-try?
Heavenly Layers: Each bite reveals a delightful blend of creamy coconut and whipped goodness that feels like a tropical escape.
Quick Assembly: No baking required means this dessert is as simple as it is delicious—perfect for any home cook!
Crowd-Pleasing Flavor: With its rich texture and sweet flavor, it’s sure to be a hit at parties and gatherings.
Versatile Treat: Ideal for barbecues or cozy nights in, this dessert adapts to any occasion effortlessly.
Time-Saving Option: Just prep and chill—your fridge does all the hard work! Enjoy a delightful dessert with minimal fuss.
Whether you’re a seasoned chef or a beginner, this is a treat that anyone can master. Want more easy recipes? Check out our No-Bake Desserts Collection for more fantastic ideas!
Ingredients for No-Bake Coconut Cream Dream
• Dive into the delightful layers of flavor with these simple ingredients!
For the Crust
- Vanilla wafer cookie crumbs – 2½ cups provide a deliciously sweet and buttery base.
- Unsalted butter – ½ cup, melted—binds the crumbs together for that perfect crust.
- Granulated sugar – ¼ cup adds a touch of sweetness to the crust.
For the Filling
- Cream cheese – 16 oz (450 g), softened for a rich and creamy texture.
- Powdered sugar – ¾ cup sweetens the filling while keeping it smooth.
- Sweetened cream of coconut – ½ cup brings a tropical flavor that makes this dessert sing.
- Coconut extract – 1 teaspoon enhances the coconut flavor throughout.
- Clear vanilla extract – 1 teaspoon adds depth to the creaminess.
For the Whipped Cream
- Cold heavy whipping cream – 1½ cups, chilled for perfectly fluffy peaks.
- Instant coconut cream pudding mix – 2 boxes (3.4 oz / 96 g each) ensures that rich coconut flavor shines through.
- Cold whole milk – 3 cups mix it with the pudding for a velvety layer.
- Thick coconut cream – ½ cup creates a creamy, decadent layer on top.
- Powdered sugar – ¼ cup adds a light sweetness to the top layer.
- Fine coconut extract – ½ teaspoon enhances the heavenly coconut taste.
- Clear vanilla extract – ½ teaspoon rounds out the flavors beautifully.
- Finely shredded white coconut – 1½ cups, preferably unsweetened, adds that snowy finish and delightful texture.
Feel free to swap or experiment with ingredients as you create your own No-Bake Coconut Cream Dream!
How to Make No-Bake Coconut Cream Dream
-
Prepare the Dish: Use a deep 9 × 13-inch rectangular clear glass baking dish. This is essential for showcasing your beautiful layers!
-
Combine Crust Ingredients: In a bowl, mix together the vanilla wafer crumbs, melted butter, and granulated sugar until evenly moistened, which should only take a minute.
-
Form the Crust: Spread the mixture across the bottom of your dish, pressing firmly with a measuring cup to create an even and solid base.
-
Chill the Crust: Refrigerate the crust for 20 minutes until firm, which helps it hold up under the layers of creamy goodness.
-
Beat Cream Cheese Mixture: In a mixing bowl, beat the softened cream cheese and powdered sugar for 2–3 minutes until it’s completely smooth and creamy.
-
Incorporate Coconut Flavor: Mix in the sweetened cream of coconut, coconut extract, and clear vanilla extract until everything is well combined and creamy.
-
Whip the Cream: In a separate chilled bowl, beat 1½ cups of cold heavy whipping cream until stiff peaks form, creating a light and airy texture.
-
Fold in Whipped Cream: Gently fold the whipped cream into the cream cheese mixture. This step is crucial for achieving a thick, fluffy filling.
-
Layer the Filling: Spread the creamy filling evenly over the chilled cookie crust, making sure it reaches all corners for a beautiful finish.
-
Prepare the Coconut Pudding: In another bowl, whisk together the instant coconut cream pudding mixes and cold whole milk for about 2 minutes until well combined.
-
Add Thick Coconut Cream: Stir in the thick coconut cream until smooth, then refrigerate for 5 minutes until thickened—it should be luscious!
-
Spread Coconut Pudding: Carefully spread the coconut pudding over the cheesecake layer. Take your time to keep the layers distinct for that stunning presentation.
-
Make the Whipped Topping: Beat the remaining 1½ cups heavy whipping cream with powdered sugar, coconut extract, and clear vanilla extract until stiff peaks form once more.
-
Top with Whipped Cream: Spread the whipped cream generously over the coconut pudding, creating soft and thick white swirls for that dreamy look.
-
Finish with Coconut: Sprinkle the finely shredded white coconut evenly across the surface, giving it that snowy-white finish that will impress everyone!
-
Chill and Serve: Cover and refrigerate the entire dessert for at least 6 hours, preferably overnight, until the layers become firm and delightful.
Optional: Garnish with extra flakes of coconut or chocolate shavings for an extra special touch.
Exact quantities are listed in the recipe card below.
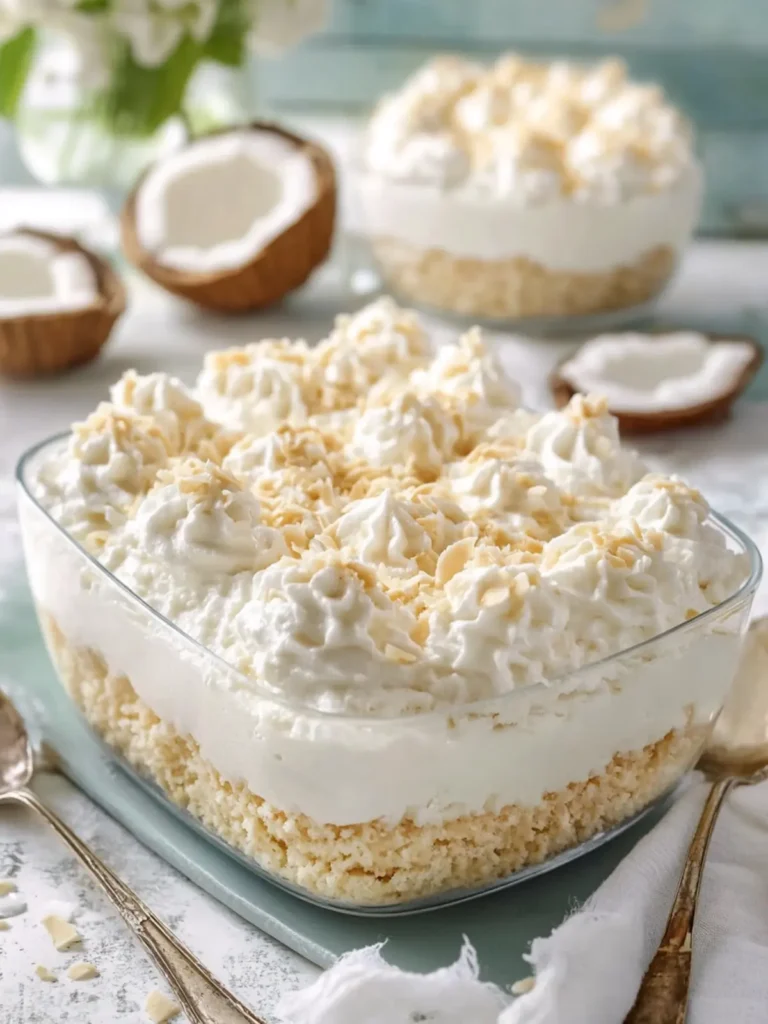
Expert Tips for No-Bake Coconut Cream Dream
- Use Sturdy Glass: A deep 9 × 13-inch clear glass baking dish allows you to showcase those beautiful layers. It’s also sturdy for easy serving.
- Chill Ingredients: Ensure all your creams are cold before whipping; this helps achieve the light, fluffy texture essential for your No-Bake Coconut Cream Dream.
- Fold Gently: When incorporating whipped cream into the cheesecake mixture, fold gently. This maintains the airy texture, giving your dessert a light and dreamy quality.
- Layer Carefully: Take your time spreading each layer, keeping them distinct. This enhances visual appeal and elevates the presentation for any gathering.
- Overnight Chill: For the best results, chill the dessert overnight. This allows the flavors to meld beautifully and ensures each layer is perfectly set.
What to Serve with No-Bake Coconut Cream Dream?
Indulging in this heavenly tropical dessert is a treat by itself, but pairing it with the right sides elevates the experience even further.
- Pineapple Salsa: This zesty mix of pineapple, cilantro, and lime adds a refreshing contrast that perfectly balances the creaminess of the dessert.
- Coconut Rice: Prepare a savory coconut rice dish to enhance the flavors of the dessert, creating a harmonious tropical vibe at your gathering.
- Fresh Berries: A medley of strawberries, blueberries, and raspberries brings a burst of freshness, cutting through the richness with each bite.
- Mojito Mocktail: This minty, lime-infused beverage offers a cool and refreshing sip that complements the creamy layers beautifully.
- Chocolate Drizzle: A simple drizzle of luscious chocolate sauce over each slice adds a delightful touch of decadence and harmony with the coconut.
- Caramelized Bananas: Sweet, caramelized bananas create a warm contrast that tantalizes the palate and enhances the overall dessert experience.
- Roasted Nuts: A sprinkle of toasted coconut or almonds provides a wonderful crunch and nutty flavor, adding texture to your dessert outing.
- Tropical Fruit Platter: Serve with a refreshing platter of mango, kiwi, and passion fruit for a vibrant, colorful addition to your meal.
Make Ahead Options
These No-Bake Coconut Cream Dream layers are perfect for meal prep enthusiasts! You can prepare the crust and filling up to 24 hours in advance, ensuring a stress-free experience when serving. Simply follow steps 2-8 of the recipe and store the layers separately in airtight containers in the refrigerator to maintain freshness. On the day you plan to serve, layer the pudding and whipped topping, following steps 10-15, and refrigerate for at least 6 hours or overnight. This not only saves you time but also allows the flavors to meld beautifully, guaranteeing that your dessert is just as delicious and delightful as if made fresh that day!
How to Store and Freeze No-Bake Coconut Cream Dream
Fridge: Keep your No-Bake Coconut Cream Dream covered in the refrigerator for up to 3 days. This maintains its fluffy texture and delicious flavors.
Freezer: If you want to store it longer, freeze tightly wrapped slices of the dessert for up to 1 month. Thaw in the fridge before serving for optimal flavor.
Reheating: This dessert is best enjoyed cold. Simply slice and serve directly from the refrigerator or thawed from the freezer for a delightful treat anytime.
Airtight Storage: To maintain quality, always store the dessert in an airtight container to prevent drying out and absorbing other flavors from your fridge.
No-Bake Coconut Cream Dream Variations
Feel free to put your own spin on this delightful dessert and make it uniquely yours!
-
Gluten-Free: Use gluten-free vanilla wafers or crushed gluten-free cookie alternatives to ensure everyone can enjoy this tropical treat.
-
Nutty Delight: Add ½ cup of chopped toasted almonds or pecans to the crust for a crunchy, nutty twist that contrasts beautifully with the creamy layers.
-
Chocolate Lovers: Swirl in a layer of chocolate ganache or use chocolate wafer crumbs for the crust to satisfy that sweet tooth and create a rich flavor combo.
-
Reduced Sugar: Substitute with a sugar alternative like stevia or erythritol for a guilt-free dessert that doesn’t compromise on indulgence.
-
Fruit-Filled Layers: Top the whipped cream layer with fresh mango or pineapple chunks for a fruity burst that complements the coconut wonderfully.
-
Coconut-Free: Replace cream of coconut with almond milk or cashew cream and add a splash of lime juice for a refreshing change of pace.
-
Berry Bliss: Elevate your dessert by adding a layer of mixed berries—strawberries, blueberries, or raspberries—between the cream cheese filling and pudding.
-
Spiced Coconut: Infuse the dessert with a touch of cinnamon or nutmeg in the filling for a warm, aromatic flavor that beautifully enhances the tropical vibe.
Experiment with these variations and watch as every version brings a unique twist to your No-Bake Coconut Cream Dream!
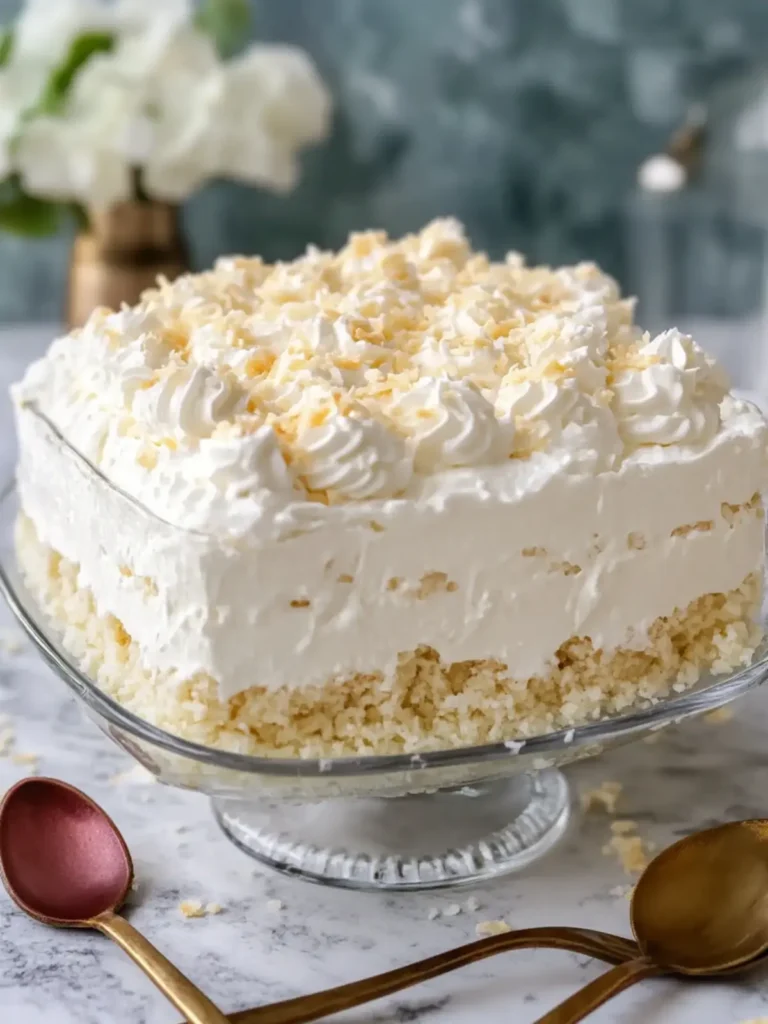
No-Bake Coconut Cream Dream Dessert Recipe FAQs
What type of vanilla wafers should I use for the crust?
I recommend using regular vanilla wafer cookies rather than specialty varieties, as they have the perfect sweetness and texture for this dessert. You want them to be crumbly enough to form a solid base but not too dry.
How should I store the No-Bake Coconut Cream Dream?
Keep your No-Bake Coconut Cream Dream covered in the refrigerator. It will stay fresh for up to 3 days, though it’s even better the longer it sits! Just make sure to use an airtight container to keep it from drying out or absorbing any refrigerator odors.
Can I freeze this dessert for later?
Absolutely! You can freeze tightly wrapped slices of the No-Bake Coconut Cream Dream for up to 1 month. To thaw, simply place it in the fridge for several hours before serving. This is a fantastic option if you want to prepare in advance for a party or special occasion!
What if my whipped cream doesn’t form stiff peaks?
If your whipped cream doesn’t achieve stiff peaks, it may be because it wasn’t chilled properly or you overwhipped it. Ensure your bowl and beaters are cold before starting. If it won’t hold peaks at all, you can add a tablespoon of powdered sugar to help stabilize it as you whip. Just remember, gently folding it into your mixture afterwards is key!
Can I substitute cream cheese if I have an allergy?
Yes, if you have a cream cheese allergy, you can substitute it with a dairy-free cream cheese or even a thick coconut yogurt for a similar creamy texture and mild flavor. Just keep in mind that this may slightly alter the taste and texture, but it will still create a delightful No-Bake Coconut Cream Dream!
Is there a way to make this recipe lighter or lower in calories?
Certainly! You can use light cream cheese and a sugar substitute instead of granulated and powdered sugars. Additionally, opting for low-fat whipped cream options can help reduce the overall calorie count while still maintaining that fluffy deliciousness in your No-Bake Coconut Cream Dream!
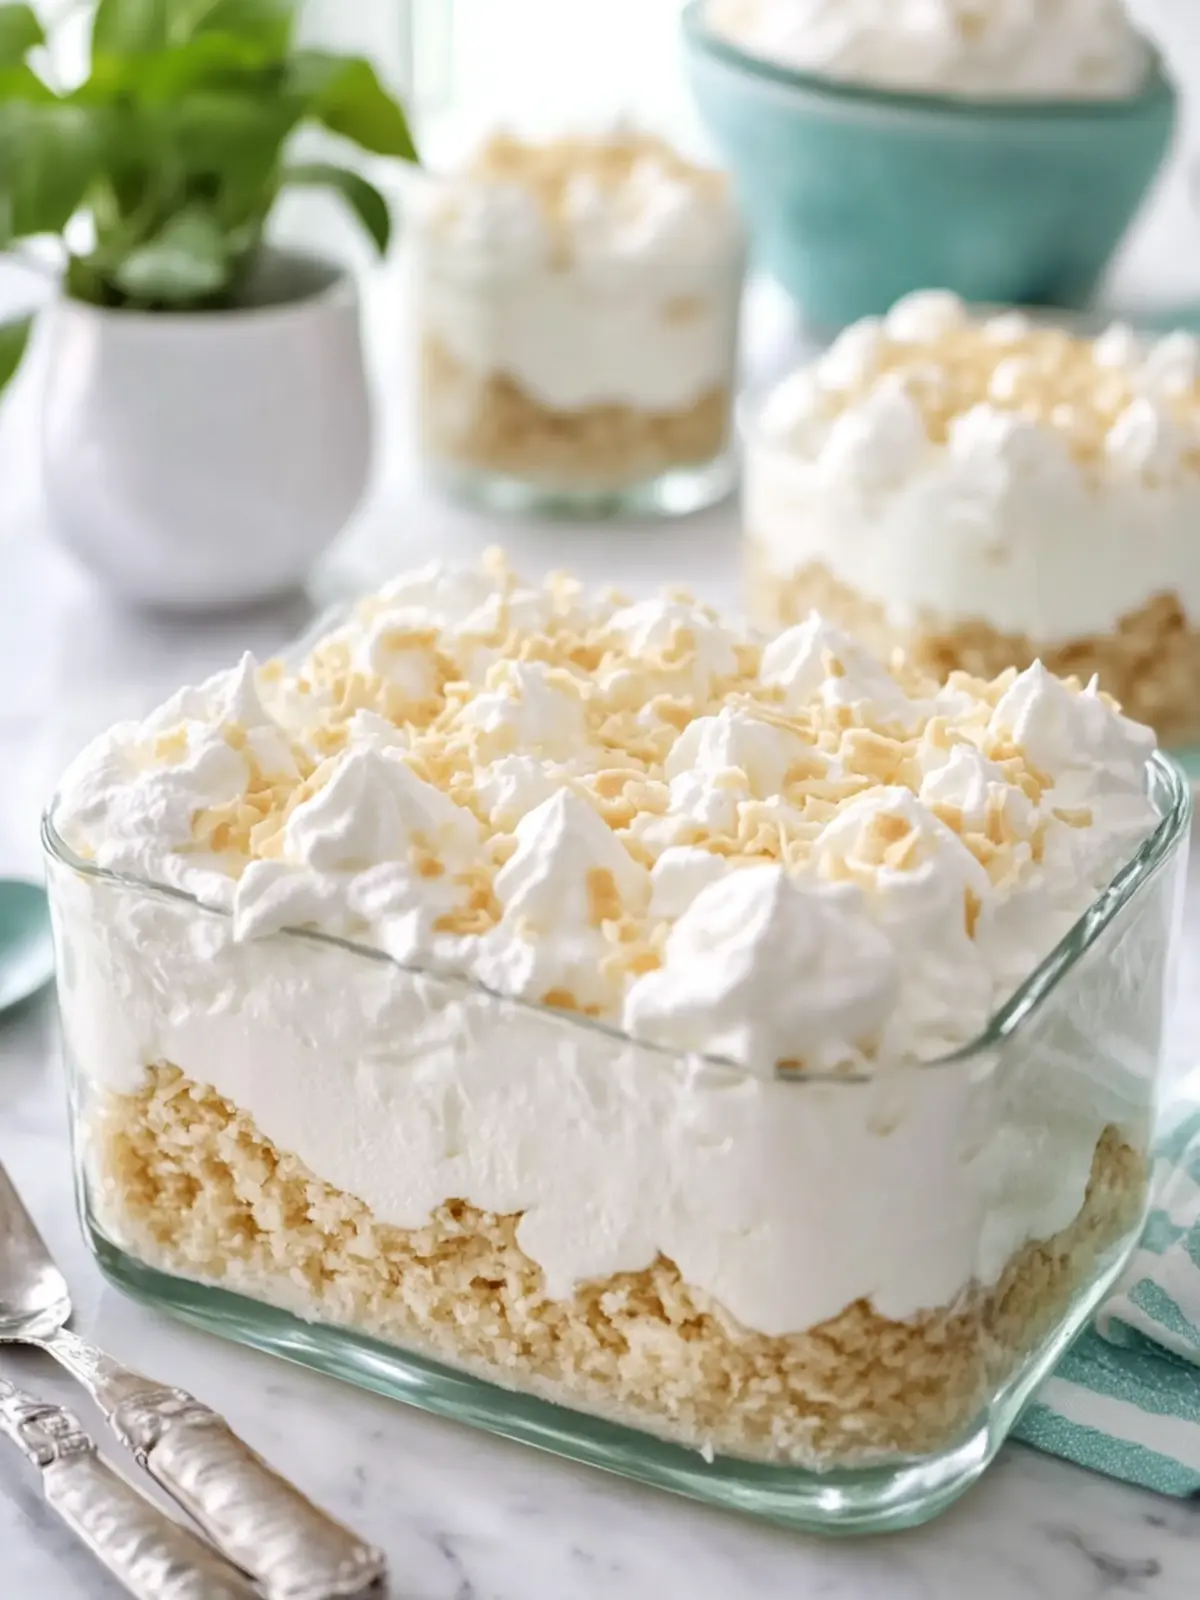
No-Bake Coconut Cream Dream with Fluffy Whipped Heaven
Ingredients
Equipment
Method
- Prepare the Dish: Use a deep 9 × 13-inch rectangular clear glass baking dish.
- Combine Crust Ingredients: In a bowl, mix together the vanilla wafer crumbs, melted butter, and granulated sugar until evenly moistened.
- Form the Crust: Spread the mixture across the bottom of your dish, pressing firmly to create an even base.
- Chill the Crust: Refrigerate the crust for 20 minutes until firm.
- Beat Cream Cheese Mixture: In a mixing bowl, beat the softened cream cheese and powdered sugar for 2–3 minutes until smooth.
- Incorporate Coconut Flavor: Mix in sweetened cream of coconut, coconut extract, and clear vanilla extract until creamy.
- Whip the Cream: In a separate bowl, beat cold heavy whipping cream until stiff peaks form.
- Fold in Whipped Cream: Gently fold the whipped cream into the cream cheese mixture.
- Layer the Filling: Spread filling evenly over the chilled cookie crust.
- Prepare the Coconut Pudding: In another bowl, whisk together the pudding mixes and cold whole milk for about 2 minutes.
- Add Thick Coconut Cream: Stir in thick coconut cream until smooth, then refrigerate for 5 minutes.
- Spread Coconut Pudding: Carefully spread the pudding over the cheesecake layer.
- Make the Whipped Topping: Beat the remaining cold heavy whipping cream, powdered sugar, coconut extract, and clear vanilla extract until stiff peaks form.
- Top with Whipped Cream: Spread whipped cream generously over the coconut pudding.
- Finish with Coconut: Sprinkle finely shredded coconut evenly across the surface.
- Chill and Serve: Cover and refrigerate for at least 6 hours, preferably overnight.