I found myself reminiscing about summer barbecues with family when I first discovered this No-Bake Coconut Cream Dream Dessert. The cool, creamy layers reminded me of what it felt like to indulge in carefree afternoons, laughter filling the air as we gathered around the table.
What makes this dessert truly special is how effortlessly it comes together, transforming simple, everyday ingredients like graham crackers and cream cheese into a tropical bliss that pleases both young and old. Featuring a delightful mix of coconut, vanilla, and fluffy whipped topping, it’s the kind of treat that elevates any gathering and satisfies those pesky sweet cravings with ease.
Imagine serving a slice to your friends at your next potluck, only to have them marvel at the delicate layers and wholesome flavors, all while you bask in the compliments with a smile. Whether you’re looking to impress or simply treat yourself, this dessert has got you covered. Let’s dive in and create a memorable sweet escape together!
Why is No-Bake Coconut Cream Dream Dessert a Must-Try?
Effortless Preparation: This stunning dessert requires no baking, making it a breeze for busy home cooks.
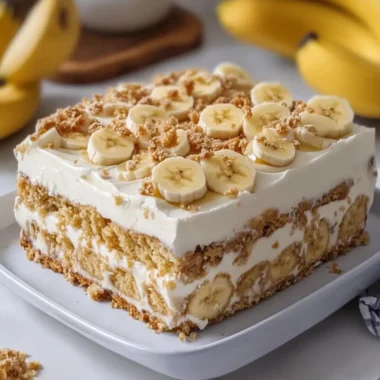
Layered Delight: Each bite offers a wonderful combination of creamy textures and tropical flavors that will transport you to paradise.
Vision of Elegance: Its beautiful presentation makes it a crowd-pleaser at any event, leaving guests curious about your secret.
Perfect for Any Occasion: From potlucks to holiday dinners, this dessert will delight both young and old alike, standing out from the typical treats.
Chill Time Bonus: With just a few hours in the fridge, you can prep ahead, allowing you to enjoy the moment without stress.
Experience the magic of this dessert and elevate your gatherings with this exceptional recipe!
No-Bake Coconut Cream Dream Dessert Ingredients
For the Crust
• Graham cracker crumbs – provides a sweet, crunchy base that pairs perfectly with the creamy filling.
• Unsalted butter – helps bind the crumbs for a sturdy crust that holds up to the layers above.
• Granulated sugar – adds a touch of sweetness to balance the crust’s buttery flavor.
For the Cream Filling
• Cream cheese – creates a rich, velvety texture that forms the luxurious heart of the dessert.
• Powdered sugar – sweetens the cream mixture while maintaining a smooth consistency.
• Vanilla extract – adds a warm, aromatic note that enhances all the other flavors within the dessert.
For the Coconut Layer
• Instant coconut cream pudding mix – brings that essential coconut flavor and creamy thickness with ease.
• Cold whole milk – needed to activate the pudding mix and maintain its creamy texture.
• Sweetened shredded coconut – incorporated into the filling for that wonderful coconut essence.
• Whipped topping – helps lighten the cream filling, making it pillowy and delightful.
For the Topping
• Whipped topping – a final layer that adds an airy finish to your dessert.
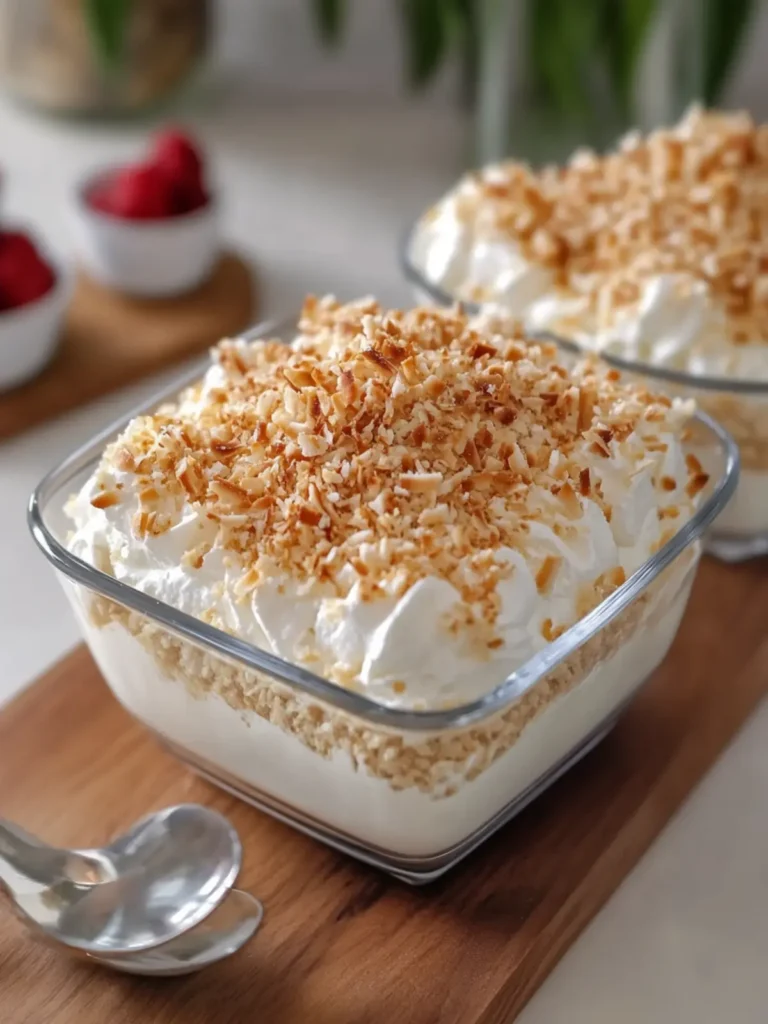
• Toasted shredded coconut – provides a crunchy, golden garnish that enhances the presentation and adds texture.
With these simple ingredients, your No-Bake Coconut Cream Dream Dessert will soon become a family favorite!
How to Make No-Bake Coconut Cream Dream Dessert
-
Prepare the dish: Start by grabbing a 9 × 13-inch rectangular glass dish. This size is perfect for holding all the delicious layers of your dessert.
-
Mix the crust: In a bowl, combine the graham cracker crumbs, melted butter, and sugar. Stir until everything is thoroughly mixed, and it resembles wet sand.
-
Press the crust: Firmly press the crumb mixture into the bottom of the prepared dish, creating an even layer. This will be the foundation for your creamy delights.
-
Chill the crust: Place the dish in the refrigerator for 20 minutes. This helps the crust firm up, making it easier to layer the filling on top.
-
Beat the cream cheese: In a mixing bowl, beat the softened cream cheese, powdered sugar, and vanilla extract together until smooth and creamy. This will add richness to your dessert.
-
Prepare the pudding mix: In another bowl, whisk together the coconut cream pudding mixes and cold whole milk for 2 minutes. This step is vital to achieve that luscious, creamy texture.
-
Let it thicken: Allow the pudding to stand for 5 minutes. You’ll notice it thickens nicely, creating the perfect consistency to blend with the cream cheese mixture.
-
Combine mixtures: Gently mix the thickened pudding into the cream cheese blend until fully incorporated. You should have a smooth and creamy filling now.
-
Fold in coconut: Carefully fold in 1 cup of sweetened shredded coconut and the thawed whipped topping. This will give your filling that delightful coconut flavor throughout.
-
Spread the filling: Evenly spread the coconut cream filling over the chilled crust. Use a spatula to smooth it out, ensuring each bite will be delicious.
-
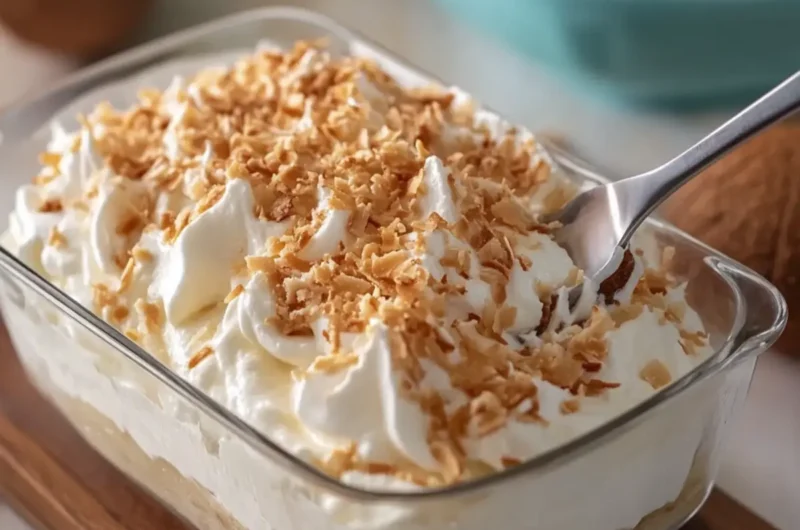
Add whipped topping: Spread the remaining 1 cup of whipped topping over the top of the dessert. Make it nice and fluffy for that inviting look.
-
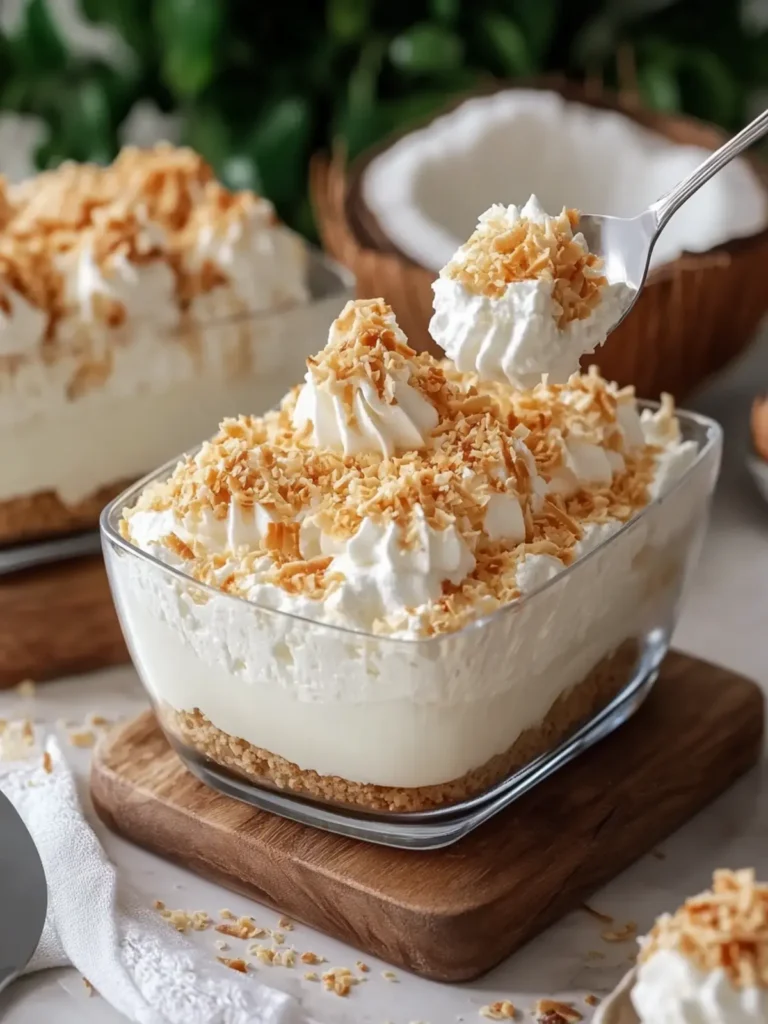
Garnish with toasted coconut: Sprinkle the toasted shredded coconut generously on top. This adds a lovely crunch and visual appeal to your dessert.
-
Chill before serving: Cover the dish and refrigerate for at least 4 hours, preferably overnight. This time allows all the flavors to meld beautifully, enhancing the overall taste.
Optional: Garnish with extra toasted coconut or chocolate shavings for a decadent touch!
Exact quantities are listed in the recipe card below.
Make Ahead Options
These No-Bake Coconut Cream Dream Dessert layers are perfect for meal prep enthusiasts! You can prepare the graham cracker crust up to 24 hours in advance; just mix the crumbs, butter, and sugar, then press it into your dish and refrigerate. Additionally, the coconut cream filling can be made ahead, but it’s best to fold in the whipped topping and shredded coconut only a few hours before serving to retain their fluffy texture. Cover the assembled dessert and refrigerate for up to 3 days. When ready to impress, simply garnish with toasted coconut, and you’ll have a show-stopping, vibrant dessert that’s just as delicious as if made fresh!
Expert Tips for No-Bake Coconut Cream Dream Dessert
-
Chill the Crust: Make sure to chill the crust for at least 20 minutes; this creates a stable base that prevents sogginess from the filling.
-
Cream Cheese Consistency: Ensure the cream cheese is at room temperature for easy blending. This avoids lumps and ensures your filling is smooth.
-
Whisking Pudding: When mixing the coconut cream pudding with milk, whisk thoroughly for the recommended time to achieve the perfect thickness before combining it with the cream cheese.
-
Gentle Folding: Fold in the whipped topping gently to keep the filling airy and light. This helps maintain its fluffy texture for the best no-bake coconut cream dream dessert experience.
-
Cover Tightly: Cover your dessert tightly while it chills to prevent any fridge odors from sneaking in and impacting the delicious coconut flavor.
-
Serving Tip: Serve chilled and garnish just before serving to keep the toasted coconut crisp and invite a delightful crunch with each slice!
What to Serve with No-Bake Coconut Cream Dream Dessert?
Imagine a table filled with vibrant flavors and textures that complement your creamy delight in the most delightful way.
- Tropical Fruit Salad: A fresh medley of mango, pineapple, and kiwi brings an exotic twist that perfectly contrasts the sweet coconut layers.
- Classic Grilled Chicken: Savory and juicy, the grilled chicken provides a hearty balance to your dessert’s sweet creaminess, making for a satisfying meal.
- Chocolate Chip Cookies: Pairing the rich, buttery cookies with the smooth coconut dessert creates a delightful harmony of textures and sweetness that everyone will love.
- Coconut-Curry Shrimp: These spiced shrimp add a savory touch, creating a unique interplay between the flavors that is sure to impress your guests.
- Sparkling Lemonade: The bright, zesty notes of a bubbly lemonade cleanse the palate, enhancing the tropical experience of the creamy dessert.
- Key Lime Pie: A classic dessert with its own tangy goodness complements the sweetness of your coconut cream, making it a fun duo on the dessert table.
Each of these pairings not only enhances your No-Bake Coconut Cream Dream Dessert but creates an inviting atmosphere that elevates any occasion!
No-Bake Coconut Cream Dream Dessert Variations
Feel free to get creative and make this delightful dessert your own with these tasty variations!
-
Dairy-Free: Substitute cream cheese with a dairy-free cream cheese alternative and replace whipped topping with coconut whipped cream for a dreamy, plant-based treat.
-
Gluten-Free: Use gluten-free graham cracker crumbs instead of traditional ones to accommodate gluten sensitivities while preserving that classic crust flavor.
-
Chocolate Lovers: Drizzle melted chocolate over the top before adding toasted coconut for a delightful chocolate-coconut combination that everyone will adore.
-
Tropical Twist: Add chopped pineapple or mango into the cream filling for a tropical burst of flavor that dances on your taste buds with every spoonful.
-
Nutty Crunch: Incorporate chopped macadamia nuts or pecans into the crust or sprinkle on top for an extra layer of texture and a nutty flavor.
-
Spicy Kick: Enhance the flavor by adding a pinch of cayenne pepper to the filling for a surprising warmth that contrasts beautifully with the sweetness.
-
Frozen Treat: Transform this into a frozen dessert by assembling it as directed and then placing it in the freezer for a couple of hours, perfect for hot summer days!
-
Caramel Swirl: Swirl in some caramel sauce into the filling just before spreading it over the crust, adding a rich layer of sweetness that elevates the overall treat.
Experiment with these variations to craft a No-Bake Coconut Cream Dream Dessert that perfectly suits your tastes!
How to Store and Freeze No-Bake Coconut Cream Dream Dessert
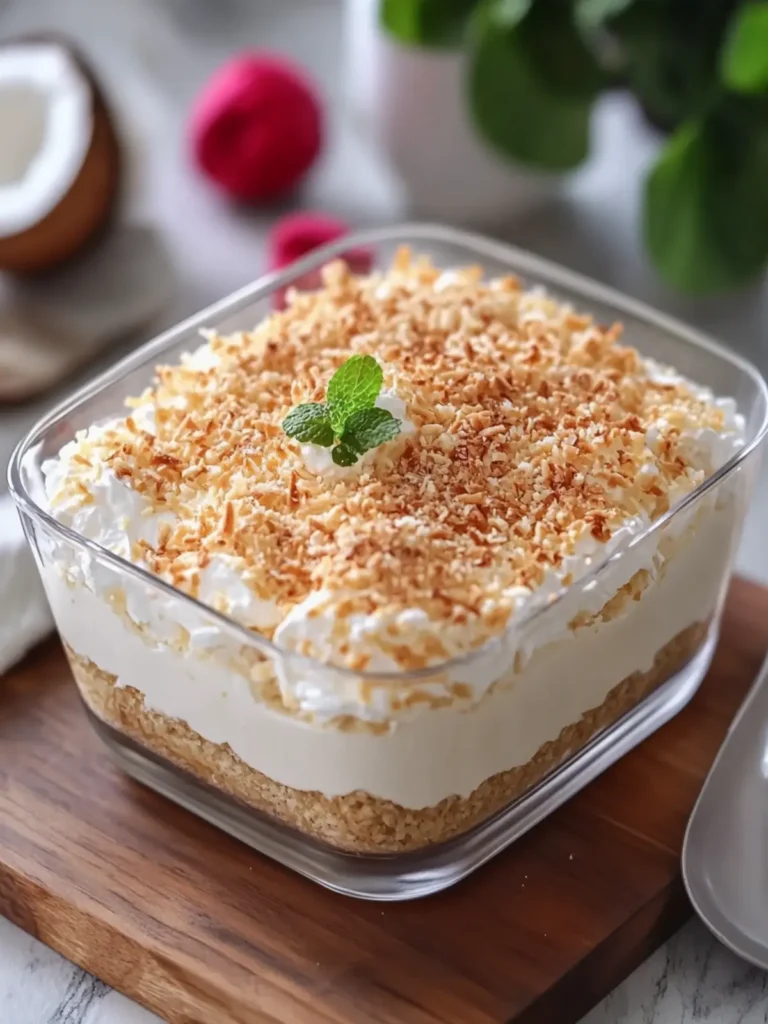
Fridge: Store leftover dessert in an airtight container in the fridge for up to 3 days. This keeps it fresh while maintaining its delightful texture.
Freezer: If you want to make it ahead, freeze the dessert for up to 2 months. Wrap it tightly in plastic wrap and foil to prevent freezer burn.
Thawing: To enjoy frozen leftovers, transfer to the fridge to thaw overnight before serving. This will help the dessert maintain its dream-like creaminess.
Reheating: No need to reheat; simply serve chilled straight from the fridge or after thawing!
No-Bake Coconut Cream Dream Dessert Recipe FAQs
How do I choose ripe ingredients for my No-Bake Coconut Cream Dream Dessert?
Absolutely! For the best flavor, choose fresh ingredients. Use coconut pudding mix that is not expired and look for sweetened shredded coconut without dark spots, indicating moisture or age. Make sure your cream cheese is properly softened for easy blending; it should feel like softened butter, not cold and stiff.
How should I store leftover No-Bake Coconut Cream Dream Dessert?
You can store leftovers in an airtight container in the fridge for up to 3 days. Make sure the dessert is covered well to maintain its texture and flavor. This way, you can enjoy a slice or two later without sacrificing taste!
Can I freeze No-Bake Coconut Cream Dream Dessert?
Yes! To freeze, wrap the dessert tightly in plastic wrap and then in foil to prevent freezer burn. It can be stored in the freezer for up to 2 months. When you’re ready to enjoy it, simply transfer it to the fridge to thaw overnight. This method helps keep the dessert creamy and refreshing.
What if my pudding doesn’t thicken properly?
Very often, this can happen if you don’t whisk the pudding mix with the cold milk thoroughly for the full 2 minutes. If it’s still not thickening, let it sit an extra minute or two to see if it firms up. If it doesn’t, you might need to start anew with fresh pudding mix, as expired ingredients can hinder that delightful thickness!
Are there any dietary considerations I should know?
For those with allergies, make sure to check if any of your guests are sensitive to dairy or coconut. You can substitute the cream cheese with a dairy-free alternative if needed and use a non-dairy whipped topping. However, avoid making puppy desserts, as the chocolate may not be safe for them!
How can I keep my toasted coconut crispy on top?
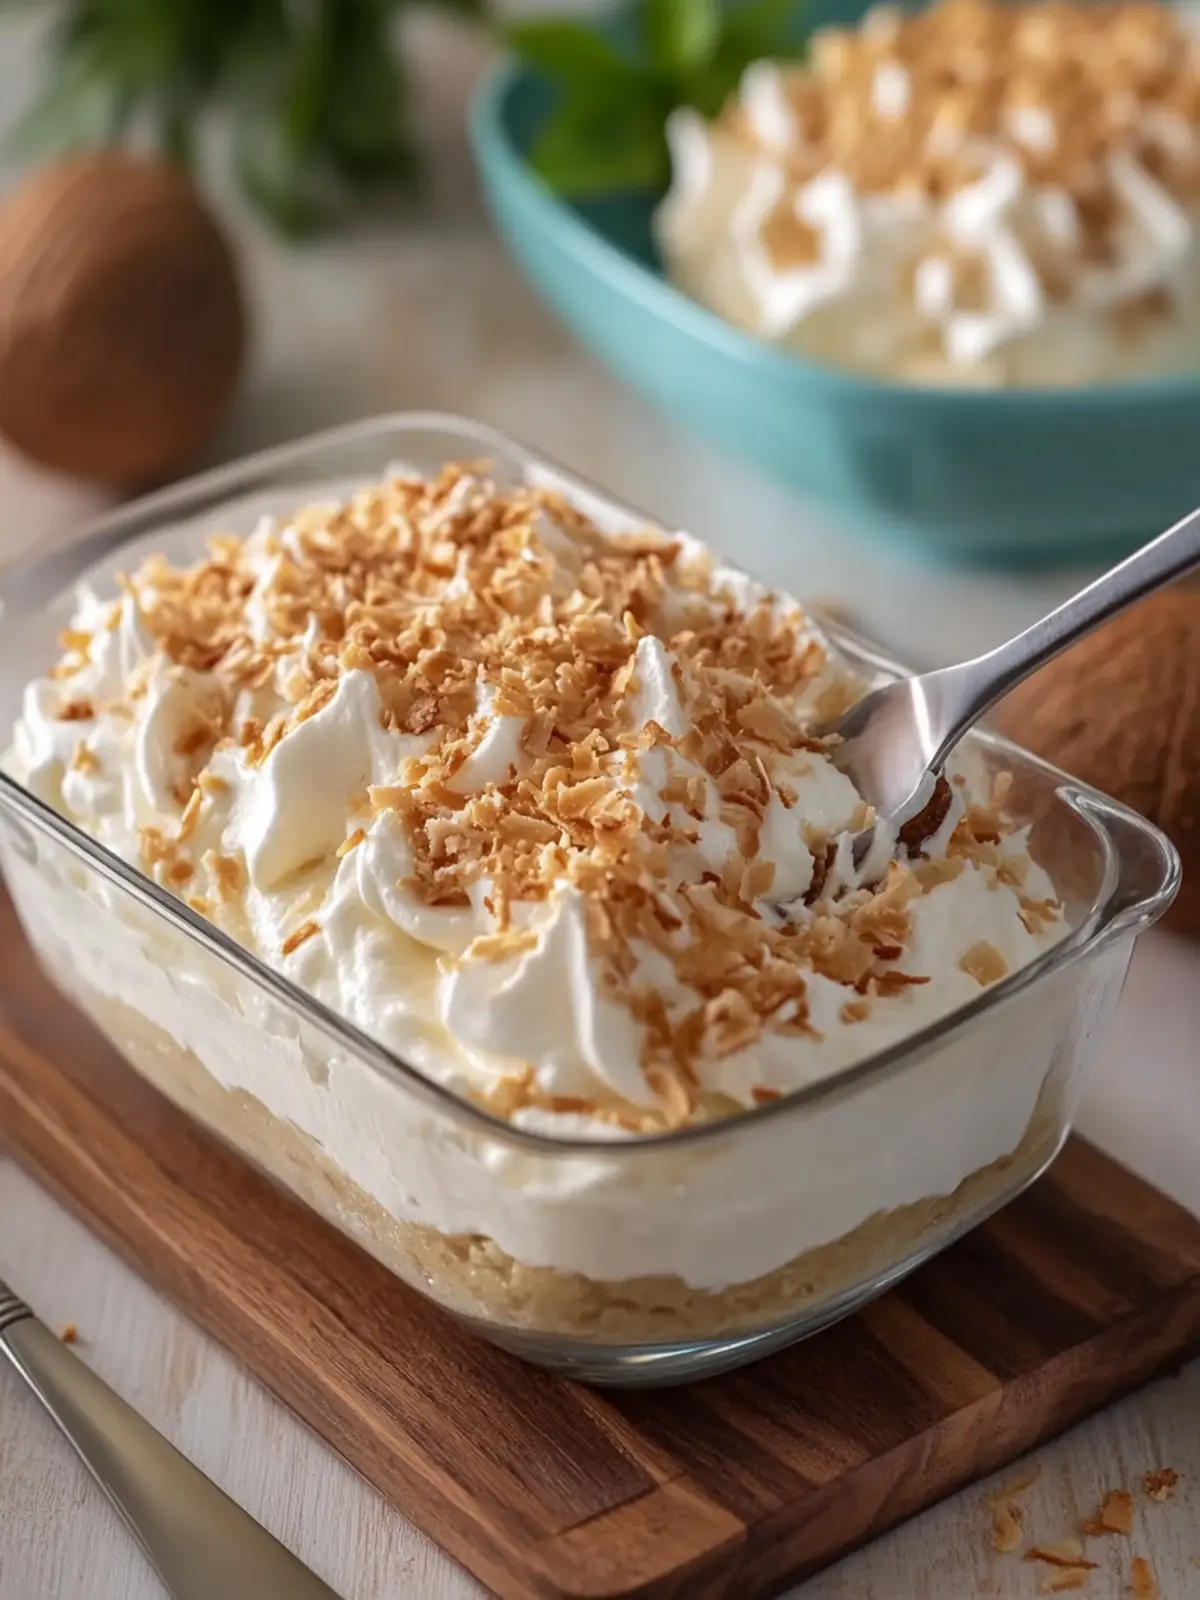
To maintain the crunch of the toasted coconut layer, add it just before serving. Storing the dessert with the toasted coconut already on it may lead to sogginess, so it’s best to sprinkle it on as a final touch to elevate your No-Bake Coconut Cream Dream Dessert right before your guests arrive!
No-Bake Coconut Cream Dream Dessert That's Irresistibly Delicious
Ingredients
Equipment
Method
- Prepare the dish: Start by grabbing a 9 × 13-inch rectangular glass dish.
- Mix the crust: In a bowl, combine the graham cracker crumbs, melted butter, and sugar. Stir until everything is thoroughly mixed.
- Press the crust: Firmly press the crumb mixture into the bottom of the prepared dish, creating an even layer.
- Chill the crust: Place the dish in the refrigerator for 20 minutes.
- Beat the cream cheese: In a mixing bowl, beat the softened cream cheese, powdered sugar, and vanilla extract together until smooth and creamy.
- Prepare the pudding mix: In another bowl, whisk together the coconut cream pudding mixes and cold whole milk for 2 minutes.
- Let it thicken: Allow the pudding to stand for 5 minutes.
- Combine mixtures: Gently mix the thickened pudding into the cream cheese blend until fully incorporated.
- Fold in coconut: Carefully fold in 1 cup of sweetened shredded coconut and the thawed whipped topping.
- Spread the filling: Evenly spread the coconut cream filling over the chilled crust.
- Add whipped topping: Spread the remaining 1 cup of whipped topping over the top of the dessert.
- Garnish with toasted coconut: Sprinkle the toasted shredded coconut generously on top.
- Chill before serving: Cover the dish and refrigerate for at least 4 hours, preferably overnight.