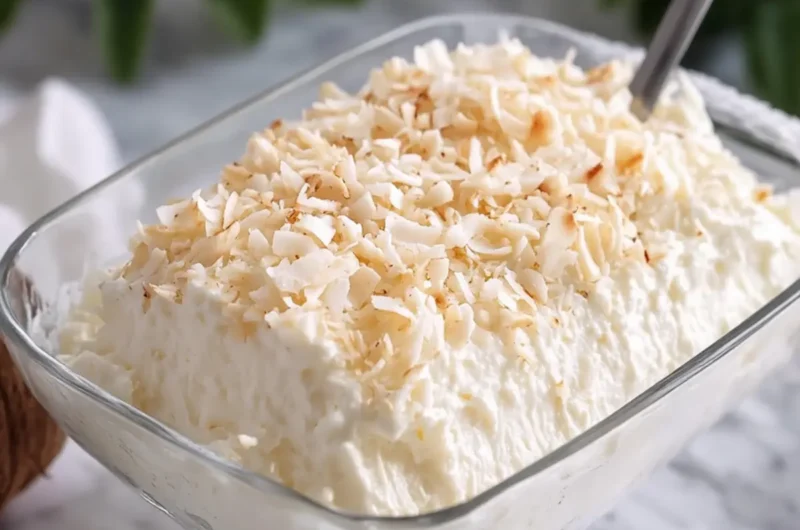
Imagine the moment you slice into a cloud of creamy bliss, each layer revealing a symphony of flavors that dance on your palate. This No-Bake Coconut Cream Dream Dessert is not just a treat; it’s a celebration of everything luscious and delightful about coconut. With no oven required, this dessert is perfect for those warm days when turning on the heat seems like a crime against comfort.
I first discovered this recipe on a sunny afternoon, reminiscing about childhood summers spent savoring coconut-flavored sweets. The realization that I could recreate that joy without the hassle of baking felt like uncovering a hidden gem in my kitchen. The combination of fluffy cream cheese, indulgent whipped cream, and sweetened coconut creates a harmonious blend that will wow your guests and satisfy any sweet tooth.
Whether you’re entertaining friends or simply need a relaxing evening at home, this dessert is versatile and irresistibly easy to whip up. Join me in crafting this layered delight, and let the rich flavors transport you to a tropical paradise!
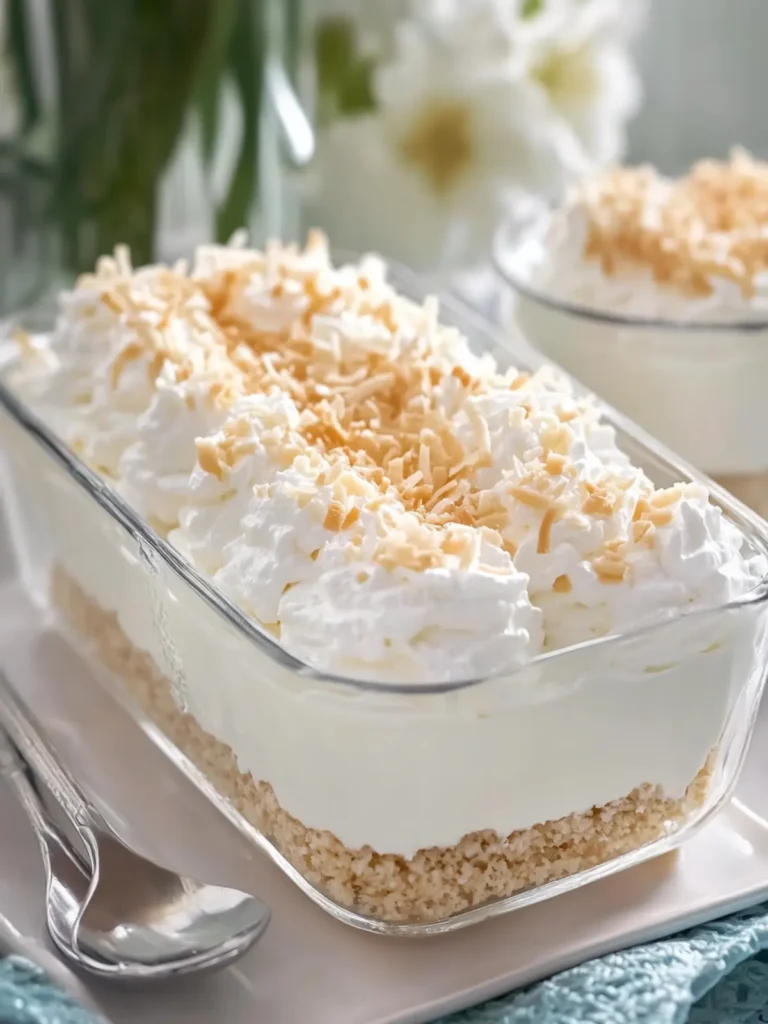
Why is No-Bake Coconut Cream Dream Dessert irresistible?
Simplicity is key: No baking means more time for relaxation.
Rich, creamy layers of cream cheese and whipped cream deliver a satisfying flavor explosion.
Tropical vibes take you to paradise with every bite, making it perfect for summer gatherings or potlucks.
Crowd-pleasing appeal ensures that it’ll be the highlight of your dessert table—even the pickiest eaters won’t resist!
For more delicious and easy-to-follow recipes, check out my latest cooking inspirations.
No-Bake Coconut Cream Dream Dessert Ingredients
For the Crust
- Crushed vanilla sandwich cookies – gives a sweet, buttery base for the dessert.
- Unsalted butter – binds the cookie crumbs together for a firm crust.
- Finely shredded sweetened coconut – adds texture and a hint of coconut flavor to the crust.
For the Cream Filling
- Cream cheese – creates a rich, creamy layer that complements the other ingredients.
- Powdered sugar – sweetens the cream cheese while keeping it smooth and airy.
- Coconut extract – enhances the coconut flavor, making the dessert truly unforgettable.
- Vanilla extract – adds a warm, familiar note that balances the flavors.
- Cold heavy whipping cream – ensures a fluffy texture when whipped into soft peaks.
- Sweetened condensed milk – adds sweetness and creaminess to the filling.
For the Coconut Pudding Layer
- Instant coconut cream pudding mix – gives a rich coconut flavor and creamy texture.
- Cold whole milk – needed to activate the pudding mix for that perfect consistency.
- Coconut cream – adds an extra layer of coconut richness to the pudding.
For the Whipped Topping
- Chilled heavy whipping cream – whips up beautifully for a light, airy topping.
- Powdered sugar – sweetens the whipped cream without making it grainy.
- Vanilla extract – enhances the overall flavor of the whipped topping.
- Finely shredded white coconut – sprinkled on top for that delightful finish and added texture.
With these ingredients, you’re just moments away from crafting a show-stopping No-Bake Coconut Cream Dream Dessert that’s sure to impress!
How to Make No-Bake Coconut Cream Dream Dessert
-
Prepare the dish: Start by selecting a 9 × 13-inch rectangular clear glass baking dish. No baking is required, making this an easy and relaxed endeavor.
-
Combine crust ingredients: In a bowl, mix together the crushed vanilla sandwich cookies, melted butter, and ½ cup finely shredded coconut. Stir until everything is evenly moistened.
-
Form the crust: Spread the cookie mixture evenly across the bottom of the dish. Press firmly using the bottom of a measuring cup to create a solid base. Refrigerate for 20 minutes to set.
-
Beat cream cheese: In a mixing bowl, beat the softened cream cheese and powdered sugar for about 2–3 minutes until smooth. Then, mix in the coconut extract, vanilla extract, and sweetened condensed milk.
-
Fold in whipped cream: In a separate bowl, beat 1 cup of cold heavy whipping cream until stiff peaks form. Gently fold this fluffy cream into the cream cheese mixture until fully combined.
-
Spread cream filling: Pour the coconut cream filling over the chilled cookie crust, smoothing it out with a spatula for an even layer.
-
Prepare the pudding layer: In a bowl, whisk together the instant coconut cream pudding mix, cold whole milk, and coconut cream for about 2 minutes. Let it refrigerate for 5 minutes until thickened.
-
Layer the pudding: Carefully spread the coconut pudding mixture over the cream cheese layer, being sure to keep the layers separate and even.
-
Beat topping cream: In a clean bowl, beat 2 cups of cold heavy whipping cream with powdered sugar and vanilla extract until stiff peaks form.
-
Top with whipped cream: Spread or pipe the whipped cream generously across the entire surface of the dessert, creating soft, fluffy swirls.
-
Add coconut sprinkles: Evenly sprinkle the top with 1 cup of finely shredded white coconut for a delightful finish and extra texture.
-
Chill thoroughly: Cover the dish and refrigerate for at least 4–6 hours, or preferably overnight, until the layers are well set and creamy.
Optional: Enjoy with a sprinkle of toasted coconut for added crunch!
Exact quantities are listed in the recipe card below.
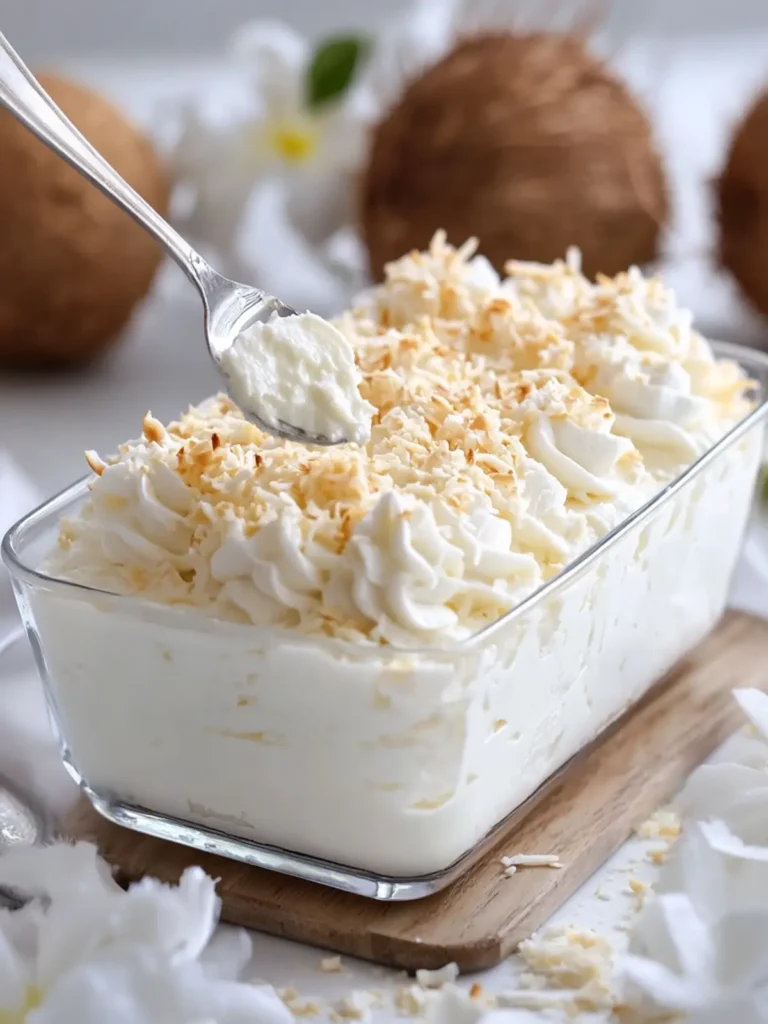
What to Serve with No-Bake Coconut Cream Dream Dessert?
Imagine a delightful spread that perfectly complements this creamy, tropical treat, turning any occasion into a celebration of flavors.
- Fresh Berries: Juicy strawberries, raspberries, or blueberries add a refreshing tartness that balances the sweetness of the dessert.
- Coconut Mango Smoothie: A creamy mango smoothie with coconut milk enhances the tropical vibe, making your dessert feel like a vacation on a plate.
- Butter Cookies: Light and buttery cookies beside your dessert create a delightful contrast in texture, giving your guests a playful munch.
- Chocolate Dipped Pineapple: The rich chocolate pairs beautifully with the coconut, bringing a sweet and decadent flair to your dessert table.
- Warm Caramel Sauce: Drizzle this over the coconut dessert for extra richness, transforming the dish into a luscious indulgence.
- Iced Tea with Citrus: A chilled glass of iced tea infused with lemon or lime refreshes the palate and complements the creamy coconut layers.
- Almond Biscotti: Crunchy and slightly sweet, these cookies make the perfect accompaniment for scooping up the rich layers of the dessert.
- Pineapple Sorbet: Serve this light and fruity sorbet alongside the dessert for a refreshing burst of flavor, enhancing the tropical experience.
- Dark Chocolate Mousse: Rich, velvety mousse adds a touch of elegance and contrasts nicely with the creamy delight, creating a perfect ending.
How to Store and Freeze No-Bake Coconut Cream Dream Dessert
Fridge: Keep your dessert covered in the refrigerator for up to 3 days. This will maintain its creamy texture and delicious flavors.
Freezer: You can freeze the No-Bake Coconut Cream Dream Dessert for up to 2 months. To do this, slice it into portions, wrap each piece tightly in plastic wrap, and then place them in an airtight container.
Thawing: When ready to enjoy, transfer the dessert to the fridge to thaw overnight. This will help retain its soft and creamy consistency.
Reheating: There’s no need to reheat this dessert; simply serve it chilled for the best taste experience!
Expert Tips for No-Bake Coconut Cream Dream Dessert
-
Crust Consistency: Ensure the cookie mixture is well moistened but not soggy. If too dry, the crust won’t hold together; if too wet, it may get mushy.
-
Cream Cheese Texture: Beating the cream cheese thoroughly is crucial for a smooth filling. A lumpy mixture can affect the overall creaminess of your dessert.
-
Layer Separation: For a visually appealing dessert, make sure each layer is spread evenly and carefully. Avoid pressing layers together to maintain distinct textures.
-
Whipping Technique: When whipping cream, start at a lower speed and gradually increase to avoid splattering. This also helps achieve the perfect fluffy consistency.
-
Chilling is Key: Allow the No-Bake Coconut Cream Dream Dessert to chill for a full 6 hours or overnight if possible. This lets the flavors meld and the layers set beautifully.
Make Ahead Options
This No-Bake Coconut Cream Dream Dessert is a fantastic option for meal prep, allowing you to enjoy the deliciousness with less hassle on the day of serving! You can prepare the crust and the cream filling up to 24 hours in advance—just store them separately in the refrigerator to keep the crust crunchy. Additionally, the pudding layer can be prepped the night before, ensuring the flavors meld beautifully. When you’re ready to serve, simply layer the pudding over the cream filling, top with whipped cream and shredded coconut, and chill for a few more hours. This way, you’ll have a stunning dessert that’s just as delightful and fresh, saving you time for other preparations!
No-Bake Coconut Cream Dream Dessert Variations
Feel free to let your creativity shine and customize this dessert to your heart’s content!
-
Gluten-Free: Use gluten-free cookie alternatives for the crust to suit those with dietary restrictions without sacrificing flavor.
-
Dairy-Free: Substitute coconut cream and cashew cream for the dairy ingredients to create a luscious coconut dessert that everyone can enjoy.
-
Chocolate Twist: Add cocoa powder or chocolate shavings to the cream filling for a delightful chocolate-coconut combination that’s utterly decadent.
-
Fruit Infusion: Layer fresh diced pineapple or mango on top of the cream filling for a refreshing tropical twist that brightens each bite.
-
Nutty Crunch: Fold in chopped toasted almonds or pecans into the filling for added texture and an irresistible crunch.
-
Coconut Flake Variation: Try using toasted coconut flakes instead of sweetened for a more complex flavor and a beautiful golden touch.
-
Lemon Zing: Add a teaspoon of lemon zest to the cream filling for a refreshing citrus note that balances the creaminess beautifully.
-
Spicy Kick: Mix in a pinch of cayenne pepper or fresh ginger to the cream for a subtle heat that elevates the flavor profile.
With these fun variations, you can tailor the No-Bake Coconut Cream Dream Dessert to your personal taste or impress your guests with bold flavor combinations!
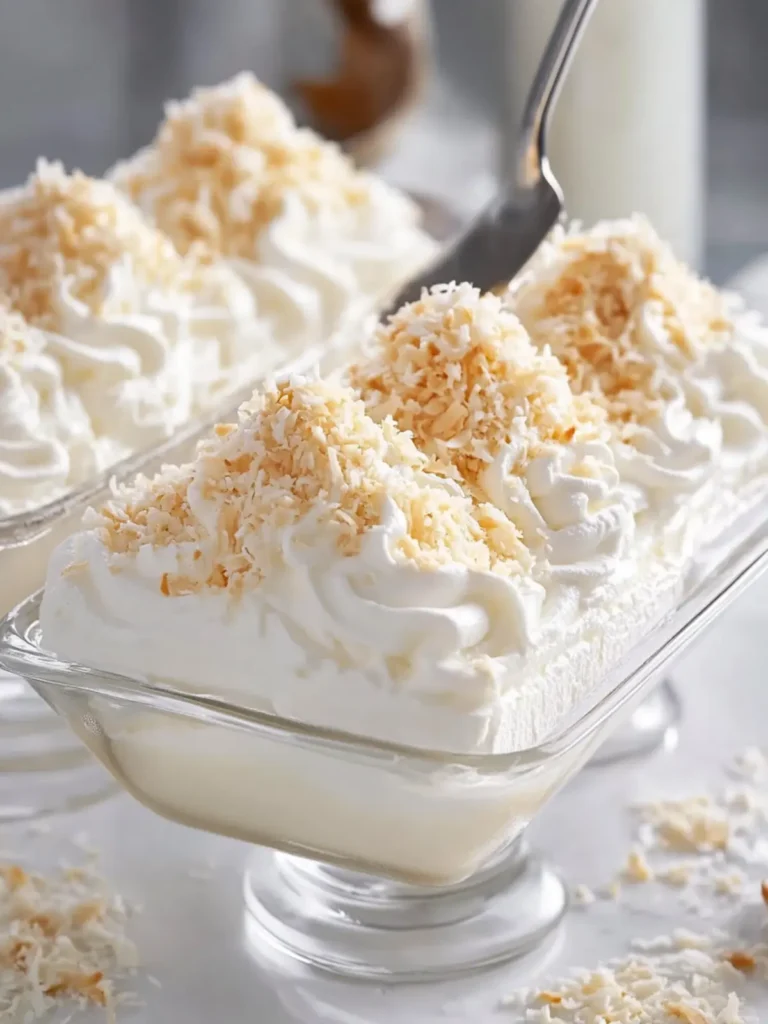
No-Bake Coconut Cream Dream Dessert Recipe FAQs
What type of vanilla sandwich cookies should I use for the crust?
Absolutely! I recommend using standard vanilla sandwich cookies with a creamy filling, like Oreos or vanilla crème-filled cookies. They provide a sweet, buttery base that elevates the crust’s flavor. Look for cookies that are fresh, as stale ones might make your crust crumble rather than hold together.
How long can I store the No-Bake Coconut Cream Dream Dessert in the fridge?
Very! You can store your dessert covered in the refrigerator for up to 3 days. To keep it fresh, I suggest using a tight-fitting lid or wrapping it with plastic wrap. This will help maintain its creamy texture and rich flavors.
Can I freeze the No-Bake Coconut Cream Dream Dessert?
Yes! You can freeze this delightful treat for up to 2 months. To do this, slice the dessert into portions, wrap each piece tightly in plastic wrap, and place them in an airtight container. Be sure to label the container with the date so you remember when you made it!
How do I properly thaw the frozen dessert?
To ensure the best texture, transfer the frozen slices to the refrigerator and allow them to thaw overnight. This slow thawing process keeps the soft and creamy consistency intact, ensuring you can enjoy every luscious bite as if it were freshly made.
What if I have a cream cheese allergy?
For those with a cream cheese allergy, you can substitute the cream cheese with a dairy-free alternative, like a plant-based cream cheese or whipped coconut cream, which have a similar creamy consistency. This will allow you to enjoy the same beloved layers without compromising on flavor.
Can my pet have coconut?
Coconut in small amounts is generally safe for pets, but it’s best to consult your veterinarian first. Keep in mind that the dessert contains other ingredients like cream cheese and sugar that could upset your pet’s stomach. Always prioritize their health and well-being!
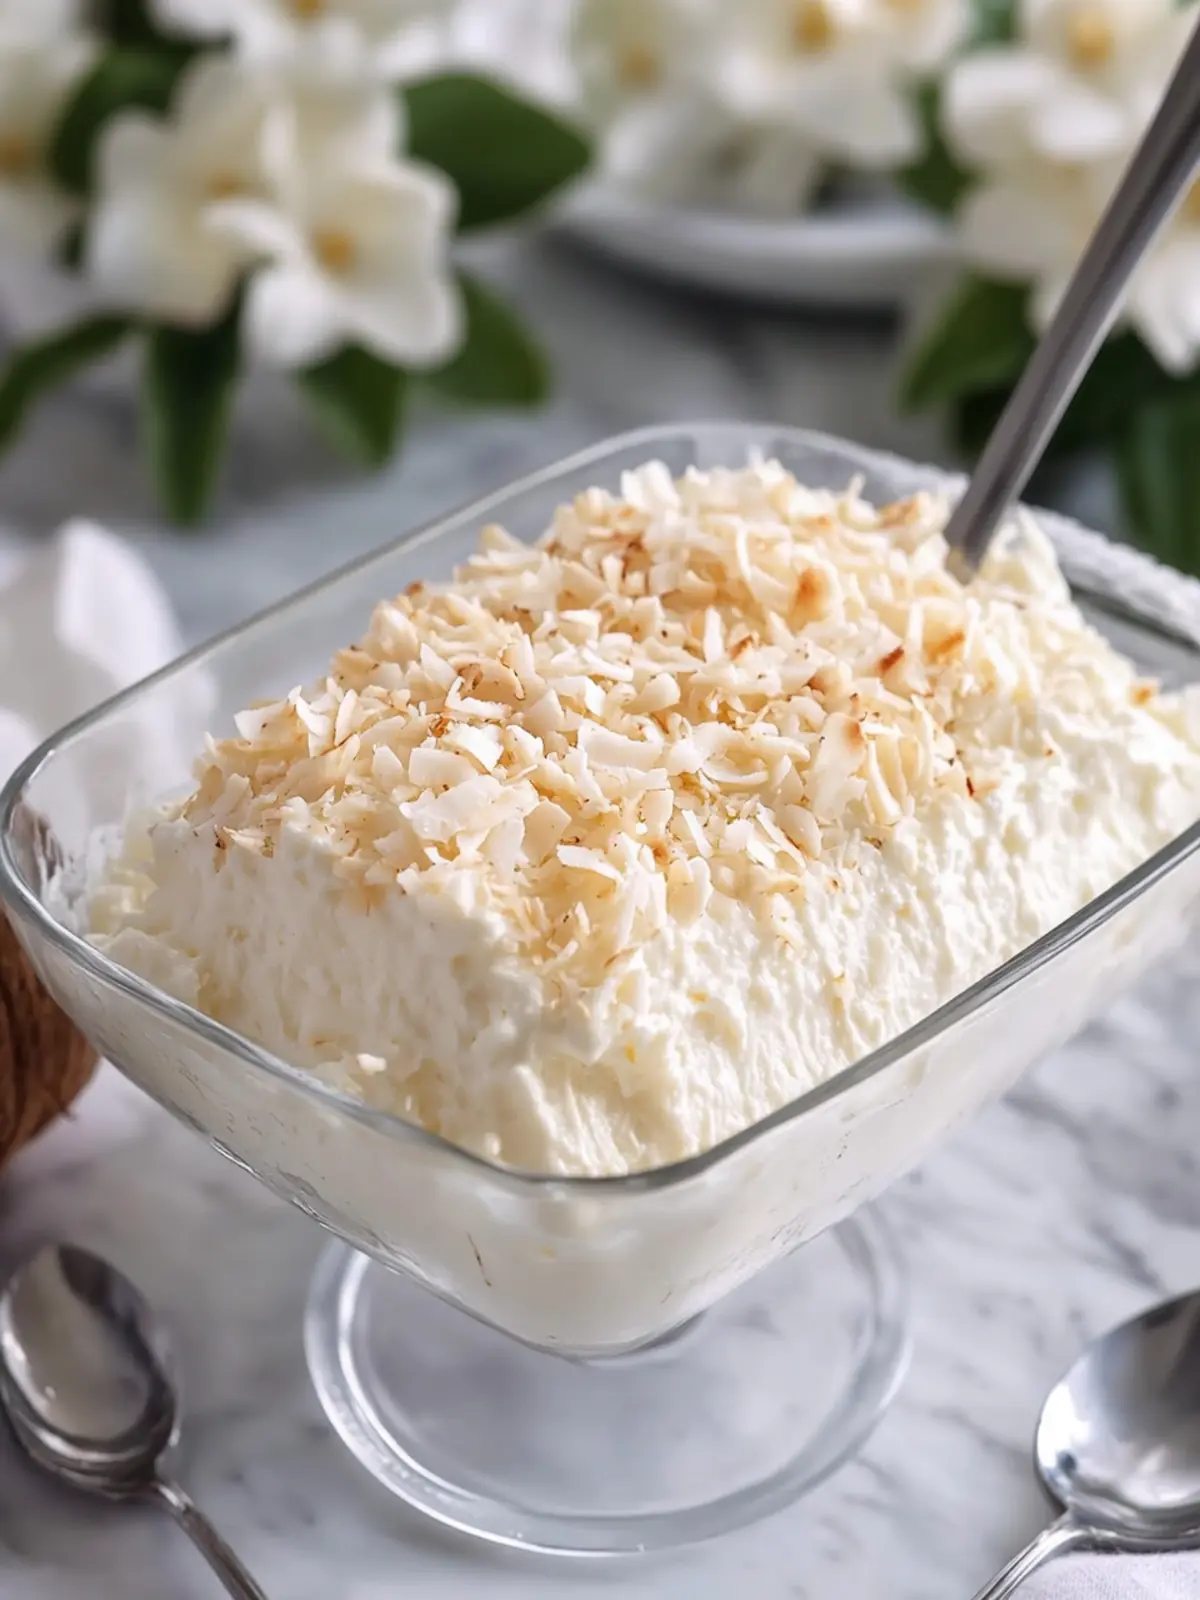
No-Bake Coconut Cream Dream Dessert: A Pure White Delight
Ingredients
Equipment
Method
- Prepare the dish: Start by selecting a 9 × 13-inch rectangular clear glass baking dish. No baking is required, making this an easy and relaxed endeavor.
- Combine crust ingredients: In a bowl, mix together the crushed vanilla sandwich cookies, melted butter, and ½ cup finely shredded coconut. Stir until everything is evenly moistened.
- Form the crust: Spread the cookie mixture evenly across the bottom of the dish. Press firmly using the bottom of a measuring cup to create a solid base. Refrigerate for 20 minutes to set.
- Beat cream cheese: In a mixing bowl, beat the softened cream cheese and powdered sugar for about 2–3 minutes until smooth. Then, mix in the coconut extract, vanilla extract, and sweetened condensed milk.
- Fold in whipped cream: In a separate bowl, beat 1 cup of cold heavy whipping cream until stiff peaks form. Gently fold this fluffy cream into the cream cheese mixture until fully combined.
- Spread cream filling: Pour the coconut cream filling over the chilled cookie crust, smoothing it out with a spatula for an even layer.
- Prepare the pudding layer: In a bowl, whisk together the instant coconut cream pudding mix, cold whole milk, and coconut cream for about 2 minutes. Let it refrigerate for 5 minutes until thickened.
- Layer the pudding: Carefully spread the coconut pudding mixture over the cream cheese layer, being sure to keep the layers separate and even.
- Beat topping cream: In a clean bowl, beat 2 cups of cold heavy whipping cream with powdered sugar and vanilla extract until stiff peaks form.
- Top with whipped cream: Spread or pipe the whipped cream generously across the entire surface of the dessert, creating soft, fluffy swirls.
- Add coconut sprinkles: Evenly sprinkle the top with 1 cup of finely shredded white coconut for a delightful finish and extra texture.
- Chill thoroughly: Cover the dish and refrigerate for at least 4–6 hours, or preferably overnight, until the layers are well set and creamy.