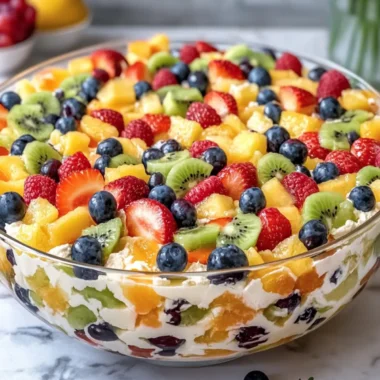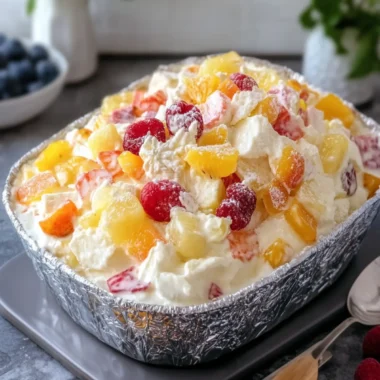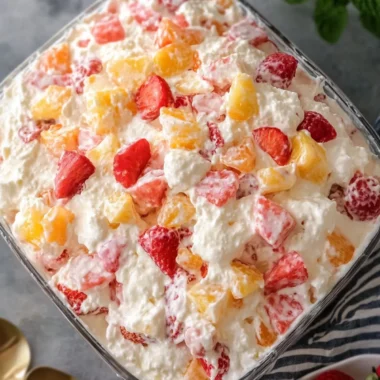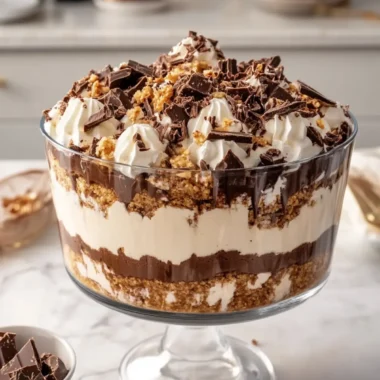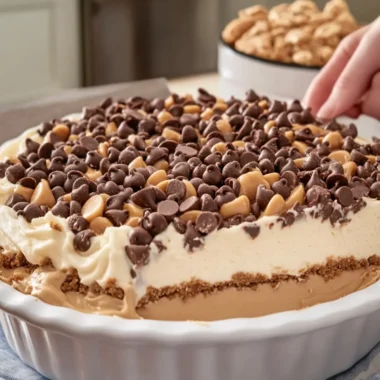
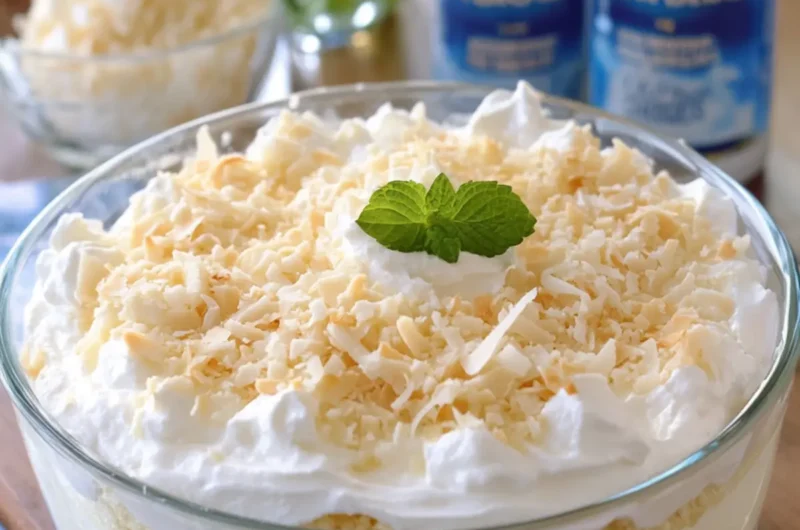
There’s nothing quite like the moment you first cut into a dessert that looks as stunning as it tastes. As I lifted the knife to slice into this No-Bake Coconut Cream Dream Dessert, the dreamy layers revealed themselves like a tropical treasure waiting to be discovered. With its luscious coconut pudding and velvety cream cheese filling, it’s the kind of dessert that transports you straight to a sun-soaked beach, even if you’re just at home in the kitchen.
After a long day of juggling responsibilities, I found myself yearning for something light yet indulgent, and this dish fit the bill perfectly. Not only is it a breeze to whip up—taking only 30 minutes of prep time—but it also cools overnight in the fridge, making it an ideal choice for those busy weeks. Each bite is bursting with flavor, courtesy of the sweetened shredded coconut and the crunchy graham cracker crust.
If you’re tired of the same old desserts or perhaps looking for a crowd-pleaser that will leave everyone asking for the recipe, join me in mastering this delightful coconut cream creation!
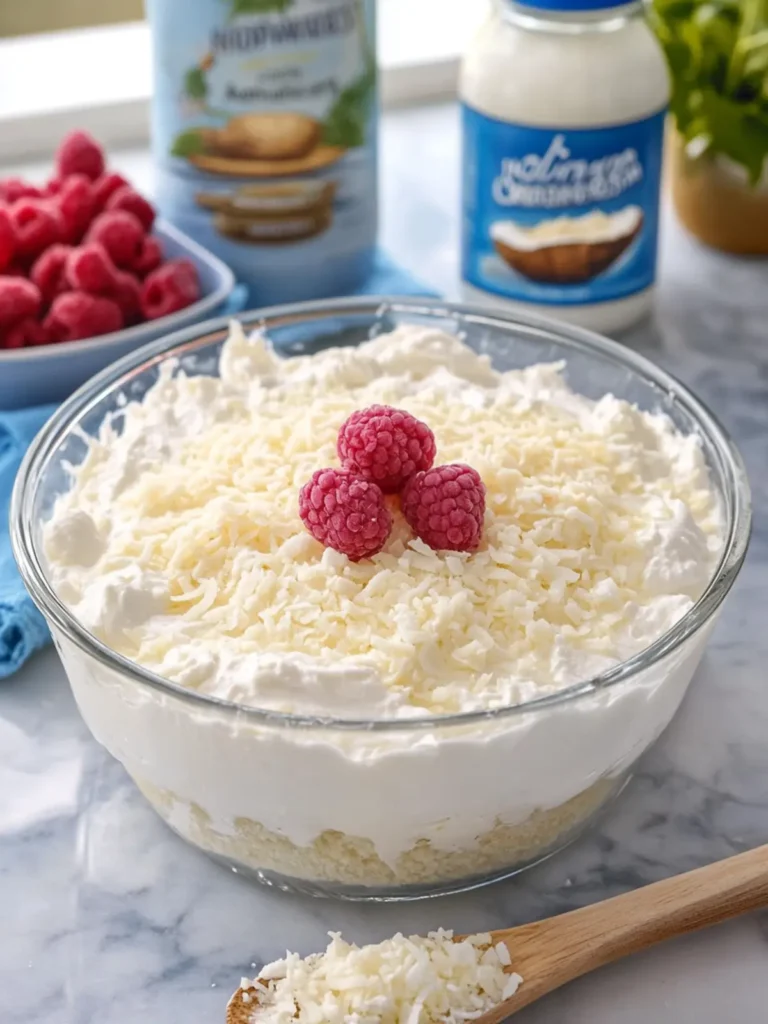
Why is No-Bake Coconut Cream Dream Dessert irresistible?
Indulgence at Your Fingertips: This dessert is a tropical escape that requires no baking, making it incredibly convenient for busy home cooks.
Luscious Layers: With the delightful combination of cream cheese and coconut pudding, each slice presents a visual and flavor delight.
Crowd-Pleasing Treat: Perfect for gatherings, this dessert will leave your guests wanting more and asking for the recipe!
Easy Prep: In just 30 minutes, you can create a stunning dish that sets overnight, freeing up your time for other preparations.
Versatile Desserts: Whether you’re entertaining or treating yourself, this is the perfect answer to your dessert cravings!
No-Bake Coconut Cream Dream Dessert Ingredients
Here’s everything you need to create this delightful dish!
For the Crust
• Graham cracker crumbs – the base of our dessert, adding a sweet crunch.
• Unsalted butter – binds the crumbs together while enhancing flavor.
• Granulated sugar – a touch of sweetness to complement the crust.
For the Cream Cheese Layer
• Cream cheese – creates a rich and creamy filling that balances the sweetness.
• Powdered sugar – ensures a smooth texture without any grittiness.
• Vanilla extract – adds a hint of warmth, elevating the overall flavor.
• Whipped topping – lightens the cream cheese mixture for a fluffy layer.
For the Coconut Pudding Layer
• Instant coconut cream pudding mix – the star of the show, providing that delicious coconut flavor.
• Cold milk – helps activate the pudding mix and creates a silky texture.
• Sweetened shredded coconut – adds a chewy, tropical touch throughout the pudding.
For the Topping
• Whipped topping – adds an airy finish and visually appealing layer on top.
• Sweetened shredded coconut – sprinkled over the top for a decorative and flavorful touch.
Each of these ingredients plays a vital role in crafting your No-Bake Coconut Cream Dream Dessert, ensuring that every bite feels like a mini-vacation!
How to Make No-Bake Coconut Cream Dream Dessert
-
Prepare the Dish: Lightly grease a 9×13-inch rectangular casserole dish to create the perfect base for your layers. This will prevent sticking and make serving a breeze!
-
Mix the Crust: In a medium bowl, combine graham cracker crumbs, melted butter, and granulated sugar. Stir until the mixture feels like wet sand, ensuring it’s well incorporated.
-
Press the Crust: Spread the crumb mixture evenly across the bottom of your casserole dish. Press it firmly using the bottom of a measuring cup to create a solid crust. Refrigerate for 15–20 minutes to set.
-
Beat the Cream Cheese Mixture: In a mixing bowl, beat the softened cream cheese with powdered sugar and vanilla extract until smooth and creamy. Gently fold in 1 cup of whipped topping until well mixed.
-
Layer the Cream Cheese Mixture: Spread the cream cheese mixture evenly over the chilled graham cracker crust, smoothing it into an even layer for a beautiful finish.
-
Prepare the Pudding Layer: In a separate bowl, whisk the instant coconut cream pudding mix with 3 cups of cold milk for about 2 minutes, until it thickens nicely. Fold in ½ cup of shredded coconut for that tropical flair.
-
Spread the Pudding: Carefully spread the coconut pudding evenly over the cream cheese layer, ensuring you keep the layers distinct for that delightful visual appeal.
-
Add Whipped Topping: Gently spread the remaining 2 cups of whipped topping over the coconut pudding, creating a fluffy layer that invites everyone to dive in!
-
Top with Coconut: Sprinkle 1 cup of sweetened shredded coconut evenly over the entire surface, adding texture and a touch of sweetness for the final touch.
-
Chill the Dessert: Cover the dish and refrigerate for at least 4 hours, or preferably overnight, until it’s firm enough to slice into satisfying portions.
-
Slice and Serve: Cut into 12–15 squares using a sharp knife, and lift each serving carefully with a spatula to keep those beautiful layers intact.
Optional: Garnish with a sprinkle of additional shredded coconut for extra flair before serving.
Exact quantities are listed in the recipe card below.
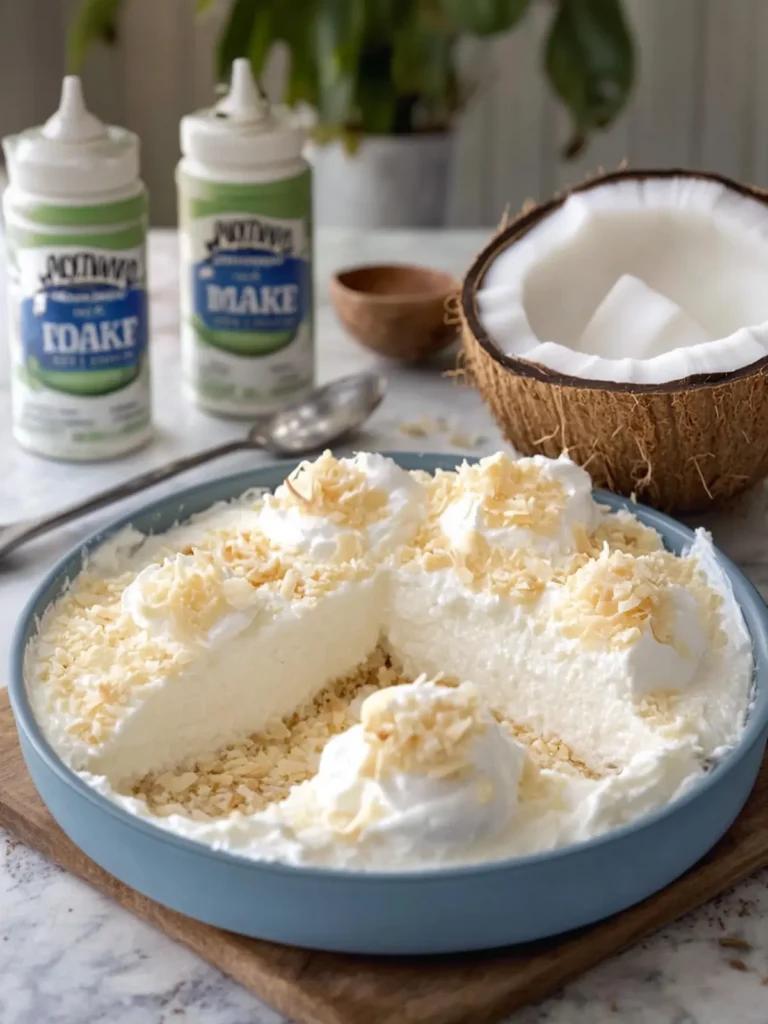
Expert Tips for No-Bake Coconut Cream Dream Dessert
-
Cold Ingredients Are Key: Ensure your cream cheese is softened and your milk is cold; this helps the layers combine beautifully and achieve that perfect texture.
-
Crust Consistency: When mixing the graham cracker crumbs, melted butter, and sugar, ensure it resembles wet sand to create a solid base that holds up during slicing.
-
Layer with Care: When spreading the cream cheese and pudding layers, take your time to maintain distinct layers; this will enhance the visual appeal and taste of your dessert.
-
Chill Thoroughly: Allow your dessert to chill for at least 4 hours or overnight for the best flavor and texture, making it easy to cut into perfect squares.
-
Proper Slicing: Use a sharp knife to slice the dessert into squares, and lift each piece carefully with a spatula to prevent layering from collapsing.
-
Customize Your Coconut Dream: Experiment with different toppings or fillings, like fresh fruit or chocolate ganache, to personalize your No-Bake Coconut Cream Dream Dessert!
Make Ahead Options
These No-Bake Coconut Cream Dream Desserts are perfect for meal prep enthusiasts! You can prepare the graham cracker crust and the cream cheese layer up to 24 hours in advance, simply wrap them tightly in plastic wrap to maintain their freshness. The coconut pudding mixture can also be made ahead and refrigerated for up to 3 days; just be sure to cover it well to prevent any skin from forming on the surface. When you’re ready to serve, gently fold in the whipped topping and layer it on top before chilling the entire dessert for at least 4 hours or overnight. This way, you can enjoy a delightful treat with minimal last-minute effort, ensuring it’s just as delicious when you’re ready to indulge!
What to Serve with No-Bake Coconut Cream Dream Dessert?
Elevate your dessert experience by pairing this creamy delight with complementary flavors and textures that will leave everyone raving.
-
Tropical Fruit Salad: A refreshing mix of pineapple, mango, and kiwi offers a zesty contrast to the rich coconut layers while enhancing the tropical theme.
-
Crispy Toasted Coconut Topping: Sprinkle extra toasted coconut on top for additional crunch and flavor, balancing the creaminess of the dessert perfectly.
-
Lemon Sorbet: Serve a scoop of zesty lemon sorbet on the side to cleanse the palate between bites, enhancing your dessert’s sweetness.
-
Chocolate Dipped Strawberries: The rich chocolate pairs beautifully with the coconut, offering a decadent element that encourages indulgence.
-
Iced Green Tea: Light and refreshing, a chilled glass of iced green tea provides a subtle earthiness that complements the rich flavors of the dessert.
-
Whipped Cream: A dollop of freshly whipped cream adds an extra layer of decadence; its lightness enhances the dessert without overwhelming it.
-
Toasted Almonds: Striking the perfect crunchy note, a sprinkle of toasted almonds not only introduces texture but also a nutty contrast to the creamy layers.
-
Caramel Sauce Drizzle: For those who crave a sweet twist, a drizzle of warm caramel sauce atop each slice adds another delicious layer of flavor.
No-Bake Coconut Cream Dream Dessert Variations
Feel free to put your own spin on this delightful dessert with these fun and tasty options!
-
Gluten-Free Crust: Substitute graham cracker crumbs with gluten-free cookies or almond flour for a crust that everyone can enjoy.
-
Dairy-Free Delight: Use coconut cream and a plant-based cream cheese to make this dessert dairy-free and still luscious.
-
Chocolate Twist: For a rich flavor elevation, drizzle melted dark chocolate over each layer before serving.
-
Fruity Fusion: Layer in fresh fruit like sliced bananas or strawberries for added sweetness and color.
-
Nutty Crunch: Sprinkle chopped nuts, such as toasted almonds or pecans, on top for a delightful crunch that contrasts with the creamy layers.
-
Tropical Heat: Add a hint of spice by incorporating a pinch of cayenne or a splash of rum for a tropical flair that’ll surprise your taste buds!
With these variations, your No-Bake Coconut Cream Dream Dessert can become a personalized masterpiece for every occasion!
How to Store and Freeze No-Bake Coconut Cream Dream Dessert
Refrigerator: Keep your dessert covered in the fridge for up to 3 days. Ensure it’s wrapped well to prevent drying out and absorbing other odors.
Freezer: If you wish to store this dessert beyond a few days, you can freeze it for up to 2 months. Cut into squares, wrap each piece tightly in plastic wrap, and place them in an airtight container.
Thawing: To enjoy frozen portions, simply transfer them to the fridge the night before serving. Let them thaw completely to regain their creamy texture.
Serving Suggestions: For best results, serve chilled. Add fresh shredded coconut or a dollop of whipped topping just before serving for an appealing finish!
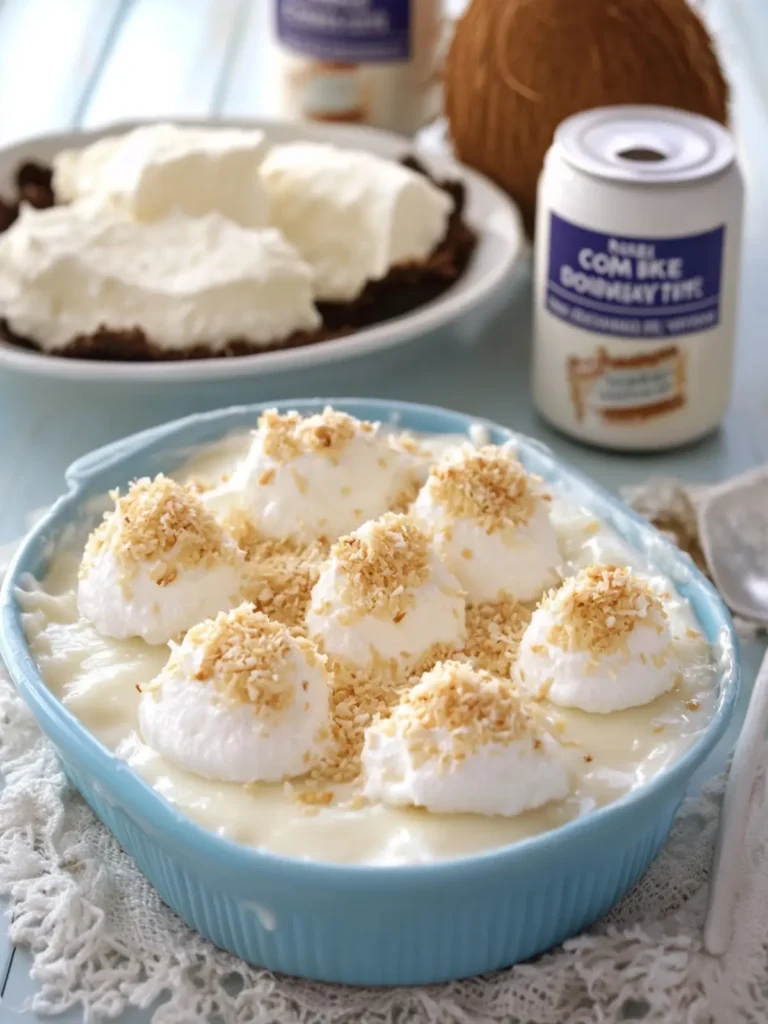
No-Bake Coconut Cream Dream Dessert Recipe FAQs
How can I tell if my ingredients are ripe and ready?
Absolutely! For the best flavor, ensure that your cream cheese is softened to room temperature before mixing, as this allows for a smooth texture. The sweetened shredded coconut should be fresh and free of dark spots or strong odors to ensure optimal taste.
What’s the best way to store leftovers?
Very! Keep your No-Bake Coconut Cream Dream Dessert covered in the refrigerator for up to 3 days. Wrap it tightly with plastic wrap or aluminum foil to prevent it from drying out and to keep it tasting fresh.
Can I freeze this dessert?
Without a doubt! If you’d like to keep it longer, you can freeze the dessert for up to 2 months. Here’s how: first, cut the dessert into squares. Then, wrap each piece tightly in plastic wrap and place them in an airtight container. This way, you’ll have handy individual portions ready to enjoy!
What should I do if the layers don’t hold together?
Not a problem! If your layers are oozing or not holding up, it could be due to not chilling long enough. Ensure you chill it for at least 4 hours or overnight. If you happen to have mixed them too aggressively while preparing, gently spoon layers instead of pushing them for a cleaner visual separation.
Are there any dietary considerations I should keep in mind?
Definitely! For those with allergies to dairy, consider using a vegan cream cheese alternative and coconut whipped cream. Additionally, check for gluten-free graham crackers if you’re catering to gluten sensitivities. This recipe can be adaptable for anyone to enjoy, so feel free to make it your own!
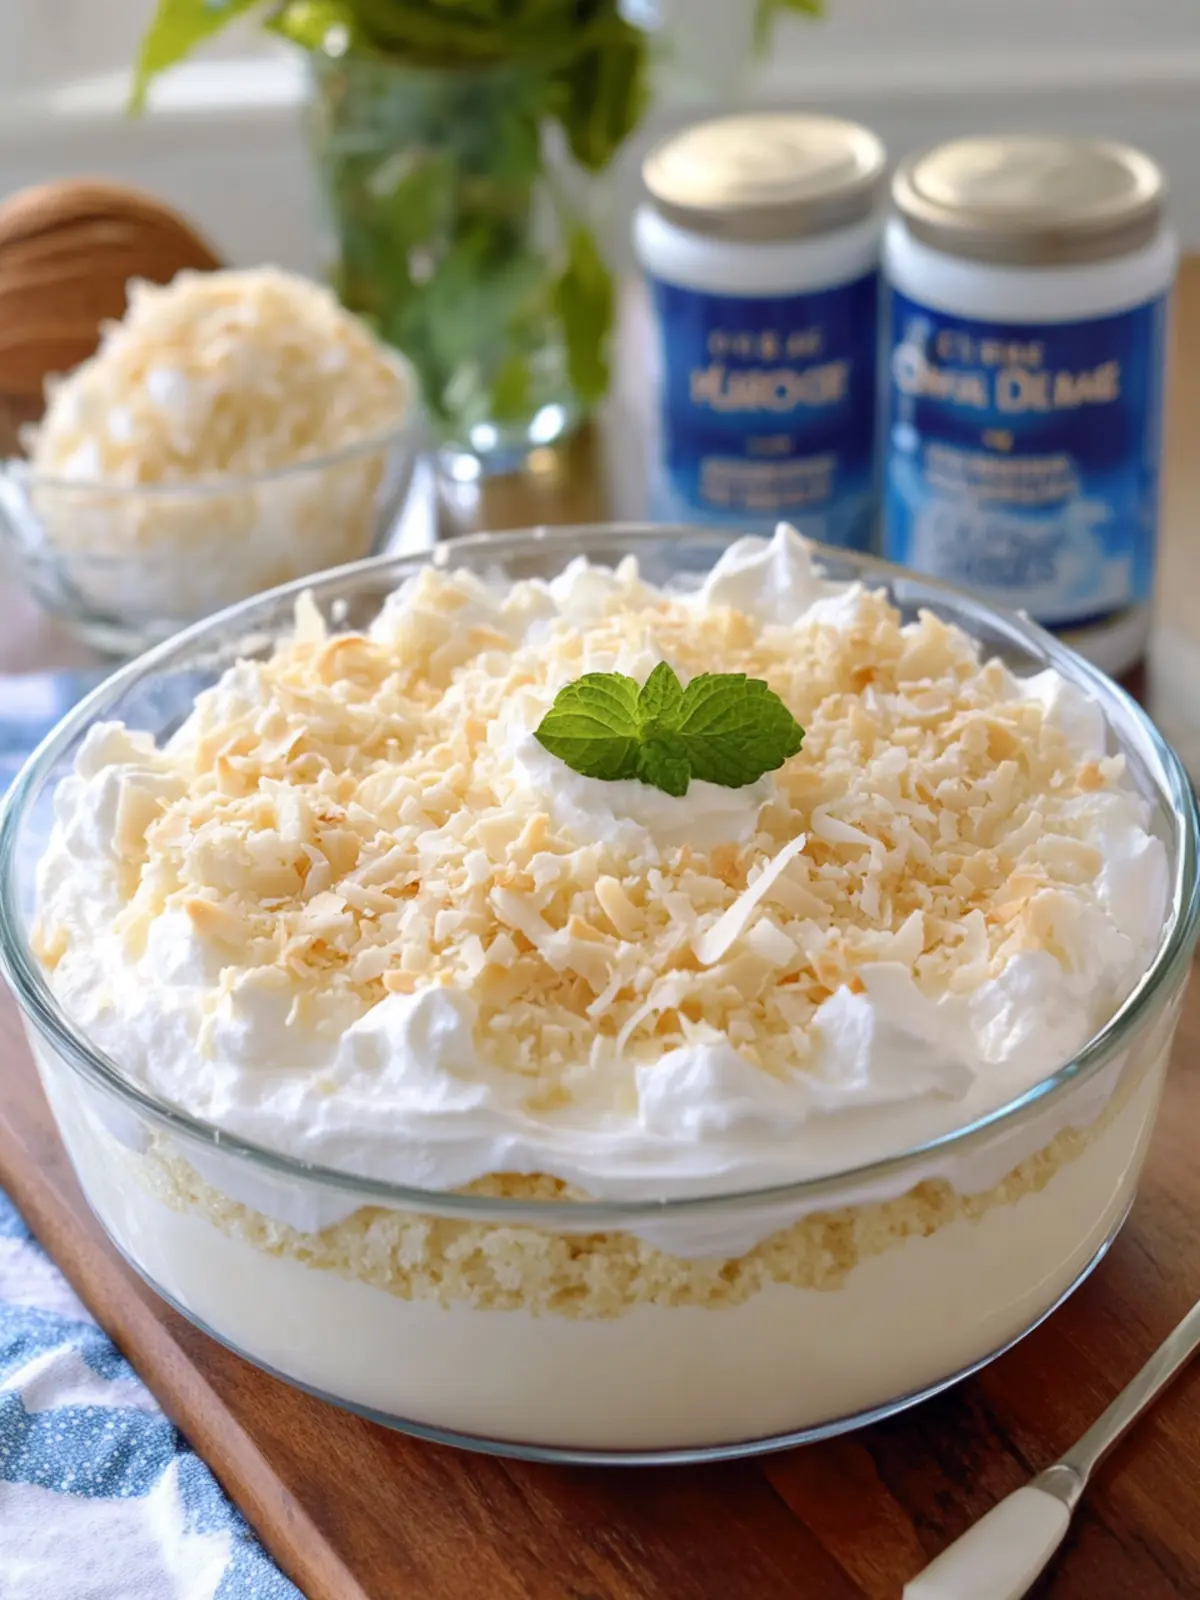
No-Bake Coconut Cream Dream Dessert You Can’t Resist
Ingredients
Equipment
Method
- Lightly grease a 9×13-inch rectangular casserole dish.
- In a medium bowl, combine graham cracker crumbs, melted butter, and granulated sugar. Stir until incorporated.
- Spread the crumb mixture evenly across the bottom of the dish and press it firmly. Refrigerate for 15–20 minutes.
- Beat the softened cream cheese with powdered sugar and vanilla extract until smooth. Fold in 1 cup of whipped topping.
- Spread the cream cheese mixture evenly over the chilled crust.
- Whisk the pudding mix with 3 cups of cold milk until it thickens. Fold in 1/2 cup of shredded coconut.
- Spread the coconut pudding evenly over the cream cheese layer.
- Spread the remaining 2 cups of whipped topping over the pudding layer.
- Sprinkle 1 cup of shredded coconut evenly over the top.
- Cover and refrigerate for at least 4 hours or overnight until firm enough to slice.
- Cut into 12–15 squares and serve.