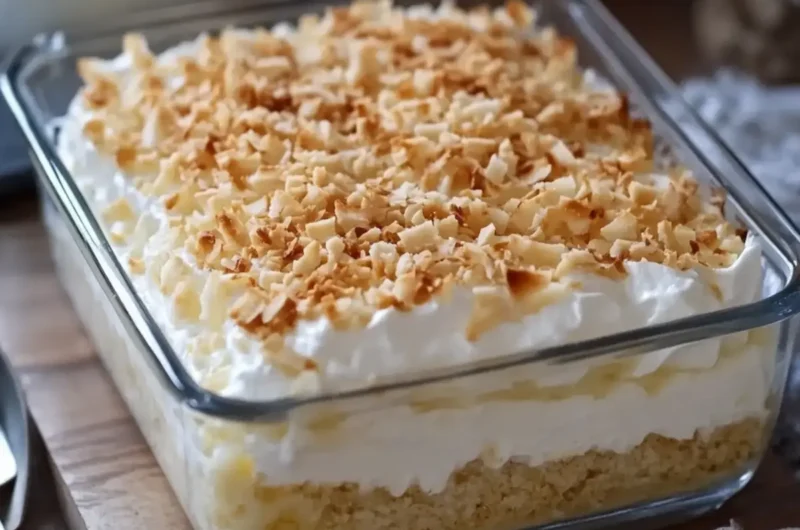
There’s something utterly enchanting about the first bite of a No-Bake Coconut Cream Dream Casserole. The combination of rich, creamy coconut filling with the crunch of a graham cracker crust creates a harmony that feels like a vacation on a plate. As I was preparing for a summer gathering, I felt exhausted after a week of work but still longed to wow my guests with a delightful dessert. This no-bake wonder emerged as my solution.
With its layers of fluffy cream, a hint of vanilla, and a sprinkle of toasted coconut on top, it’s not just a dessert—it’s a celebration. Best of all, there’s no baking involved! Simply whip up the ingredients, let them chill, and voilà! Your dessert is ready to shine in the spotlight. So grab your mixing bowls and let’s transform your kitchen into a tropical paradise without breaking a sweat. This dessert is bound to impress, whether it’s for a casual weeknight treat or a festive gathering!
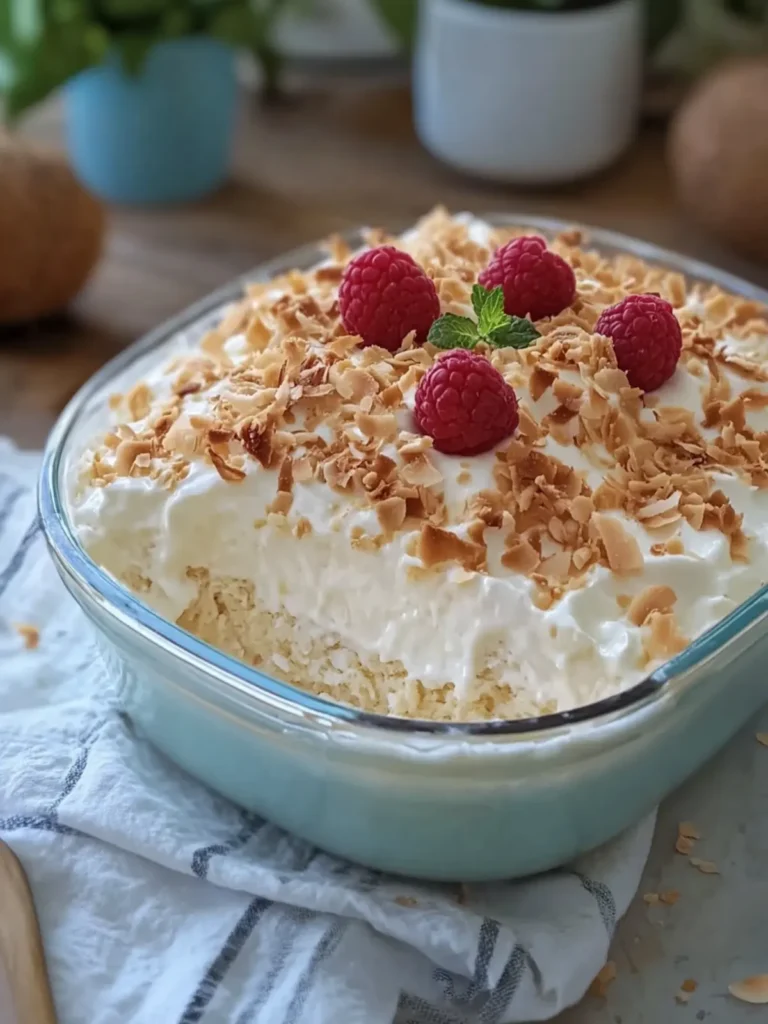
Why is No-Bake Coconut Cream Dream Casserole Perfect?
Effortless Preparation: This dessert requires no baking—just mix, chill, and serve!
Tropical Indulgence: With luscious coconut cream filling and a crunchy graham cracker crust, every bite transports you to an island getaway.
A Crowd-Pleaser: Ideal for gatherings, it delights both family and friends with its irresistible flavors.
Versatile Delight: Serve it for parties, potlucks, or simply as a treat for yourself, it suits every occasion!
Time-Saving Treat: Chill it overnight—perfect for busy schedules without compromising taste.
This No-Bake Coconut Cream Dream Casserole is a showstopper that caters to all your sweet cravings and is delightfully easy to make!
No-Bake Coconut Cream Dream Casserole Ingredients
For the Graham Cracker Crust
- Graham cracker crumbs – 2 cups provide a sweet base that complements the creaminess of the filling.
- Unsalted butter – ½ cup melted helps bind the crumbs together for a firm crust.
- Granulated sugar – ¼ cup adds a touch of sweetness to balance the flavors.
For the Coconut Cream Filling
- Cream cheese – 8 oz (225 g) softened gives a rich, creamy texture to the filling.
- Powdered sugar – 1 cup sweetens the filling and helps achieve a smooth consistency.
- Instant coconut cream pudding mix – 2 packages (3.4 oz each) deliver delicious coconut flavor and a thick texture.
- Cold whole milk – 3 cups is essential for making the pudding mixture creamy and rich.
- Vanilla extract – 1 teaspoon enhances the overall flavor profile with warmth.
- Sweetened shredded coconut – 1 cup adds texture and bursts of tropical flavor.
- Whipped topping – 1 cup thawed brings lightness and airiness to the filling.
For the Whipped Topping
- Whipped topping – 2 cups thawed creates a luscious layer on top, contributing to the dessert’s overall fluffiness.
- Toasted shredded coconut – ½ cup offers a crunchy, golden finish that enhances the tropical theme.
- Unsweetened coconut flakes – ¼ cup adds contrast and depth in flavor, perfect for decoration.
Get ready to indulge in your No-Bake Coconut Cream Dream Casserole!
How to Make No-Bake Coconut Cream Dream Casserole
-
Prepare the dish: Start by using a 9×13-inch glass baking dish—there’s no need for baking or preheating! This will be the foundation for your delightful layers.
-
Mix the crust: In a medium bowl, combine the graham cracker crumbs, melted butter, and granulated sugar. Stir until the mixture feels like wet sand, ensuring it will hold its shape.
-
Form the crust: Spread the crumb mixture evenly into the bottom of your baking dish. Press it down firmly using the bottom of a measuring cup, ensuring a solid base. Refrigerate for 20 minutes to set.
-
Cream the filling: In a large mixing bowl, beat together the softened cream cheese and powdered sugar until you achieve a smooth, creamy texture. This will form a luscious filling.
-
Make the pudding: In a separate bowl, whisk the instant coconut cream pudding mix with the cold milk for about 2 minutes until it thickens. Let it stand for 5 minutes to reach the perfect consistency.
-
Combine the mixtures: Gradually fold the thickened pudding into the cream cheese mixture. Add the vanilla extract and sweetened shredded coconut. Mix gently until everything is well incorporated.
-
Lighten the filling: Gently fold in 1 cup of the thawed whipped topping into the coconut cream filling. This will add lightness and fluffiness to your dessert.
-
Layer the filling: Spread your coconut cream mixture evenly over the chilled graham cracker crust, smoothing the surface with a spatula for an even finish.
-
Add more topping: Spread the remaining 2 cups of whipped topping over the coconut filling, creating a thick and fluffy layer that envelops all that yummy coconut goodness.
-
Garnish: Sprinkle the toasted shredded coconut and unsweetened coconut flakes evenly on top for a beautiful finishing touch and extra texture.
-
Chill the dessert: Cover the casserole and refrigerate for at least 4 to 6 hours, or preferably overnight. This helps the layers set and allows the flavors to meld beautifully.
-
Serve and enjoy: Once firm, cut into squares and serve chilled. Watch it disappear before your eyes at any gathering!
Optional: Garnish each square with a sprinkle of extra toasted coconut for added texture.
Exact quantities are listed in the recipe card below.
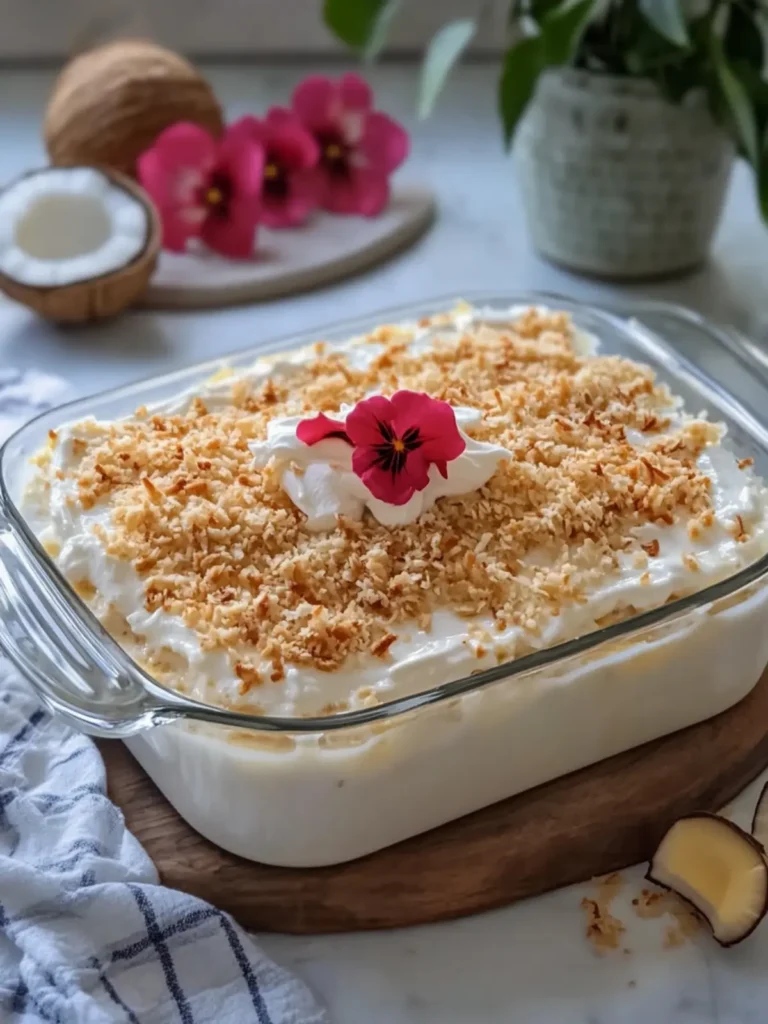
Expert Tips for No-Bake Coconut Cream Dream Casserole
- Chill Before Serving: Allow the casserole to chill overnight for the best texture. It helps the layers firm up, resulting in cleaner cuts.
- Avoid Crumbly Crust: Ensure the graham cracker mixture is moist—if it feels too dry, add a bit more melted butter to hold it together.
- Gentle Folding: When incorporating the whipped topping into the filling, fold gently. This maintains the airiness of the mixture for a light, fluffy dessert.
- Use Fresh Ingredients: Make sure your cream cheese and whipped topping are at room temperature for easier mixing and a smoother filling.
- Serving Secrets: For easier slicing, use a hot, dry knife. This prevents sticking and lets you cut through the chilled layers with ease.
These helpful tricks will ensure your No-Bake Coconut Cream Dream Casserole is a delicious success every time!
What to Serve with No-Bake Coconut Cream Dream Casserole?
Elevate your dessert experience with delightful pairings that balance and enhance the enchanting flavors of your coconut cream delight.
-
Tropical Fruit Salad: A refreshing mix of pineapple, mango, and berries adds a burst of freshness that complements the creamy richness of the casserole.
-
Coconut Lime Sorbet: This light, tangy sorbet mirrors the tropical flavors while providing a cool contrast to the sweet, luscious layers of your dessert.
-
Spiced Chai Tea: The warm, aromatic spices in chai tea create a cozy pairing that offsets the sweetness, making each bite feel special and inviting.
-
Toasted Almonds: A sprinkle of these adds delightful crunch and nuttiness, enhancing the overall texture and depth of flavor in every serving.
-
Mango Mousse: This airy dessert offers a creamy texture with a fruity twist, making it a suitable companion that doesn’t overpower the cloud-like goodness of the casserole.
-
Pineapple Coconut Mocktail: A fizzy drink that combines pineapple juice and coconut milk is a tropical drink that perfectly harmonizes with your no-bake treat.
These delightful pairings create an unforgettable dining experience, inviting everyone to savor each moment together.
Make Ahead Options
These No-Bake Coconut Cream Dream Casserole layers are perfect for busy home cooks looking to streamline meal prep! You can prepare the graham cracker crust and coconut cream filling up to 24 hours in advance. Start by mixing and pressing the crust into the dish, then cover and refrigerate. For the filling, simply combine the filling ingredients and store it in an airtight container until you’re ready to layer. When you’re ready to serve, spread the filling over the crust and top with whipped topping, garnishing with toasted coconut. This method ensures your dessert remains just as delicious, saving you time and effort while still impressing your guests!
How to Store and Freeze No-Bake Coconut Cream Dream Casserole
- Fridge: Store any leftovers tightly covered in the refrigerator for up to 3 days. This helps maintain its creamy texture and delightful flavor.
- Freezer: For longer storage, freeze the casserole wrapped in plastic wrap and aluminum foil for up to 2 months. Thaw in the fridge before serving.
- Reheating: This dessert is best enjoyed chilled. If frozen, let it sit in the fridge overnight to soften before cutting into squares.
- Garnishing: After thawing, you may want to sprinkle fresh toasted coconut on top for added crunch and freshness!
No-Bake Coconut Cream Dream Casserole Variations
Feel free to elevate your dessert experience by customizing your No-Bake Coconut Cream Dream Casserole with these delightful variations!
- Dairy-Free: Use coconut cream in place of cream cheese and non-dairy whipped topping for a luscious vegan treat.
- Gluten-Free: Swap graham cracker crumbs for gluten-free cookies or almond flour for a tasty crust without gluten.
- Chocolate Lovers: Drizzle chocolate sauce or add mini chocolate chips into the coconut filling to enjoy a rich chocolatey twist.
- Nutty Crunch: Fold in chopped nuts, like toasted almonds or pecans, for added crunch and delightful flavor.
- Tropical Escape: Mix in crushed pineapple or mango pieces to transport your taste buds to a tropical island paradise.
- Spiced Up: Add a sprinkle of cinnamon or nutmeg into the filling for a warm spice that complements the coconut beautifully.
- Cookie Crust: Use crushed vanilla wafers instead of graham crackers for a different flavor profile in your crust.
- Layered Delight: Create a layered version by adding a fruit layer (like berries or bananas) between the coconut layers for an extra pop of freshness.
These variations will surely make your No-Bake Coconut Cream Dream Casserole even more enchanting! Enjoy experimenting!
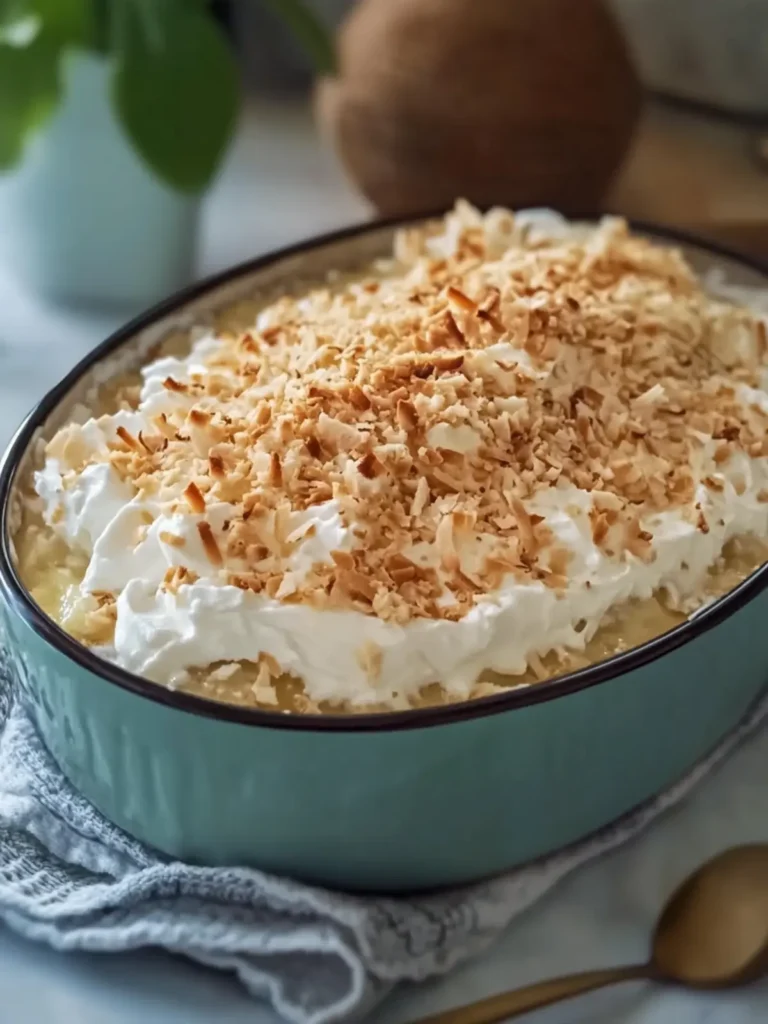
No-Bake Coconut Cream Dream Casserole Recipe FAQs
How do I select the right ingredients for my No-Bake Coconut Cream Dream Casserole?
Absolutely! Choosing the right ingredients is key to a delicious dessert. For the best flavor, use high-quality cream cheese and check that your heavy cream is fresh. Opt for sweetened shredded coconut for a nice burst of sweetness. And when selecting graham crackers, choose a brand that has a good crunch for the crust.
How should I store my leftover No-Bake Coconut Cream Dream Casserole?
You can store any leftovers tightly covered in the refrigerator for up to 3 days. This will keep the dessert fresh and help maintain its creamy texture and delightful flavor. Just be sure to cover it well to prevent it from absorbing any odors from the fridge.
Can I freeze No-Bake Coconut Cream Dream Casserole?
Yes, you can freeze it! Wrap the casserole tightly in plastic wrap and then in aluminum foil to prevent freezer burn. It can be stored in the freezer for up to 2 months. When you’re ready to enjoy it, thaw the casserole in the refrigerator overnight before slicing into squares. Just a little tip: after thawing, sprinkle fresh toasted coconut on top for added crunch!
What should I do if my graham cracker crust is crumbly?
Very! If your graham cracker crust is too crumbly, it can make slicing difficult. To fix this, ensure your mixture has enough melted butter to bind it together. When mixing, it should resemble wet sand. If it still feels dry, simply add a little more melted butter, about a tablespoon at a time, until you reach the right consistency.
Is this No-Bake Coconut Cream Dream Casserole safe for people with allergies?
Great question! This dessert contains common allergens including dairy and gluten. If someone has a gluten allergy, you can substitute the graham cracker crust with gluten-free alternatives, such as gluten-free cookie crumbs. For lactose intolerance, consider using dairy-free cream cheese and whipped topping to adapt the recipe accordingly. Always check labels to ensure your ingredients meet dietary needs.
Can I personalize my No-Bake Coconut Cream Dream Casserole?
Absolutely! To make this dessert your own, consider adding different flavors like a splash of coconut extract for an extra coconut kick or folding in some crushed pineapple into the cream filling for a tropical twist. You can also play around with toppings—try drizzling it with chocolate sauce or adding fresh fruit just before serving for a pop of color!
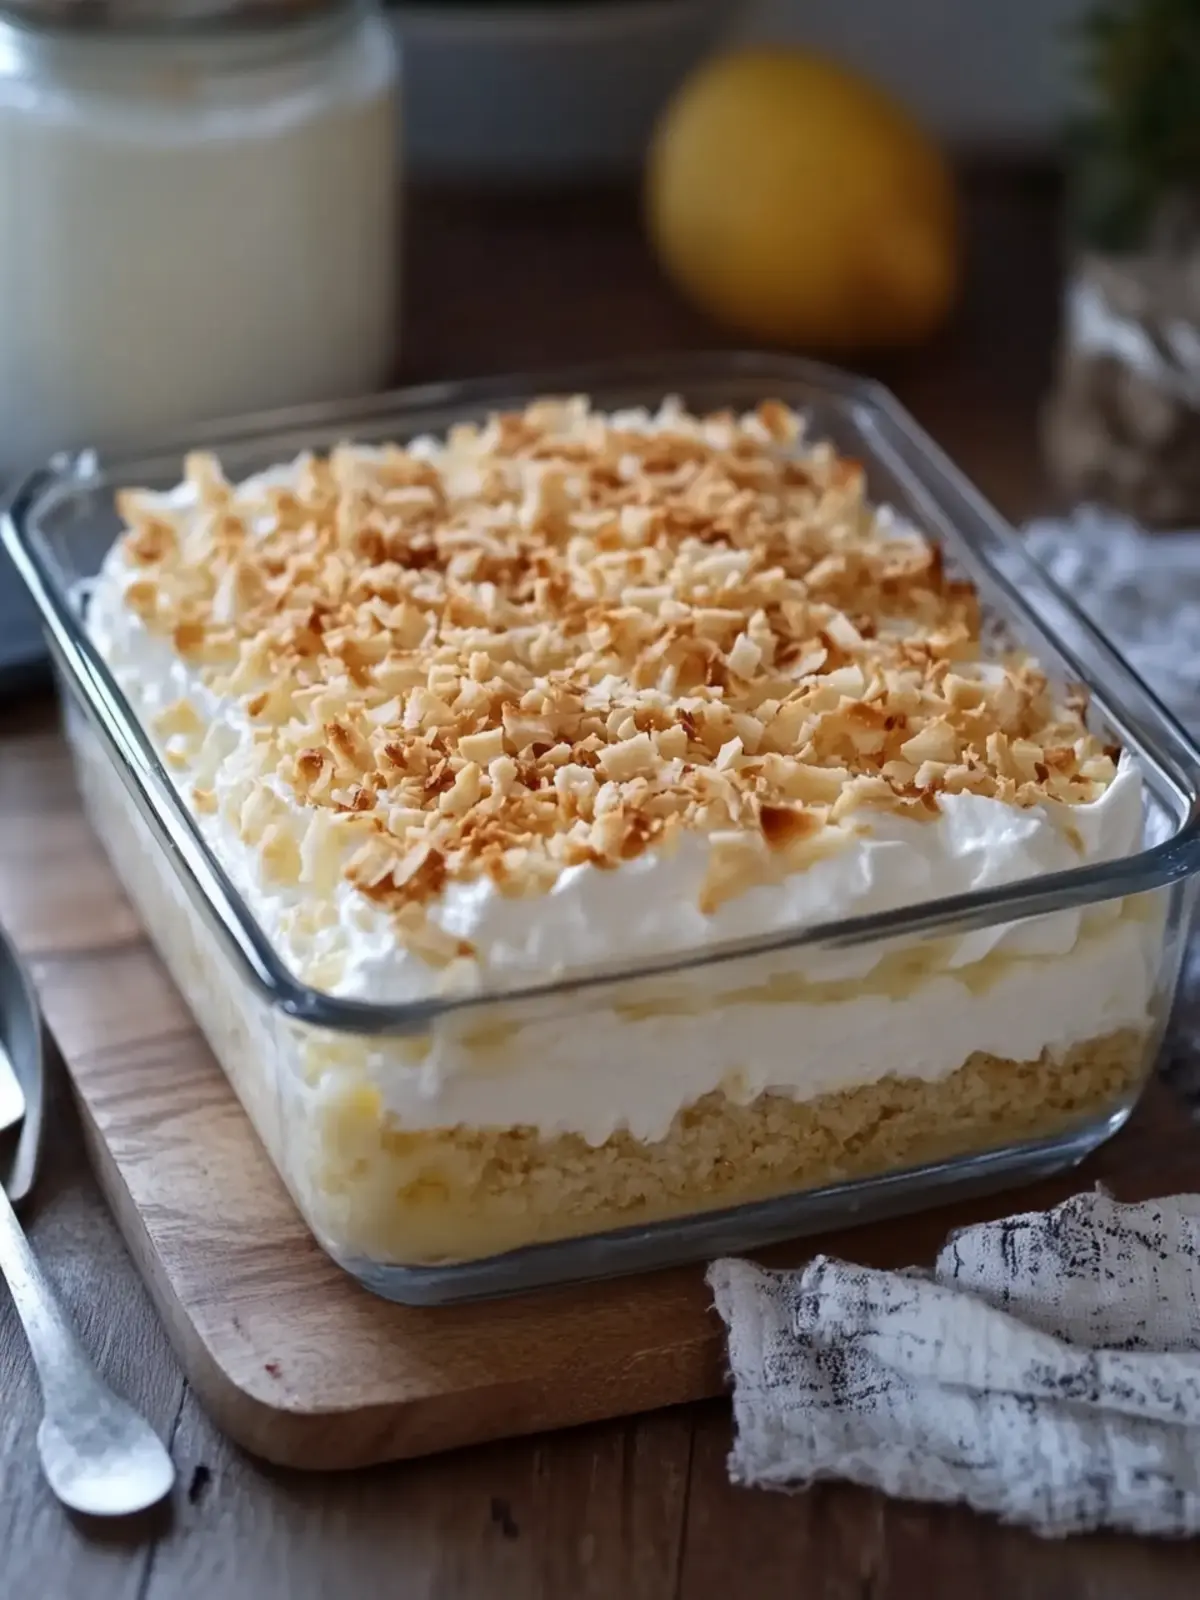
No-Bake Coconut Cream Dream Casserole for Sweet Moments
Ingredients
Equipment
Method
- Prepare the dish: Start by using a 9×13-inch glass baking dish—there’s no need for baking or preheating! This will be the foundation for your delightful layers.
- Mix the crust: In a medium bowl, combine the graham cracker crumbs, melted butter, and granulated sugar. Stir until the mixture feels like wet sand, ensuring it will hold its shape.
- Form the crust: Spread the crumb mixture evenly into the bottom of your baking dish. Press it down firmly using the bottom of a measuring cup, ensuring a solid base. Refrigerate for 20 minutes to set.
- Cream the filling: In a large mixing bowl, beat together the softened cream cheese and powdered sugar until you achieve a smooth, creamy texture. This will form a luscious filling.
- Make the pudding: In a separate bowl, whisk the instant coconut cream pudding mix with the cold milk for about 2 minutes until it thickens. Let it stand for 5 minutes to reach the perfect consistency.
- Combine the mixtures: Gradually fold the thickened pudding into the cream cheese mixture. Add the vanilla extract and sweetened shredded coconut. Mix gently until everything is well incorporated.
- Lighten the filling: Gently fold in 1 cup of the thawed whipped topping into the coconut cream filling. This will add lightness and fluffiness to your dessert.
- Layer the filling: Spread your coconut cream mixture evenly over the chilled graham cracker crust, smoothing the surface with a spatula for an even finish.
- Add more topping: Spread the remaining 2 cups of whipped topping over the coconut filling, creating a thick and fluffy layer that envelops all that yummy coconut goodness.
- Garnish: Sprinkle the toasted shredded coconut and unsweetened coconut flakes evenly on top for a beautiful finishing touch and extra texture.
- Chill the dessert: Cover the casserole and refrigerate for at least 4 to 6 hours, or preferably overnight. This helps the layers set and allows the flavors to meld beautifully.
- Serve and enjoy: Once firm, cut into squares and serve chilled. Watch it disappear before your eyes at any gathering!