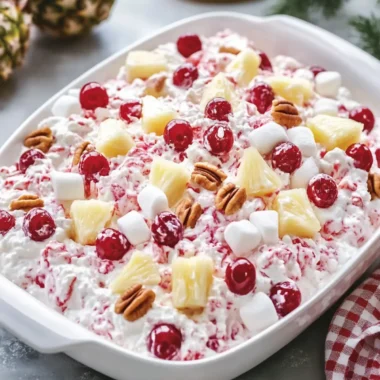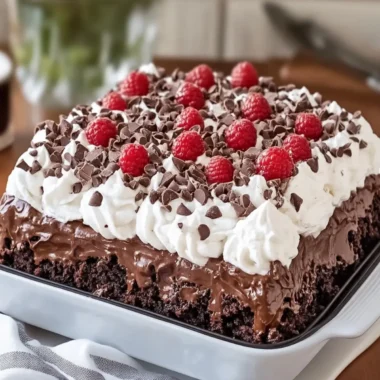
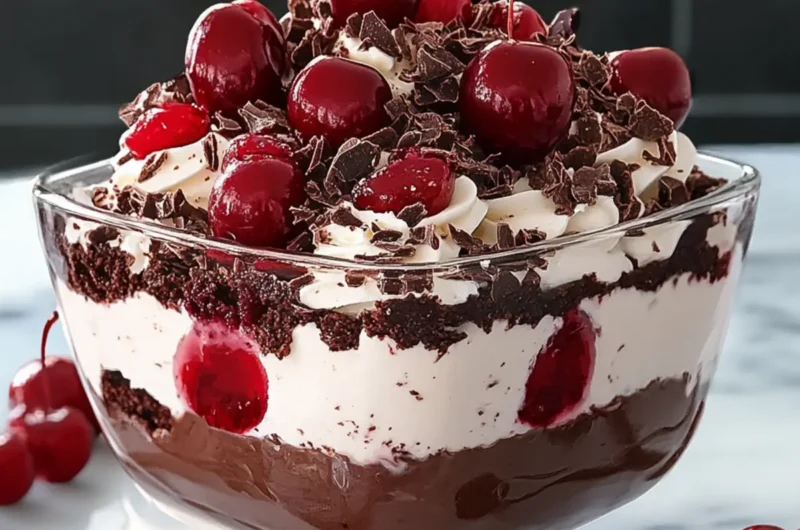
There’s something delightfully indulgent about the first spoonful of a creamy dessert that combines the rich flavors of chocolate and cherries. Picture this: a warm summer evening, you’ve just wrapped up a busy day, and the thought of a complicated recipe is da daunting. Enter the No-Bake Chocolate Cherry Cream Dessert, a fun and easy treat that satisfies both your sweet tooth and your desire for a homemade delight without turning on the oven.
Just when I thought I’d tried every cherry dessert under the sun, I discovered this gem that layers brownie pieces, a luscious cream cheese filling, and a burst of cherry goodness, all with minimal effort. This delightful creation not only looks tempting in its clear glass dish, but it’s also an absolute crowd-pleaser at any gathering. With its creamy texture and vibrant flavors, it has quickly become my go-to recipe for when I want to impress guests or simply enjoy a sweet moment at home. Let’s dive into making this easy, no-bake dessert that will have everyone asking for seconds!
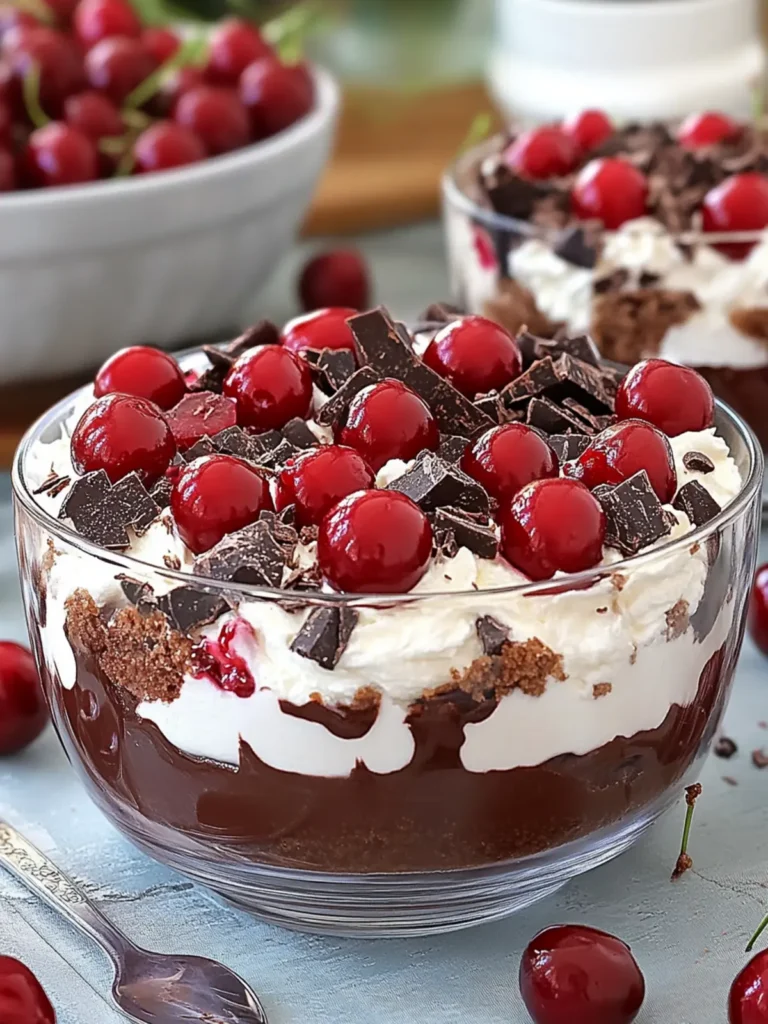
Why choose No-Bake Chocolate Cherry Cream Dessert?
Simplicity at its finest: This no-bake dessert requires zero baking skills, making it perfect even for novice cooks.
Flavor explosion: The irresistible blend of chocolate and cherry creates a delectable treat that satisfies cravings.
Quick assembly: With minimal prep time, you can whip this up quickly, giving you more time to relax.
Impressive presentation: Serve it in a clear dish to showcase its stunning layers, sure to impress family and friends.
Crowd favorite: This dessert is a hit at parties, bringing smiles to faces and delighting sweet tooth aficionados.
Ingredients for No-Bake Chocolate Cherry Cream Dessert
Indulge in the deliciousness with these simple ingredients!
For the Cream Cheese Layer
- Cream cheese – 8 oz, softened for a smooth, creamy texture.
- Powdered sugar – ½ cup to add sweetness while keeping the mixture fluffy.
- Vanilla extract – 1 teaspoon for a warm, aromatic flavor boost.
- Instant cheesecake pudding mix – 1 box (3.4 oz) to help thicken the filling.
- Cold milk – 1 cup to combine with the pudding mix and create the perfect creaminess.
- Whipped topping – 1 tub (8 oz), thawed, giving the dessert a light and airy feel.
For the Cherry Layer
- Cherry pie filling – 1 can (21 oz) to introduce that delightful burst of fruity flavor.
- Chocolate brownie pieces – 2 cups add rich chocolate notes and a chewy texture.
For the Toppings
- Chocolate shavings – ½ cup for an elegant garnish and extra chocolatey goodness.
- Maraschino cherries – 12, for that classic cherry topping, adding a pop of color and sweetness.
With these delightful ingredients, your No-Bake Chocolate Cherry Cream Dessert will be a showstopper that everyone will adore!
How to Make No-Bake Chocolate Cherry Cream Dessert
-
Beat the cream cheese and powdered sugar together in a mixing bowl until smooth and creamy. This should take about 2-3 minutes, allowing the sweetness of the sugar to blend perfectly with the creaminess of the cheese.
-
Mix in the vanilla extract, pudding mix, and cold milk. Continue beating until thickened and creamy, ensuring all ingredients are well incorporated for a luscious texture that will make your guests swoon.
-
Fold in the whipped topping gently. This adds a lightness to the mixture, giving it an airy feel that contrasts beautifully with the richer layers.
-
Incorporate the cherry pie filling, saving a small amount for the topping. Gently fold it in to create swirls of red, adding a delightful burst of flavor into the creamy mix.
-
Add the brownie pieces carefully, mixing just until they are evenly distributed throughout the dessert. This chewy addition brings a rich chocolate flavor that complements the cherries.
-
Transfer the delightful mixture to a clear 9 × 13-inch glass casserole dish. Spread it evenly, making sure to show off those enticing layers for a stunning presentation.
-
Refrigerate the dessert for at least 2 hours. This chilling time allows the layers to set, ensuring every bite is a perfect harmony of flavors.
-
Top the chilled dessert with the reserved cherry filling, chocolate shavings, brownie pieces, and maraschino cherries right before serving. The vibrant toppings add both color and extra indulgence.
-
Serve chilled to experience the ultimate refreshing and creamy sensation — perfect for those hot summer evenings!
Optional: Sprinkle some extra chocolate shavings on top for an even more decadent treat.
Exact quantities are listed in the recipe card below.
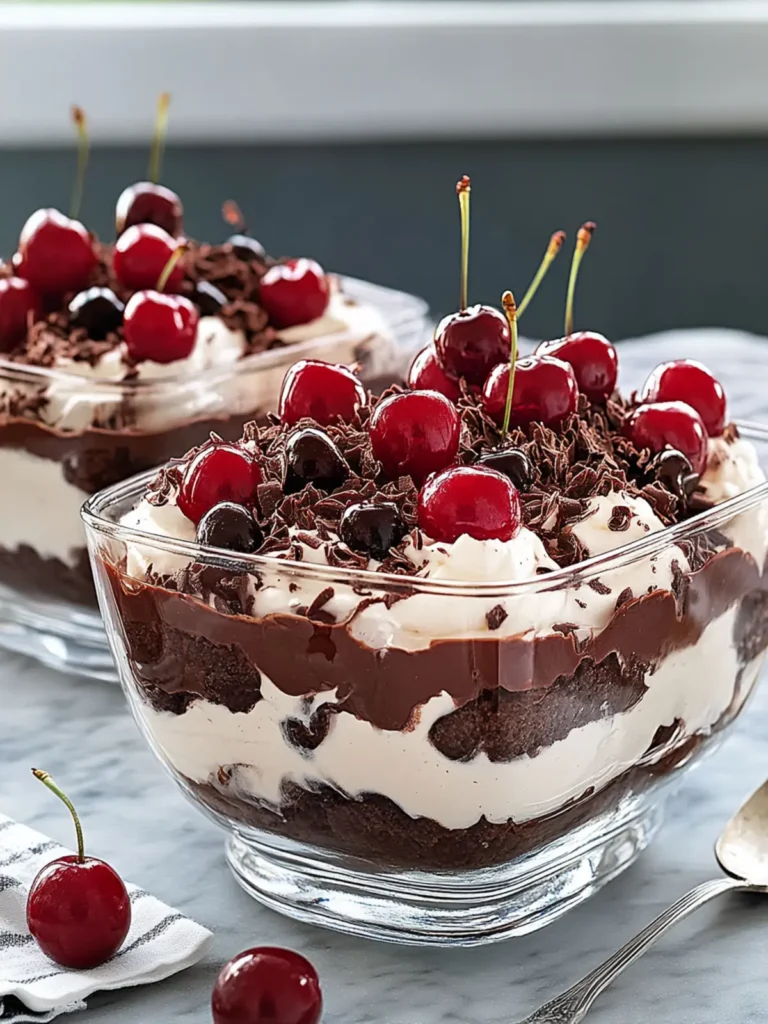
Storage Tips for No-Bake Chocolate Cherry Cream Dessert
Fridge: Store leftovers in an airtight container in the refrigerator for up to 3 days. This helps maintain the creamy texture and flavor of the dessert.
Freezer: If you wish to freeze, place the dessert in a freezer-safe container for up to 2 months. Thaw in the fridge overnight before serving to preserve its deliciousness.
Reheating: This dessert is best served chilled, so there’s no need to reheat. Just enjoy it straight from the fridge for a refreshing treat!
Layer Maintenance: If possible, avoid adding the toppings until just before serving, as they can affect the appearance and texture when stored.
Expert Tips for No-Bake Chocolate Cherry Cream Dessert
- Softened Cream Cheese: Ensure your cream cheese is at room temperature; this will help create a smooth filling when combined with the powdered sugar.
- Avoid Overmixing: When folding in the whipped topping and cherry pie filling, be gentle. Overmixing can deflate the airiness you want in this no-bake dessert.
- Layering Magic: For an impressive presentation, aim to create distinct layers of the cream filling, cherry, and brownie in your dish. This makes each scoop visually stunning!
- Chill Properly: Don’t skip the chilling time! Refrigerate the dessert for at least 2 hours to allow it to set properly, ensuring a great texture that is easy to slice.
- Customize Toppings: Feel free to get creative with toppings! Add crushed nuts or a drizzle of chocolate sauce for a personal touch.
Variations & Substitutions for No-Bake Chocolate Cherry Cream Dessert
Feel free to get creative and personalize your dessert experience with these delightful ideas!
-
Gluten-Free: Substitute traditional brownies with gluten-free brownie mix or use gluten-free chocolate cookies for a delicious twist.
-
Healthier Sweetener: Swap powdered sugar for coconut sugar or a sugar substitute to create a lower-calorie dessert without losing flavor.
-
Nutty Surprise: Incorporate chopped nuts like walnuts or pecans into the brownie layer for a delightful crunch and added richness.
-
Different Berries: Instead of cherry pie filling, try using blueberry or raspberry pie filling for a fruity variation that still packs a flavor punch.
-
Rich Chocolate: Use dark chocolate brownies instead of regular ones for a deeper chocolate flavor that pairs beautifully with cherries.
-
Vegan Option: Replace cream cheese with vegan cream cheese and use coconut whipped cream instead of regular whipped topping for a plant-based delight.
-
Add Spice: Consider adding a pinch of cinnamon or nutmeg to the cream cheese layer for a warm, cozy flavor that surprises the palate.
-
Layered Lusciousness: For an extra indulgent layer, add a layer of chocolate ganache before the cherry layer to elevate the dessert to a whole new level of decadence.
Enjoy exploring these scrumptious variations, making your No-Bake Chocolate Cherry Cream Dessert a truly personal masterpiece!
Make Ahead Options
These No-Bake Chocolate Cherry Cream Desserts are perfect for meal prep enthusiasts! You can prepare the creamy filling and layer it with brownie pieces up to 24 hours in advance. Simply follow the first five steps, then transfer the mixture to your dish and cover it tightly with plastic wrap in the refrigerator. This will help maintain its creamy texture and prevent any browning of the cherries. When you’re ready to serve, simply add the reserved cherry pie filling, chocolate shavings, and maraschino cherries as garnishes before presenting this delightful dessert. With these make-ahead tips, you’ll have a stunning and delicious treat ready to impress your family or guests with minimal effort!
What to Serve with No-Bake Chocolate Cherry Cream Dessert?
Elevate your dessert experience with delightful pairings that create a harmonious meal.
-
Rich Coffee: A warm cup of coffee pairs beautifully, enhancing the dessert’s chocolatey notes while balancing sweetness.
-
Vanilla Ice Cream: Creamy vanilla ice cream offers a cool, smooth contrast to the rich flavors in each bite, making your palate sing.
-
Fresh Berries: Juicy strawberries or blueberries add a refreshing burst of sweetness, complementing the lushness of cherries perfectly.
-
Whipped Cream: A dollop of whipped cream enhances creaminess while adding lightness, taking the dessert to new heights of indulgence.
-
Sparkling Water: A crisp, bubbly sparkling water cleanses the palate, ensuring each enjoyable spoonful remains vibrant and exciting.
-
Chocolate Drizzle: Drizzling extra melted chocolate enhances the chocolate flavor, indulging those with a serious sweet tooth even further.
-
Mint Leaves: Fresh mint leaves not only add a pop of color but also bring a refreshing element that beautifully contrasts the richness.
-
Red Wine: A glass of fruity red wine like Merlot can wonderfully complement the cherry flavors, crafting a sophisticated dessert experience.
These pairings will not only satisfy your cravings but also elevate your dessert presentation and enjoyment!
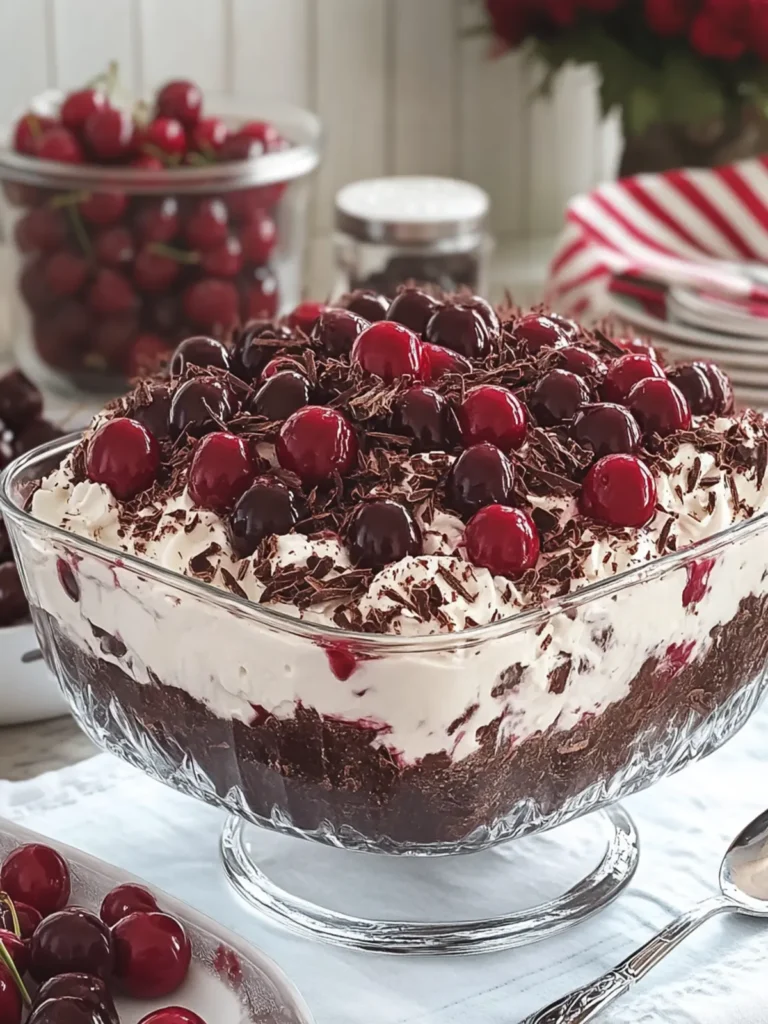
No-Bake Chocolate Cherry Cream Dessert Recipe FAQs
What type of cherries should I use for this recipe?
Absolutely! Using a can of cherry pie filling brings instant flavor and ease, but if you prefer fresh cherries, choose ripe and plump ones. Look for cherries that are firm with a vibrant red color, avoiding those with dark spots or blemishes. If you’re feeling adventurous, you can even pit and chop fresh cherries to fold into the creamy mix!
How should I store leftovers of the No-Bake Chocolate Cherry Cream Dessert?
Very easy! Store any leftovers in an airtight container in the refrigerator for up to 3 days. Keeping it covered helps maintain its creamy texture and delightful flavor. When re-serving, simply scoop it out, and it’s ready to enjoy straight from the fridge!
Can I freeze the No-Bake Chocolate Cherry Cream Dessert?
Yes, you can! To freeze the dessert, transfer it to a freezer-safe container, ensuring that it’s sealed tightly to prevent freezer burn. It can be frozen for up to 2 months. When you’re ready to enjoy it, move it to the refrigerator and let it thaw overnight. This method preserves its fantastic flavor and texture.
What if my dessert isn’t firm enough after chilling?
No need to worry! If your dessert doesn’t seem to set properly after refrigerating, it might be due to not allowing enough time for chilling. Be sure to let it chill for at least 2 hours. If it’s still a bit soft, briefly return it to the refrigerator, or consider adding a bit more pudding mix next time for a thicker consistency.
Is this dessert suitable for people with allergies?
Great question! This No-Bake Chocolate Cherry Cream Dessert contains dairy and gluten from the cream cheese, whipped topping, and brownie pieces. If you have specific dietary needs, look for gluten-free brownie mixes, and consider using dairy-free cream cheese and whipped topping alternatives. Always check labels for potential allergens to ensure it fits your dietary requirements!
Can I use other fruits instead of cherries?
Absolutely! This dessert is quite versatile. If cherries aren’t your favorite or you’re looking for something different, feel free to swap in other fruits like blueberries, strawberries, or raspberries. Just keep the ratios similar—using a fruit filling or fresh fruit that complements the chocolate brownie base will keep the flavors harmonious and delicious!
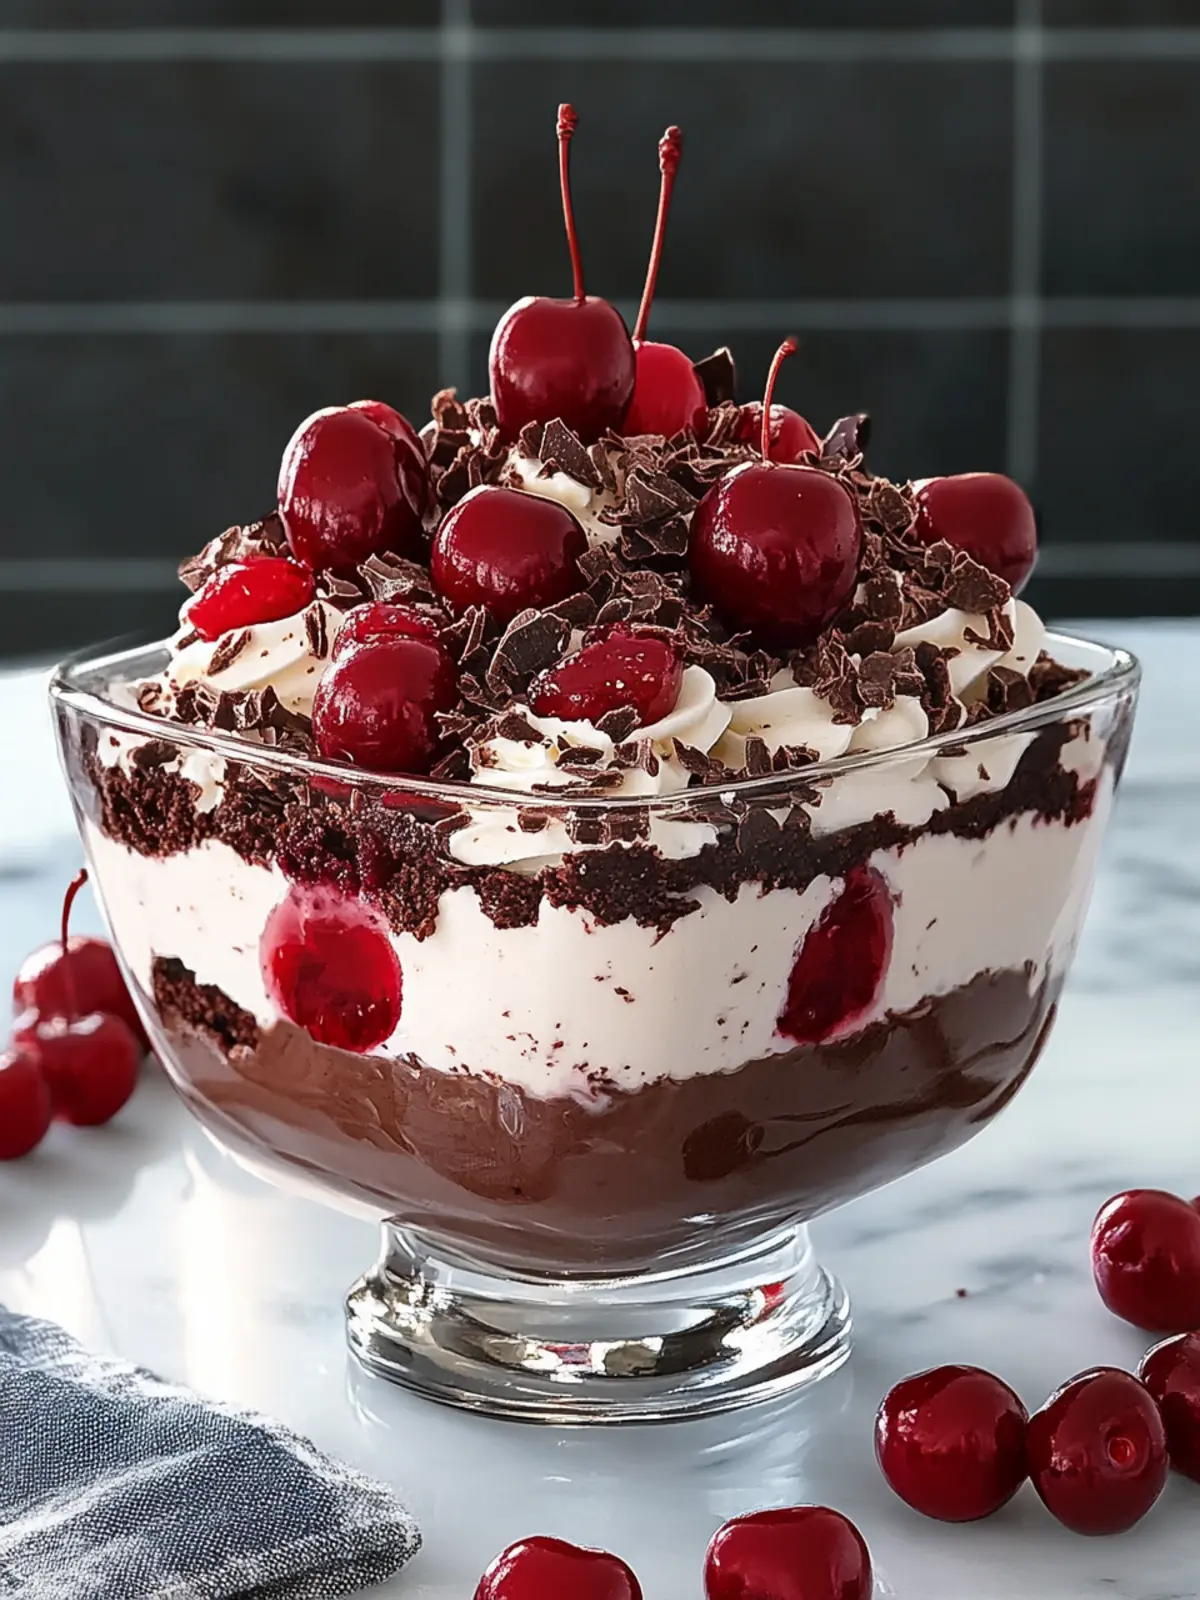
Irresistible No-Bake Chocolate Cherry Cream Dessert Delight
Ingredients
Equipment
Method
- Beat the cream cheese and powdered sugar together in a mixing bowl until smooth and creamy.
- Mix in the vanilla extract, pudding mix, and cold milk until thickened and creamy.
- Fold in the whipped topping gently.
- Incorporate the cherry pie filling, saving a small amount for the topping.
- Add the brownie pieces carefully, mixing just until evenly distributed.
- Transfer the mixture to a clear 9 × 13-inch glass casserole dish and spread evenly.
- Refrigerate for at least 2 hours.
- Top with reserved cherry filling, chocolate shavings, brownie pieces, and maraschino cherries before serving.
- Serve chilled.