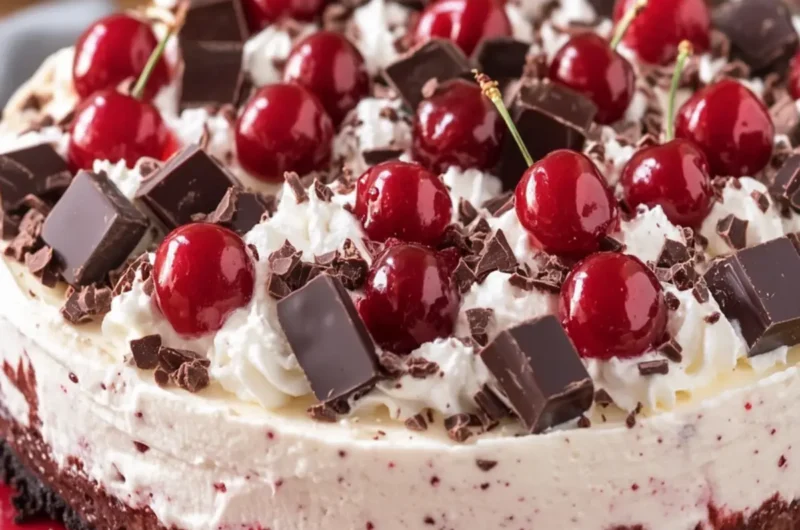
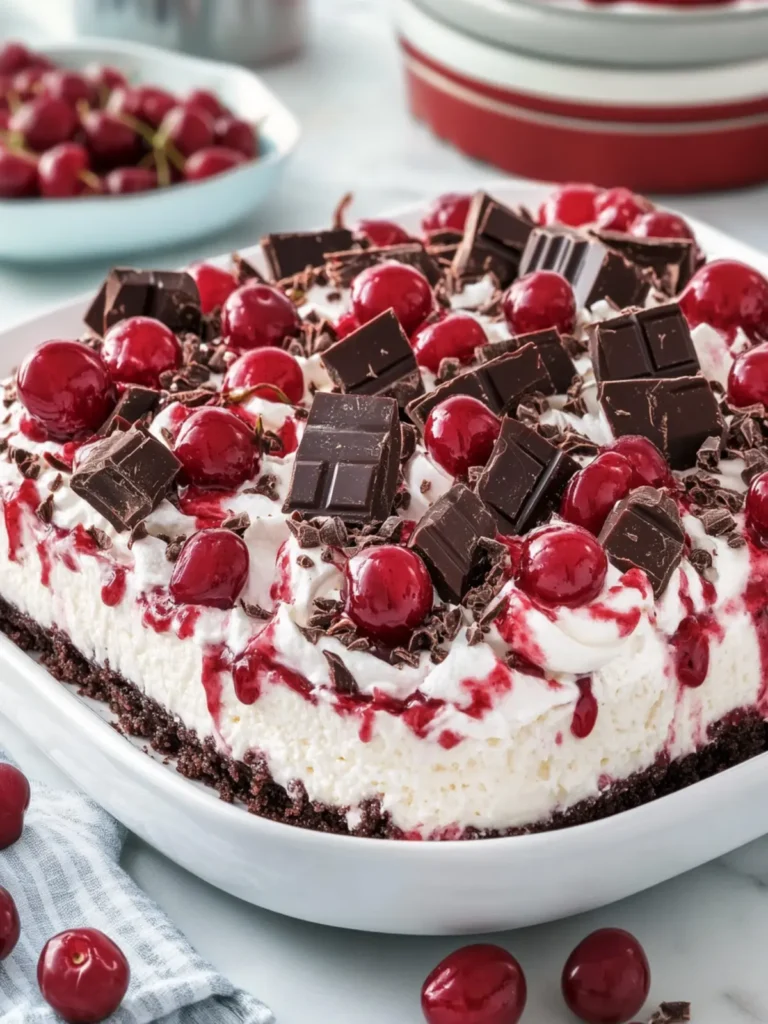
When the craving for something sweet strikes, there’s nothing quite like a light and indulgent dessert to lift your spirits. Imagine the first scoop of this No-Bake Chocolate Cherry Cheesecake Dessert, where velvety cream cheese meets luscious cherry pie filling, all drizzled with dreamy whipped cream and charming chunks of chocolate. It’s a dish that whispers elegance while keeping things effortlessly simple.
This delightful treat was inspired by a casual gathering where I needed a showstopper that wouldn’t back me into a corner. After a little experimentation, I stumbled upon this winning combination of layered richness and fruity brightness—perfect for those days when you want to treat yourself without spending hours in the kitchen. With a wonderful blend of flavors and textures, this fluff is a guaranteed crowd-pleaser that’ll make any dinner or potluck unforgettable. Let’s dive into the recipe, and I promise you’ll never look at dessert the same way again!
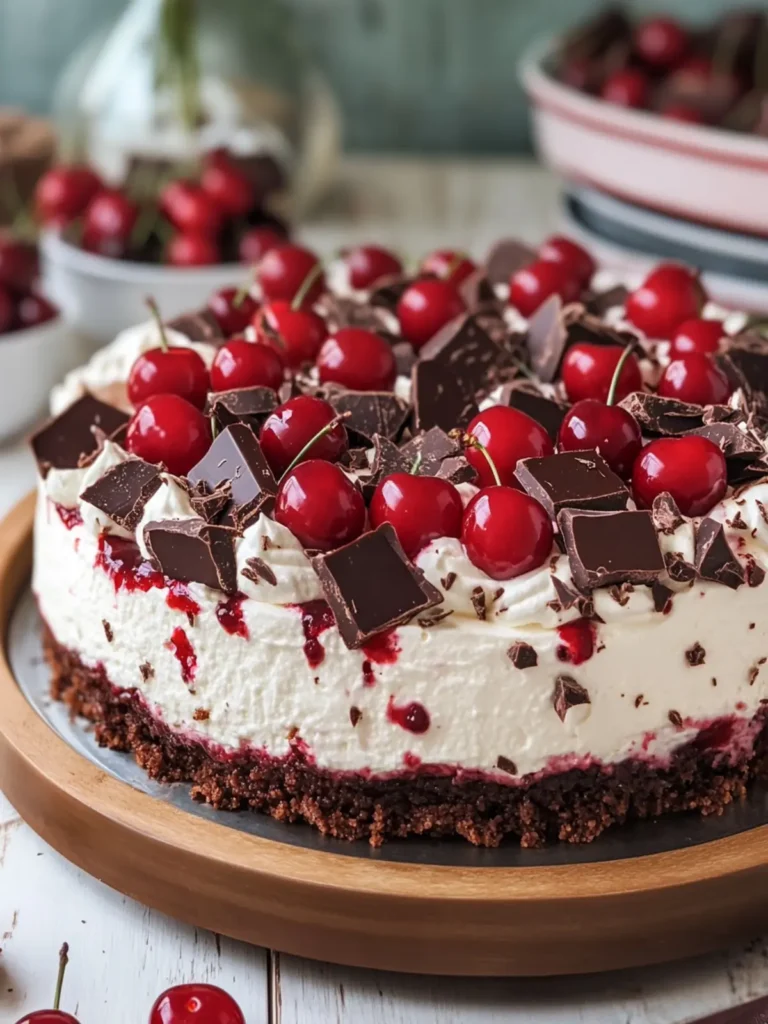
Why Love This No-Bake Chocolate Cherry Cheesecake?
Indulgent flavor: Each bite is a heavenly mix of rich chocolate and sweet cherries that will have your taste buds dancing!
Simplicity reigns: No baking required, making it a perfect no-fuss dessert.
Versatile treat: Customize with your favorite toppings like mini marshmallows or chocolate chunks for a personal touch!
Crowd-pleaser: Ideal for gatherings, this dessert is sure to be the star of the table.
Time-saving: With just a quick prep time and a chill in the fridge, you’ll have a stunning dessert ready in no time!
If you’re looking for more quick and impressive treats, be sure to check out our easy homemade desserts.
No-Bake Chocolate Cherry Cheesecake Ingredients
• The perfect combination of rich chocolate and sweet cherry flavors awaits!
For the Cream Layer
- 8 oz cream cheese – Make sure it’s softened for easy blending.
- 1/2 cup powdered sugar – Adds just the right amount of sweetness.
- 1 teaspoon vanilla extract – For a warm, inviting flavor in every bite.
- 1 package instant cheesecake pudding mix (3.4 oz / 96 g) – This is the magic that gives your fluff a creamy texture!
- 1 cup cold whole milk – Chilled milk helps the pudding mix set properly.
- 1 container whipped topping (8 oz / 225 g) – Lightens the dessert for that fluffy finish.
For the Chocolate Fluff
- 1/3 cup unsweetened cocoa powder – This adds rich chocolate notes; make sure to sift it for a smooth mix.
For the Cherry Topping
- 1 can cherry pie filling (21 oz / 595 g) – A must for that fruity burst! Incorporate it for layers of flavor.
Optional Add-Ons
- 1/2 cup mini chocolate chips – Sprinkle some in for extra chocolatey goodness!
- 1 cup mini marshmallows – For those who love a chewy texture mixed in.
- 1/3 cup chocolate shavings or curls – An elegant touch that takes your dessert to the next level!
With these No-Bake Chocolate Cherry Cheesecake Dessert ingredients, you’re only a few steps away from a sweetened masterpiece that will brighten any occasion!
How to Make No-Bake Chocolate Cherry Cheesecake Dessert
-
Blend the softened cream cheese and powdered sugar in a mixing bowl. Use an electric mixer on medium speed until smooth and creamy, about 2 minutes. This will create a luscious base for your dessert.
-
Add the vanilla extract to the cream cheese mixture and beat until fully incorporated, ensuring a delightful flavor throughout.
-
Whisk the cheesecake pudding mix with the cold whole milk in a separate bowl for about 2 minutes, or until it thickens to a creamy consistency.
-
Combine the thick pudding mixture with the cream cheese blend, beating until the texture is silky smooth. Your mixture should be rich and fully combined.
-
Sift the unsweetened cocoa powder into the mixture and gently fold it in, bringing that decadent chocolate flavor into each bite.
-
Fold in the thawed whipped topping carefully, maintaining that light and airy texture for a fluffy finish that everyone loves.
-
Incorporate about two-thirds of the cherry pie filling by folding it in, ensuring bits of cherry flavor are layered throughout the dessert.
-
Mix in the mini chocolate chips and mini marshmallows, if desired, for additional texture and sweetness.
-
Transfer the fluffy mixture into a 9 × 13-inch rectangular glass dish or a large serving bowl, spreading it out evenly.
-
Top with the remaining cherry pie filling, spreading it evenly across the top for those beautiful fruity accents.
-
Sprinkle chocolate shavings or curls on top if desired, adding a touch of elegance and extra flavor dimension.
-
Cover and refrigerate the Chocolate Cherry Cheesecake Fluff for at least 2–3 hours. This chilling time allows the flavors to meld beautifully!
-
Serve chilled, enjoying the delightful layers of flavor and texture that this dessert offers.
Optional: Serve with extra whipped cream for an added touch of indulgence!
Exact quantities are listed in the recipe card below.
Make Ahead Options
These No-Bake Chocolate Cherry Cheesecake Desserts are perfect for meal prep, making them a stress-free option for busy weeknights or special occasions! You can prepare the fluffy cream layer up to 24 hours in advance; simply store it in an airtight container in the refrigerator. The cherry topping can also be prepped ahead and refrigerated for 3 days. When you’re ready to serve, just layer the fluff into a dish, top it with the cherry filling and any optional chocolate shavings or curls, then chill for at least 2-3 hours to meld those flavors beautifully. This way, you’ll have a delicious, indulgent treat with minimal last-minute effort!
What to Serve with Chocolate Cherry Cheesecake Fluff?
Treat yourself to a full dining experience that complements the luscious flavors of this delightful dessert.
-
Graham Cracker Crust: Perfect for adding a crunchy contrast, this classic pairing enhances the creamy texture of the fluff. A sliced piece serves as a great base, as its slight sweetness balances the richness of the cheesecake.
-
Fresh Berries: Blueberries or strawberries offer a refreshing taste that cuts through the indulgence, brightening each bite with vibrant flavors. Scatter these on top for a burst of color and tartness that pairs beautifully with chocolate.
-
Chocolate-Dipped Strawberries: Elevate your dessert spread with these decadent treats. The sweet, juicy strawberries add a fruity touch, while the chocolate complements the fluff’s indulgence—an irresistible combination.
-
Whipped Cream: A dollop of freshly whipped cream adds an airy lightness and can be enhanced with a hint of vanilla. It’s a delightful contrast that will leave guests reaching for seconds!
-
Nutty Granola: For an unexpected crunch, a sprinkle of nutty granola works wonders. This added texture plus the nutty flavors can enhance the overall enjoyment of the dessert.
-
Decadent Hot Chocolate: Serve this dessert with a warm mug of hot chocolate for a comforting touch. The richness of the cocoa echoes the dessert’s flavors and provides a cozy pairing that wraps you in warmth.
-
Coconut Macaroons: These chewy treats with their toasted coconut flavor bring a sweet, tropical note that plays off the cherries perfectly. The combination of textures will leave your mouth smiling!
-
Coffee or Espresso: A strong cup of coffee or espresso offers a delightful contrast to the sweetness of the fluff, creating a balanced meal experience. Enjoy it alongside your dessert for a classic pairing.
-
Chocolate Cake: For a more indulgent affair, serve slices of rich chocolate cake alongside your fluff. The layers of flavor between the two chocolate treats will make dessert time extra special.
Chocolate Cherry Variations
Customize your dessert experience with these delightful variations to elevate your No-Bake Chocolate Cherry Cheesecake Dessert!
-
Dairy-Free: Substitute the cream cheese with coconut cream and use almond milk for a lactose-free twist. The result is still creamy and delicious!
-
Extra Chocolatey: For chocolate lovers, add 1/2 cup of chocolate fudge sauce to the mixture. It creates a gooey, decadent surprise in every bite.
-
Nutty Crunch: Fold in 1/2 cup of chopped walnuts or pecans. This will give your fluff a satisfying crunch and a nutty flavor that pairs perfectly with chocolate!
-
Fruit Twist: Replace the cherry pie filling with raspberry or strawberry jam for a fruity surprise. It not only adds a splash of color but also a different kind of sweetness.
-
Spicy Kick: Add a pinch of cayenne pepper to the chocolate mixture for a surprising warmth. It’s a twist that will awaken your senses!
-
Marshmallow Delight: Incorporate 1 cup of toasted mini marshmallows for a delightful chewy texture that complements the fluffiness.
-
Minty Freshness: Add a few drops of mint extract to the cream layer for a refreshing mint chocolate experience! This unexpected flavor will leave everyone wanting more.
-
Low-Sugar Option: Substitute powdered sugar with a low-calorie sweetener like stevia to keep the sweetness without all the calories. Enjoy guilt-free indulgence!
How to Store and Freeze No-Bake Chocolate Cherry Cheesecake Dessert
Fridge: Store leftovers in an airtight container in the fridge for up to 5 days. This helps maintain the fluffy texture and flavor of your no-bake chocolate cherry cheesecake dessert.
Freezer: You can freeze the cheesecake fluff for up to 2 months. Just make sure to wrap it tightly in plastic wrap and then cover it with foil to prevent freezer burn.
Thawing: To enjoy after freezing, transfer the dessert to the fridge overnight to thaw. Avoid thawing at room temperature to maintain the quality of the ingredients.
Reheating: There’s no need to reheat this dessert! Serve it chilled directly from the fridge for the best experience.
Expert Tips for No-Bake Chocolate Cherry Cheesecake
-
Room Temperature Cream Cheese: Ensure the cream cheese is softened to room temperature for a smooth blend. Cold cream cheese can lead to lumps in your dessert.
-
Whipping Strategy: When folding in the whipped topping, use a gentle hand. This keeps the mixture airy and light, yielding that fluffy texture everyone loves.
-
Pudding Consistency: Make sure to whisk the pudding mixture until it thickens properly. If it remains too runny, the entire dessert may not set well.
-
Layering: Don’t rush the layering process! Take your time folding in the cherry pie filling and toppings to achieve even distribution of flavors throughout your no-bake chocolate cherry cheesecake dessert.
-
Chill Time: Patience is key! Allow the dessert to chill for at least 2–3 hours in the refrigerator. This not only enhances the flavors but also helps it set for a more enjoyable serving experience.
-
Topping Creativity: Feel free to customize your toppings with chocolate chunks or additional fruit. It’s a great way to add a personal touch and enhance the deliciousness!
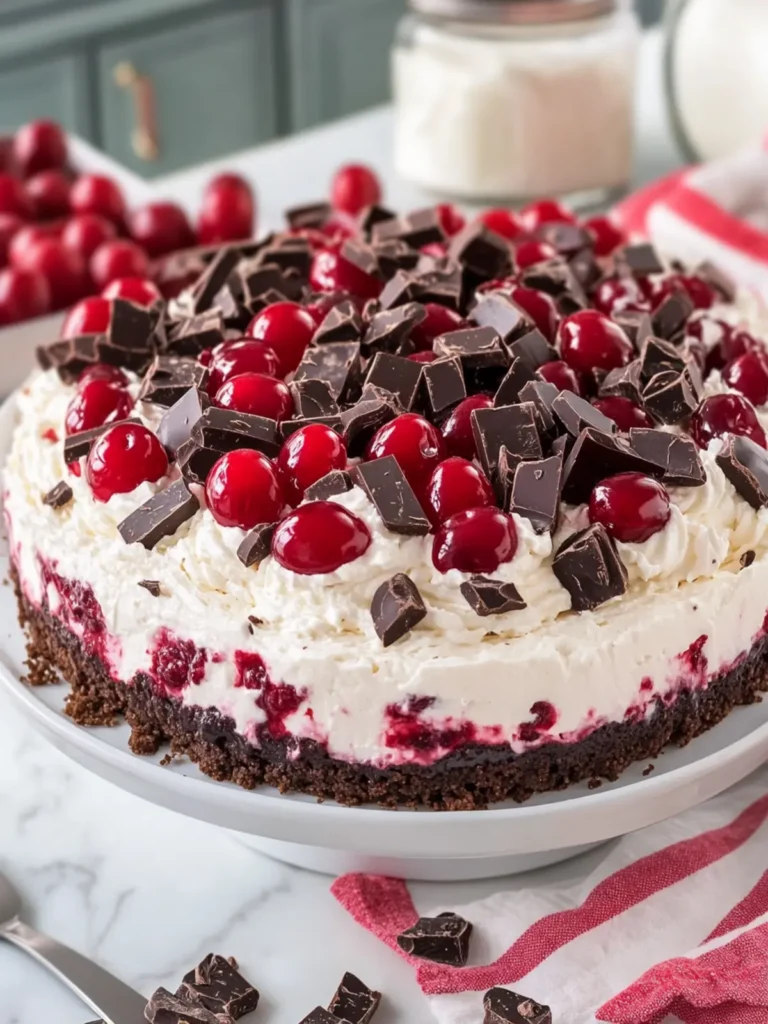
No-Bake Chocolate Cherry Cheesecake Dessert with Toppings Bliss Recipe FAQs
What’s the best way to select ripe cherries for this recipe?
Absolutely! For the best flavor, choose fresh cherries that are plump and firm. Look for those with a deep, vibrant color and shiny skin. Avoid cherries with dark spots or wrinkles, as these indicate overripeness.
How should I store the No-Bake Chocolate Cherry Cheesecake Dessert?
To keep your dessert fresh, store it in an airtight container in the fridge for up to 5 days. This will help maintain its light and fluffy texture. If you have leftovers, just ensure it’s sealed tightly; nobody likes a dry dessert!
Can I freeze the Chocolate Cherry Cheesecake Dessert?
Yes, you can freeze this delightful treat! I recommend wrapping the cheesecake fluff tightly in plastic wrap and then placing it in a freezer-safe container. It can last for up to 2 months in the freezer. Just remember to thaw it overnight in the fridge when you’re ready to enjoy it again.
What should I do if my pudding mixture is too thin?
Very good question! If your pudding mixture seems overly runny, it may not have been whisked long enough. Make sure to whisk the pudding mix with cold milk for a full 2 minutes until it thickens to a creamy consistency. If it’s too late, you can mix in a bit more of the pudding mix, letting it sit for a few minutes to firm up before combining with the cream cheese mixture.
Are there any dietary considerations for this dessert?
If you’re hosting guests with dietary restrictions, you might want to ask about allergies since this recipe contains dairy and could be unsuitable for those with lactose intolerance or a dairy allergy. You can also opt for non-dairy whipped topping and cream cheese replacements to make it a delicious vegan option!
Can I use other toppings aside from cherry pie filling?
Absolutely! The more, the merrier! You can try using fresh fruits like strawberries or blueberries, crushed cookies for crunch, or even a drizzle of caramel or fudge sauce. Just be creative, and tailor the dessert to your tastes!
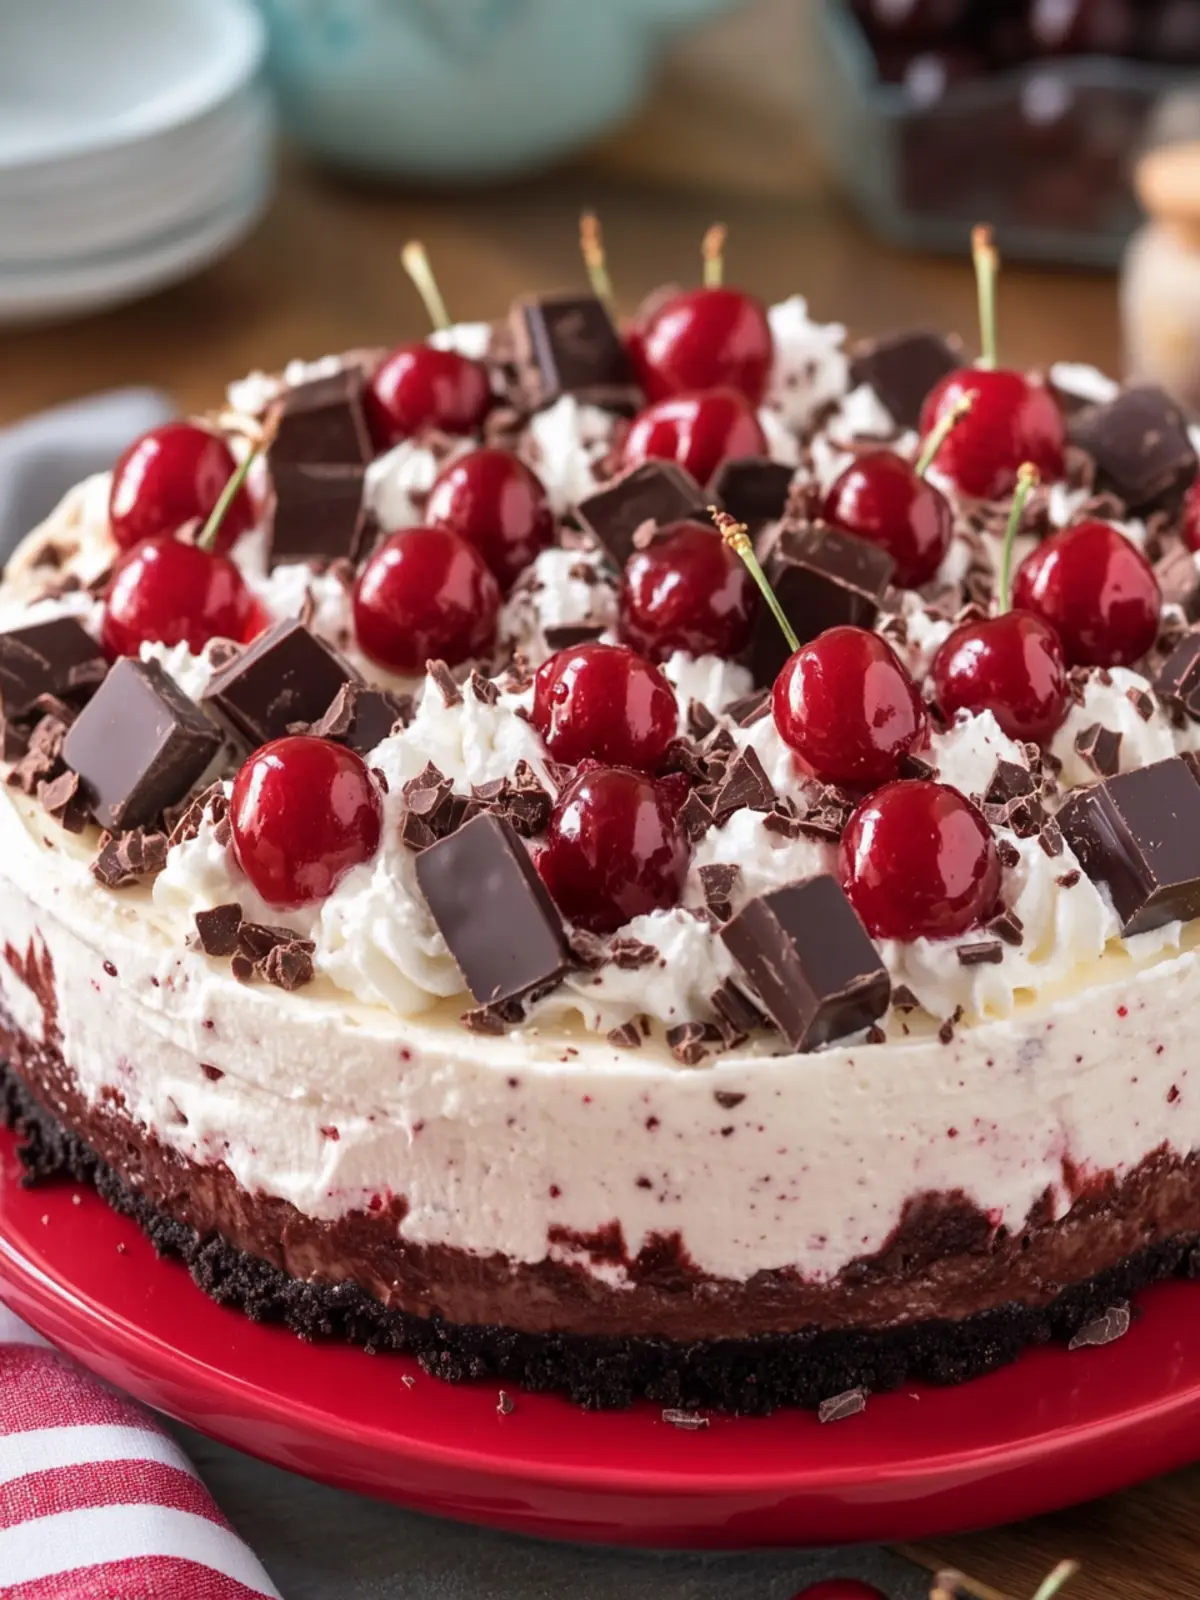
No-Bake Chocolate Cherry Cheesecake Dessert with Toppings Bliss
Ingredients
Equipment
Method
- Blend the softened cream cheese and powdered sugar in a mixing bowl. Use an electric mixer on medium speed until smooth and creamy, about 2 minutes.
- Add the vanilla extract to the cream cheese mixture and beat until fully incorporated.
- Whisk the cheesecake pudding mix with the cold whole milk in a separate bowl for about 2 minutes, or until it thickens to a creamy consistency.
- Combine the thick pudding mixture with the cream cheese blend, beating until the texture is silky smooth.
- Sift the unsweetened cocoa powder into the mixture and gently fold it in.
- Fold in the thawed whipped topping carefully, maintaining that light and airy texture.
- Incorporate about two-thirds of the cherry pie filling by folding it in.
- Mix in the mini chocolate chips and mini marshmallows, if desired.
- Transfer the fluffy mixture into a 9 × 13-inch rectangular glass dish, spreading it out evenly.
- Top with the remaining cherry pie filling.
- Sprinkle chocolate shavings or curls on top if desired.
- Cover and refrigerate the Chocolate Cherry Cheesecake Fluff for at least 2–3 hours.
- Serve chilled.