There’s a certain joy that comes from whipping up a dessert with just a few simple ingredients and zero baking required. Picture this: a warm autumn afternoon spent in the kitchen, your favorite playlist softly playing in the background, and the air filled with the sweet aroma of caramel and cinnamon. That’s the enchanting experience I had when I first created this No-Bake Caramel Apple Icebox Cake.
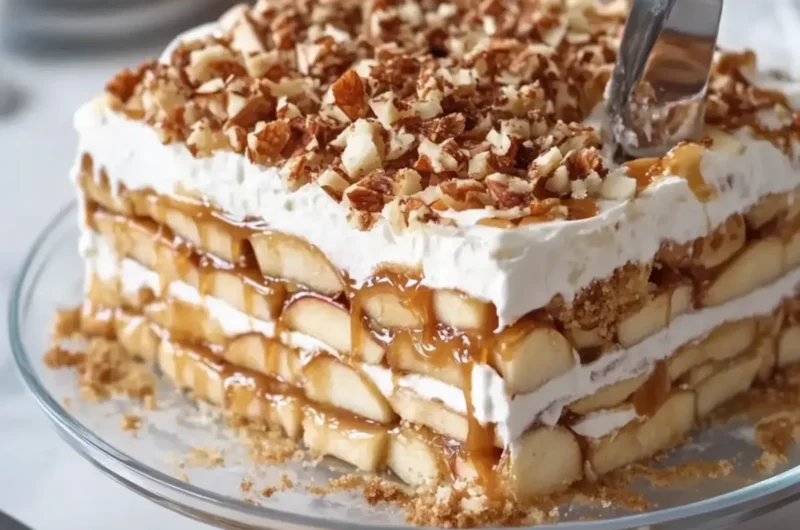
Imagine layers of luscious cream cheese mingling with tender, spiced apples and velvety caramel, all nestled between crispy graham crackers that transform into a delightful cake-like consistency as they soak up the flavors. It’s the perfect no-fuss, crowd-pleasing dessert that dazzles guests without keeping you tethered to the oven for hours.
Whether you’re hosting a potluck or simply satisfying your sweet tooth, this recipe is a breeze that guarantees smiles all around. So, roll up your sleeves, grab those graham crackers, and let’s dive into a cake that’s as indulgent as it is easy!
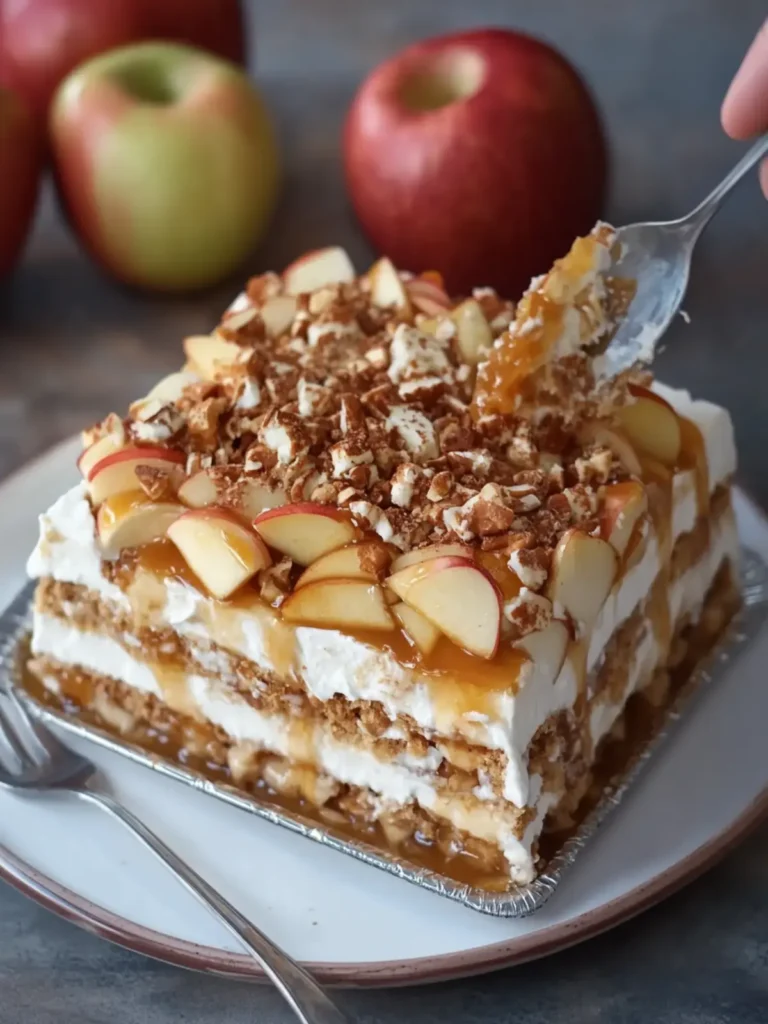
Why will you love this No-Bake Caramel Apple Icebox Cake?
Simplicity at its best: With no baking required, this dessert allows you to whip up an impressive treat in no time.
Irresistible flavors: The combination of spiced apples and creamy cheesecake is simply unforgettable, enhanced by luxurious ribbons of caramel.
Versatile for any occasion: Perfect for picnics, potlucks, or cozy family gatherings, this icebox cake impresses guests of all ages.
Crowd-pleaser: It’s guaranteed to be the star of the dessert table, leaving everyone asking for seconds.
Effortless preparation: Spend mere minutes preparing this dish while it chills, tempting you with the promise of a delicious reward.
So why wait? Get ready to indulge in this delightful dessert that’s sure to become a family favorite! And for more easy and delightful desserts, check out our other fun recipes!
No-Bake Caramel Apple Icebox Cake Ingredients
For the Crust
• Graham crackers – Provide a delightful crunch that serves as the base of this cake.
For the Apple Filling
• Medium apples – Opt for tart varieties like Granny Smith for a perfect balance of sweetness.
• Light brown sugar – Adds a rich caramel flavor that complements the apples beautifully.
• Unsalted butter – Enhances the richness of the apple filling while adding depth.
• Ground cinnamon – Brings warmth and aromatic sweetness, a perfect pairing with apples.
• Ground nutmeg – A pinch elevates the spiced flavor profile of the apple mixture.
• Fresh lemon juice – Brightens the filling and keeps the apples from browning.
• Vanilla extract – Infuses the mixture with a comforting, warm flavor.
• Cornstarch – Used to thicken the apple filling, ensuring a luscious texture.
• Cold water – Helps activate the cornstarch, creating a smooth consistency.
For the Cream Cheese Mixture
• Cream cheese – The star of the dessert that brings a creamy, rich element.
• Powdered sugar – Sweetens the cream cheese, making it irresistibly delicious.
• Heavy whipping cream – When whipped, it adds lightness and volume to the cream cheese mixture.
• Sour cream – Introduces a tanginess that balances the sweetness of the cake.
• Vanilla extract (additional) – Enhances the overall flavor with a sweet, fragrant note.
For the Toppings
• Thick caramel sauce – Drizzled throughout, it creates indulgent ribbons of sweetness.
• Chopped toasted pecans – Adds a delightful crunch and nutty flavor to the top.
• Crushed graham crackers – Provides extra texture and enhances the graham cracker flavor.
• Ground cinnamon (for topping) – A sprinkle adds final touches of flavor and warmth.
Get ready to create this No-Bake Caramel Apple Icebox Cake that will surely win over all your taste buds!
How to Make No-Bake Caramel Apple Icebox Cake
-
Prepare your dish: Start with a deep rectangular 9 × 13-inch (23 × 33 cm) glass baking dish, ensuring it’s clean and ready for layering this delectable cake.
-
Chop the apples: Peel, core, and dice the apples into small, evenly sized cubes. This ensures they cook uniformly and blend well with the other ingredients.
-
Cook the apple mixture: Melt butter in a saucepan over medium heat. Add the apples, brown sugar, cinnamon, nutmeg, lemon juice, and vanilla extract. Cook for 8–10 minutes, stirring occasionally, until the apples are tender and fragrant.
-
Thicken the filling: Mix cornstarch with cold water in a small bowl. Stir this into the apple mixture and cook for another 1–2 minutes until it thickens and becomes glossy.
-
Cool the filling: Remove the apple filling from the heat and let it cool to room temperature. Once it’s cool, refrigerate until cold to enhance the flavors.
-
Make the cream cheese mixture: In a large mixing bowl, beat softened cream cheese and powdered sugar for 2–3 minutes until smooth and fluffy, creating a luscious base for your cake.
-
Incorporate sour cream and vanilla: Mix in the sour cream and additional vanilla extract until well combined and creamy. This adds richness and a hint of tang.
-
Whip the cream: In a separate chilled bowl, beat the cold heavy whipping cream until stiff peaks form. This will give your cake a light and airy texture!
-
Combine the mixtures: Gently fold the whipped cream into the cream cheese mixture. Be careful to keep it thick and fluffy—this step creates that delightful creaminess!
-
Layer the graham crackers: Arrange graham crackers in a single layer across the bottom of the glass dish, breaking them as needed to cover the entire surface evenly.
-
Spread cheesecake cream: Spread one-third of the cheesecake cream evenly over the layer of graham crackers, ensuring a delicious base for the apple filling.
-
Add the apple filling: Spoon half of the cooled cinnamon apple filling over the cream, layering those spiced apples for a sumptuous bite.
-
Drizzle with caramel: Drizzle ¼ cup (60 ml) of caramel sauce over the apples, adding an irresistible sweet layer that ties the flavors together beautifully.
-
Create another cracker layer: Arrange another layer of graham crackers over the apples. Then, spread another third of the cheesecake cream over this layer, making it extra creamy.
-
Top with remaining apples: Add the remaining cinnamon apples on top and drizzle with another ¼ cup (60 ml) of caramel sauce for an extra touch of sweetness.
-
Finish with a final cracker layer: Arrange a final layer of graham crackers over the apples, then spread the remaining cheesecake cream evenly across the top to seal in all the deliciousness.
-
Chill the cake: Cover and refrigerate for at least 6–8 hours, preferably overnight. This helps the graham crackers soften into delectable, cake-like layers.
-
Top with caramel and garnishes: Drizzle the remaining ¼ cup (60 ml) caramel sauce over the cheesecake cream in ribbons. Then, sprinkle chopped toasted pecans, crushed graham crackers, and a dusting of cinnamon evenly over the surface.
-
Serve the cake: Present the No-Bake Caramel Apple Icebox Cake whole and uncut in its beautiful rectangular glass dish. Slice into squares only when ready to serve for maximum delight!
Optional: Serve with a dollop of whipped cream for extra indulgence.
Exact quantities are listed in the recipe card below.
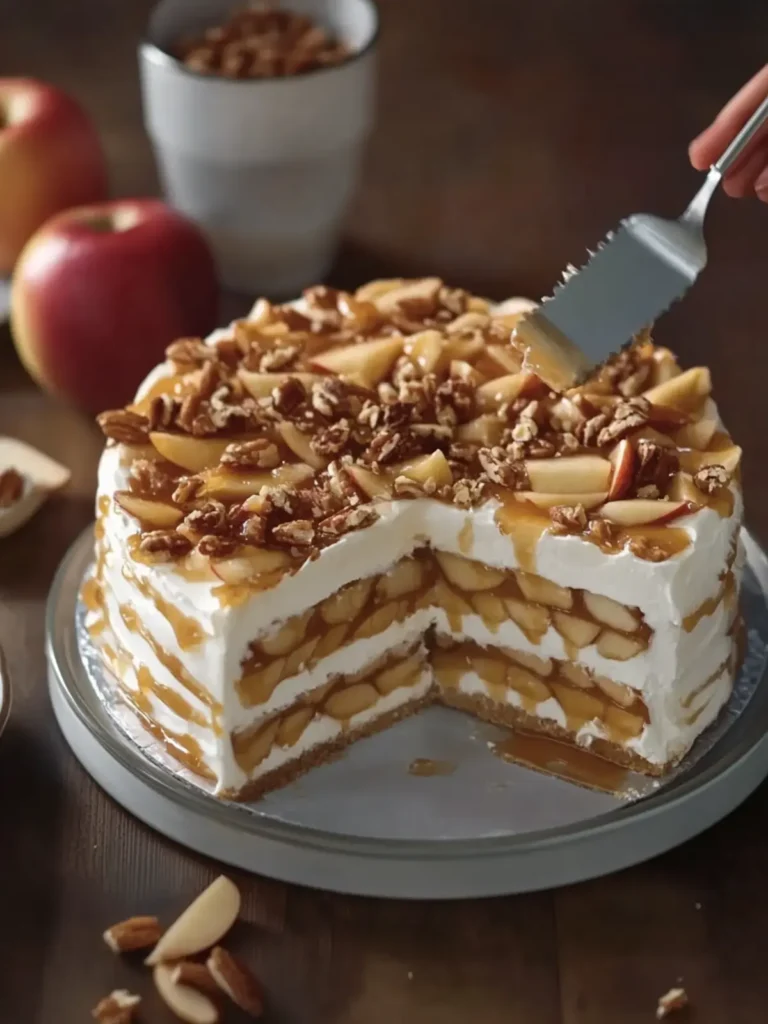
What to Serve with No-Bake Caramel Apple Icebox Cake?
Imagine a spread of enticing dishes that perfectly complements this creamy, dreamy dessert, creating an unforgettable meal experience.
-
Creamy Mashed Potatoes: Their velvety texture and buttery flavor provide a comforting contrast to the sweet indulgence of the cake. A classic side that always pleases!
-
Spiced Pork Chops: The savory, spiced notes enhance the warmth of cinnamon in the cake, offering a delightful balance of flavors. The heartiness of this dish makes for a satisfying meal alongside the dessert.
-
Fall Salad: A mix of arugula, roasted butternut squash, and toasted pecans brings freshness and crunch, perfectly harmonizing with the cake’s rich sweetness. The light vinaigrette cuts through the indulgence, refreshing your palate.
-
Caramel Drizzle Coffee: A warm cup of coffee with hints of caramel will echo the flavors of your dessert, creating a delightful end to your meal. It’s the perfect pick-me-up after enjoying the icebox cake!
-
Apple Cider: Serve chilled or warm for a lovely autumnal drink that pairs beautifully with the apple and caramel flavors. It’s fruity, refreshing, and fits perfectly within the cozy theme.
-
Vanilla Ice Cream: Add a scoop for a decadent touch! The cold ice cream against the warm notes of apple and caramel in the cake makes for an indulgent duo.
These pairing suggestions ensure an enchanting dining experience, making your meal unforgettable!
Expert Tips for No-Bake Caramel Apple Icebox Cake
• Choose the Right Apples: Select firm, tart apples like Granny Smith or Honeycrisp for the best flavor contrast against the creamy filling.
• Cool the Filling Thoroughly: Allow the apple mixture to cool completely before adding it to the cake layers. This prevents melting and maintains the desired texture.
• Whip the Cream Properly: Ensure your heavy whipping cream is cold and whipped to stiff peaks. This will keep your cream cheese mixture light and airy, contributing to a fluffy cake.
• Patience While Chilling: Don’t rush the chilling process! Letting the cake sit overnight allows the flavors to meld beautifully and the graham crackers to soften into a luscious cake-like texture.
• Personalize Your Toppings: Feel free to get creative with toppings! Mix in different nuts or add a sprinkle of caramel drizzle for an extra indulgent finish to your No-Bake Caramel Apple Icebox Cake.
No-Bake Caramel Apple Icebox Cake Variations
Feel free to get creative and make this cake your own with these delicious twists!
-
Vegan: Swap cream cheese and sour cream for coconut cream, and use dairy-free whipped topping for a plant-based delight.
-
Nut-Free: Omit pecans and use sunflower seeds instead for a crunchy texture without the nuts.
-
Spicy Flair: Add a pinch of cayenne pepper to the apple filling for a warm kick that complements the sweetness.
-
Fruit Variety: Mix in diced pears or add dried cranberries to the apple filling for a fruity twist that’s both vibrant and tasty.
-
Chocolate Drizzle: Drizzle melted chocolate over the layers instead of caramel for a decadent chocolate-apple fusion that will dazzle.
-
Maple Substitute: Replace caramel sauce with pure maple syrup for a lighter, earthy glaze that harmonizes beautifully with the apples.
-
Savory Crunch: Sprinkle crushed pretzels on top for an unexpected salty crunch that elevates each delicious bite.
-
Bourbon Boost: For adults only, add a splash of bourbon to the apple mixture for an upscale, indulgent flair that enhances the flavors beautifully.
Unleash your inner chef and transform this dessert into a reflection of your unique taste!
Storage Tips for No-Bake Caramel Apple Icebox Cake
Fridge: Store any leftovers covered in the refrigerator for up to 3 days. The cake will continue to set and develop flavors as it sits.
Freezer: To freeze, wrap individual slices in plastic wrap and then place them in an airtight container. Enjoy within 1–2 months for the best taste and texture.
Reheating: You don’t need to heat this dessert! Serve it cold straight from the fridge. For a delicious twist, try adding a warm caramel drizzle when serving.
Serving suggestions: Garnish with fresh whipped cream or a sprinkle of additional nuts to refresh the flavors before serving.
Make Ahead Options
These No-Bake Caramel Apple Icebox Cake layers are perfect for meal prep, making your dessert planning a breeze! You can prepare the apple filling and the cheesecake mixture up to 24 hours in advance; simply refrigerate them separately. To maintain quality and prevent the graham crackers from getting too soggy, assemble the completed cake no more than 6-8 hours before serving. When you’re ready to enjoy your dessert, layer the graham crackers, cheesecake cream, and apple filling just before chilling to enhance that cake-like texture. Drizzle with caramel and garnish for an irresistibly fresh presentation that’s just as delicious as if you made it all in one go!
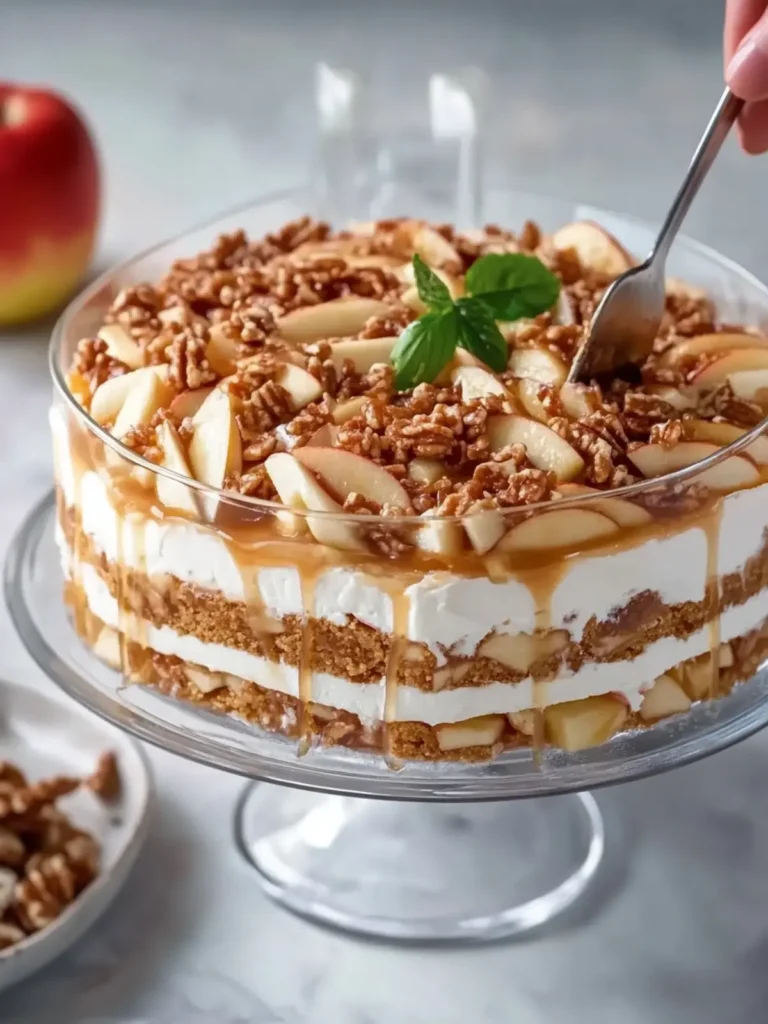
No-Bake Caramel Apple Icebox Cake Recipe FAQs
What kind of apples should I use for the filling?
Absolutely! For the best flavor, I recommend using firm, tart apples like Granny Smith or Honeycrisp. Their natural acidity balances perfectly with the sweetness of the caramel and cream. Avoid overly soft apples, as they won’t hold their shape during cooking.
How should I store leftover No-Bake Caramel Apple Icebox Cake?
Store any leftovers in the refrigerator for up to 3 days. Make sure to cover the cake tightly with plastic wrap or aluminum foil to retain its freshness. The flavors will continue to meld, making it even more delicious on the second day!
Can I freeze the No-Bake Caramel Apple Icebox Cake?
Absolutely, you can freeze this dessert! To do so, wrap individual slices in plastic wrap, then place them in an airtight container or freezer bag. This way, you can enjoy your cake anytime within 1–2 months. Just remember to thaw it in the fridge overnight before serving, and it’ll be as delightful as fresh!
What should I do if my cream cheese mixture isn’t fluffy?
If your cream cheese mixture isn’t fluffy, it could be due to using cold cream cheese. Make sure it’s softened to room temperature before mixing. If you’ve already mixed it, try adding a little more whipped cream to lighten it up. Gently fold it in to avoid deflating the mixture, and this should enhance its airiness!
Can I modify the recipe for dietary restrictions?
Very much so! If you need a dairy-free version, opt for a dairy-free cream cheese and use coconut cream instead of heavy whipping cream. For a gluten-free take, substitute graham crackers with gluten-free cookies. Always check labels for allergens to ensure a safe and delicious experience for everyone!
How long will the graham crackers take to soften?
The graham crackers should ideally chill in the layers for at least 6–8 hours, but for the best results, I often let mine sit overnight. This will allow them to absorb moisture and transform into a wonderful cake-like texture that makes each bite absolutely heavenly!
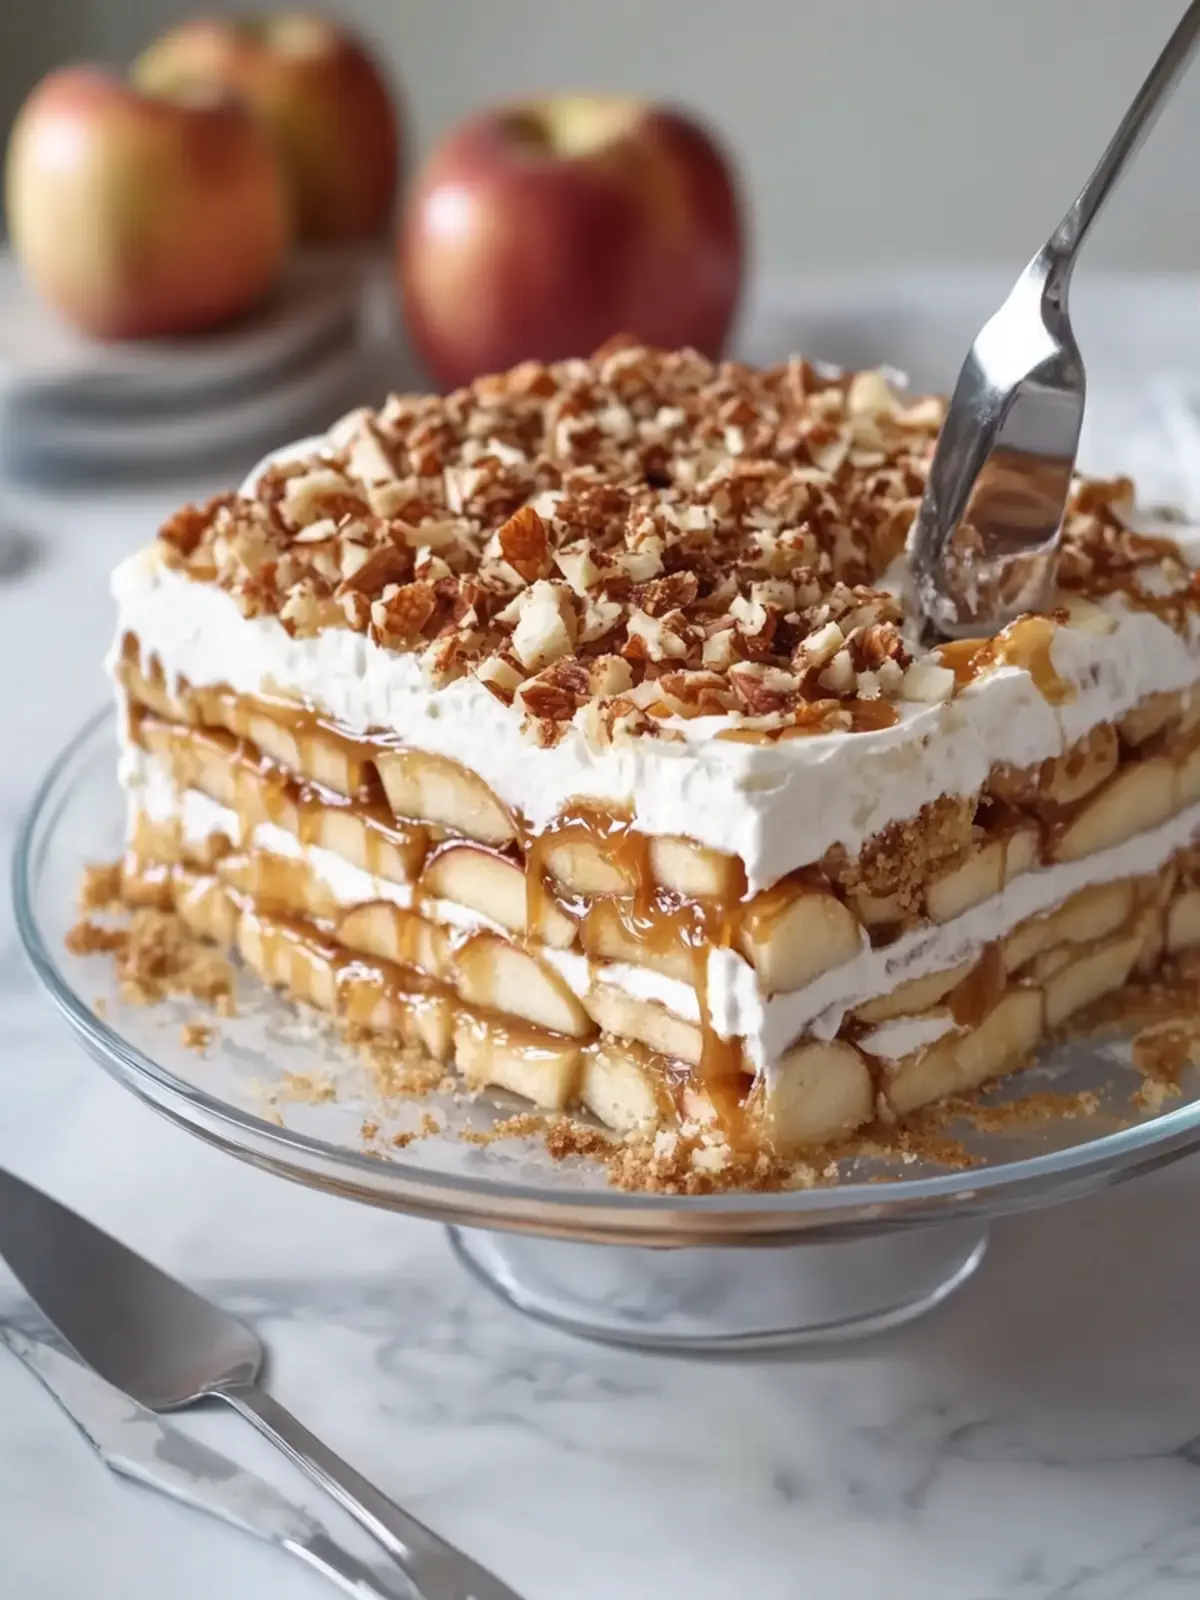
Delicious No-Bake Caramel Apple Icebox Cake
Ingredients
Equipment
Method
- Prepare your dish: Start with a deep rectangular 9 × 13-inch glass baking dish, ensuring it’s clean and ready for layering.
- Chop the apples: Peel, core, and dice the apples into small cubes.
- Cook the apple mixture: Melt butter in a saucepan over medium heat. Add apples, brown sugar, cinnamon, nutmeg, lemon juice, and vanilla extract. Cook for 8–10 minutes until tender.
- Thicken the filling: Mix cornstarch with cold water in a bowl. Stir into the apple mixture and cook until it thickens.
- Cool the filling: Let the apple filling cool to room temperature, then refrigerate until cold.
- Make the cream cheese mixture: Beat softened cream cheese and powdered sugar until smooth.
- Incorporate sour cream and vanilla: Mix in sour cream and additional vanilla extract.
- Whip the cream: Beat cold heavy whipping cream until stiff peaks form.
- Combine the mixtures: Gently fold the whipped cream into the cream cheese mixture.
- Layer the graham crackers: Arrange graham crackers in a single layer in the baking dish.
- Spread cheesecake cream: Spread one-third of the cheesecake cream over the crackers.
- Add the apple filling: Spoon half of the cooled apple filling over the cream.
- Drizzle with caramel: Drizzle ¼ cup of caramel sauce over the apples.
- Create another cracker layer: Arrange another layer of graham crackers over the apples and spread another third of the cheesecake cream.
- Top with remaining apples: Add the remaining cinnamon apples and drizzle with another ¼ cup of caramel sauce.
- Finish with a final cracker layer: Arrange a final layer of graham crackers and spread remaining cheesecake cream over the top.
- Chill the cake: Cover and refrigerate for at least 6–8 hours or overnight.
- Top with caramel and garnishes: Drizzle remaining caramel sauce over the cheesecake cream and sprinkle with pecans, crushed graham crackers, and cinnamon.
- Serve the cake: Present the cake whole and slice when ready to serve.