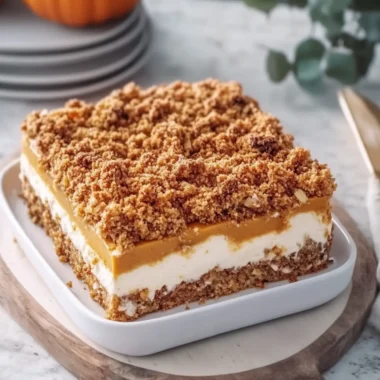
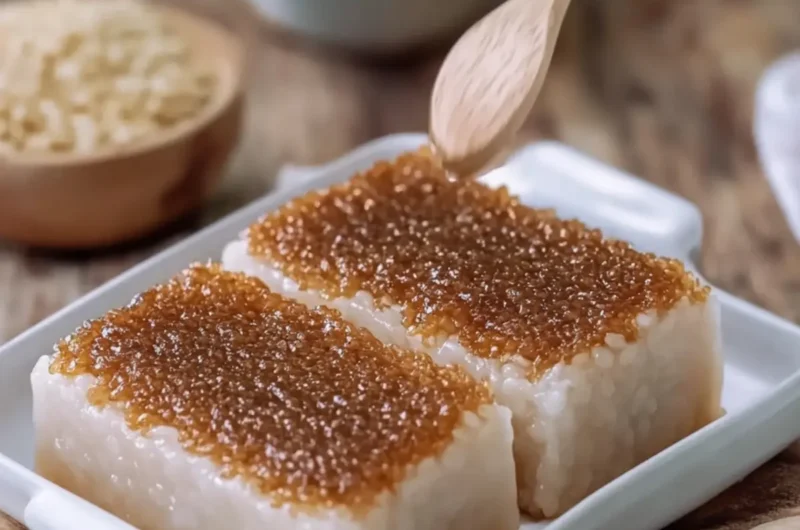
Every time I prepare No-Bake Biko with Latik, it feels like I’m pulling a piece of my childhood into the present. The sweet scent of coconut mingling with the warmth of brown sugar brings back memories of family gatherings, where each bite felt like a hug. This Filipino sticky rice cake not only satisfies a craving for something comforting and decadent but is also a delightful way to surprise your loved ones with a taste of tradition.
With a creamy topping that’s incredibly easy to make, this dessert is perfect for those who want to impress without spending hours in the kitchen. Perfectly sticky, yet melt-in-your-mouth tender, the layers of flavor—from the sweet, rich latik draped over the soft rice—toasty coconut bits sprinkled on top—create a balance that is truly irresistible.
So if you’ve been stuck in a fast-food rut or are simply seeking an authentic homemade treat, dive into this recipe. Let’s bring a bit of Filipino love to your dining table!
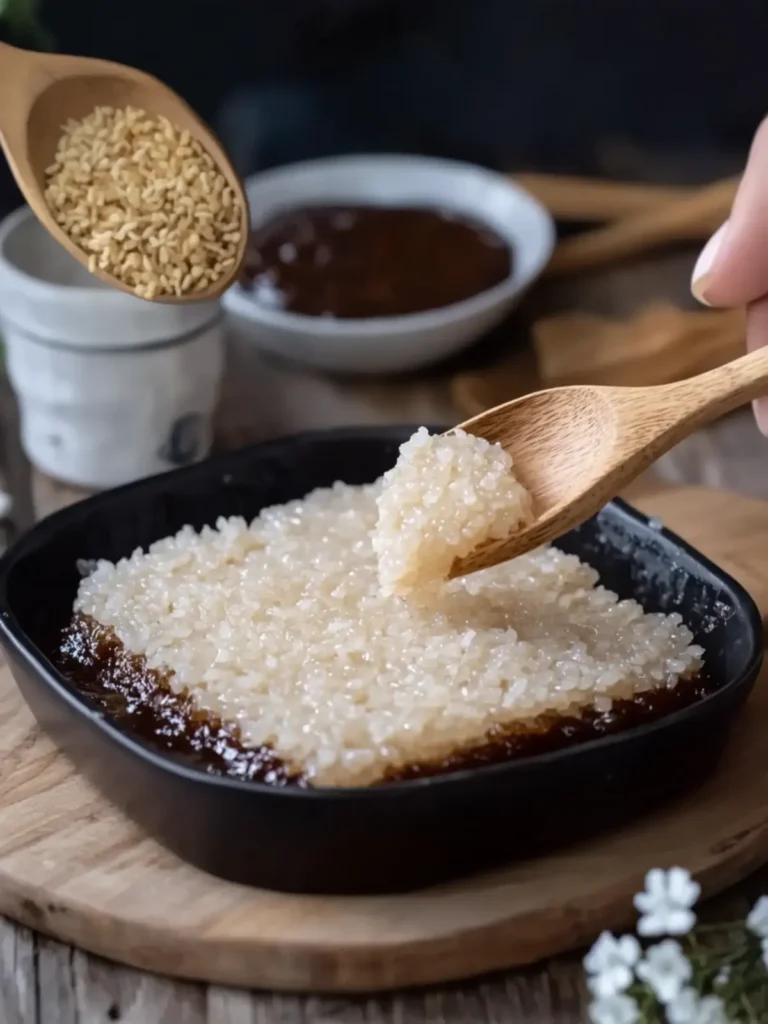
Why is No-Bake Biko a Must-Try?
Comforting and nostalgic, No-Bake Biko with Latik is a delightful treat that transports you to sunny family gatherings. Rich in flavor, the sweet coconut and brown sugar create a delicious dessert that everyone will adore. Quick and easy, this recipe makes it simple to whip up a crowd-pleaser without long hours in the kitchen. Versatile enough for any occasion, it’s perfect for potlucks, parties, or simply treating yourself! Enjoy the unique combination of textures and flavors that will keep you coming back for more. For another sweet option, try my easy Latik Sauce recipe to complement your biko!
No-Bake Biko Ingredients
Here’s everything you need to create delightful No-Bake Biko with Latik.
For the Sticky Rice
- Glutinous rice – 3 cups; this is the key ingredient for that sticky texture.
- Coconut milk – 2 cups; adds creaminess and a rich coconut flavor.
- Water – 1 cup; necessary for cooking the rice to perfection.
- Brown sugar – 1 cup; sweetens and enhances the depth of flavor.
- Salt – ½ teaspoon; balances the sweetness for a well-rounded taste.
- Pandan leaves (optional) – 2 leaves; infuse the rice with a unique aroma.
For the Caramel Latik Topping
- Coconut cream – 2 cups; helps create the luxurious topping base.
- Brown sugar – ¾ cup; adds sweetness and depth to the caramel.
- Salt – ¼ teaspoon; enhances the flavors in the caramel topping.
- Vanilla extract (optional) – 1 teaspoon; adds a wonderful fragrance.
- Toasted coconut curds (optional) – 2 tablespoons; sprinkle on top for extra texture and flavor.
With these ingredients at hand, you’re all set to create a dish that will leave your loved ones raving and reminiscing!
How to Make No-Bake Biko with Latik
-
Wash the glutinous rice thoroughly until the water runs mostly clear, then drain. This step ensures that your sticky rice turns out perfectly fluffy and not overly starchy.
-
Combine the glutinous rice, water, and optional pandan leaves in a rice cooker or saucepan. Cook until tender and all the liquid is absorbed, creating that delectable stickiness we love.
-
Mix the coconut milk, brown sugar, and salt in a large nonstick pan over medium-low heat. Stir continuously until the sugar dissolves into a smooth, warm mixture that fills your kitchen with a heavenly aroma.
-
Add the cooked glutinous rice into the coconut mixture. Gently fold to combine, ensuring each grain of rice is coated in that luscious, velvety coconut goodness.
-
Stir constantly over low heat for 15–20 minutes. The rice should absorb the coconut mixture and become thick, sticky, and glossy—tender to the bite yet firm enough to hold its shape.
-
Grease a 9 × 13-inch clear rectangular glass casserole with coconut oil. This will help your biko release easily once it’s set and ready to serve.
-
Transfer the sticky rice mixture into the greased casserole. Use a lightly greased spatula to press firmly and create an even layer, ensuring a perfect base for the caramel topping.
-
Pour the coconut cream into a nonstick saucepan. This creamy base is what makes the topping so rich and delightful.
-
Cook over medium-low heat while stirring frequently until the oil separates and golden-brown coconut curds appear, about 20–35 minutes. This step creates that irresistible caramelized flavor.
-
Remove the golden coconut curds gently, and reserve the coconut oil for later use. The curds will add texture and flavor to your final dish!
-
Stir in the brown sugar and salt to the remaining thick coconut caramel, cooking over low heat until it becomes thick, smooth, and glossy. Add vanilla extract if desired for an extra layer of flavor.
-
Pour the caramelized coconut topping evenly over the sticky rice layer, ensuring each bite is generously coated with sweetness.
-
Spread the caramel topping all the way to the edges of the casserole, creating a gorgeous, shiny surface that’s hard to resist.
-
Bake at 180°C (350°F) for 15–20 minutes if you prefer a slightly caramelized finish; otherwise, leave it unbaked and let it set naturally.
-
Cool for at least 45–60 minutes before slicing. This time allows the flavors to meld together, making every bite even more delightful.
-
Spoon additional latik sauce over the top if desired, sprinkling with toasted coconut curds for that finishing touch.
-
Cut the biko into generous squares, and serve it to your family and friends. Watch their eyes light up with joy!
Optional: Serve with a scoop of ice cream for an indulgent twist!
Exact quantities are listed in the recipe card below.
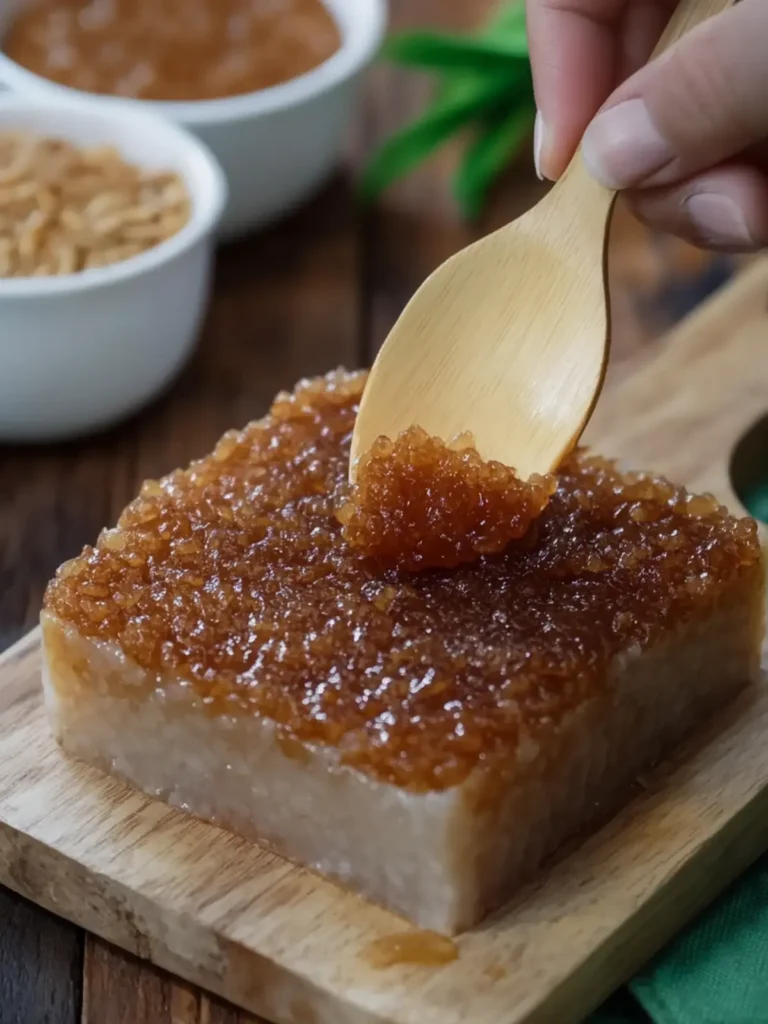
No-Bake Biko Variations
Feel free to make this delightful dessert your own with these tasty twists!
- Vegan: Substitute coconut milk and cream for non-dairy alternatives like almond or oat milk for a plant-based delight.
- Fruit-Infused: Add mashed ripe bananas or mango puree to the rice mixture for a fruity flavor burst. It creates a beautiful, sweet layer!
- Nutty Crunch: Stir in a handful of chopped nuts, such as cashews or almonds, for an irresistible crunchy texture throughout.
- Chocolate Drizzle: Melt some dark chocolate and drizzle it over the top for an indulgent touch. This will take your biko to a whole new level of chocolatey goodness!
- Spicy Kick: Add a pinch of cayenne or some finely chopped chili to the caramel topping for a surprising heat that balances the sweetness beautifully.
- Coconut Float: Serve your biko with a scoop of coconut ice cream on the side—it’s a match made in heaven!
- Fruity Topping: Layer fresh fruit like strawberries or blueberries on top of the caramel for an eye-catching garnish that adds a tart contrast.
- Savory Twist: Incorporate a small amount of grated cheese into the sticky rice for a sweet-salty experience that surprises and delights.
These variations allow you to enjoy No-Bake Biko in multiple delicious ways!
Expert Tips for No-Bake Biko
Perfect Sticky Rice: Ensure the glutinous rice is properly rinsed until the water runs clear to avoid any unwanted starchy texture.
Gentle Heat: Cook the coconut mixture over medium-low heat, as high heat can scorch the sugar and affect the flavor of the No-Bake Biko.
Let it Set: Allow the biko to cool for at least 45–60 minutes before slicing. This helps firm up the texture for easier serving.
Check for Glossiness: When stirring the rice with the coconut mixture, look for a glossy appearance. This is the perfect indication that your No-Bake Biko is ready for the caramel topping.
Customize Toppings: Feel free to get creative! Adding toasted coconut curds or serving with fruit can enhance the traditional flavors beautifully.
How to Store and Freeze No-Bake Biko
Fridge: Store your No-Bake Biko in an airtight container in the fridge for up to 5 days. This helps maintain its creamy texture and sweetness for a delightful treat anytime.
Freezer: To freeze, wrap individual square pieces of biko tightly in plastic wrap and then place them in a freezer-safe bag. They can be kept frozen for up to 3 months, perfect for later enjoyment!
Thawing: When ready to enjoy, simply thaw the biko in the fridge overnight. You can also reheat gently in the microwave for about 15-20 seconds to restore its sticky goodness.
Serving: After thawing, drizzle with fresh latik sauce if available, and enjoy this Filipino favorite as if it were just made!
Make Ahead Options
These No-Bake Biko with Latik are perfect for meal prep enthusiasts! You can prepare the sticky rice mixture up to 24 hours in advance; just refrigerate it in an airtight container right after pressing it into the casserole dish. The caramel latik topping can also be made ahead and stored separately for up to 3 days in the fridge. When you’re ready to serve, simply reheat the rice in the oven at 180°C (350°F) for about 15–20 minutes to warm through, then pour the room-temperature latik on top, allowing it to meld beautifully with the rice. By prepping in advance, you’ll enjoy a delicious homemade dessert with minimal last-minute fuss!
What to Serve with No-Bake Biko with Latik?
Take your family meals to the next level with these delightful pairings that perfectly complement this sweet treat.
-
Fresh Mango Slices: The natural sweetness and juiciness of mango provide a refreshing contrast to the rich, sticky biko.
-
Coconut Milk Shake: This creamy beverage echoes the flavors of the biko and adds a tropical twist to your dining experience.
-
Sweetened Tea: A warm cup of sweetened tea enhances the comforting, nostalgic vibes of your meal, making every bite feel like home.
-
Tropical Fruit Salad: Brighten up your plate with a mix of pineapple, papaya, and bananas; their sweetness balances the rich latik perfectly.
-
Grilled Pork Skewers: Tender and savory, grilled pork adds a delightful contrast to the sweetness of the biko, making for a hearty meal.
-
Coffee Drizzle: Drizzle a little coffee on top for a rich, dark flavor that pairs beautifully with the coconut and sugar notes.
-
Ice Cream Scoop: Serve a generous scoop of vanilla or coconut ice cream alongside the biko for a dreamy, cooler treat that melts in your mouth.
-
Toasted Nuts: Scatter some toasted peanuts or almonds for an extra crunch that adds texture and nutty flavor to each delectable bite.
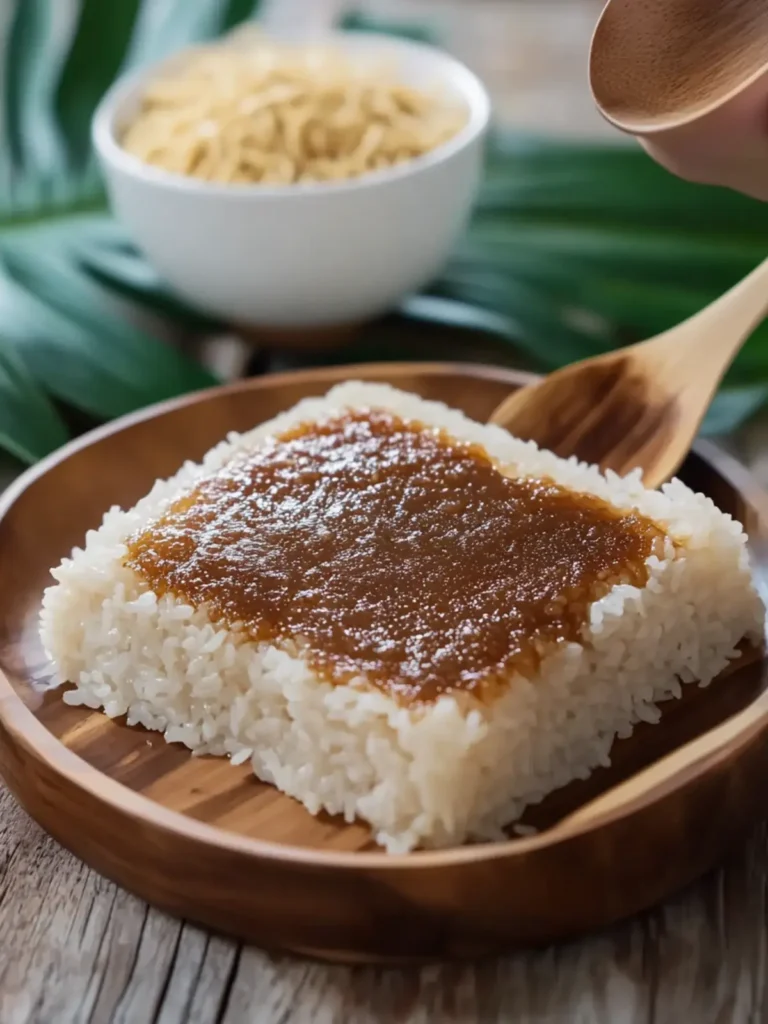
No-Bake Biko with Latik Recipe FAQs
What type of glutinous rice should I use for No-Bake Biko?
You should use sweet glutinous rice, often labeled as “sticky rice” or “Malaysian rice.” This type of rice is essential for achieving the perfect chewy and sticky texture that makes Biko truly delightful. Look for high-quality brands in Asian grocery stores for the best results.
How should I store No-Bake Biko to keep it fresh?
Store your No-Bake Biko in an air-tight container in the fridge for up to 5 days. This helps maintain its creamy texture and flavors. If you notice any separation of the ingredients, simply give it a gentle stir before serving!
Can I freeze No-Bake Biko?
Absolutely! To freeze, wrap individual square pieces of biko tightly in plastic wrap and place them in a freezer-safe bag. They can be kept frozen for up to 3 months. When you’re ready to enjoy, just thaw in the fridge overnight, and you can gently reheat them in the microwave for about 15-20 seconds.
What can I do if my sticky rice turns out too hard?
If your sticky rice isn’t soft and tender, try adding a little more coconut milk or water to the rice while cooking. Stir gently and steam for a few more minutes until it softens. Alternatively, cover it with a damp cloth to retain moisture while it sits, which can help tenderize it further.
Is No-Bake Biko suitable for people with dietary restrictions?
The ingredients in No-Bake Biko with Latik are generally safe for those without specific allergies. However, check for any coconut allergies, as both coconut milk and cream are vital to this recipe. For vegans, replace brown sugar with coconut sugar or another plant-based sweetener, ensuring all ingredients align with your dietary needs.
Can I adjust the level of sweetness in No-Bake Biko?
Definitely! You can reduce the amount of brown sugar used in both the sticky rice and caramel topping to suit your taste. Start by cutting it down by a quarter cup, taste the mixture, and adjust as per your preference.
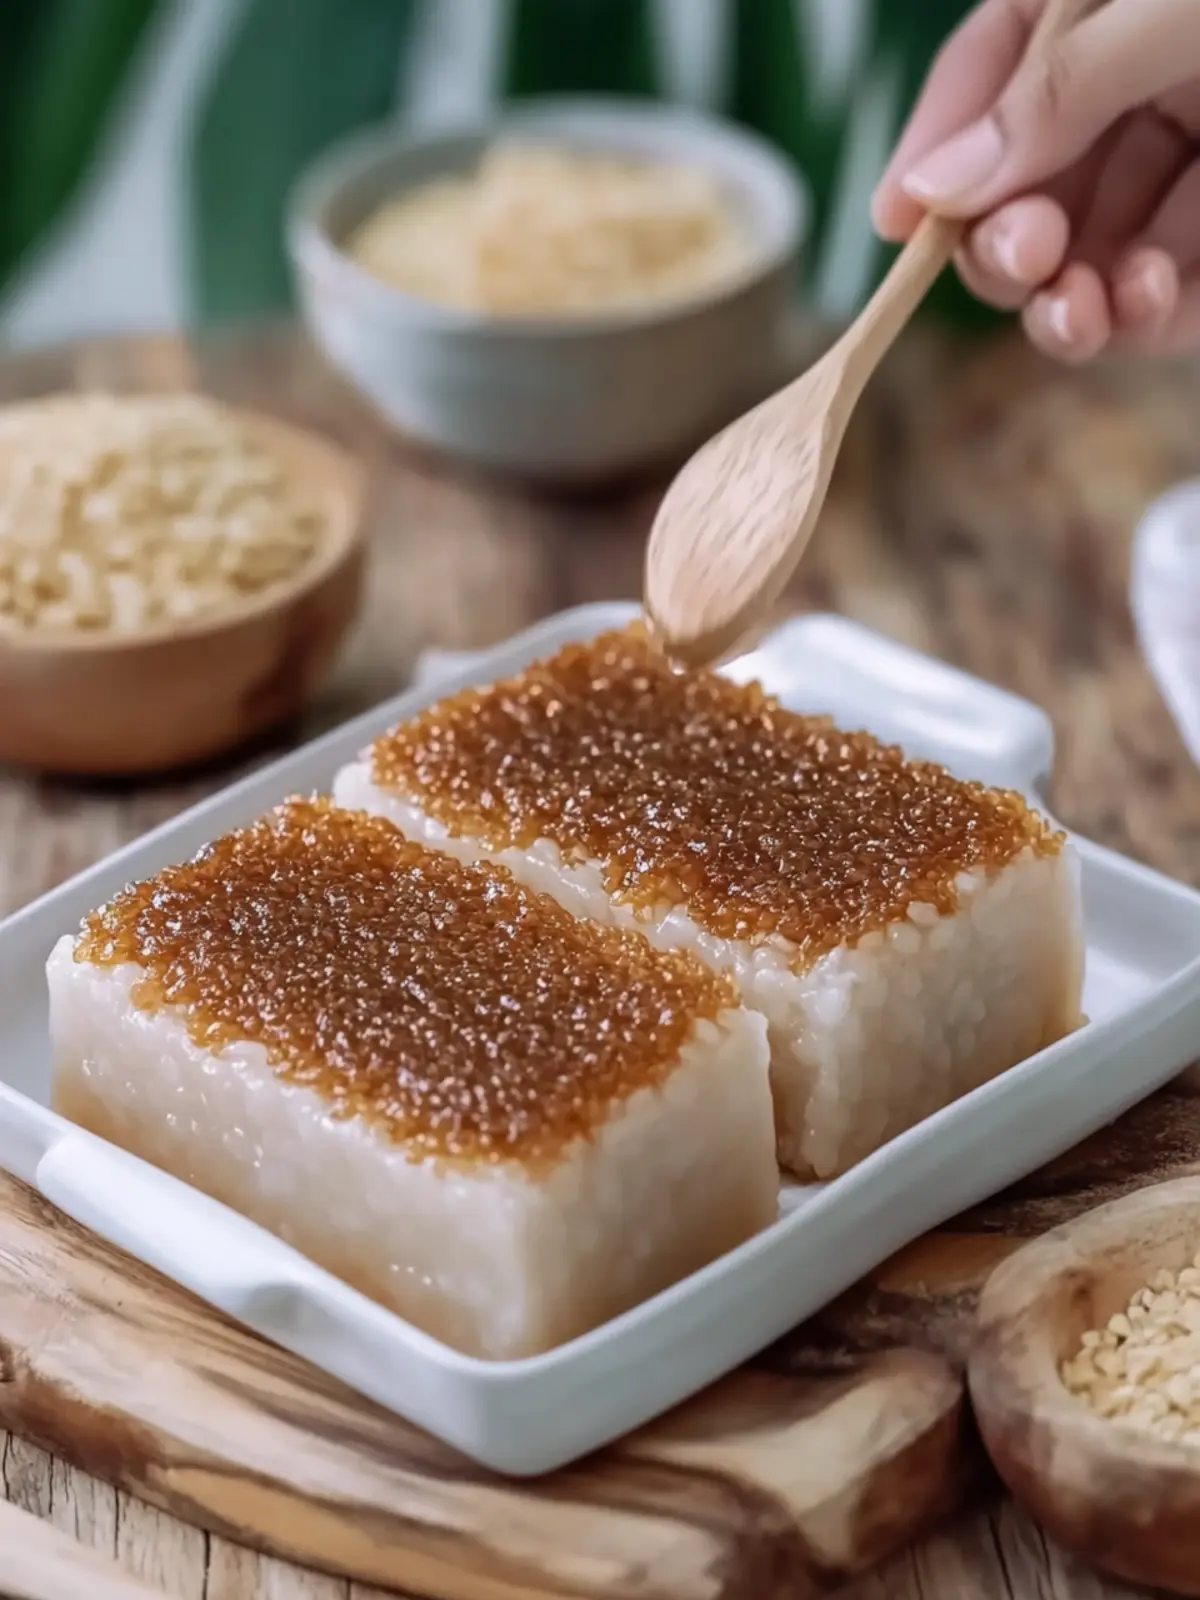
No-Bake Biko with Latik: A Sweet Filipino Delight Just for You
Ingredients
Equipment
Method
- Wash the glutinous rice thoroughly until the water runs mostly clear, then drain.
- Combine the glutinous rice, water, and optional pandan leaves in a rice cooker or saucepan. Cook until tender and all the liquid is absorbed.
- Mix the coconut milk, brown sugar, and salt in a large nonstick pan over medium-low heat. Stir continuously until the sugar dissolves into a smooth mixture.
- Add the cooked glutinous rice into the coconut mixture. Gently fold to combine.
- Stir constantly over low heat for 15–20 minutes until thick, sticky, and glossy.
- Grease a 9 × 13-inch clear rectangular glass casserole with coconut oil.
- Transfer the sticky rice mixture into the greased casserole, pressing firmly to create an even layer.
- Pour the coconut cream into a nonstick saucepan and cook over medium-low heat, stirring frequently until the oil separates and golden-brown coconut curds appear.
- Remove the golden coconut curds gently; reserve the coconut oil for later use.
- Stir in the brown sugar and salt into the remaining thick coconut caramel and cook over low heat until thick and glossy.
- Pour the caramelized coconut topping evenly over the sticky rice layer.
- Spread the caramel topping to the edges of the casserole.
- Bake at 180°C (350°F) for 15–20 minutes for a caramelized finish, or let it set naturally.
- Cool for at least 45–60 minutes before slicing.
- Spoon additional latik sauce over the top if desired, and sprinkle with toasted coconut curds.
- Cut the biko into generous squares and serve.