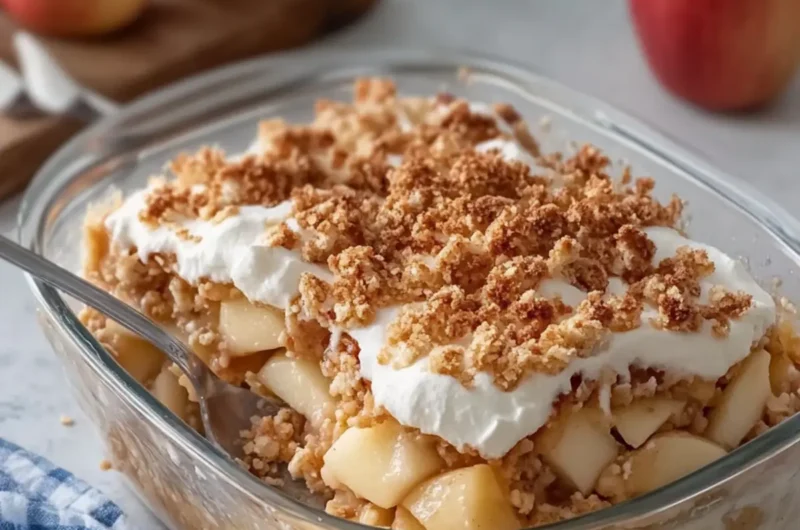
As the first chill of autumn sets in and the leaves begin to paint the landscape in warm hues, my thoughts drift to cozy desserts that evoke nostalgia. Picture this: a no-bake apple pie casserole that delivers all the flavors of classic apple pie without the fuss of a traditional crust. On a particularly busy day, when my sweet tooth was singing but time was short, I decided to whip up this gem.
With creamy cheesecake layered atop a buttery graham cracker base and spiced apples nestled in between, this dessert is a crowd-pleaser that can transform any gathering into a celebration. Plus, there’s something incredibly satisfying about preparing a dish that’s deceptively simple yet looks and tastes like a masterpiece. Whether you’re surprising friends at a potluck or treating yourself after a long week, this recipe is bound to become a beloved staple. So, let’s dive into the secrets of creating this delightful no-bake treat that will have everyone asking for seconds!
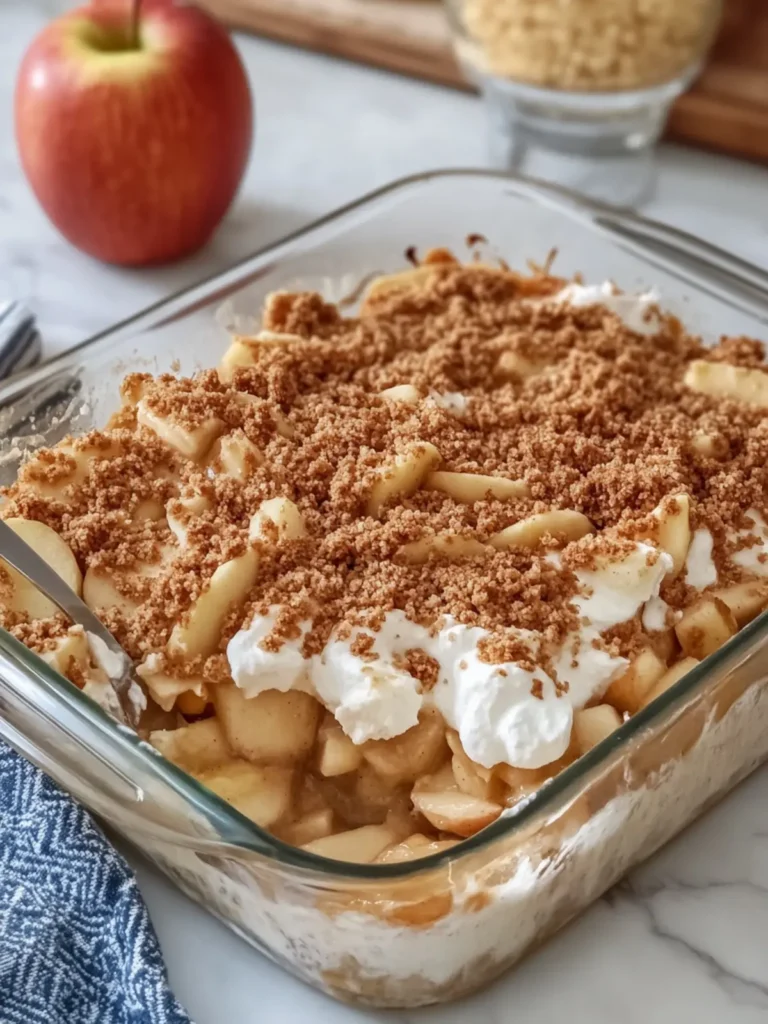
Why is No-Bake Apple Pie Casserole so special?
Simplicity at its finest: This recipe requires minimal effort with no baking involved, making it perfect for even novice chefs.
Flavor-packed goodness: Apples, cinnamon, and creamy cheesecake unite for a delightful taste that’s both nostalgic and refreshing.
Crowd-pleaser: Impress friends and family with this showstopper that looks impressive yet is effortlessly simple to prepare.
Versatility: Perfect for potlucks, holiday gatherings, or cozy nights at home, this dessert adapts beautifully to any occasion.
Want more decadent desserts? Check out our creamy strawberry shortcake for another easy delight!
No-Bake Apple Pie Casserole Ingredients
For the Graham Cracker Base
- Graham cracker crumbs – 2 cups (200 g) provide that sweet, crunchy foundation for your casserole.
- Unsalted butter, melted – ½ cup (115 g) adds richness and helps bind the crumbs together.
- Brown sugar – 2 tablespoons (25 g) gives a touch of caramel sweetness to enhance the flavor.
For the Apple Pie Filling
- Medium apples, peeled and diced – 5 (about 750 g) bring the beloved apple pie flavor into your casserole.
- Brown sugar – ⅓ cup (65 g) balances the tartness of the apples perfectly.
- Unsalted butter – 2 tablespoons (30 g) adds a delicious gooeyness to the filling.
- Ground cinnamon – 1 teaspoon infuses a warm, cozy aroma reminiscent of fall days.
- Ground nutmeg – ¼ teaspoon adds an extra hint of spice that elevates the apple flavor.
- Lemon juice – 1 tablespoon (15 ml) brightens the filling and balances the sweetness.
- Cornstarch – 1 tablespoon (8 g) thickens the apple mixture for the perfect texture.
- Water – 2 tablespoons (30 ml) hydrates the cornstarch, helping to achieve the desired consistency.
For the Creamy Cheesecake Layer
- Cream cheese, softened – 8 oz (225 g) creates a rich and creamy base for the cheesecake layer.
- Powdered sugar – ¾ cup (90 g) sweetens the cream cheese without adding grittiness.
- Cold heavy whipping cream – 1½ cups (360 ml) whipped to stiff peaks makes the cheesecake layer fluffier.
- Vanilla extract – 1 teaspoon adds a warm, aromatic flavor that makes everything even more inviting.
For the Topping
- Crushed graham crackers – ½ cup (50 g) adds a final sprinkle of crunch and texture on top.
- Caramel sauce – ¼ cup (60 ml) drizzled over the top brings that luscious, sweet finish.
- Ground cinnamon – ½ teaspoon sprinkled on top enhances that wonderful aroma.
With these ingredients on hand, you’ll be well on your way to creating an unforgettable No-Bake Apple Pie Casserole!
How to Make No-Bake Apple Pie Casserole
-
Grease a 9 × 13-inch glass baking dish. This step ensures that your casserole will slide out easily when you’re ready to serve your masterpiece.
-
Combine the graham cracker crumbs, melted butter, and brown sugar in a mixing bowl. Stir until well blended, then press the mixture firmly into the bottom of the dish. Refrigerate for 20 minutes to set.
-
Cook the diced apples in a saucepan over medium heat along with brown sugar, butter, cinnamon, nutmeg, and lemon juice. Stir and let it simmer for 8–10 minutes until the apples soften and become fragrant.
-
Thicken the apple filling by mixing the cornstarch with water, then stirring it into the cooked apples. Cook for another 1–2 minutes until the mixture thickens nicely. Allow it to cool completely before using.
-
Beat the softened cream cheese, powdered sugar, and vanilla extract in a mixing bowl until smooth and creamy. This will be the luscious layer that brings your casserole together.
-
Whip the cold heavy cream in a separate bowl until stiff peaks form. This is the secret to achieving a light and fluffy cheesecake layer!
-
Fold the whipped cream gently into the cream cheese mixture until no streaks remain. Be careful to keep the mixture light and airy.
-
Spread half of the cheesecake mixture evenly over the chilled graham cracker crust, creating a delightful base for the apple layer.
-
Spoon the cooled apple pie filling over the cheesecake layer, ensuring an even distribution. Reserve a few spoonfuls for decoration later.
-
Top with the remaining cheesecake mixture, spreading it gently over the apples to cover completely.
-
Sprinkle crushed graham crackers and cinnamon on top for that perfect finishing touch. This adds texture and a hint of spice!
-
Garnish with the reserved apple filling and drizzle the caramel sauce over the top. This will create a beautiful presentation for your delicious dessert!
-
Cover and refrigerate for at least 4 hours, or preferably overnight, to let everything chill and set beautifully.
-
Slice into squares or scoop into dessert bowls before serving chilled. Enjoy the delightful flavors of your no-bake creation!
Optional: Serve with a scoop of vanilla ice cream for an extra indulgent treat!
Exact quantities are listed in the recipe card below.
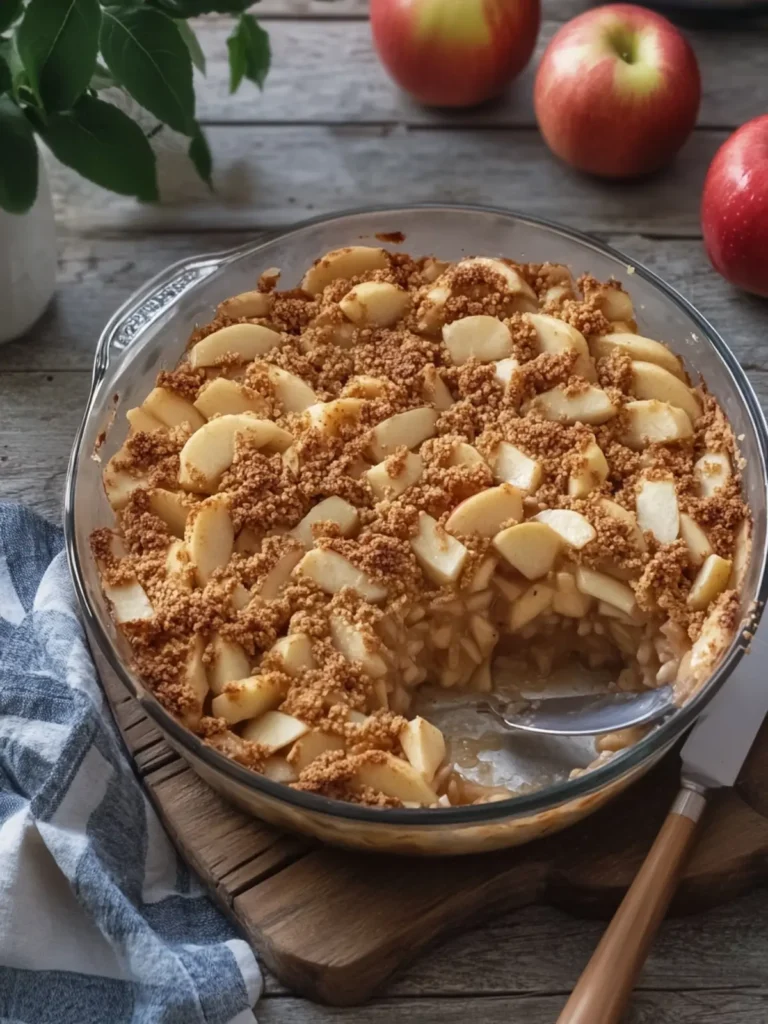
Expert Tips for No-Bake Apple Pie Casserole
- Use Fresh Apples: For the best flavor, opt for crisp and tart apples like Granny Smith. This will create a wonderful contrast with the sweet cheesecake layer.
- Avoid Soggy Crust: Ensure the graham cracker crust is compact and chilled properly before adding layers. This prevents it from becoming soggy once the filling is added.
- Cool Completely: Always let the apple filling cool before layering it with the cheesecake mixture. This helps maintain the integrity of the layers and enhances the overall texture.
- Whip with Care: When whipping the heavy cream, be careful not to over-whip, as this can lead to a grainy texture. Look for stiff peaks for the best results in your creamy cheesecake layer.
- Chill Overnight: For the ultimate satisfaction, refrigerate the no-bake apple pie casserole overnight. This allows the flavors to meld beautifully, making it even more delicious!
How to Store and Freeze No-Bake Apple Pie Casserole
Fridge: Store leftovers in an airtight container in the fridge for up to 3 days. This will keep the flavors fresh and the cheesecake layer creamy.
Freezer: You can freeze this casserole by covering it tightly with plastic wrap and then with aluminum foil. It will last for up to 2 months.
Thawing: To enjoy frozen no-bake apple pie casserole, simply transfer it to the fridge overnight before serving. This ensures even thawing and a delightful texture.
Serving: Serve chilled after thawing or pop it back in the fridge for a few hours if it feels a bit too soft after freezing. Enjoy every scrumptious bite!
Make Ahead Options
These No-Bake Apple Pie Casseroles are perfect for meal prep, saving you time during busy weeknights! You can prepare the graham cracker base and the apple pie filling up to 24 hours in advance—just store them separately in airtight containers in the refrigerator to maintain freshness. When you’re ready to serve, simply whip up the cheesecake layer, combine everything, and let it chill for at least 4 hours (or overnight for best results) to allow the flavors to meld beautifully. This way, you can enjoy a delightful dessert with minimal effort on the day of your gathering!
No-Bake Apple Pie Casserole Variations
Feel free to let your creativity shine as you personalize this delightful dessert!
-
Gluten-Free: Substitute graham cracker crumbs with gluten-free cookies or oat flour for a gluten-free base.
-
Nutty Crunch: Add ½ cup of chopped walnuts or pecans to the graham cracker base for extra texture and flavor.
-
Spiced Apples: Enhance the filling with a pinch of allspice or ginger for a warm, spiced twist that complements the apples beautifully.
-
Cheesecake Swirl: For an artistic touch, swirl the apple filling into the cheesecake layer for a marbled effect.
-
Caramel Delight: Drizzle extra caramel sauce in between the layers for a decadent, sweet surprise.
-
Sugar-Free Option: Use sugar-free alternatives for both brown sugar and powdered sugar for a lighter version without sacrificing flavor.
-
Dairy-Free: Substitute cream cheese with a dairy-free cream cheese option and use coconut cream in place of heavy whipping cream for a dairy-free delight.
-
Fruit Fusion: Mix in a cup of dried cranberries or raisins with the apple filling for an added burst of flavor and chewiness.
Each of these variations can give your No-Bake Apple Pie Casserole an exciting new twist while keeping its heartwarming essence intact!
What to Serve with No-Bake Apple Pie Casserole?
Creating the perfect meal experience is all about harmony, and this delectable dessert can shine even brighter with the right companions.
-
Vanilla Ice Cream: A scoop of creamy vanilla ice cream offers a classic pairing, enhancing the richness of the cheesecake layer while adding a refreshing chill.
-
Cinnamon-Spiced Whipped Cream: Elevate your dish with a dollop of whipped cream, lightly spiced with cinnamon. Its airy texture complements the denser cheesecake beautifully.
-
Fresh Fruit Salad: A vibrant mix of seasonal fruits provides a bright, fresh contrast to the sweet and creamy layers, balancing richness with tartness.
-
Warm Caramel Sauce: Drizzle a bit more warm caramel on top for an indulgent twist. It enriches each bite, deepening the flavors and making it feel even more decadent.
-
Coffee or Espresso: A cup of strong coffee or a shot of espresso pairs perfectly, balancing sweetness with robust flavor, making each bite even more enjoyable.
-
Chai Latte: The aromatic spices of a chai latte further enhance those warm cinnamon and nutmeg notes, creating a cozy and inviting atmosphere.
-
Chocolate-Covered Almonds: Their crunch and chocolatey richness offer a delightful contrast to the creamy texture of the casserole, adding a gourmet touch.
-
Pumpkin Spice Cookies: These add a festive flair, echoing the fall flavors present in the casserole while providing a satisfying treat for cookie lovers.
-
Sparkling Apple Cider: For a fun, fizzy option, serve sparkling cider. Its crisp sweetness refreshes the palate and enhances the autumnal apple flavor.
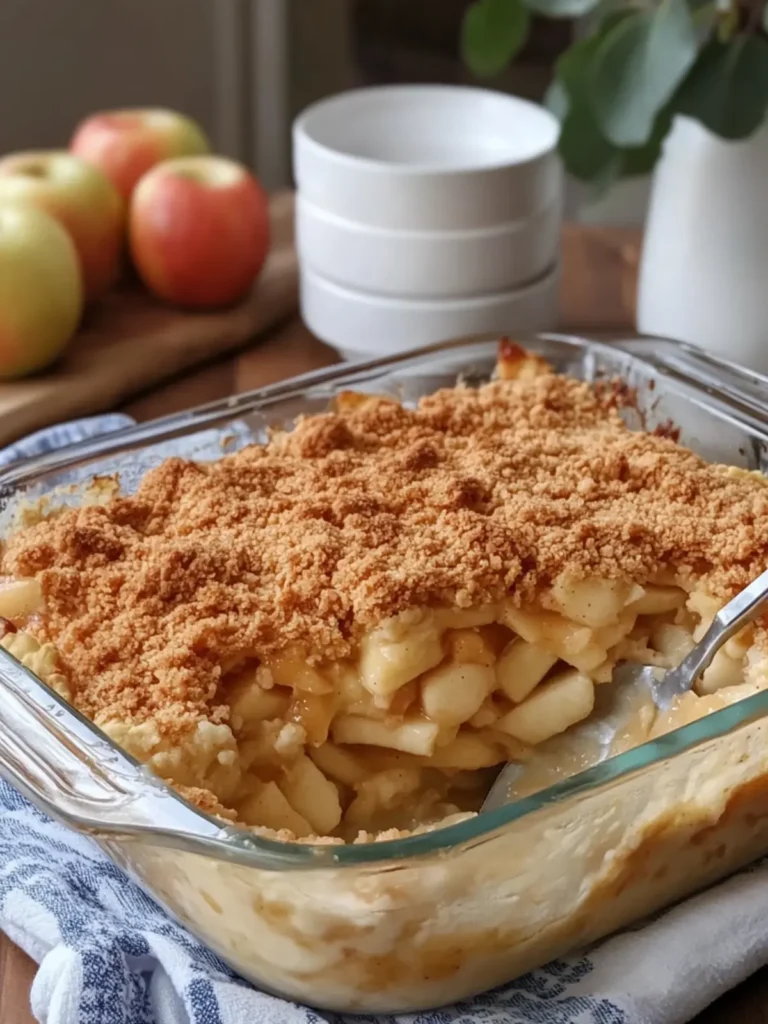
No-Bake Apple Pie Casserole Recipe FAQs
What type of apples should I use for the apple filling?
Absolutely! I recommend using crisp, tart apples like Granny Smith or Honeycrisp. These varieties provide the perfect balance against the sweet cheesecake layer, ensuring each bite is deliciously satisfying.
How should I store any leftovers?
For best results, store any leftover no-bake apple pie casserole in an airtight container in the fridge for up to 3 days. This will keep the cheesecake layer creamy and the flavors fresh, ready for you to enjoy again.
Can I freeze the no-bake apple pie casserole?
Yes, you can! To freeze, cover the casserole tightly with plastic wrap followed by aluminum foil. It will maintain its quality for up to 2 months. When you’re ready to enjoy it, transfer it to the fridge overnight to thaw gradually.
What if my apple filling seems too runny?
No worries! If your apple filling turns out runny, you can thicken it by blending an additional tablespoon of cornstarch with a bit of water and stirring it into the filling while it cooks. Let it simmer until it thickens, then allow it to cool before layering. This will ensure a beautifully textured casserole.
Is there a dairy-free option for the cheesecake layer?
Very! You can substitute the cream cheese with a dairy-free cream cheese alternative, and use coconut cream or a dairy-free whipped topping in place of heavy cream. This way, everyone can enjoy a slice of your delicious no-bake apple pie casserole!
How long do I need to chill the casserole before serving?
For optimal flavor and texture, allow the casserole to chill in the refrigerator for at least 4 hours, but overnight is even better! This ensures that all the layers are set and meld beautifully together, delivering a delightful dessert experience.
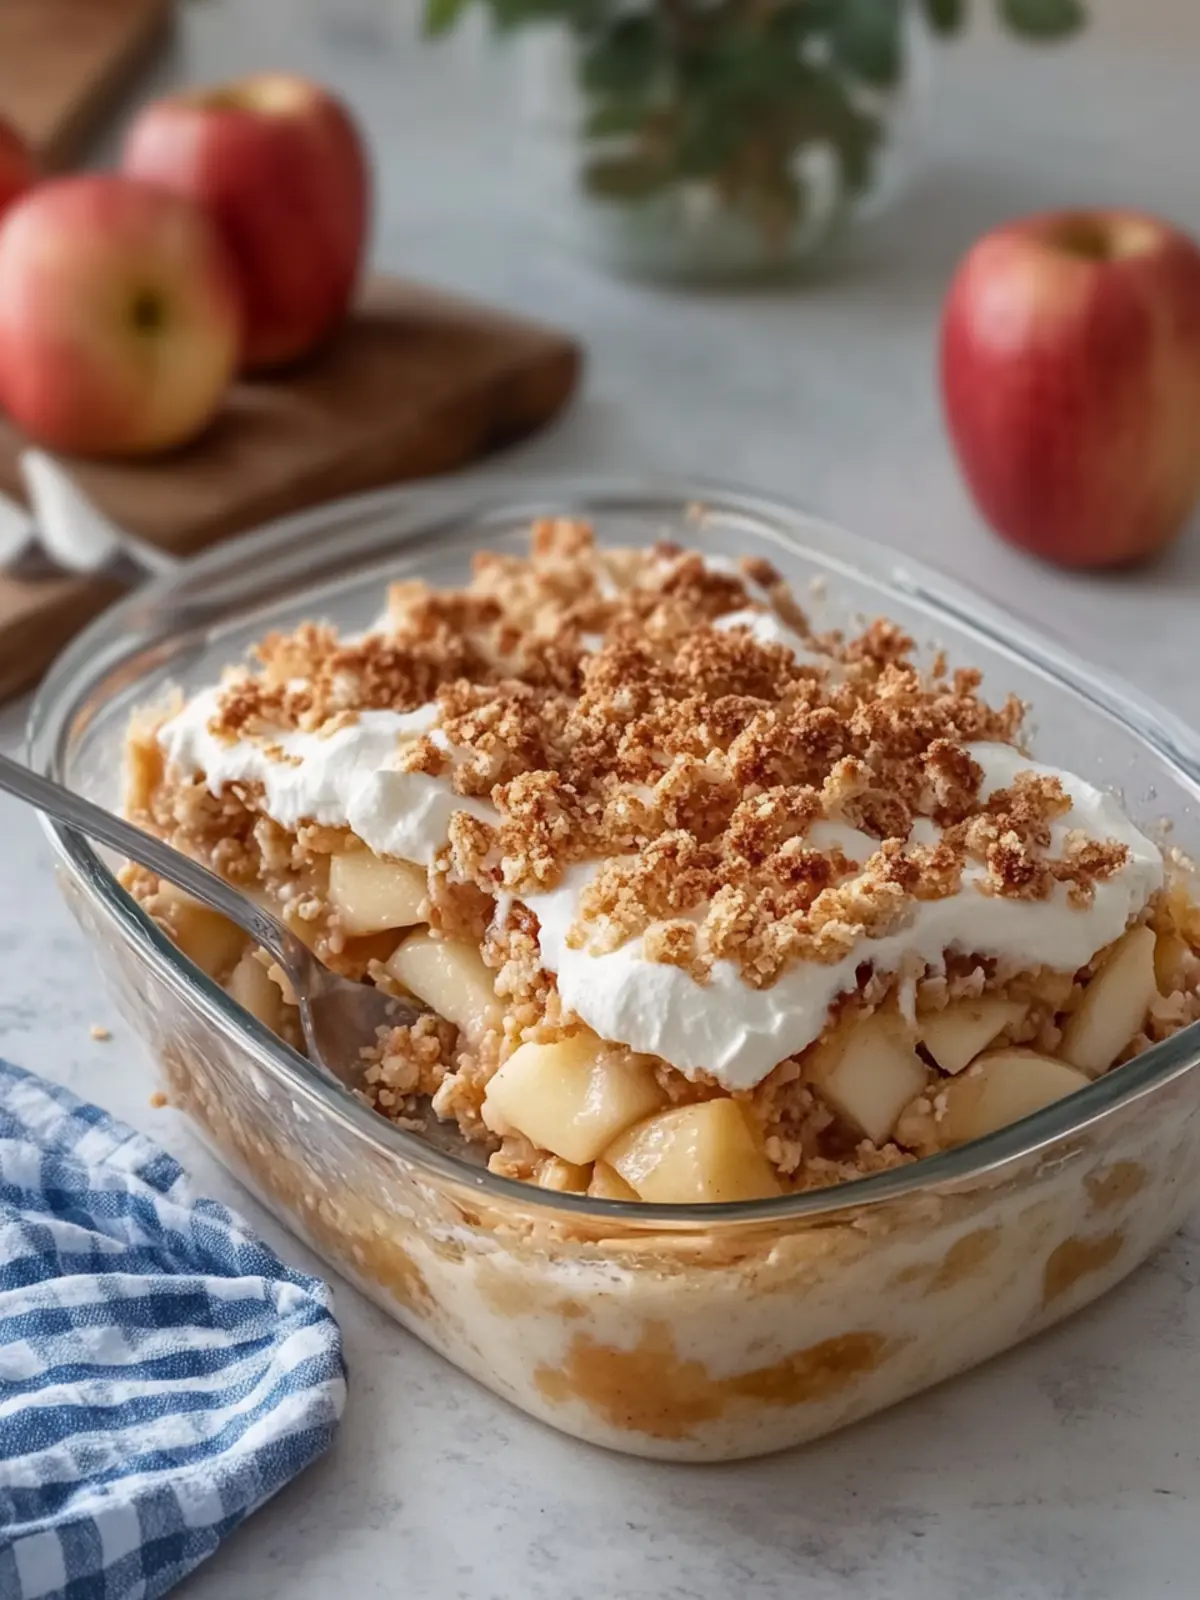
Delicious No-Bake Apple Pie Casserole
Ingredients
Equipment
Method
- Grease a 9 × 13-inch glass baking dish.
- Combine the graham cracker crumbs, melted butter, and brown sugar in a mixing bowl. Stir until well blended, then press the mixture firmly into the bottom of the dish. Refrigerate for 20 minutes to set.
- Cook the diced apples in a saucepan over medium heat along with brown sugar, butter, cinnamon, nutmeg, and lemon juice. Stir and let it simmer for 8–10 minutes until the apples soften and become fragrant.
- Thicken the apple filling by mixing the cornstarch with water, then stirring it into the cooked apples. Cook for another 1–2 minutes until the mixture thickens nicely. Allow it to cool completely before using.
- Beat the softened cream cheese, powdered sugar, and vanilla extract in a mixing bowl until smooth and creamy.
- Whip the cold heavy cream in a separate bowl until stiff peaks form.
- Fold the whipped cream gently into the cream cheese mixture until no streaks remain.
- Spread half of the cheesecake mixture evenly over the chilled graham cracker crust.
- Spoon the cooled apple pie filling over the cheesecake layer.
- Top with the remaining cheesecake mixture, spreading it gently over the apples.
- Sprinkle crushed graham crackers and cinnamon on top.
- Garnish with the reserved apple filling and drizzle the caramel sauce over the top.
- Cover and refrigerate for at least 4 hours, or preferably overnight.
- Slice into squares or scoop into dessert bowls before serving chilled.