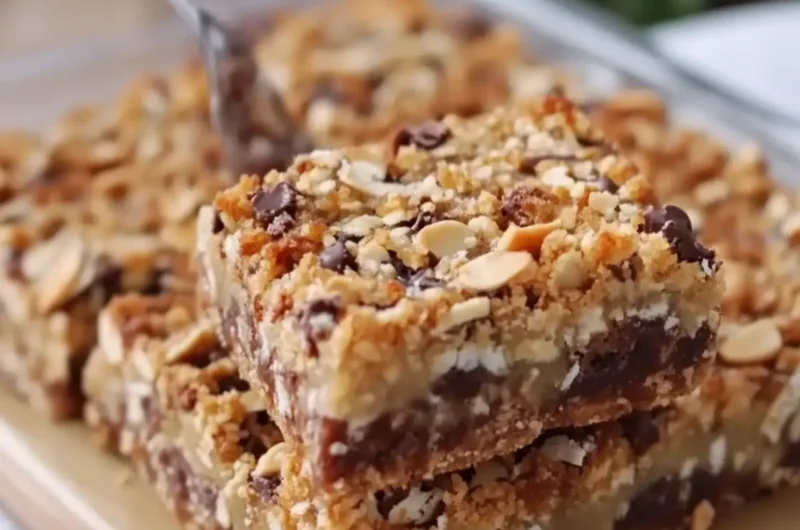
There’s something truly enchanting about the symphony of flavors in these Magic Bars, often lovingly dubbed 7-Layer Bars. Just envision a warm, inviting kitchen filled with the rich scent of melted chocolate and the comforting crunch of graham cracker crust as you whip them up. I stumbled upon this delightful treat while searching for a way to impress friends at a last-minute gathering, and wow, did they deliver!
These bars are perfect for anyone seeking a sweet escape from the repetitive fast food routine. With layers of buttery graham crackers, rich chocolate, and luscious butterscotch, topped off with a coconut flourish, each bite offers a burst of nostalgic sweetness that feels like a warm hug.
What’s even better? This recipe comes together with minimal fuss in just a few simple steps, making it an excellent choice for both seasoned chefs and home-cooks alike. You’ll love how effortlessly they elevate any occasion, leaving a lasting impression on everyone who gets to try them!
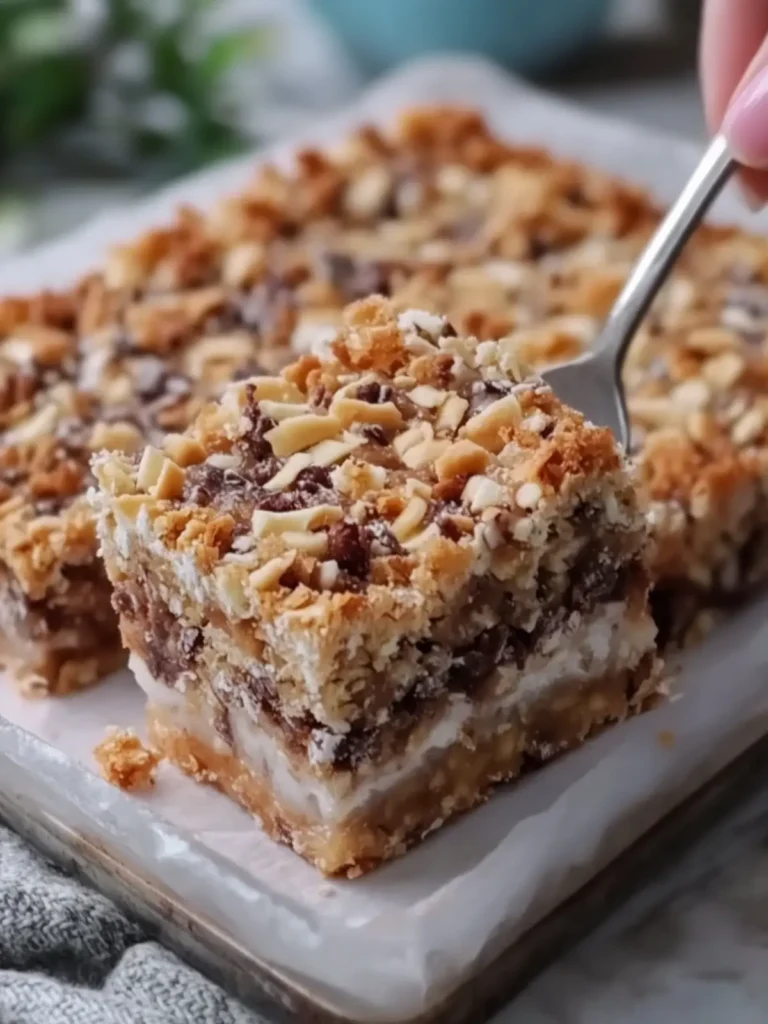
Why are Magic Bars so irresistible?
Decadent layers come together to create a treat that’s simply hard to resist! Each bite of these Magic Bars delivers a delightful mix of rich chocolate, creamy butterscotch, and crunchy nuts all nestled atop a buttery graham cracker crust. Simplicity is key; the recipe is quick and straightforward, perfect for busy lifestyles. Crowd-pleaser status is assured, making them a hit at gatherings or as a special family dessert. With a perfect balance of flavors and textures, you’ll find yourself making these bars again and again. For more sweet inspiration, check out our guide on easy dessert recipes.
Ingredients for Magic Bars
For the Crust
• Graham cracker crumbs – a buttery base that adds richness and crunch.
• Unsalted butter – melted for binding the crumbs and enhancing flavor.
For the Layers
• Semi-sweet chocolate chips – bring a rich, chocolatey sweetness that’s irresistible.
• Butterscotch chips – add a creamy, caramel flavor that complements the chocolate beautifully.
• Chopped walnuts or pecans – provide a delightful crunch and nutty flavor in each bite.
• Sweetened shredded coconut – delivers a tropical hint and chewy texture, elevating your Magic Bars.
For the Sweetening
• Sweetened condensed milk – binds the layers together while adding richness and sweetness, making these Magic Bars truly decadent.
How to Make Magic Bars
-
Preheat your oven to 350°F (175°C). Begin by lining a 9×13-inch (23×33 cm) sheet pan with parchment paper, ensuring an easy release for your delicious bars.
-
Combine the graham cracker crumbs with the melted butter. Stir until the mixture is evenly moistened—this will be the buttery foundation of your bars.
-
Press the mixture firmly into the bottom of the pan, creating a smooth, even crust that will hold all the magical layers above.
-
Sprinkle the semi-sweet chocolate chips generously over the crust, allowing their rich, melty goodness to spread across the base.
-
Layer the butterscotch chips evenly atop the chocolate, adding a delightful sweetness that perfectly balances the cocoa.
-
Top with the chopped walnuts or pecans, spreading them out to ensure a nutty crunch in every bite, followed by an even sprinkle of sweetened shredded coconut.
-
Drizzle the sweetened condensed milk slowly over the entire surface, ensuring it covers as much coconut as possible, creating a luscious layer of sweetness.
-
Bake in the preheated oven for 25–30 minutes. Watch for the edges and coconut to turn golden brown while the center bubbles with excitement!
-
Cool the pan completely for at least 2 hours before cutting, allowing the layers to set and enhance the flavors.
-
Lift the bars from the pan using the parchment paper and cut into squares. Enjoy your slice of heaven!
Optional: Serve with a scoop of vanilla ice cream for an extra indulgent treat.
Exact quantities are listed in the recipe card below.
Make Ahead Options
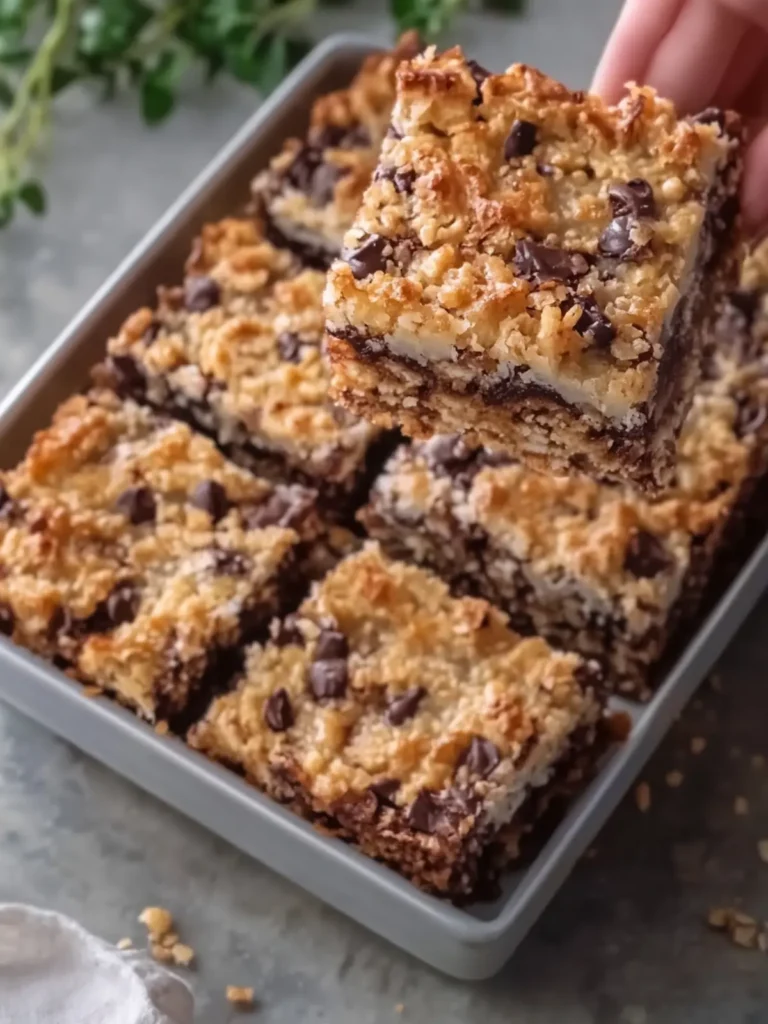
These Magic Bars are a fantastic option for meal prep enthusiasts! You can prepare the graham cracker crust up to 24 hours in advance by mixing the crumbs with melted butter and pressing them into the pan. Simply cover the crust tightly and refrigerate until you’re ready to finish the bars. Additionally, you can pre-measure and combine the chocolate chips, butterscotch chips, walnuts, and coconut in a separate container (up to 3 days ahead) to save time. When you’re ready to bake, just layer the components over the crust, drizzle the sweetened condensed milk, and bake as directed. This way, you’ll enjoy delightful Magic Bars with minimal effort, just as delicious as if you made them from scratch on the day!
How to Store and Freeze Magic Bars
Room Temperature: Store Magic Bars at room temperature in an airtight container for up to 3 days. This keeps them fresh while allowing the flavors to meld beautifully.
Fridge: For longer storage, place the bars in the fridge, where they can last up to 1 week. Just be sure to cover them well to prevent drying out.
Freezer: If you want to save some for later, freeze the bars in an airtight container or freezer bag for up to 3 months. Thaw in the fridge overnight before enjoying.
Reheating: For a warm treat, gently reheat the bars in the microwave for 10-15 seconds. This will bring back that delightful melty goodness every time!
What to Serve with Chocolate Butterscotch Coconut Bars?
Indulging in these heavenly bars is just the beginning of a delightful dessert experience. Let’s create a spread that enhances their rich flavors and sweet textures.
-
Vanilla Ice Cream: The creamy, cold treat provides a perfect contrast to the chewy bars, creating a delightful temperature interplay.
-
Fresh Berries: Ripe strawberries or tart raspberries add a burst of freshness, cutting through the sweetness and balancing your palate. Their bright colors also make your dessert table pop!
-
Chocolate Drizzle: A simple chocolate sauce drizzled over the bars adds an extra layer of decadence, enhancing their rich cocoa flavor while making them even more visually appealing.
-
Coffee: A warm cup of freshly brewed coffee complements the flavors beautifully. The rich, bitter notes of coffee contrast perfectly with the sweetness of the bars, creating a satisfying combination.
-
Coconut Milkshake: This creamy treat echoes the coconut in the bars while providing a refreshing twist, making for a whimsical pairing that transports you to a tropical paradise.
-
Nutty Chai Tea: Spiced chai offers warmth and complexity, the aromatic spices melding wonderfully with the flavors of the bars, giving you that cozy, comforting feeling.
-
Caramel Sauce: A drizzle of warm caramel elevates every bite with an additional sweetness and buttery richness—it’s an indulgent finish that’s hard to resist!
-
Whipped Cream: Light and fluffy whipped cream can serve as a topping or side, bringing airiness to the dessert that balances its dense layers.
-
Dark Chocolate Chunks: Serve with a side of dark chocolate chunks for a rich grown-up touch—each bit adds an extra depth of chocolatey goodness!
These pairings will not only turn a simple dessert into a memorable feast but will also leave your guests craving more!
Magic Bars Variations & Substitutions
Feel free to get creative with your Magic Bars and make them your own!
-
Gluten-Free: Substitute graham cracker crumbs with gluten-free cookies or almond flour for a deliciously safe option.
-
Nut-Free: Omit the walnuts or pecans and replace them with sunflower seeds or pumpkin seeds for a crunchy texture without the nuts.
-
Coconut-Free: To skip the coconut, use more chocolate chips or a layer of caramel for added sweetness and depth.
-
Extra Chocolate: For an even richer treat, try adding a layer of white chocolate chips along with your semi-sweet chocolate for a delightful contrast.
-
Spicy Twist: Sprinkle in some cayenne pepper or chili powder with the chocolate chips for a surprising kick that balances the sweetness beautifully.
-
Dairy-Free: Use dairy-free butter and creamy coconut milk instead of sweetened condensed milk for a vegan-friendly version that doesn’t sacrifice taste.
-
Fruit-Inspired: Toss in some dried cranberries or cherries atop the layers for a fruity burst that pairs wonderfully with chocolate and butterscotch.
-
Minty Fresh: Add a few drops of peppermint extract to your butter mixture for a refreshing minty flavor that transforms your bars into a festive treat.
Expert Tips for Magic Bars
-
Chill the Butter: Allow the melted butter to cool slightly before mixing with the crumbs to avoid a greasy crust.
-
Even Layering: Ensure each layer is spread evenly across the crust. This helps in achieving a balanced flavor in every bite of your Magic Bars.
-
Watch the Bake Time: Keep a close eye on the bars while baking; they should be golden brown at the edges but not overcooked, leading to dry layers.
-
Cool Completely: Resist the temptation to cut them too soon! Cooling for at least 2 hours ensures the layers set nicely, making cutting easier.
-
Nut Alternatives: If nuts are not your thing, feel free to substitute with seeds or dried fruits for a different twist on these delightful Magic Bars.
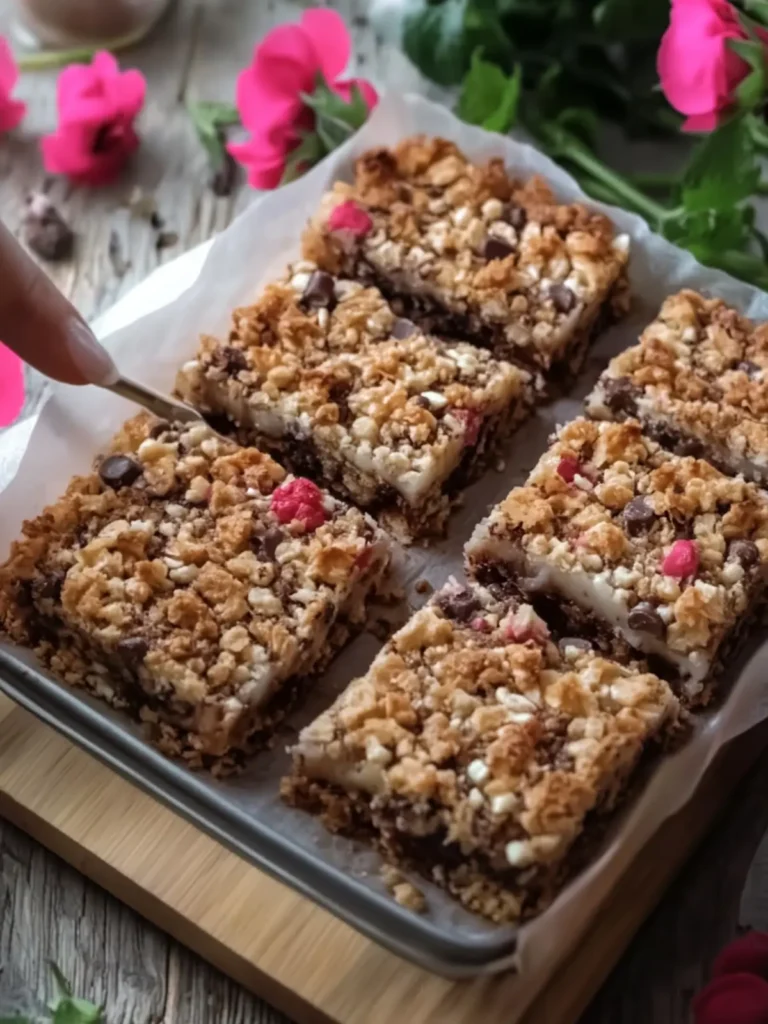
Chocolate Butterscotch Coconut Bars Recipe FAQs
How can I choose the best graham crackers for the crust?
Absolutely! Look for graham crackers that are fresh and free from any dark spots or signs of staleness. If possible, use a brand that you love; graham crackers can greatly influence the flavor of your crust. Crushing them into crumbs yourself can often yield a fresher taste!
What’s the best way to store leftover Magic Bars?
You can store Magic Bars (7-Layer Bars) at room temperature in an airtight container for up to 3 days. To keep them even fresher, place them in the fridge where they will last up to 1 week. Always remember to cover them well, as exposure to air can lead to a dry texture.
Can I freeze Magic Bars?
Absolutely! To freeze your Magic Bars, wrap them individually in plastic wrap and then place them in an airtight container or freezer bag. They can be stored in the freezer for up to 3 months. When you’re ready to enjoy them, simply thaw in the fridge overnight before indulging!
What should I do if my Magic Bars are too crumbly?
If you find your bars crumbling, it might be due to too much graham cracker crumb or not enough butter in your crust. Ensure you press the crust mixture firmly into the pan, making sure everything sticks together nicely. If you’d like to salvage them, you can serve them as a crumble dessert over ice cream!
Are there any allergy considerations for this recipe?
Yes! The ingredients in Magic Bars can include potential allergens like nuts, gluten (from graham crackers), and dairy (butter and sweetened condensed milk). If you’re cooking for someone with allergies, you can substitute the nuts for seeds, use gluten-free graham crackers, and choose dairy-free condensed milk to make it safe and delicious for all!
How long do Magic Bars take to cool before cutting?
It’s best to cool the Magic Bars completely in the pan for at least 2 hours before cutting! This allows all the layers to set properly, making them easier to slice into neat squares. Patience is key—the flavors will deepen beautifully as they cool!
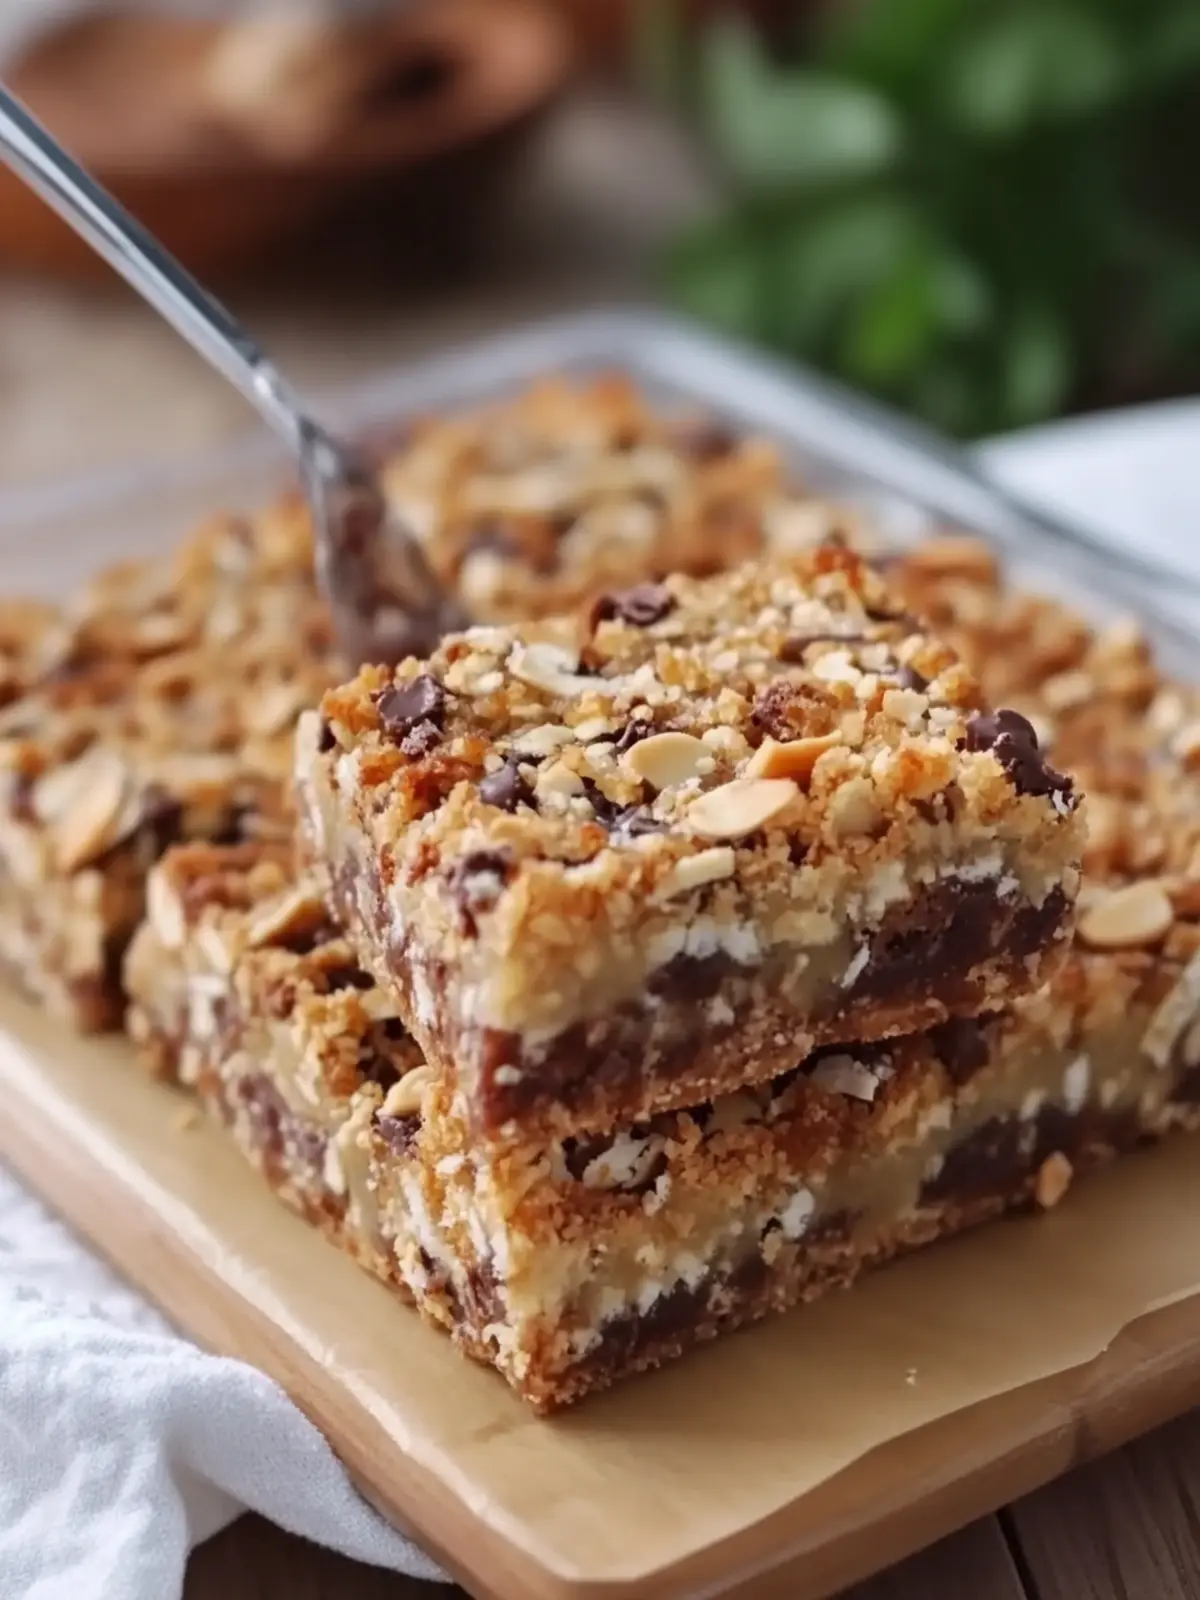
Decadent Magic Bars: Irresistible 7-Layer Treats to Love
Ingredients
Equipment
Method
- Preheat your oven to 350°F (175°C) and line a 9x13-inch sheet pan with parchment paper.
- Combine the graham cracker crumbs with melted butter until evenly moistened.
- Press the mixture firmly into the bottom of the pan for a smooth crust.
- Sprinkle semi-sweet chocolate chips generously over the crust.
- Layer butterscotch chips evenly on top of the chocolate.
- Top with chopped walnuts or pecans, followed by sweetened shredded coconut.
- Drizzle sweetened condensed milk over the entire surface.
- Bake for 25–30 minutes until the edges are golden brown.
- Cool completely for at least 2 hours before cutting into squares.
- Enjoy your slice of heaven!