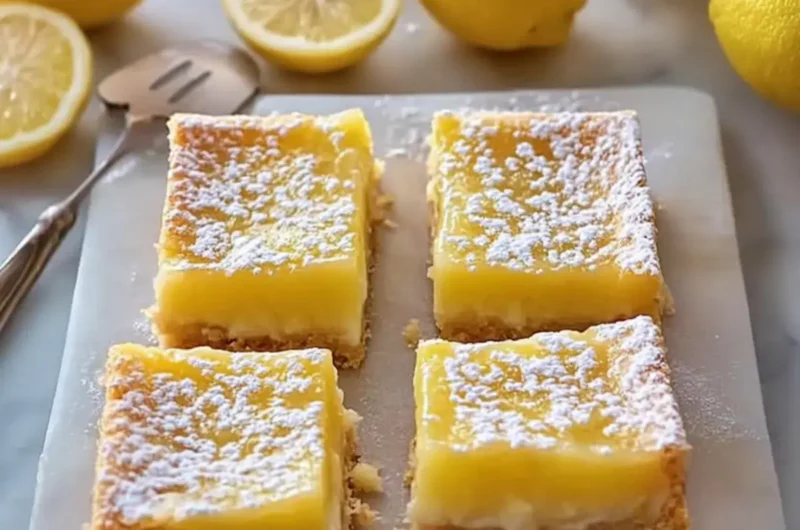
When life throws a curveball, nothing lifts my spirits quite like a batch of Lemon Bliss Bars. Picture this: a warm afternoon, the sun shining bright, and the tantalizing aroma of fresh lemon wafting through my kitchen. These bars are the ultimate remedy to the mundane routine of everyday meals, and trust me, they make a perfect companion to a cup of tea or coffee.
I found this recipe after rummaging through my cupboards in search of something refreshing to counteract a heavy dinner. With only a handful of ingredients and minimal prep, these bars transform into a zesty masterpiece that’s both satisfying and crowd-pleasing. The combination of tangy lemon and creamy sweetness is pure magic, offering a taste of summer no matter what season it is. If you’re ready to ditch fast food in favor of homemade goodness, let’s dive into making these delightful treats that are sure to impress anyone lucky enough to get a taste!
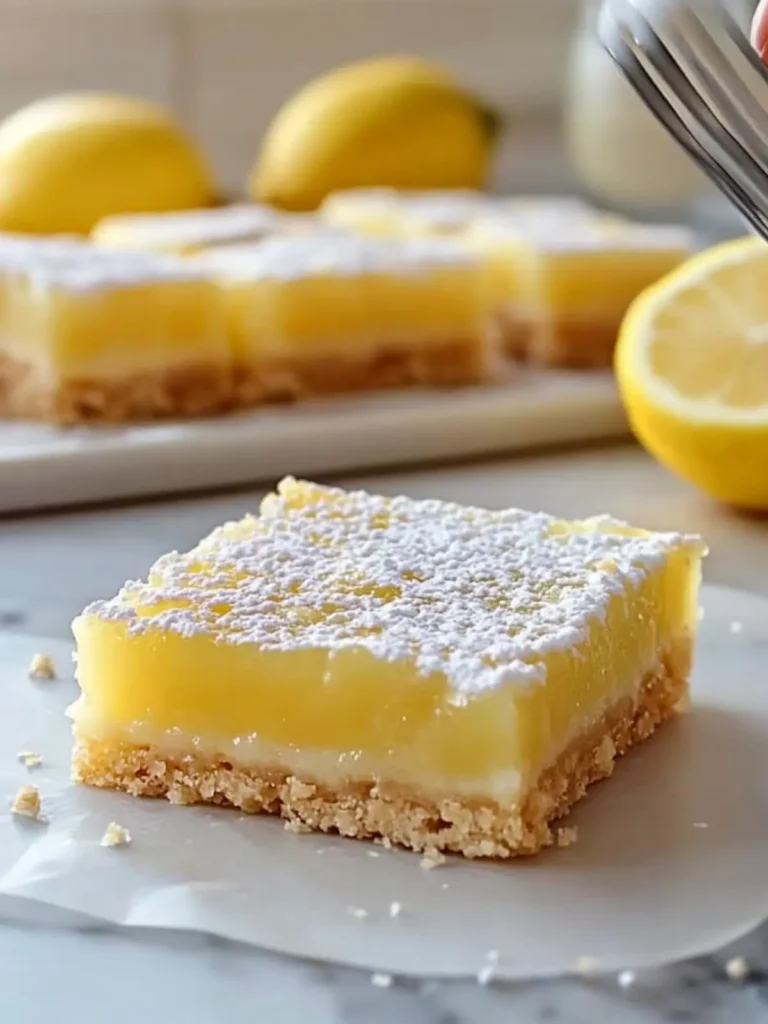
Why Lemon Bliss Bars Are Irresistible?
Bright, zesty flavor: The refreshing kick of lemon in these bars elevates your dessert game to a whole new level.
Easy to make: With just a few simple ingredients, these bars are perfect for both novice and experienced bakers alike.
Crowd-pleaser: Whether for a family gathering or a cozy tea time, they’re sure to impress your guests.
Perfectly balanced: Enjoy the delightful contrast of the tangy filling against the buttery crust.
Make ahead: With minimal hands-on time and a chilling step, you can prepare these bars in advance for stress-free entertaining. They’re the perfect way to brighten any day!
Lemon Bliss Bars Ingredients
Get ready to make magic in your kitchen with these fresh ingredients!
For the Crust
- 2 cups all-purpose flour – This forms the sturdy base that holds everything together.
- ½ cup powdered sugar – Sweetens the crust and gives it a delightful melt-in-your-mouth texture.
- 1 cup cold unsalted butter – Ensures a flaky, buttery crust that’s simply irresistible.
- ¼ teaspoon salt – Balances the sweetness and enhances flavor.
For the Filling
- 6 large eggs – Provides structure and richness to the lemony goodness.
- 2 cups granulated sugar – Sweetens the tartness of the lemon juice perfectly.
- ¾ cup fresh lemon juice – The star ingredient to create that zesty flavor in your Lemon Bliss Bars.
- ⅓ cup all-purpose flour – Helps to thicken the filling and gives it the right texture.
- 1 tablespoon finely grated lemon zest – Infuses even more lemony flavor and a fragrant aroma.
For the Finishing Touch
- ¼ cup powdered sugar – A light dusting on top adds a touch of sweetness.
- 1 teaspoon finely grated lemon zest – A final sprinkle to make your bars look as delightful as they taste!
How to Make Lemon Bliss Bars
-
Preheat the oven to 350°F (175°C). Line a 9 × 13-inch baking pan with parchment paper, ensuring it hangs over the edges for easy removal later.
-
Mix the 2 cups flour, ½ cup powdered sugar, and salt in a bowl. Rub in the cold butter cubes until the mixture resembles coarse crumbs. Press firmly into the lined pan and bake for 20–22 minutes, until the crust is lightly golden.
-
Whisk together the 6 eggs, 2 cups granulated sugar, ¾ cup fresh lemon juice, ⅓ cup flour, and 1 tablespoon grated lemon zest until smooth and well combined. Pour this zesty mixture over the warm crust.
-
Bake for another 22–27 minutes, or until the center is set but still has a slight wobble. Cool completely on a wire rack, then refrigerate for at least 2 hours to help them set perfectly.
-
Dust the chilled bars with ¼ cup powdered sugar, add a sprinkle of the remaining 1 teaspoon lemon zest, and cut into squares for serving.
Optional: Serve with a dollop of whipped cream for a delightful treat.
Exact quantities are listed in the recipe card below.
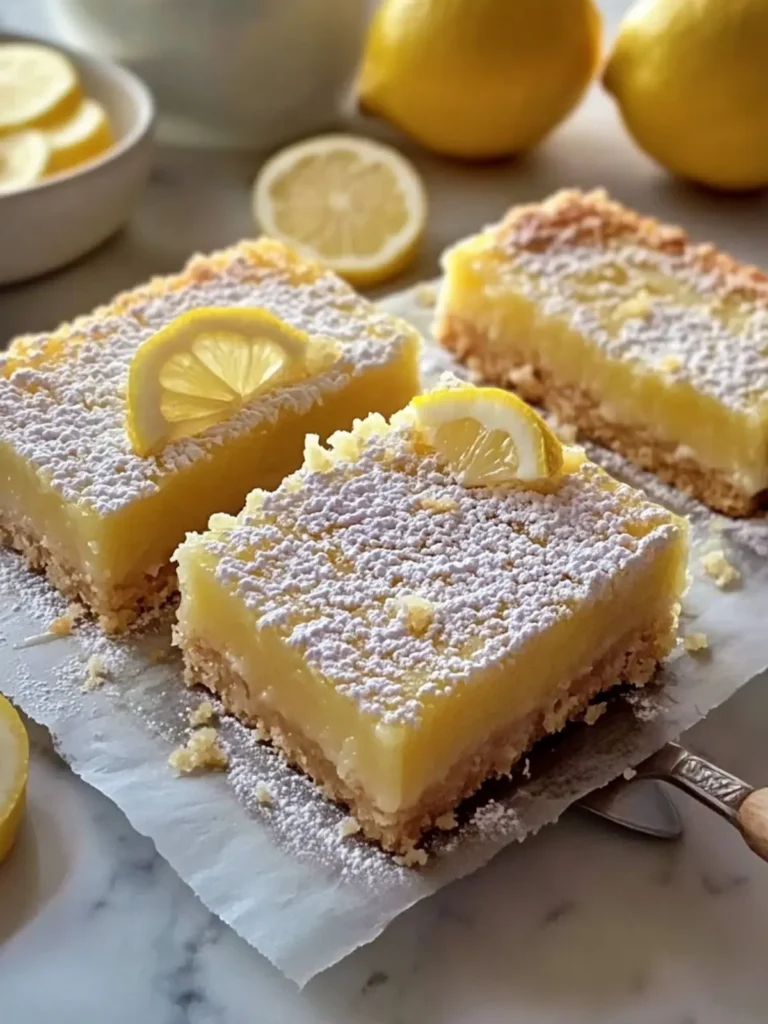
How to Store and Freeze Lemon Bliss Bars
Fridge: Keep your Lemon Bliss Bars in an airtight container in the fridge for up to 5 days. This will maintain their freshness and flavor.
Freezer: For longer storage, freeze the bars wrapped tightly in plastic wrap and aluminum foil for up to 3 months. Thaw in the fridge before serving.
Reheating: If you prefer them warmed, gently reheat a bar in the microwave for about 10-15 seconds, ensuring they don’t get too hot and lose their texture.
Serving Freshness: Dust with powdered sugar just before serving to keep that sweet presentation intact. Enjoy the bright, tangy flavors whenever you need a little pick-me-up!
Make Ahead Options
These Lemon Bliss Bars are a fantastic make-ahead option for busy cooks! You can prepare the crust and filling separately up to 24 hours in advance. To do this, make the crust, let it cool, then tightly wrap it in plastic wrap and refrigerate. As for the filling, mix the egg and lemon components, store it in an airtight container in the fridge, and pour it over the crust just before baking. This way, your bars maintain their fresh flavor and texture. When you’re ready to serve, simply bake the bars, cool them, and chill for at least 2 hours. They’ll come out just as delicious, making your meal planning a breeze!
What to Serve with Lemon Bliss Bars?
Imagine the delightful sensation of zesting up your dessert spread.
-
Fresh Berries: The tartness of strawberries or blueberries contrasts perfectly with the sweetness of Lemon Bliss Bars, adding a burst of freshness.
-
Whipped Cream: A dollop of this light and airy topping adds richness, balancing the tangy lemon flavor beautifully. It transforms each bite into a luxurious treat.
-
Iced Tea: A chilled glass of sweetened iced tea pairs wonderfully, cooling your palate while enhancing the zesty experience of the bars.
-
Vanilla Ice Cream: The creamy texture of vanilla ice cream complements the bars’ crisp crust and lemony filling, creating an enticing dessert duo that’s impossible to resist.
-
Chocolate Drizzle: A simple drizzle of dark chocolate adds a rich contrast to the lemon’s brightness, making your dessert feel extra indulgent.
-
Coffee: A warm cup of coffee balances the sweetness of the bars with its bold flavor, making each bite more satisfying.
-
Cheese Platter: Include a selection of soft cheeses like brie or goat cheese to pair with the tartness— the creaminess will enhance the overall tasting experience.
-
Mint Tea: For a refreshing herbal note, serve warm mint tea alongside the bars. This light, fragrant pairing complements the citrus notes, refreshingly cleansing your palate.
Each of these pairings not only enhances the flavors of your Lemon Bliss Bars but also creates a memorable moment that will linger long after the last crumb is gone!
Lemon Bliss Bars Variations
Feel free to add your personal touch and make these delightful bars truly your own!
-
Gluten-Free: Substitute all-purpose flour with a 1:1 gluten-free baking blend for a delicious, gluten-free option.
-
Vegan: Replace eggs with a flaxseed or chia seed gel (1 tablespoon seeds mixed with 3 tablespoons water per egg) and use vegan butter.
-
Herbal Infusion: Add a tablespoon of fresh thyme or rosemary to the filling for a unique herbaceous twist that contrasts beautifully with lemon.
-
Berry Burst: Fold in a cup of fresh raspberries or blueberries into the filling for a pop of color and fruitiness that pairs wonderfully with the zest.
-
Nutty Crunch: Add chopped almonds or walnuts to the crust for an added layer of texture and a delightful crunch with every bite.
-
Spicy Kick: Mix in a pinch of cayenne pepper or finely grated ginger to the filling for a surprising and invigorating heat that enhances the lemon flavor.
-
Coconut Cream: Replace half of the butter with coconut oil for a tropical twist, giving your bars a slight coconut flavor and an extra creamy texture.
-
Chocolate Drizzle: Drizzle melted dark or white chocolate over cooled bars for an indulgent finish that complements the tartness of the lemon.
Each variation offers a fresh take, ensuring your Lemon Bliss Bars always feel new and exciting!
Expert Tips for Lemon Bliss Bars
-
Chill Time Matters: After baking, let your bars cool completely before refrigerating them. This step is crucial for achieving the ideal texture.
-
Grate, Don’t Juice: When adding zest, use a microplane for fine shavings. Avoid grating the bitter white pith. A little zest in your Lemon Bliss Bars goes a long way!
-
Check Doneness: The center should have a slight wobble when you pull them out. Overbaking can lead to a rubbery texture, so stay vigilant!
-
Parchment Perks: Use parchment paper with overhang for easy removal. This will help you cut your bars neatly without mess or fuss.
-
Sweeten Gradually: You can start with a bit less sugar in the filling. Adjust according to your taste; the tangy lemon will shine through regardless.
-
Customize It: Enhance these bars with other flavors, like vanilla or almond extract, but remember to keep the balance so the lemon remains the star!
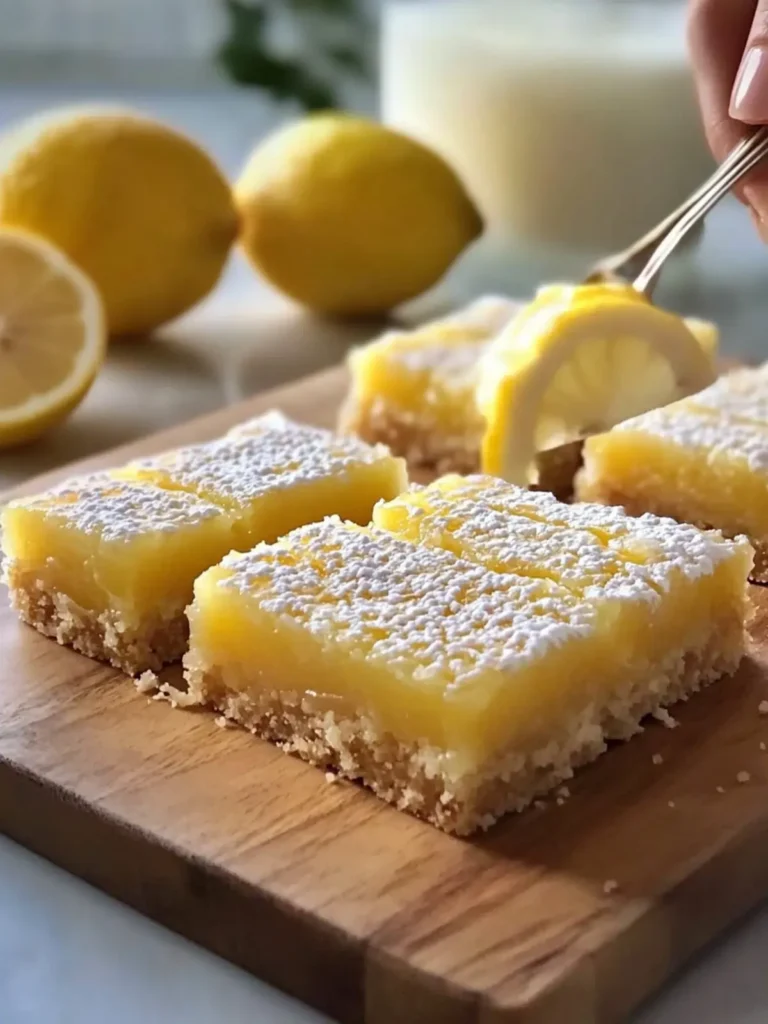
Lemon Bliss Bars Recipe FAQs
How do I choose the right lemons for my Lemon Bliss Bars?
Absolutely! For the best flavor, choose lemons that are firm and heavy for their size, indicating they are juicy. Look for bright yellow skin without any dark spots or blemishes. It’s a sign they’re fresh and packed with flavor!
What’s the best way to store leftover Lemon Bliss Bars?
Very! Keep your Lemon Bliss Bars in an airtight container in the fridge for up to 5 days. If you want to make them last longer, wrap them individually in plastic wrap then in aluminum foil and freeze for up to 3 months.
Can I freeze Lemon Bliss Bars? If so, how?
Of course! To freeze, first let the bars cool completely after baking. Wrap them tightly in plastic wrap, then cover with aluminum foil to prevent freezer burn. When you’re ready to enjoy them, thaw them in the refrigerator overnight. They’ll taste just as delightful as the day you made them!
What should I do if my Lemon Bliss Bars come out too rubbery?
Oh no! If your bars are rubbery, it might be a sign they were overbaked. Next time, keep an eye on them in the oven; they should have a slight wobble in the center when you take them out. Remember, they’ll continue to set as they cool down!
Are there any dietary considerations for serving Lemon Bliss Bars?
Definitely! If you have guests with dietary restrictions, consider using gluten-free flour for those who are gluten-sensitive. Also, if someone has egg allergies, you might want to explore egg substitutes, like flax eggs, but it may change the texture slightly. Always best to check with your guests!
How should I serve my Lemon Bliss Bars for the best presentation?
Absolutely! For the best presentation, dust the tops with powdered sugar just before serving to keep it looking fresh and appetizing. You can also garnish with a few lemon slices or a sprig of mint for a pop of color and an aromatic touch. Enjoy the beautiful display!
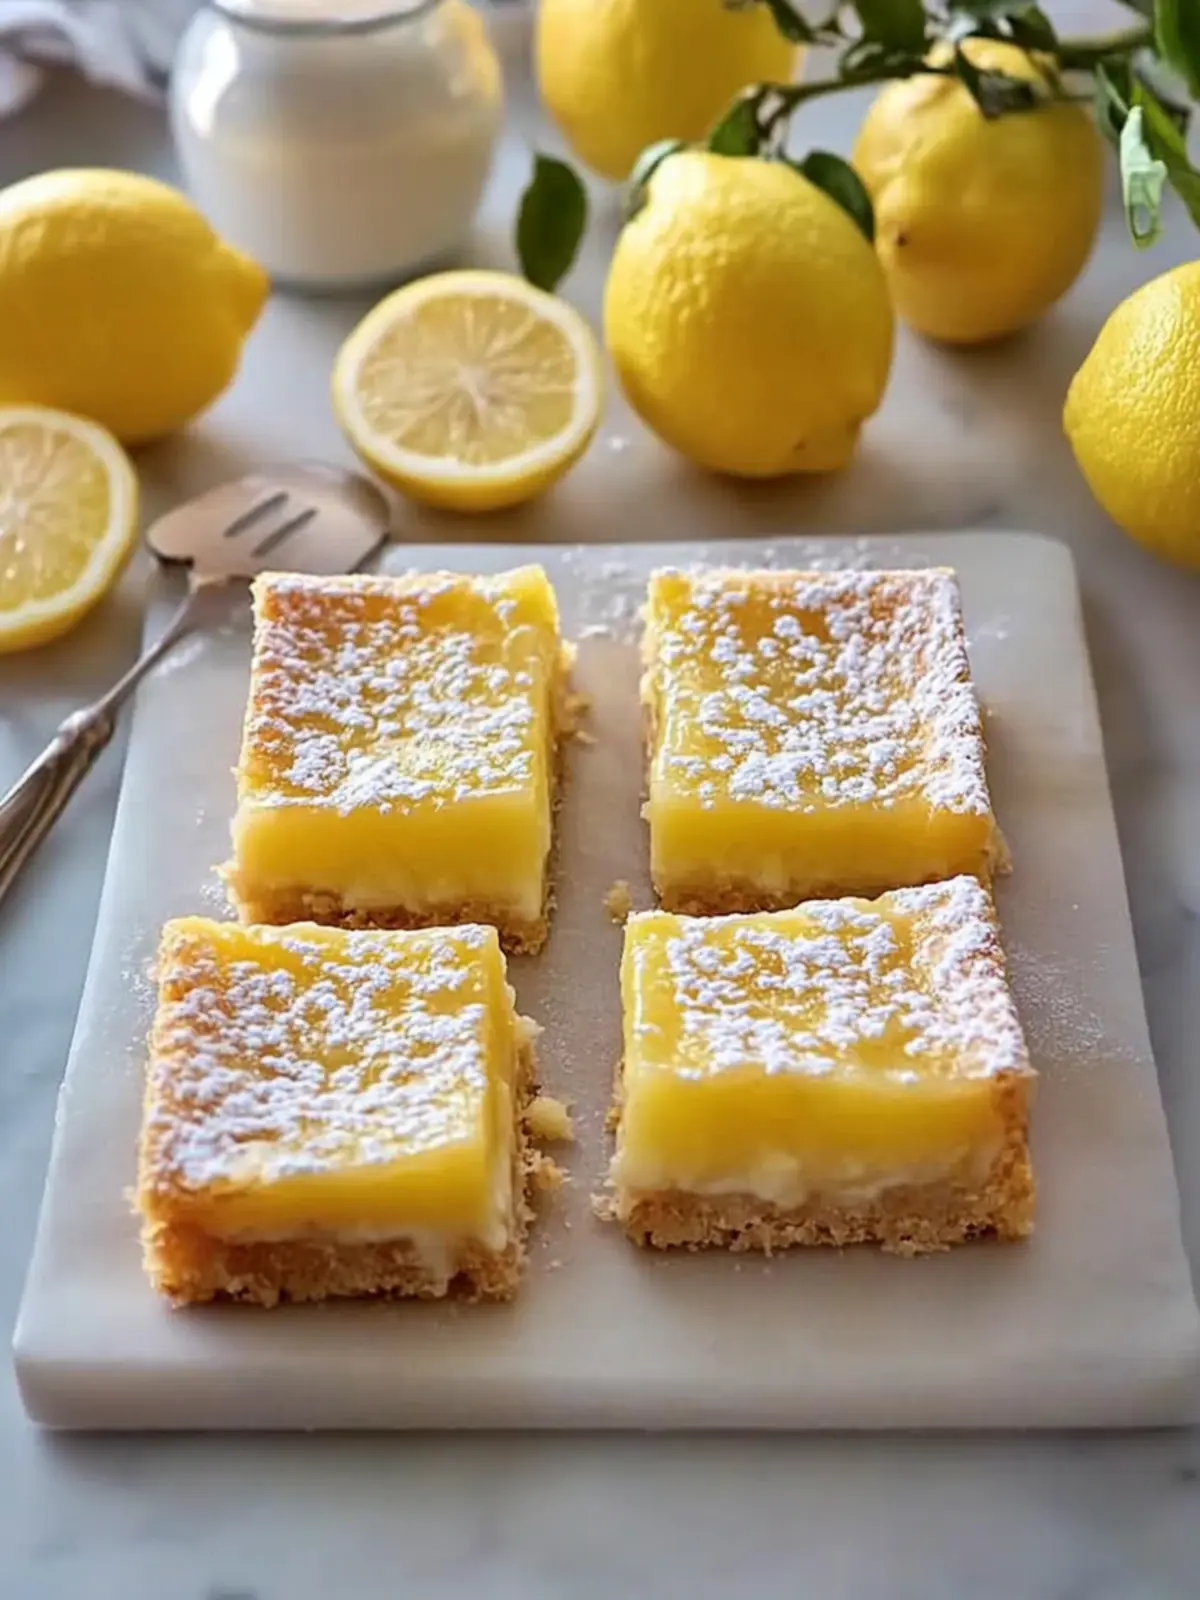
Zesty Lemon Bliss Bars That Will Brighten Your Day
Ingredients
Equipment
Method
- Preheat the oven to 350°F (175°C). Line a 9 × 13-inch baking pan with parchment paper.
- Mix the 2 cups flour, ½ cup powdered sugar, and salt in a bowl. Rub in the cold butter cubes until the mixture resembles coarse crumbs. Press firmly into the lined pan and bake for 20–22 minutes, until the crust is lightly golden.
- Whisk together the 6 eggs, 2 cups granulated sugar, ¾ cup fresh lemon juice, ⅓ cup flour, and 1 tablespoon grated lemon zest until smooth. Pour this zesty mixture over the warm crust.
- Bake for another 22–27 minutes, or until the center is set but still has a slight wobble. Cool completely on a wire rack, then refrigerate for at least 2 hours.
- Dust the chilled bars with ¼ cup powdered sugar, add zest, and cut into squares for serving.