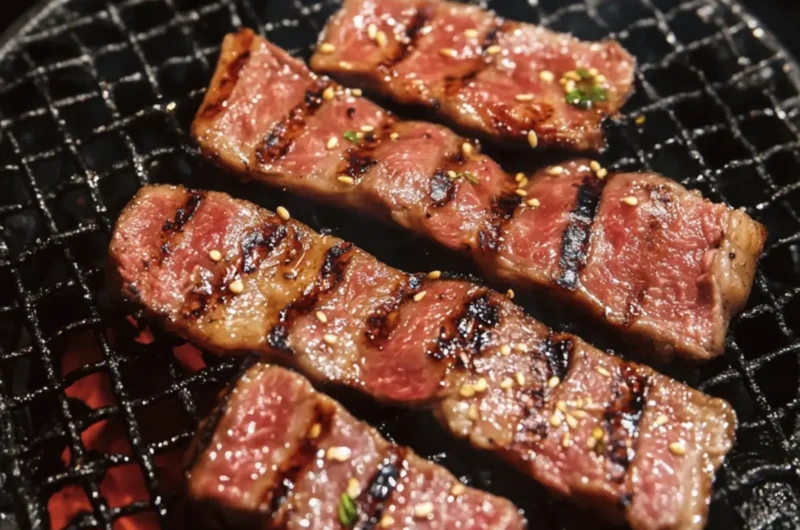
When the sun sets and the air is filled with the tantalizing smell of grilled meat, you know it’s time for a Yakiniku feast. This delightful Japanese grilling experience is more than just a meal; it’s a celebration of flavors, textures, and togetherness. Picture yourself gathered around the tabletop grill, where thinly sliced beef and succulent chicken sizzle, releasing mouth-watering aromas that beckon everyone to dive in.
The joy of Yakiniku lies in its unique approach—each person can grill their own bites just the way they like, making it perfect for gatherings, family dinners, or an indulgent night in. With our easy-to-follow recipe, you’ll not only master the art of grilling juicy meats but also create vibrant vegetable sides that balance the richness of the dishes. Trust me, once you’ve tasted this authentic dish, you’ll find yourself swapping the fast food routine for something far more satisfying and delicious!
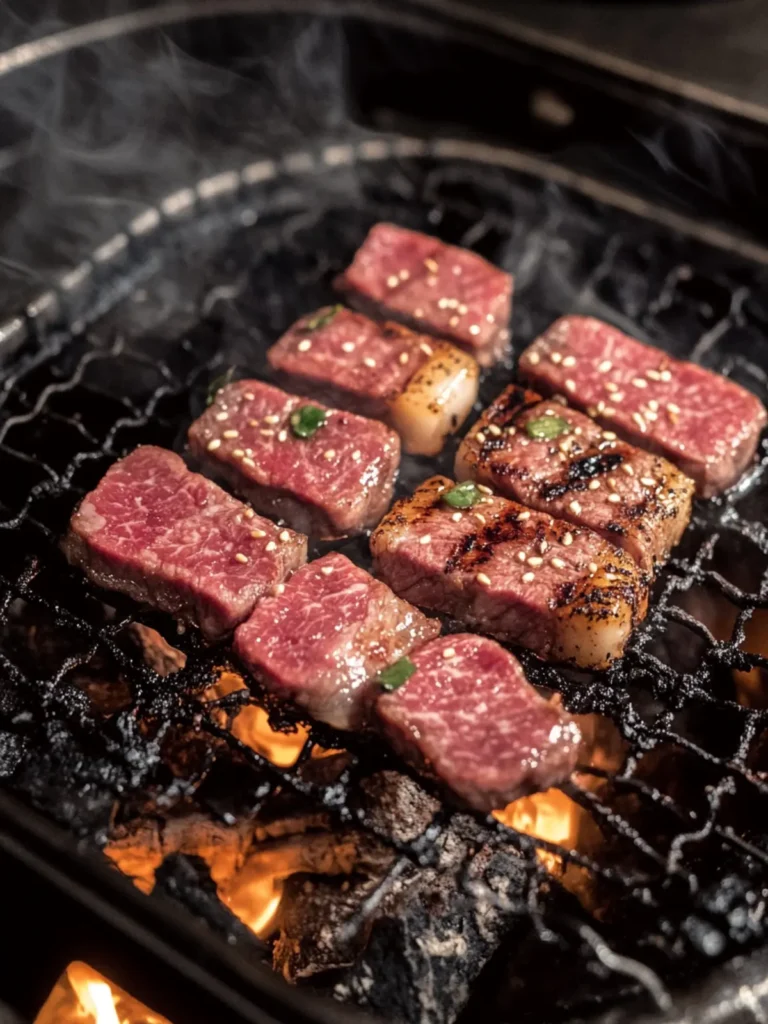
Why is Japanese Yakiniku so Special?
Community Experience: Cooking together around a grill creates a vibrant atmosphere, encouraging laughter and shared enjoyment.
Flavor Explosion: The marinated meats, kissed by charcoal, deliver a smoky, savory punch that makes every bite unforgettable.
Vibrant Sides: Pairing your Yakiniku with fresh veggies and tangy kimchi adds layers of flavor and nutrients.
Quick & Easy: With just a few simple steps, you can have a delicious meal ready in no time—perfect for busy weeknights!
Customizable Options: Whether you prefer beef, chicken, or seafood, this recipe can easily accommodate all tastes and preferences.
Memorable Gatherings: Transform ordinary meals into special occasions, making your dining table the heart of your home, just like in traditional Japanese culture.
Japanese Yakiniku Ingredients
For the Meat
• Beef Ribeye or Short Rib (600g) – A rich and marbled cut for ultimate tenderness; try sirloin for a leaner option.
• Chicken Thigh (200g) – Juicy and flavorful; chicken breast can be used for a lighter choice but might be less moist.
For the Vegetables
• Onion (1 small, sliced) – Adds sweetness and depth; substitute with shallots for a mild flavor.
• Courgette (1, sliced) – Contributes texture to balance the meat; eggplant or bell peppers work well too.
• Red Pepper (1, sliced) – Brings a fresh crunch and color; use yellow or green bell peppers for variety.
• Shiitake Mushrooms (100g, halved) – Infuses umami into the mix; button mushrooms can replace shiitake if needed.
• Spring Onions (2, finely sliced) – Fresh garnish that adds brightness to your dish.
For the Tare Sauce
• Soy Sauce (3 Tbsp) – The essential base for the sauce that provides umami flavor; perfect for dipping!
• Mirin (1.5 Tbsp) – Sweetens and balances the sauce beautifully.
• Sake (1 Tbsp) – Adds depth and complexity to the flavor profile.
• Sugar (1 Tbsp) – Enhances sweetness in the tare sauce.
• Garlic (1 clove, grated) – Adds aromatic richness to the sauce.
• Sesame Oil (1 tsp) – Infuses vibrant flavor into both sauce and grilling.
• Toasted Sesame Seeds (1 tsp) – Adds a delightful crunch and nuttiness for garnishing.
For Serving
• Cooked Japanese Rice – A staple side that complements the rich flavors of Japanese Yakiniku.
• Kimchi (optional) – Adds a spicy tang as a fantastic accompaniment.
• Fresh Lettuce Leaves (optional) – Ideal for wrapping grilled meat bites and refreshing the palate.
How to Make Japanese Yakiniku
-
Prepare Tare Sauce: In a saucepan, combine the soy sauce, mirin, sake, sugar, and grated garlic. Simmer for about 2 minutes, allowing the flavors to meld. Stir in the sesame oil and sesame seeds, then cool. Reserve half for dipping and the other half for marinating the meat.
-
Marinate Meat: Coat the beef and chicken in the tare sauce, ensuring they are well covered. Cover the dish and refrigerate for 30 minutes to allow the flavors to soak in and enhance the tenderness.
-
Prepare Vegetables: Slice your courgette, red pepper, and onion. Brush them lightly with sesame oil and arrange them on a plate, getting ready for grilling.
-
Grill Vegetables: Preheat the grill to a high temperature. Cook the vegetables for 2–3 minutes on each side until they become tender and charred, then set them aside.
-
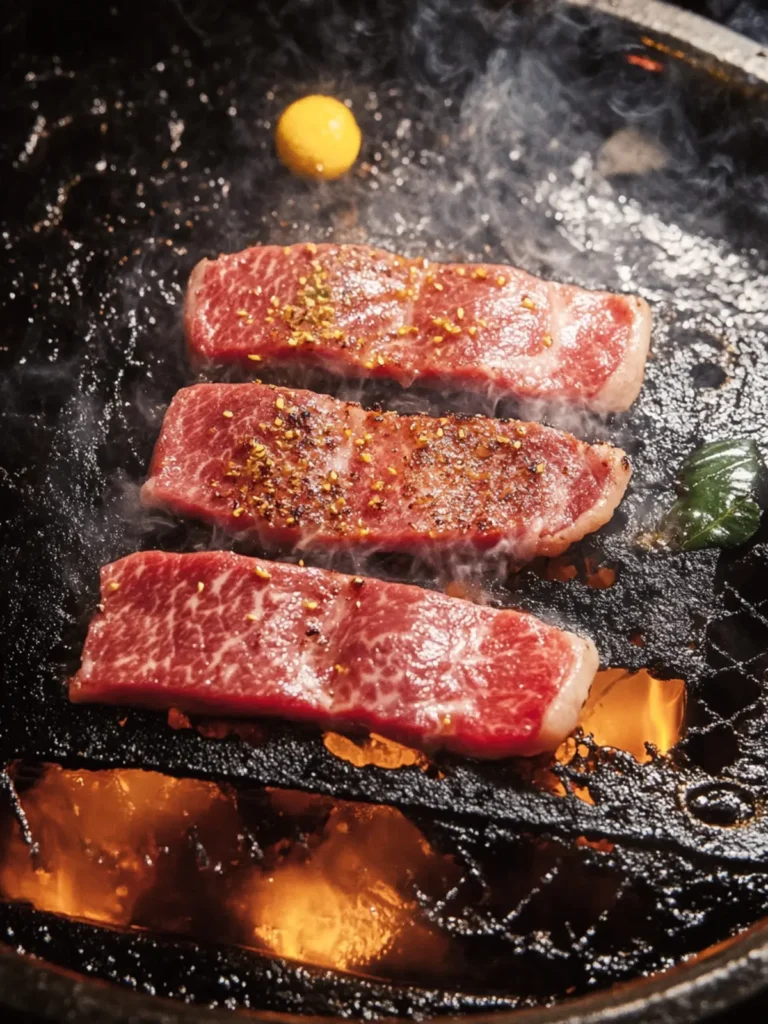
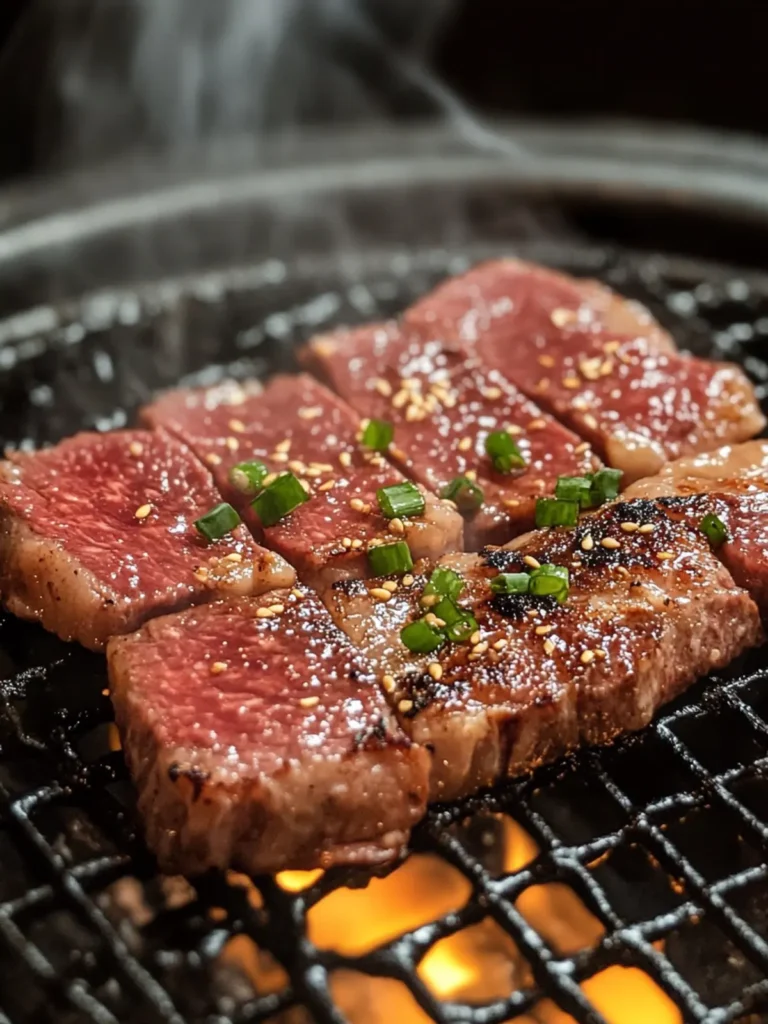
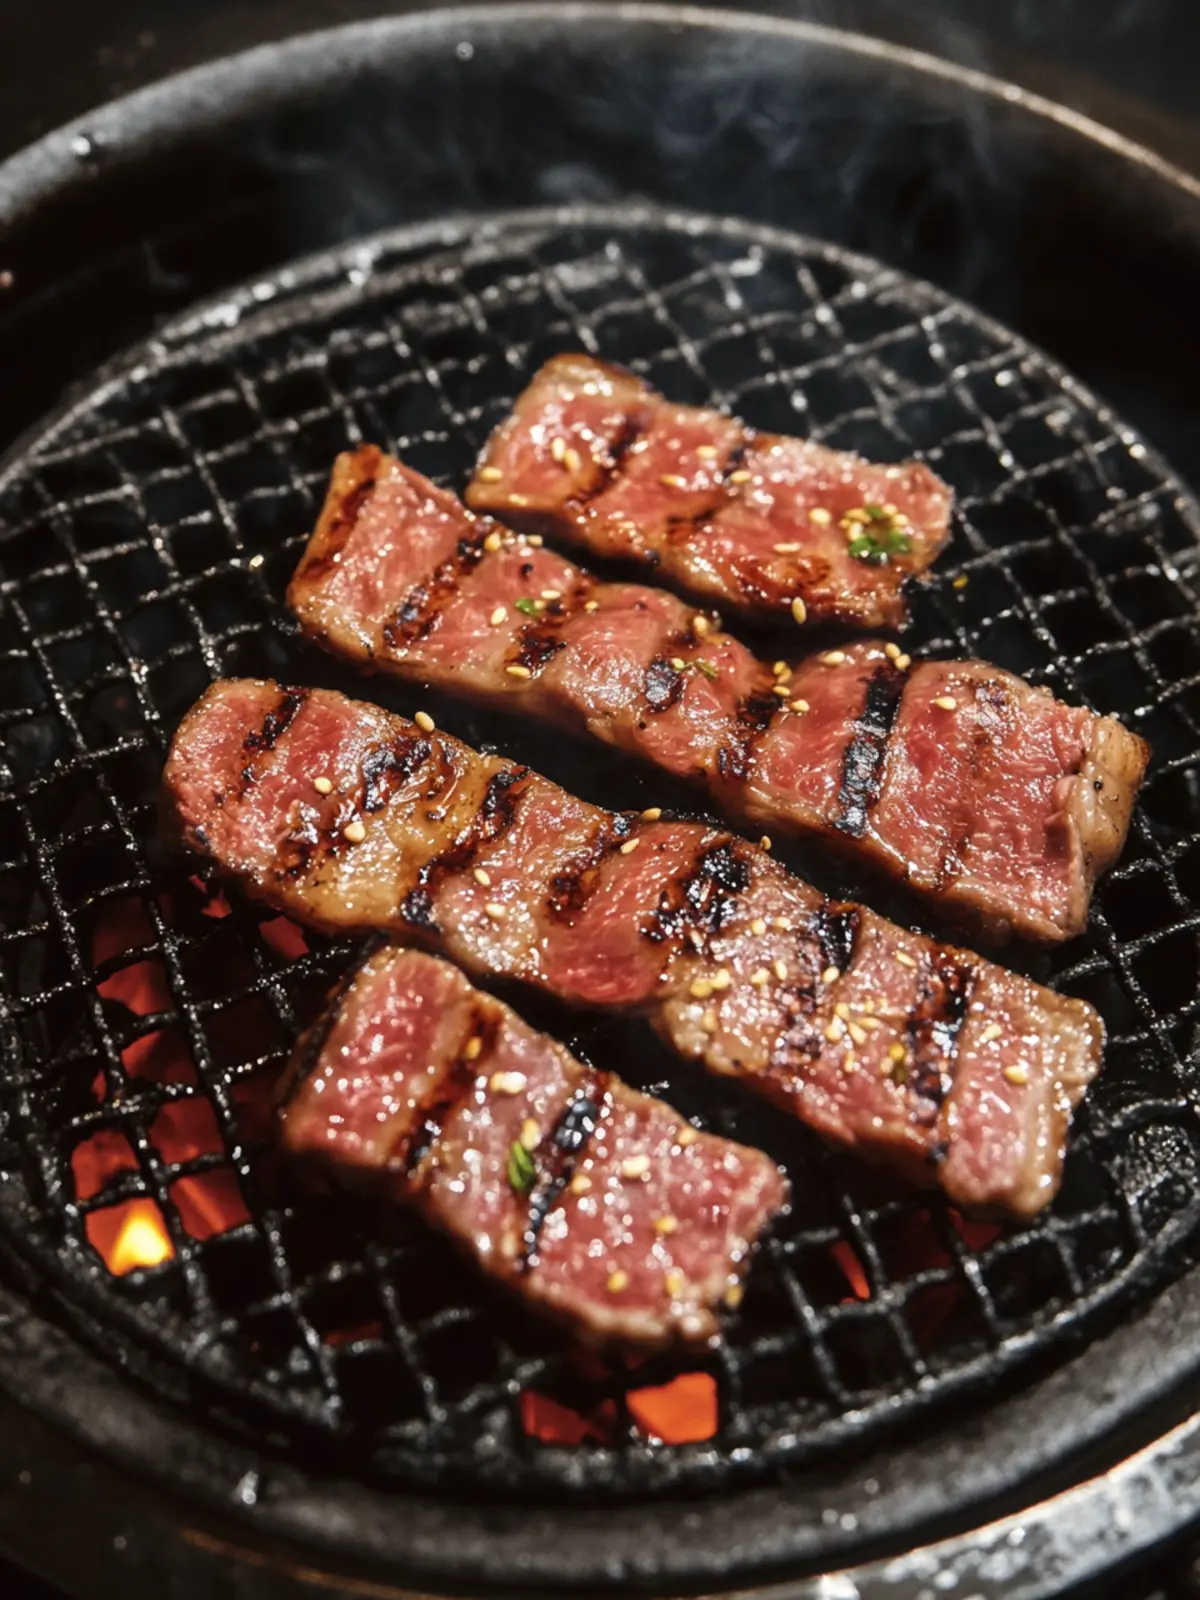
Grill Meat: Start by grilling the beef slices for 30 seconds to 1 minute per side, achieving a nice sear. Follow by grilling the chicken pieces for 2–3 minutes per side until they reach a golden brown color and are fully cooked.
-
Serve: Arrange the grilled meats and vegetables on separate platters. Serve with warm Japanese rice, the reserved tare sauce for dipping, and optional kimchi or lettuce leaves for wrapping.
Optional: Serve with a sprinkle of fresh spring onions for added flavor and color.
Exact quantities are listed in the recipe card below.
What to Serve with Japanese Yakiniku?
When you indulge in the smoky and savory flavors of Yakiniku, you’ll want to complement this mouth-watering experience with delightful side dishes and beverages.
-
Steamed Japanese Rice: A must-have, warmth and neutrality balance the rich meats, allowing every flavor to shine through beautifully.
-
Spicy Kimchi: This tangy side adds a zesty bite that cuts through the savoriness of the grilled meats, elevating the whole meal.
-
Fresh Lettuce Wraps: Crisp and refreshing, these leaves are perfect for wrapping grilled bites, offering a delightful crunch and a cool contrast.
-
Grilled Corn on the Cob: Adding sweetness and a smoky flavor enhances the experience, making every bite a celebration of textures.
-
Chilled Sake: The smoothness of this Japanese rice wine pairs wonderfully with Yakiniku, enhancing flavors while providing a refreshing sip.
-
Japanese Pickles: These bring vibrant color and tanginess to your plate, refreshing the palate between bites of grilled goodness.
-
Miso Soup: Warm and comforting, this soup adds depth to your meal, grounding the flavors of your Yakiniku.
-
Sesame Slaw: This crunchy, tangy salad introduces a textured element that complements the grilled meats, making each bite dynamic and fresh.
Make Ahead Options
These Japanese Yakiniku preparations are a fantastic solution for busy cooks looking to save time during the week! You can marinate the beef and chicken in the tare sauce up to 24 hours in advance, allowing the flavors to deepen. Simply coat the meat in the tare sauce and refrigerate it in an airtight container. Additionally, you can slice your vegetables and brush them with sesame oil up to 12 hours before grilling to keep them fresh. When you’re ready to enjoy your Yakiniku, simply grill the marinated meats and prepped vegetables as instructed, ensuring a delightful meal that’s just as delicious as if prepared fresh!
Japanese Yakiniku Variations
Customize your Yakiniku experience with exciting twists that cater to your taste buds and dietary needs.
-
Pork Option: Swap the beef for thinly sliced pork belly to enjoy a different richness and flavor.
-
Seafood Delight: Use shrimp or scallops instead of meat for a light and ocean-fresh version that is equally delightful.
-
Vegetable-Heavy: Increase the veggie portion with asparagus, mushrooms, or sweet corn to create a vibrant, colorful bowl.
-
Spicy Kick: Add chili flakes or a dash of spicy sauce to the tare for a fiery twist that spice lovers will adore.
-
Herb Infusion: Mix fresh herbs like cilantro or basil into your tare sauce before marinating for an aromatic experience.
-
Gluten-Free: Substitute tamari for soy sauce to keep your dish gluten-free without sacrificing flavor.
-
Rice Alternative: Serve with cauliflower rice instead of traditional rice for a low-carb option that still brings satisfaction.
-
Marinating Extras: Experiment by incorporating fruits like pineapple or kiwi into the marinade for a sweet, tangy flavor profile that’s utterly unique.
Expert Tips for Japanese Yakiniku
-
Grill Temperature: Ensure the grill is preheated to a high temperature before cooking. This helps achieve that perfect sear and locks in the juices of the meat.
-
Avoid Overcrowding: Don’t overcrowd the grill! Limiting the number of pieces allows for even cooking and helps maintain the grill’s heat, essential for your Japanese Yakiniku success.
-
Marination Time: Allow sufficient marination time, at least 30 minutes. This enhances the flavors and tenderness of the meat, making your dish truly delectable.
-
Use Separate Utensils: Use different tongs and plates for raw and cooked meats. This prevents cross-contamination, ensuring a safe and tasty experience for all.
-
Experiment with Vegetables: Feel free to try different seasonal vegetables; asparagus and corn make delightful additions that complement the grilled meat wonderfully.
-
Custom Dipping Sauces: Create your own dipping sauces by adding chili flakes or fresh herbs to the tare sauce. This personal touch can elevate the experience of your Japanese Yakiniku!
How to Store and Freeze Japanese Yakiniku
Fridge: Store cooked leftovers in an airtight container for up to 3 days to maintain freshness and flavor. Reheat on the grill or in a skillet for best results.
Freezer: If you have leftover raw marinated meat, you can freeze it for up to 2 months. Ensure it’s tightly sealed in freezer-safe bags to prevent freezer burn.
Reheating: When ready to enjoy, thaw frozen meat in the fridge overnight and grill once properly defrosted for that perfect Yakiniku experience.
Airtight Storage: For uncooked marinated meat, use airtight containers for the fridge; this keeps marinades flavorful while preventing any cross-contamination with other foods.
Japanese Yakiniku Recipe FAQs
What type of meat is best for Yakiniku?
Absolutely! Beef ribeye or short rib is ideal due to its rich marbling, which makes it tender and juicy. If you prefer leaner options, you can also use sirloin. For those who enjoy chicken, chicken thighs are recommended for their flavor and moisture—chicken breast can certainly work too, but it may be less juicy.
How should I store leftovers of Japanese Yakiniku?
For cooked leftovers, store them in an airtight container in the fridge for no more than 3 days to keep the flavors fresh. If you’re heating them up, I recommend using the grill or a skillet to retain the texture and warmth. Always allow them to cool down completely before storing to avoid condensation ruining the texture.
Can I freeze marinated meat for later use?
Yes! You can absolutely freeze uncooked marinated meat for up to 2 months. Just make sure it’s tightly sealed in freezer-safe bags to prevent freezer burn. When you’re ready to enjoy, thaw it overnight in the fridge, and then grill it as you normally would. It’s a great way to always have a delicious meal on hand!
How do I know when the grilled meat is done?
Very! For beef, aim for a cooking time of 30 seconds to 1 minute per side. Chicken should be grilled for about 2–3 minutes per side until it’s golden brown and fully cooked. You can also check its internal temperature: chicken should reach 165°F (75°C) before consuming. A nice sear and juicy center are the perfect indicators of a well-cooked piece.
Are there any dietary considerations for Yakiniku?
If you have allergies, particularly to soy or certain meats, it’s wise to modify the recipe accordingly. You can use gluten-free soy sauce for those avoiding gluten. If you’re serving it to your pets, keep in mind that some ingredients, like garlic, may not be safe for them, so always double-check and serve them appropriate options.
Can I prepare the tare sauce ahead of time?
Absolutely! You can prepare the tare sauce up to 3 days in advance. Store it in an airtight container in the fridge. The flavors deepen and improve over time, making it even more delicious when you use it to marinate your meat or as a dipping sauce. Just give it a quick stir before using it to ensure all the flavors are well-mixed!
Delicious Japanese Yakiniku: Sizzle Your Way to Flavor!
Ingredients
Equipment
Method
- In a saucepan, combine the soy sauce, mirin, sake, sugar, and grated garlic. Simmer for about 2 minutes, allowing the flavors to meld. Stir in the sesame oil and sesame seeds, then cool. Reserve half for dipping and the other half for marinating the meat.
- Coat the beef and chicken in the tare sauce, ensuring they are well covered. Cover the dish and refrigerate for 30 minutes.
- Slice your courgette, red pepper, and onion. Brush them lightly with sesame oil and arrange them on a plate.
- Preheat the grill to a high temperature. Cook the vegetables for 2–3 minutes on each side until they become tender and charred.
- Grill the beef slices for 30 seconds to 1 minute per side, then grill the chicken for 2–3 minutes per side until fully cooked.
- Arrange the grilled meats and vegetables on separate platters. Serve with warm Japanese rice, reserved tare sauce for dipping, and optional kimchi or lettuce leaves for wrapping.